







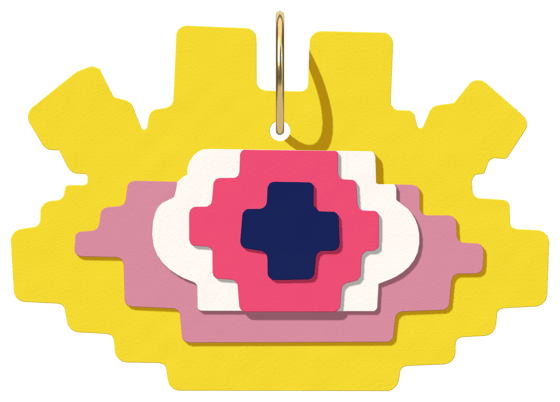




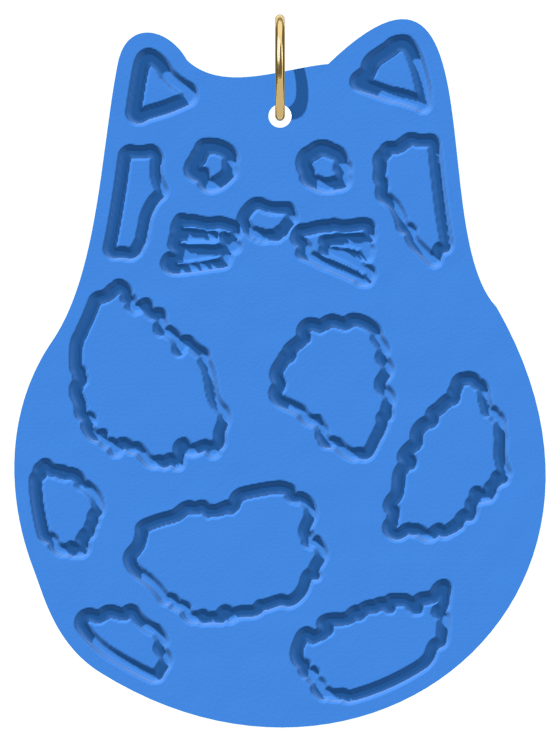



Pick a project, choose your colors, follow the guide. Some include a digital build kit of 3D-printable tools.

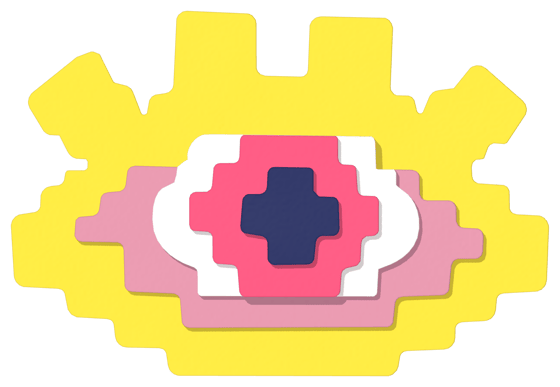
Showing Pixel Eye stud earrings, build kit
Your designs, together
A wall display. Your favourite jewellery. Find a combination you love, then make it with our build kits.

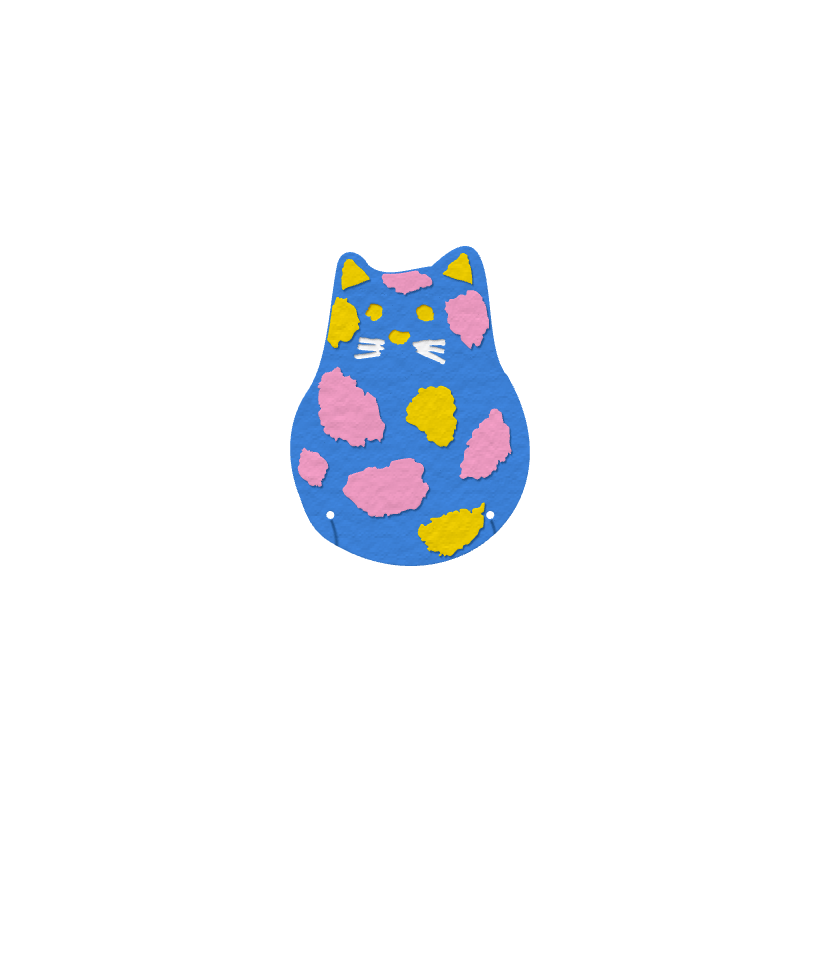
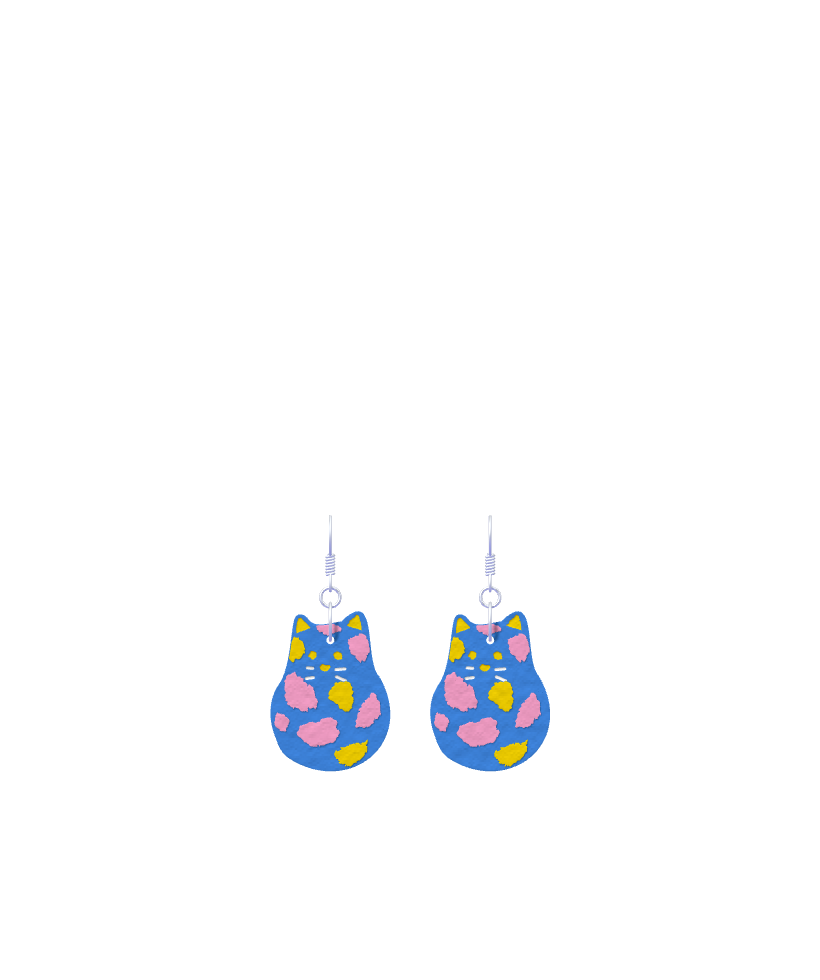

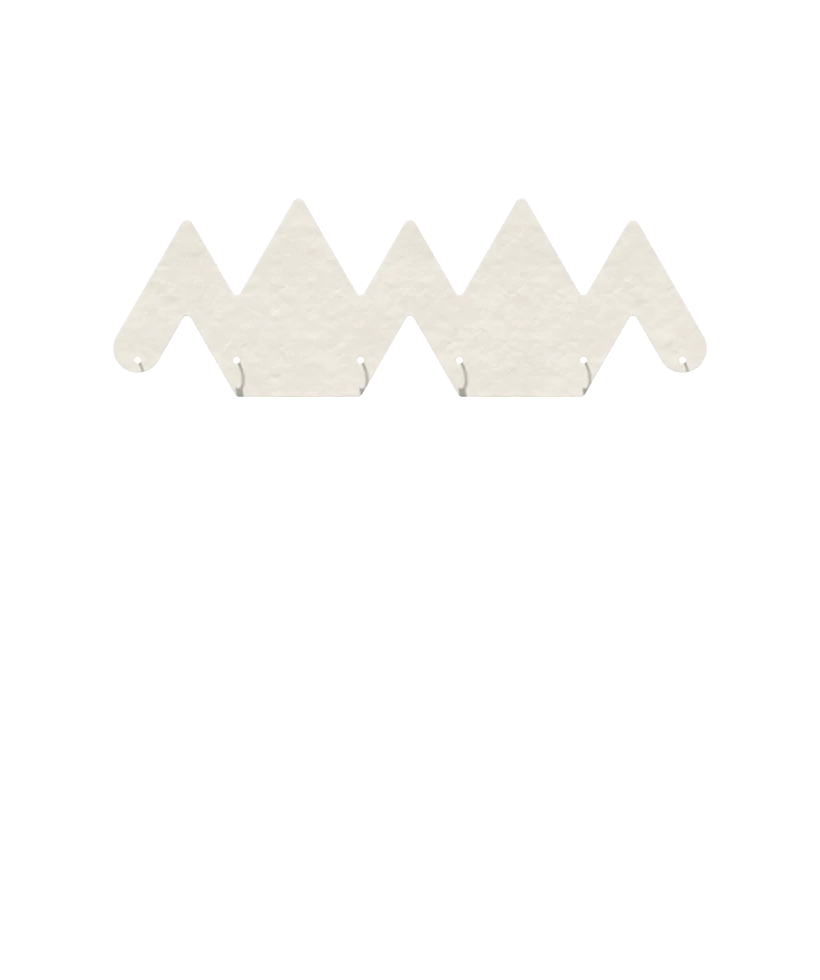
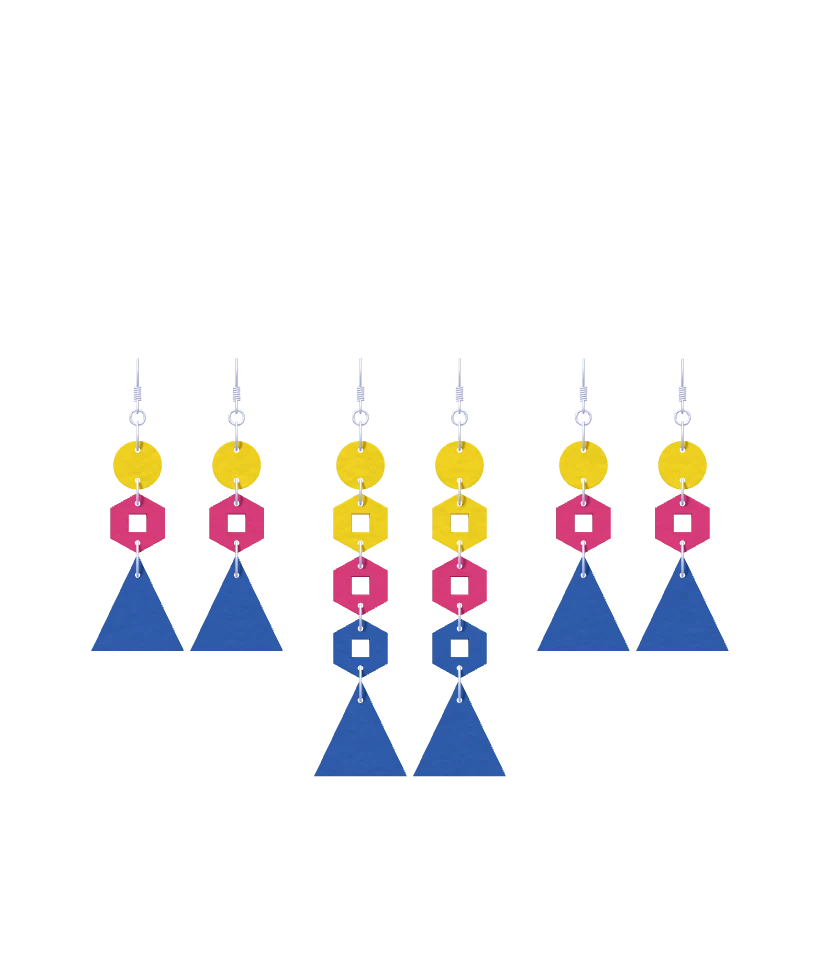
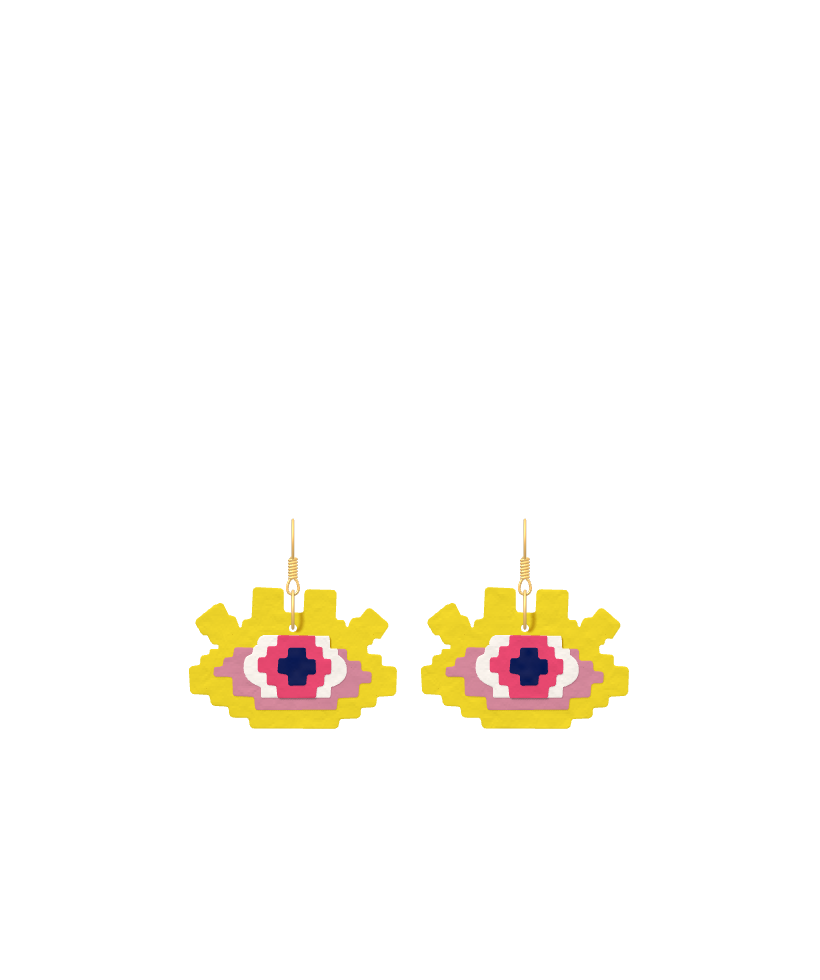
Pixel Eye wall display with Pixel Eye hook earrings. Blue Spotted Cat wall display with Blue Spotted Cat hook dangles. Go-Go wall display with Go-Go linked dangles
Explore digital build kits with 3D-printable tool files and making guides. You will need a 3D printer or a print service.
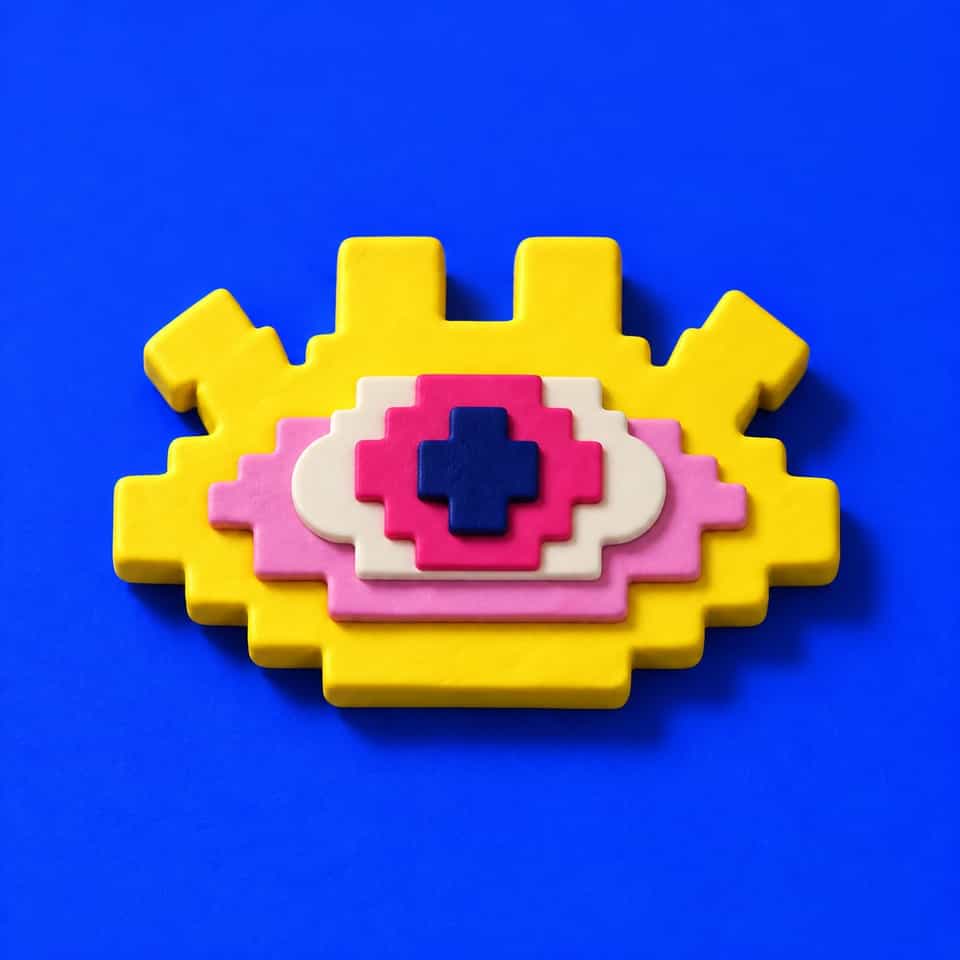
Pixel Eye

Pixel Cherry
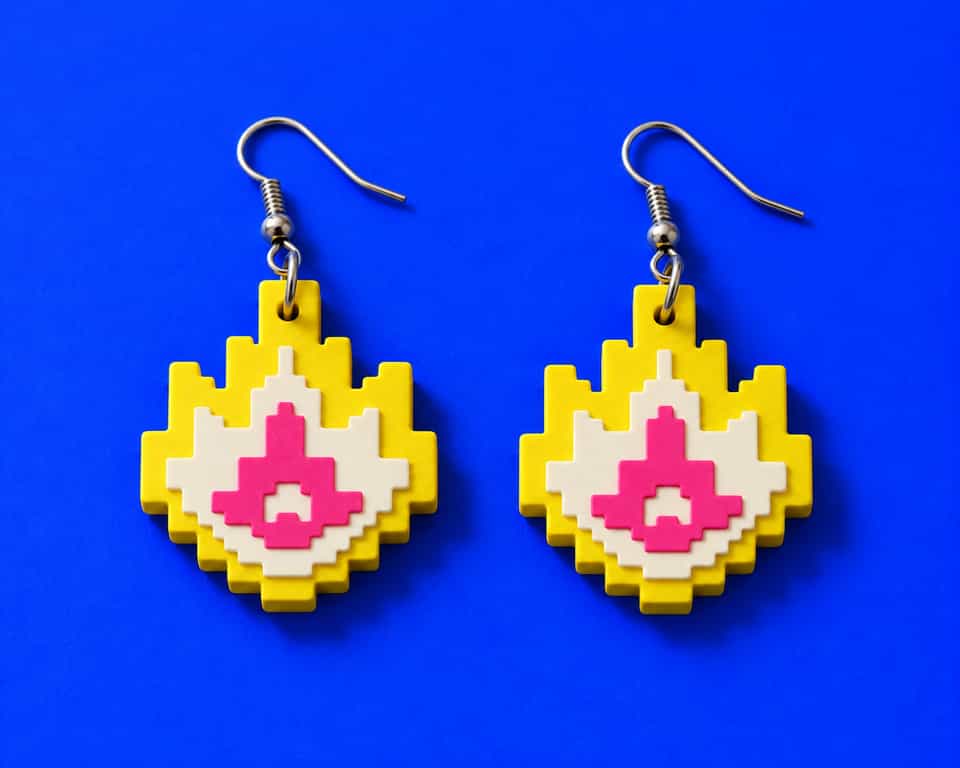
Pixel Flame
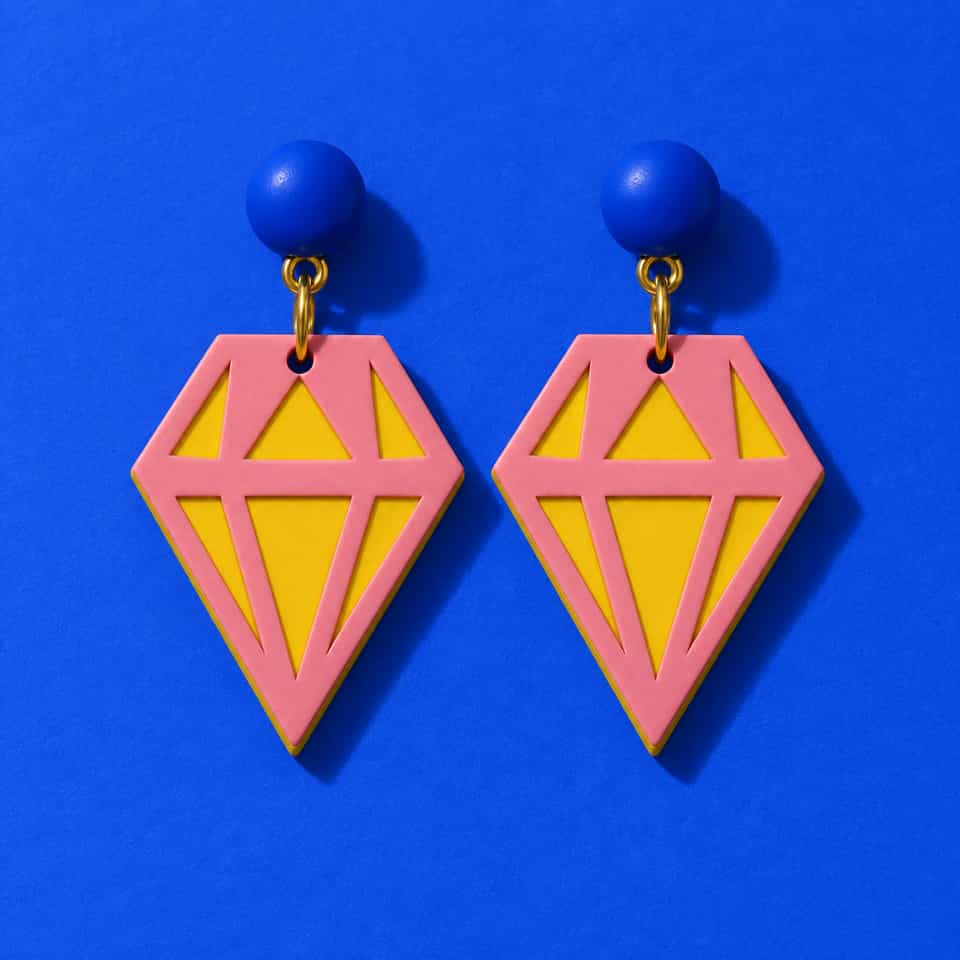
Faceted Gem Earrings
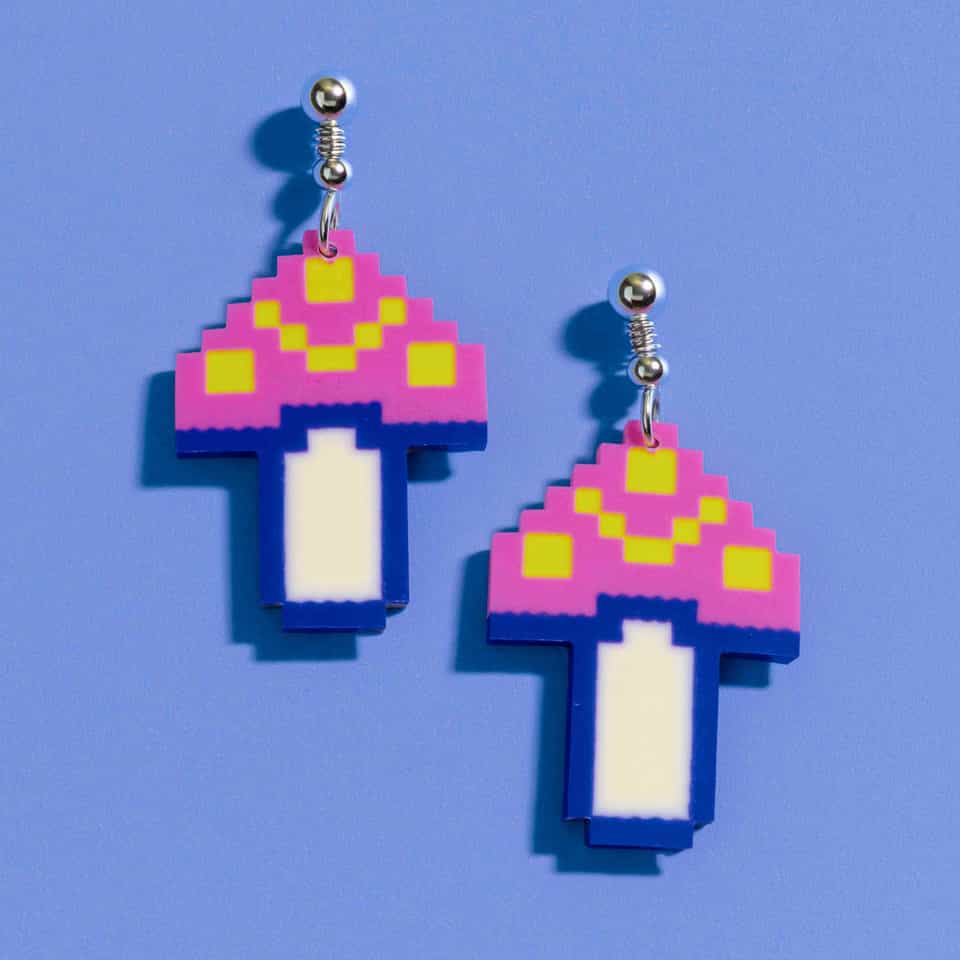
Pixel Mushroom
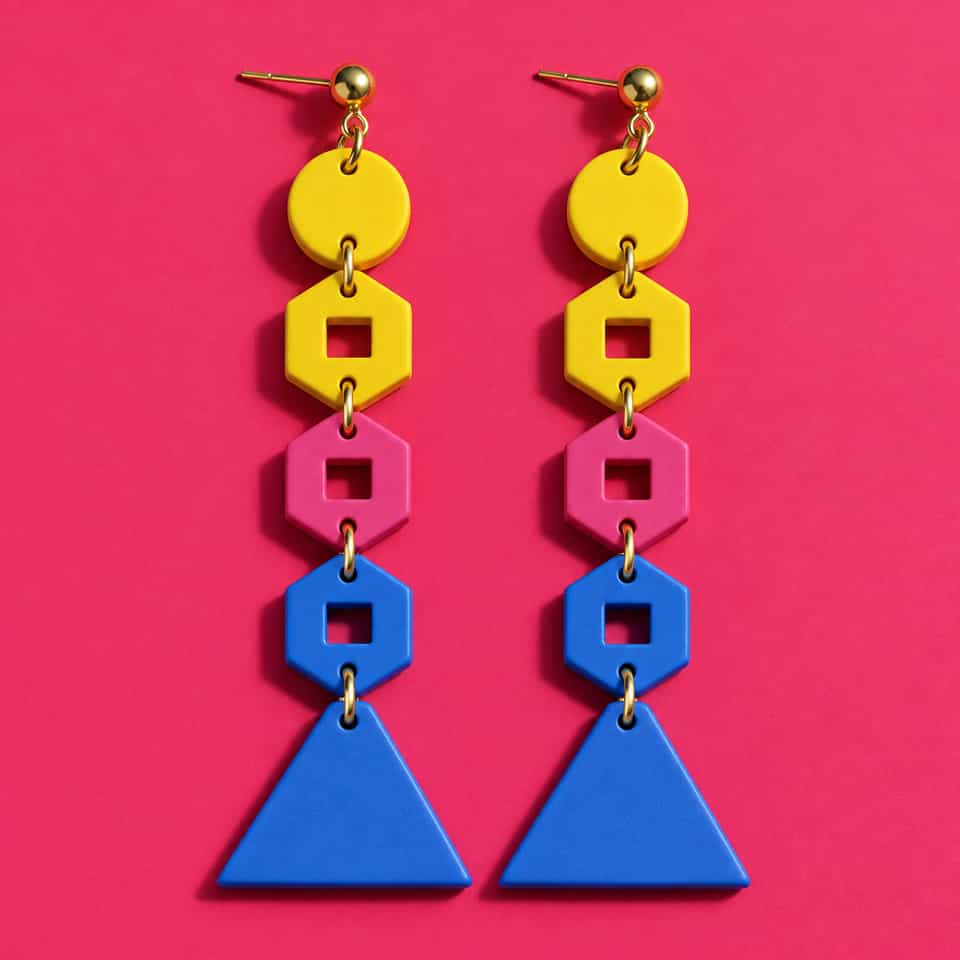
Go-Go Linked Dangle Earrings
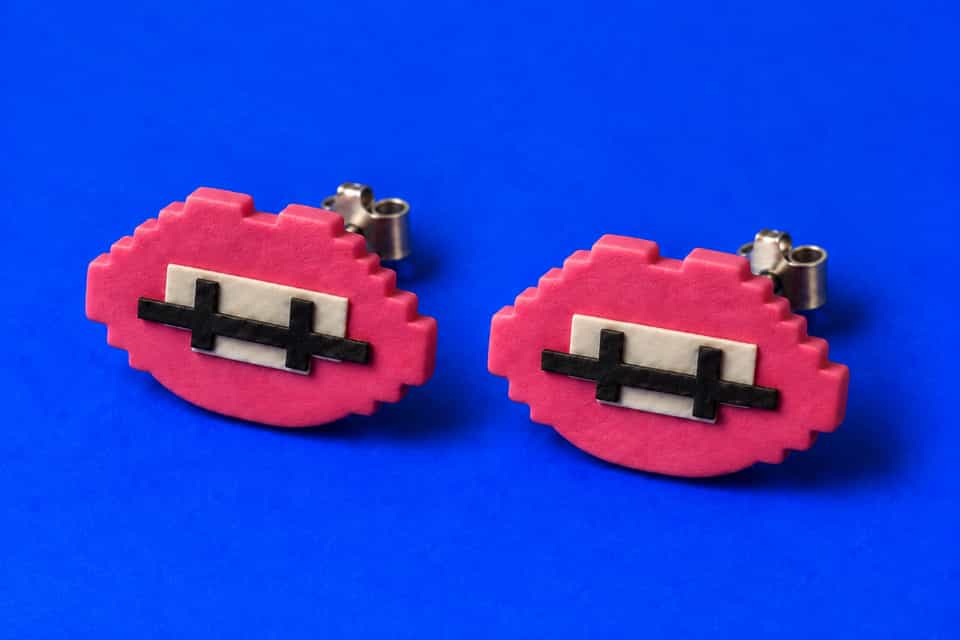
Pixel Lips
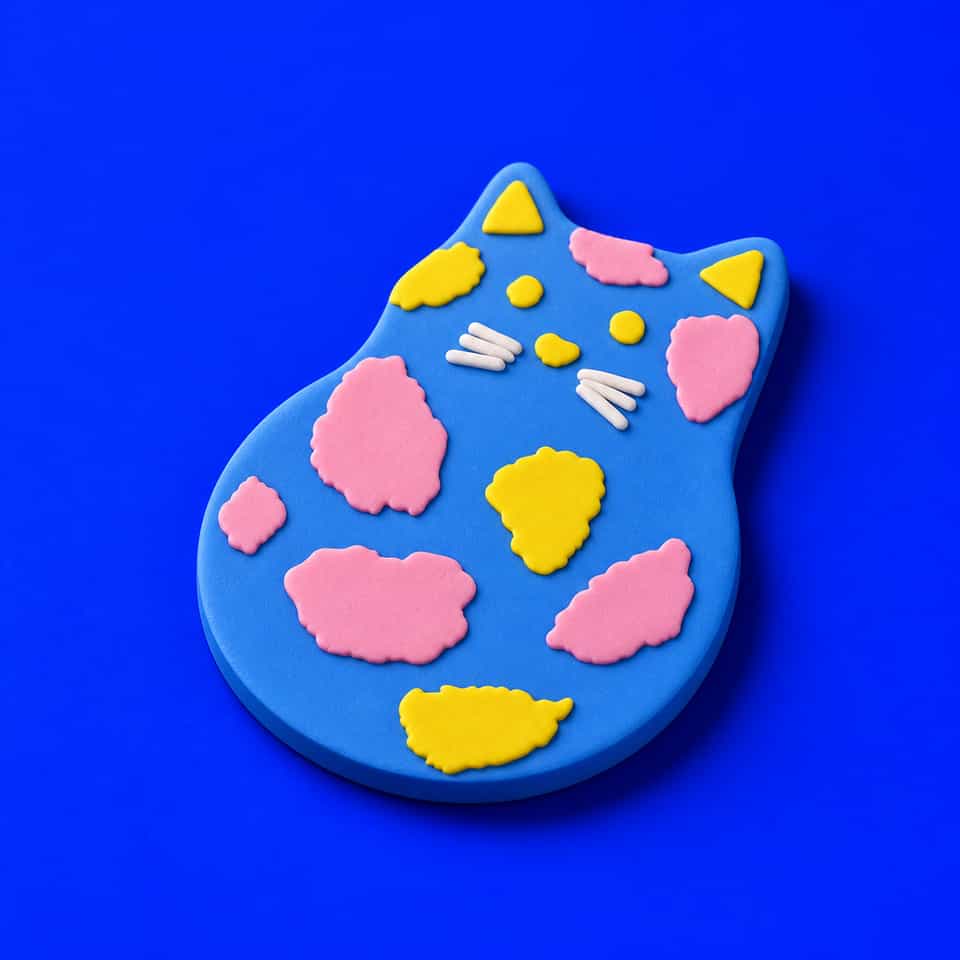
Blue Spotted Cat
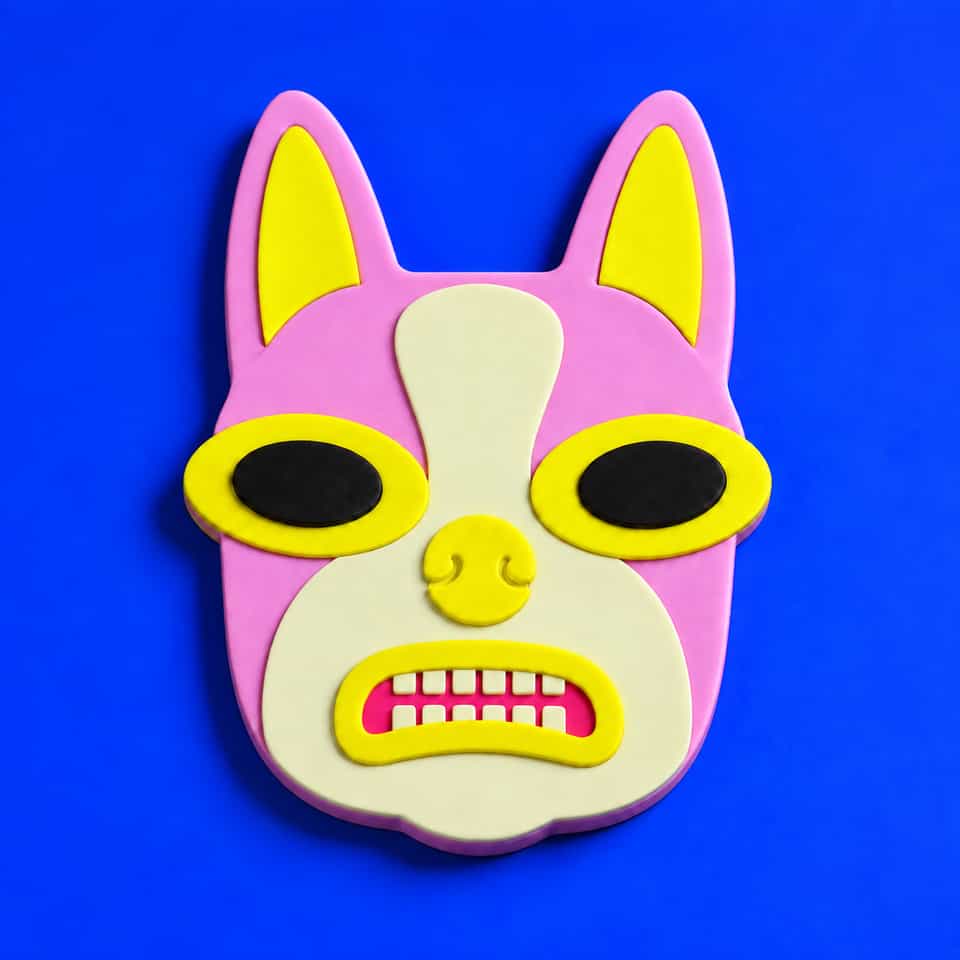
Boston Terrier
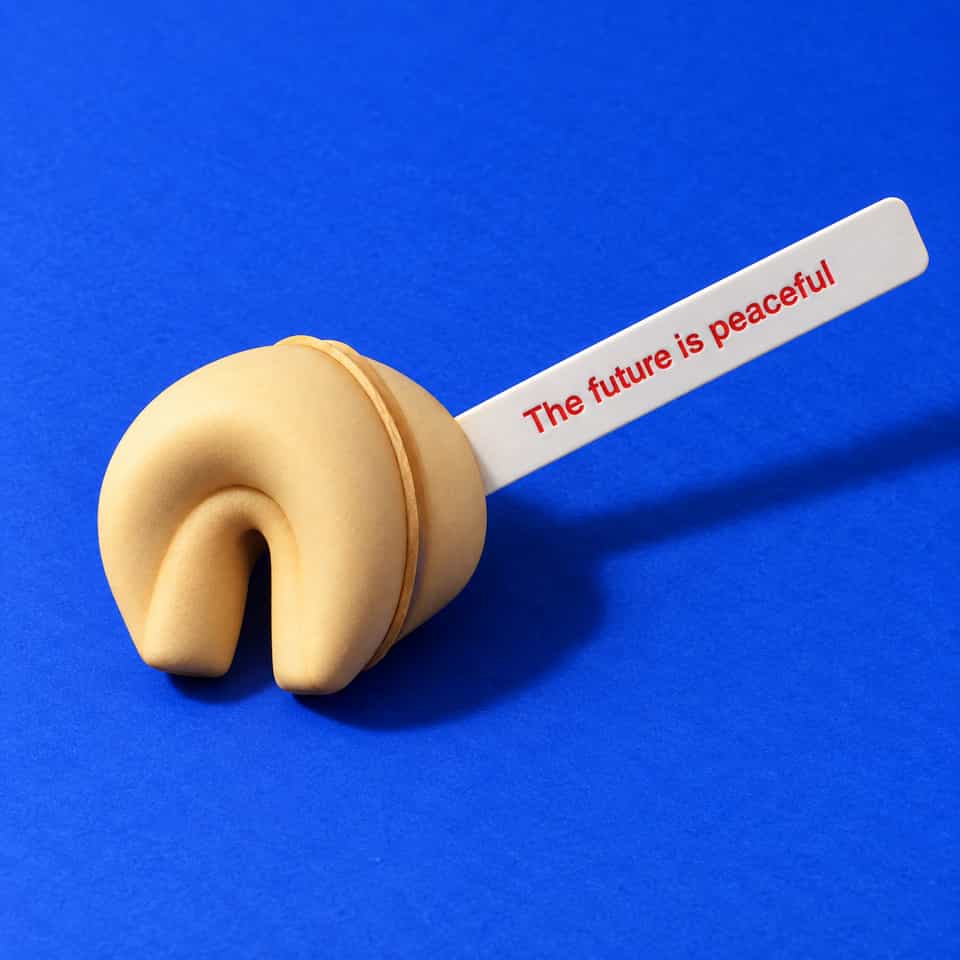
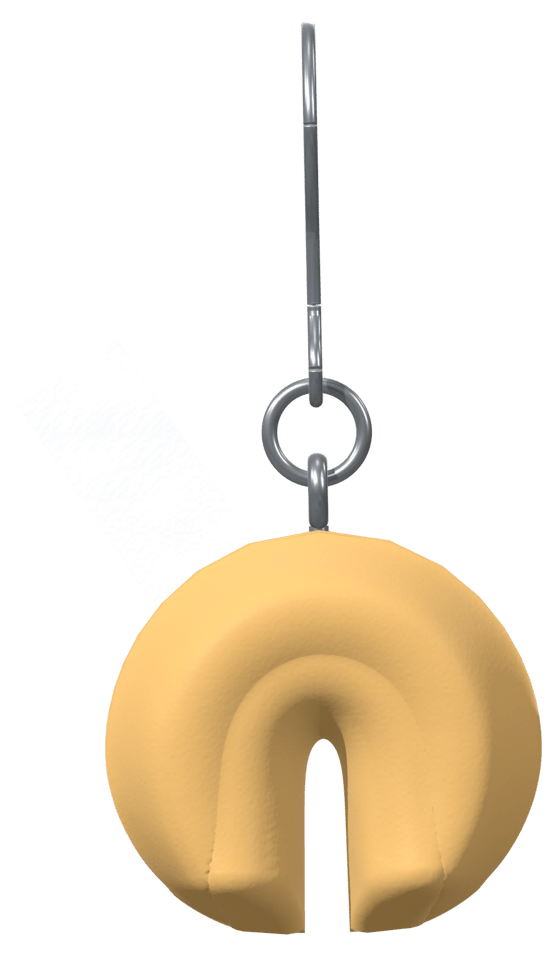
Fortune Cookie
Send a lookbook reference, sketch or range idea. Ask about a visual mockup, a build guide, custom tool files or a maker referral.
Find the clay, tools and baking setup for the piece you want to make.
Browse tools & materials guides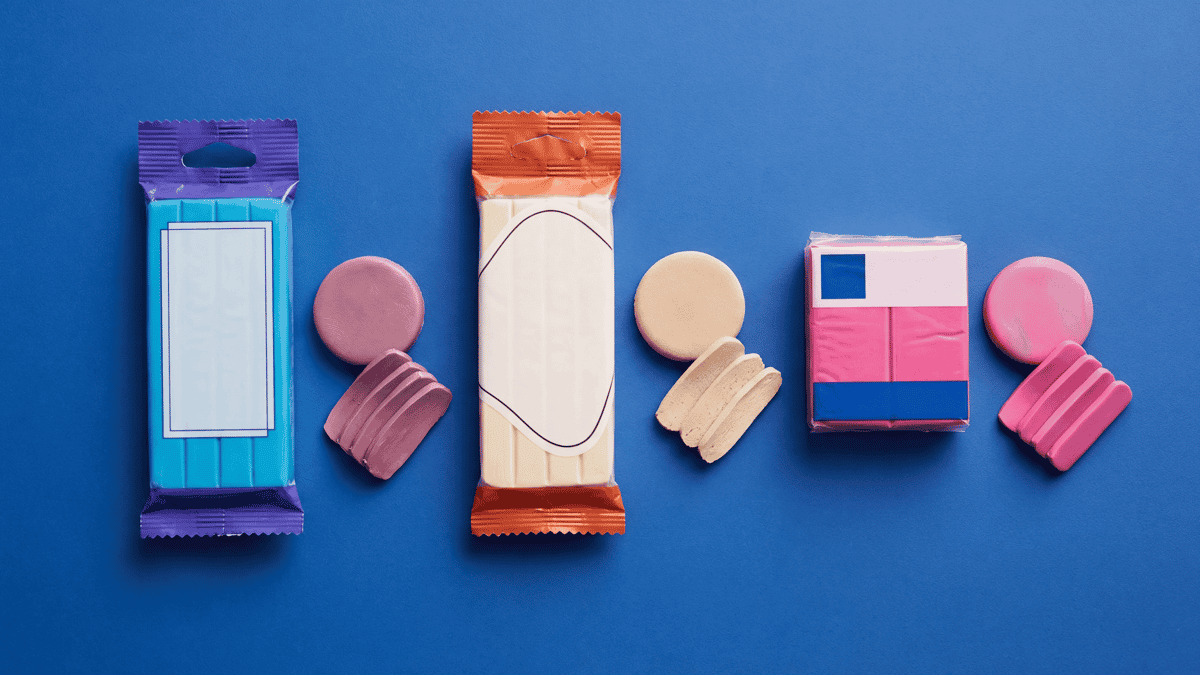
Buy Sculpey Premo first for cutter and layered pieces: Sculpey describes it as soft enough to blend easily, holding fine detail, and strong and flexible after baking. Choose Soufflé, the lighter Sculpey line with a matte suede finish, when a long or large pair must stay light, and FIMO Professional when a design cuts many small pieces from one slab. Bake by the temperature printed on the packet you bought.
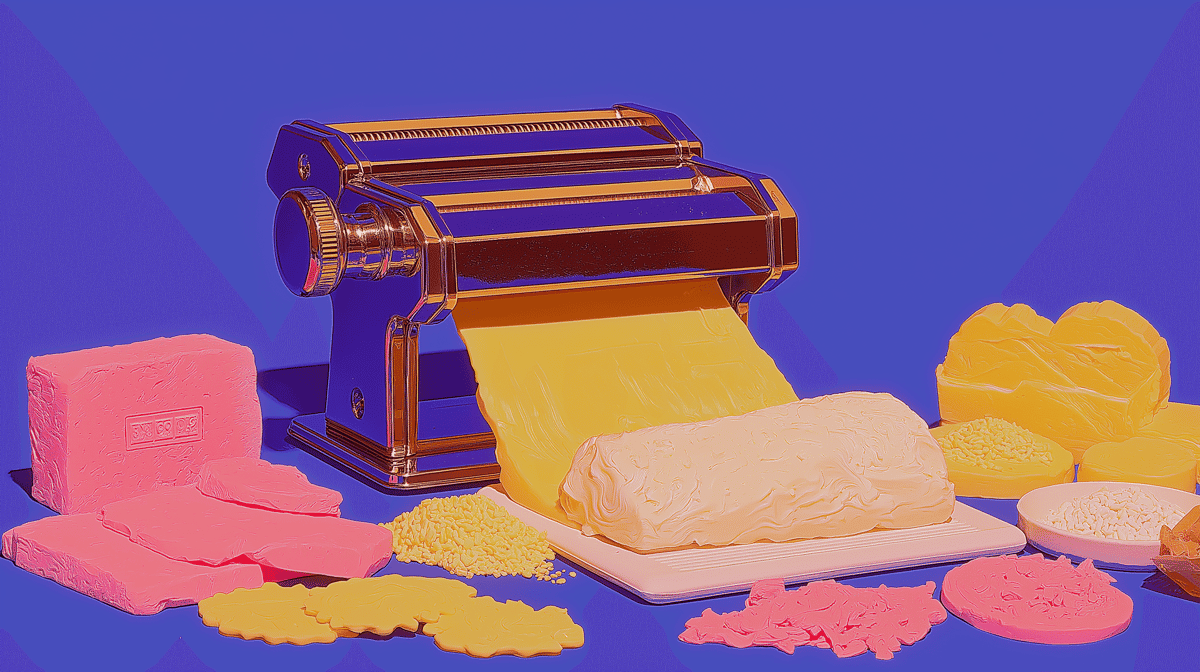
Start with one clay line you can actually test, a small set of core tools, and a simple first project that teaches cure, thickness, and clean cuts before you guess at harder hardware decisions.
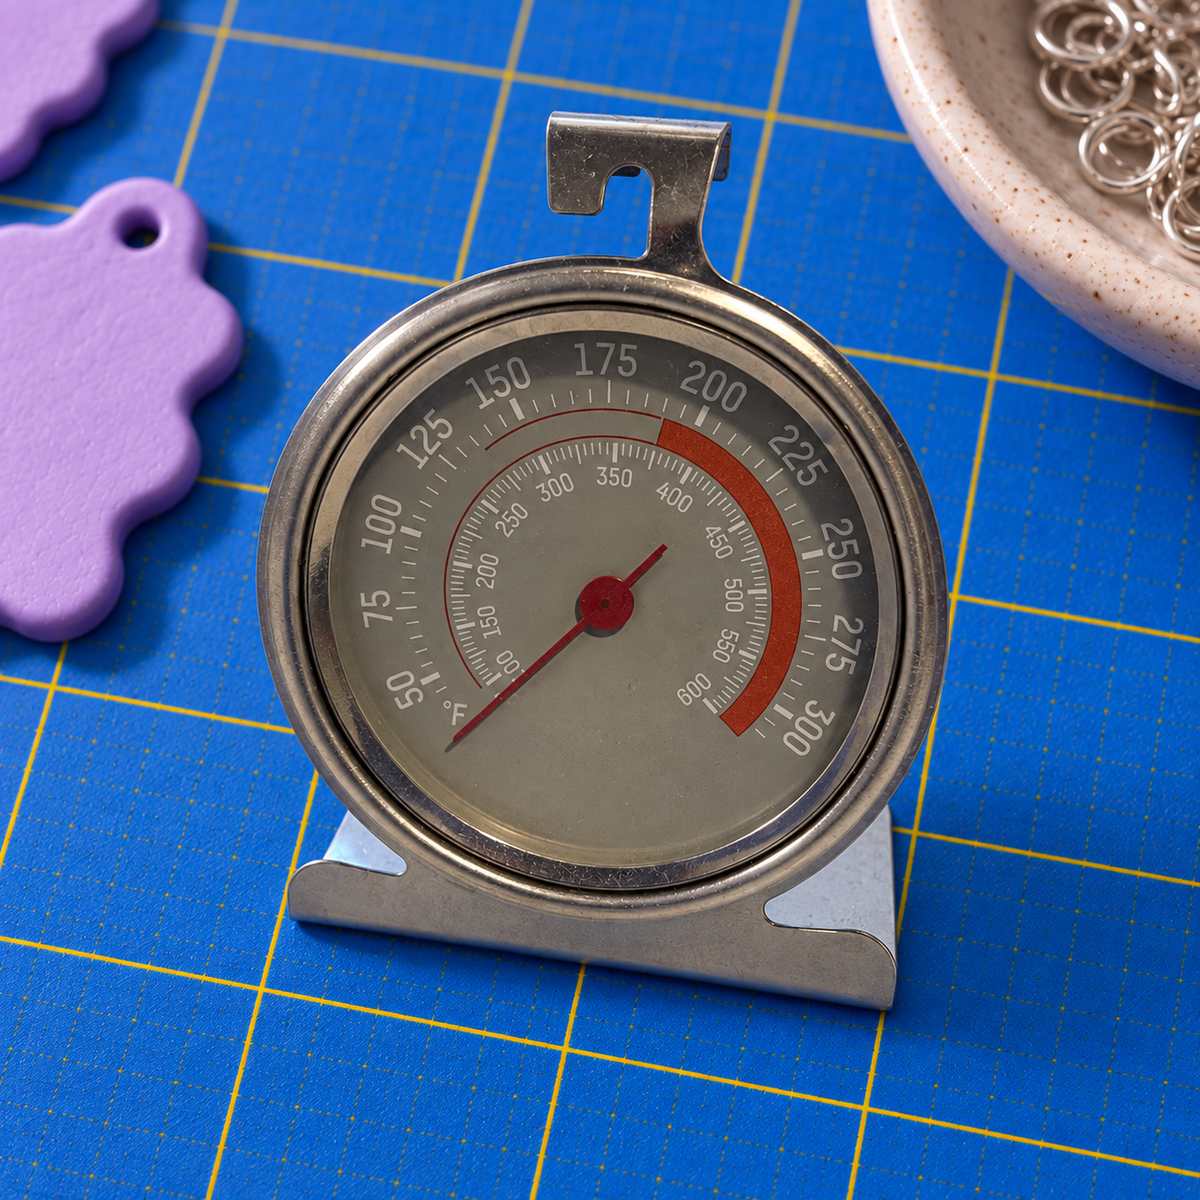
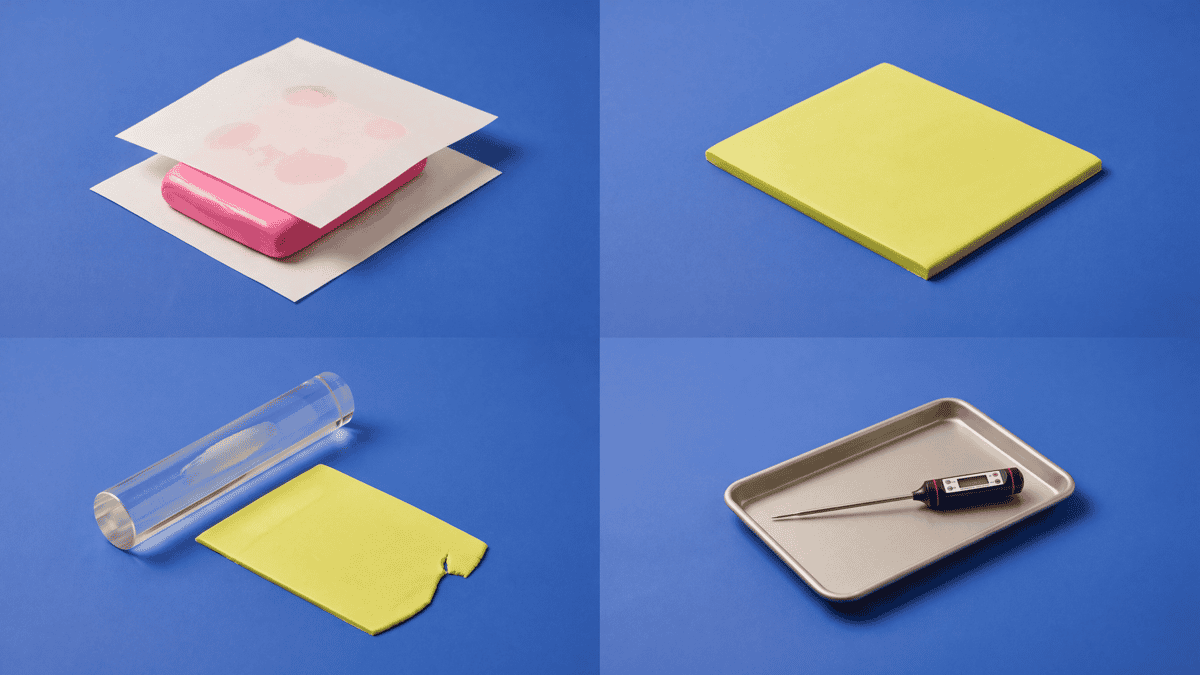
A readable analog oven thermometer is a simple first choice for polymer clay. Choose an oven-rated air probe with an outside display if the closed door obscures the dial or you want to follow temperature changes. Put the thermometer beside the intended baking area before heating. Add the clay after preheating and checking the temperature against its packet.
Choose tools, solve a clay problem, or try a new technique.
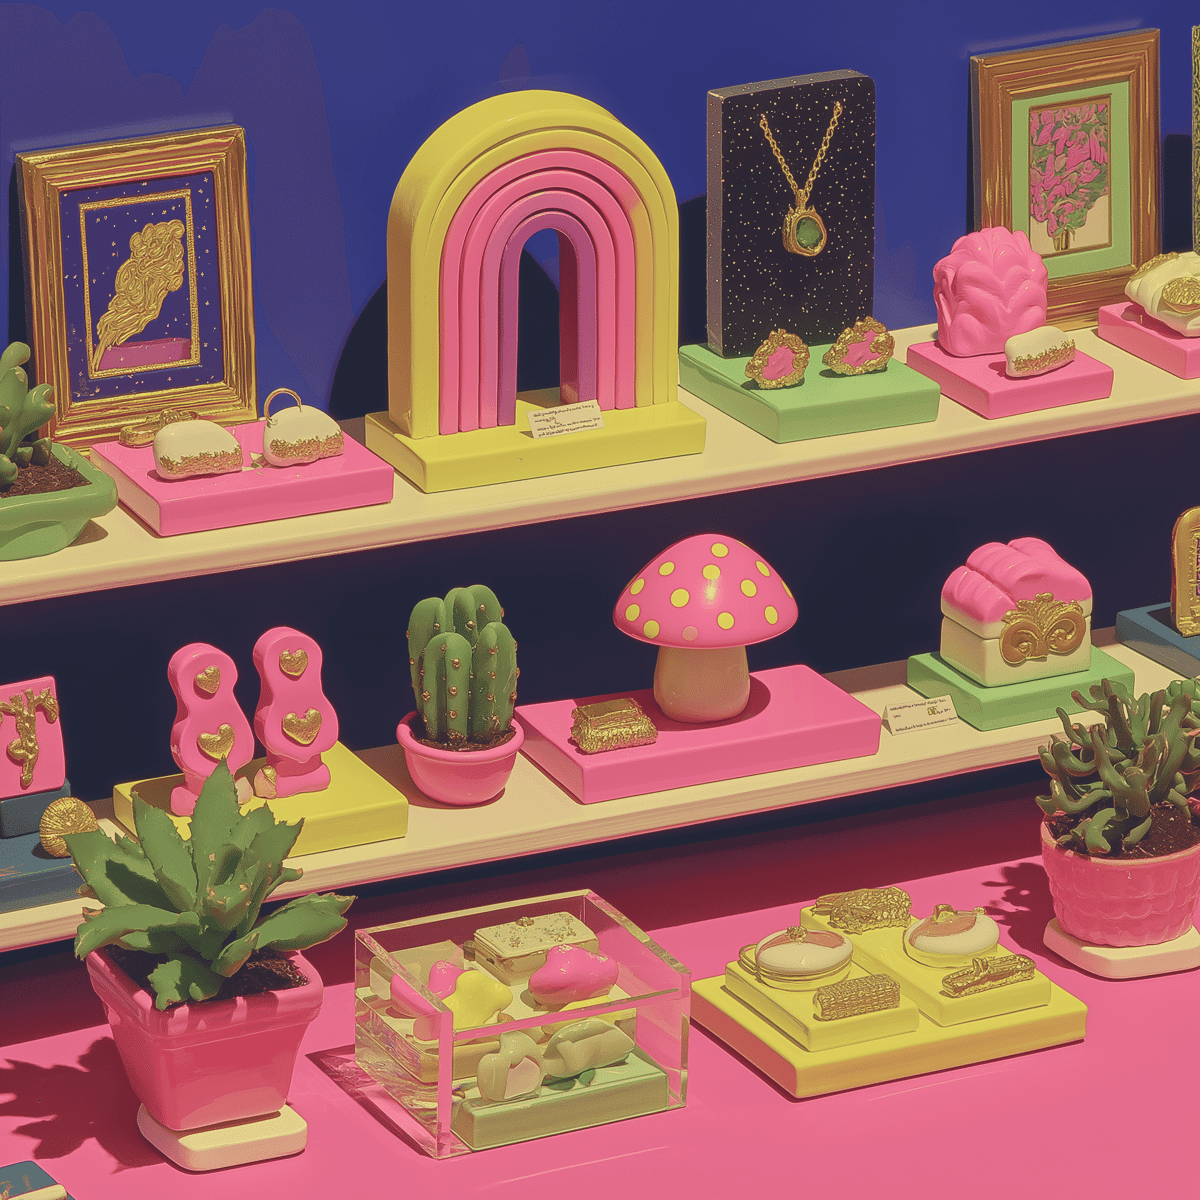
The ten things I would replace first, from the pasta machine that saves my hands to the small tools, work surfaces, cutters, and clay I would choose again.
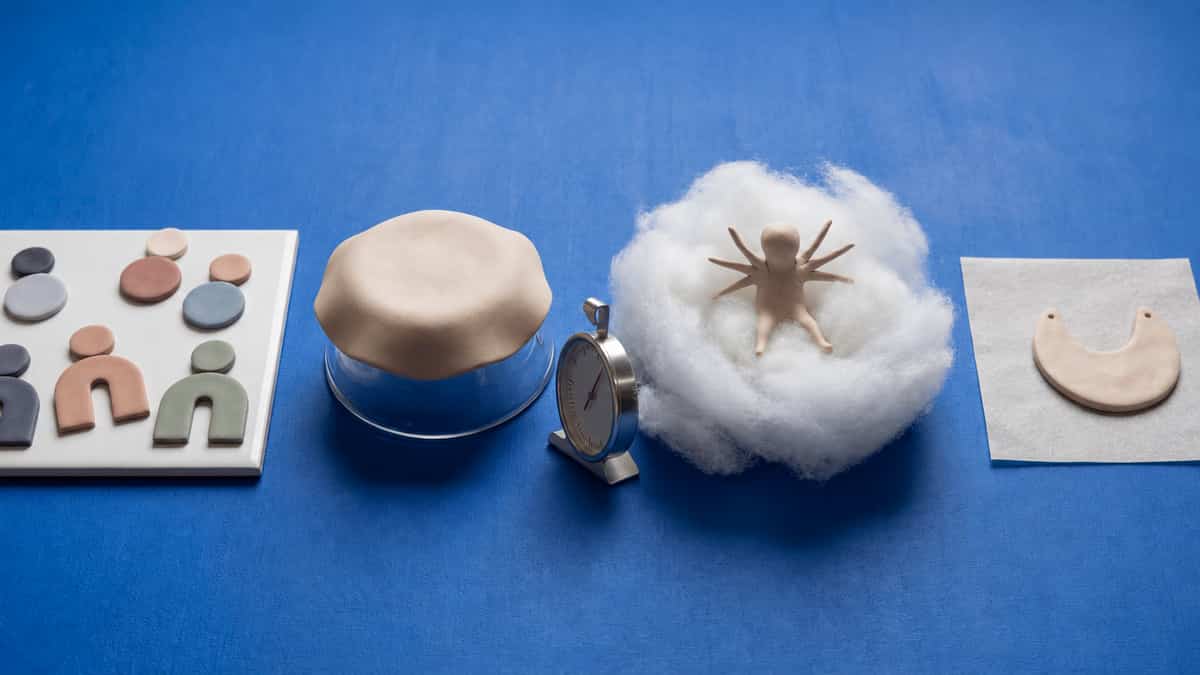
Bake flat pieces on a glossy tile and move them onto plain card only for a matte back. Hold curves, limbs and overhangs with fiberfill, crumpled foil or an oven-safe glass form, bake round beads on skewers, and leave everything on its support until it feels cool.
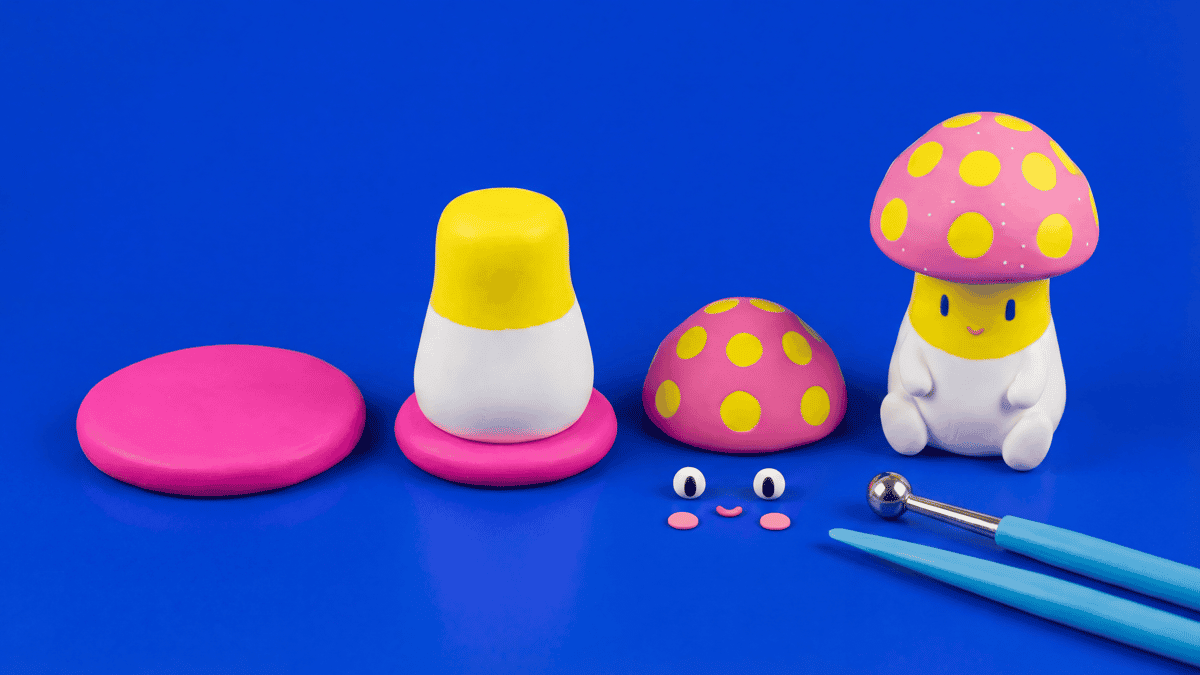
Small figurines look simple until the base wobbles, the cap droops, or the face gets smudged while you are still shaping the body. This guide covers the order of operations that keeps polymer clay characters stable with cleaner features.
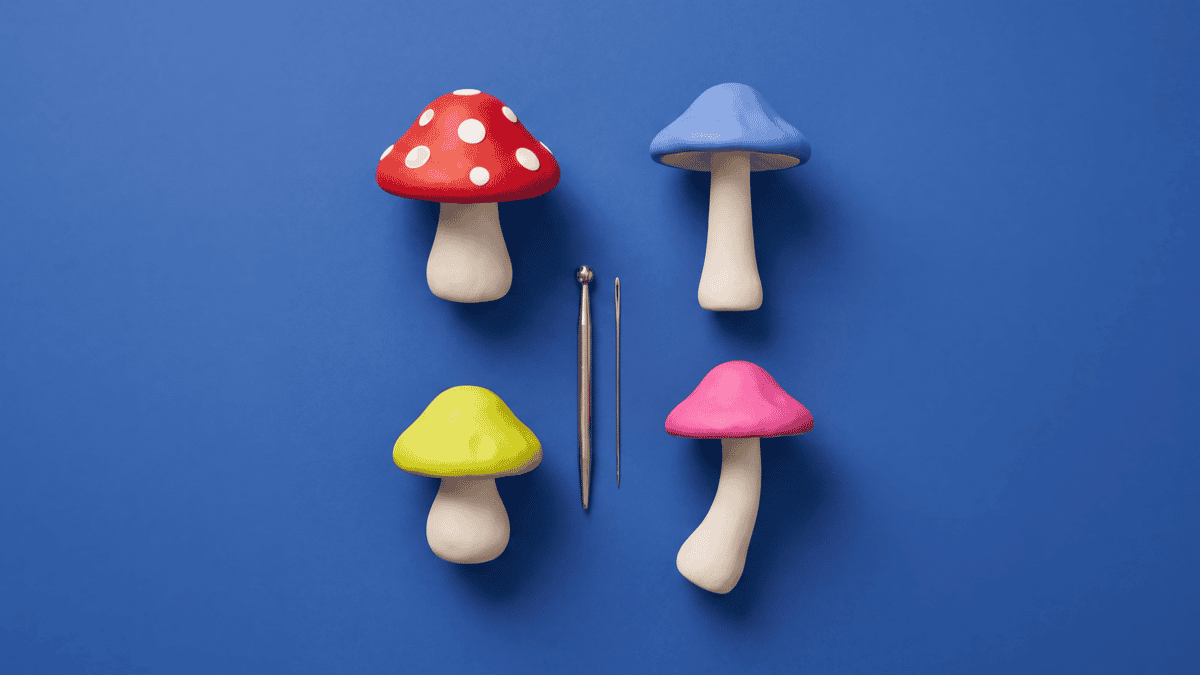
A polymer clay mushroom is a domed cap with a socket pressed into its underside and a teardrop stem seated in it. Make a desk toadstool from a quarter bar of clay per piece, an earring charm with the eye pin set before baking, or a pick for a plant pot.
Pick a technique to explore its guides and project examples.
For blocky, 8-bit clay pieces. Learn how to lay out a simple grid, cut stepped shapes, and keep the edges tidy.
Practice sculpting techniques: roll coils, pinch forms, support bulkier shapes, smooth seams, and layer raised details.
For flat pieces and clean cut shapes. Start with slab thickness, pasta-machine setup, blends, and cutter pressure.
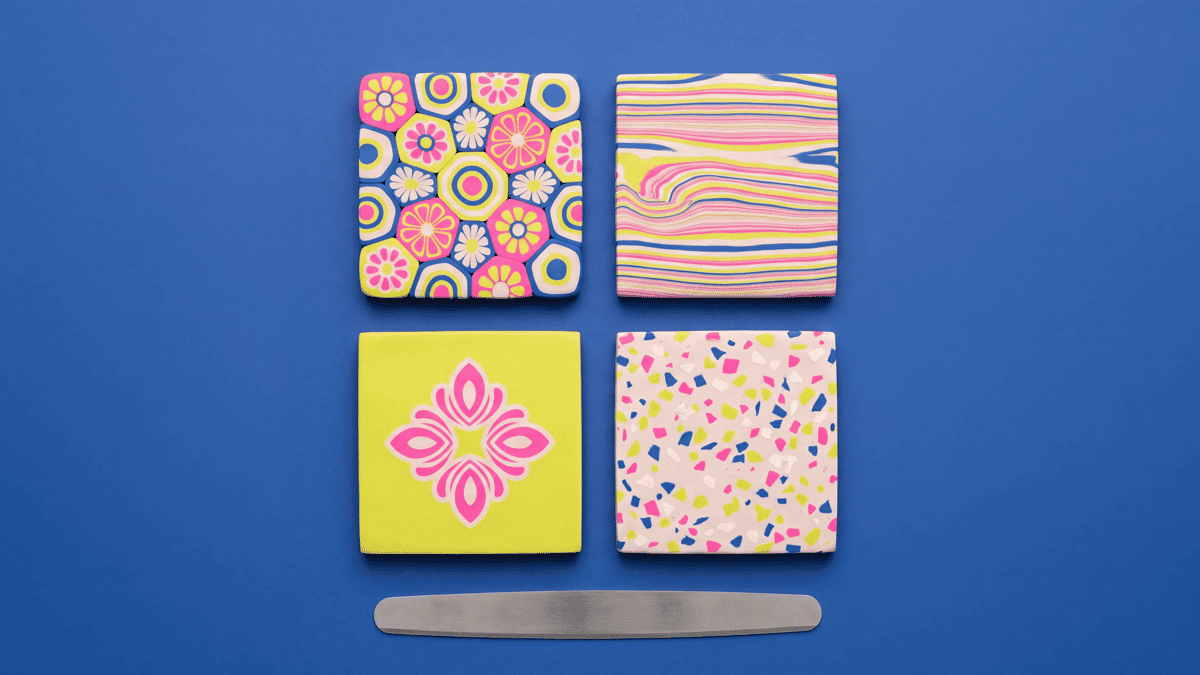
For cane work and repeated pattern slices. Learn what a cane is, how reduction works, and how to slice cleanly.
For confetti-chip slabs. Choose chip size, press the pieces into the base, and cut shapes without dragging the pattern.
For swirled clay slabs and color folds. Stop mixing while the pattern still has clear movement and contrast.
For layered stacks sliced into contour-like patterns. Build the stack, reveal the layers, and cut with control.
For graphic solid-color sections. Plan clean seams, flat slabs, and color placement before the pieces touch.
For smooth clay gradients. Fold two offset colors and roll them fold first until the bands blend into one fade.
For decoration on the surface: Sutton slice, silkscreen, stencil, texture imprint, metallic inlay, resin domes, and print.
Straight answers for planning your next polymer clay project
Clay Bake Studio pairs an inspiration lookbook with a polymer clay guide library. Browse finished-piece ideas, learn techniques, or choose a digital build kit to print the tools for a specific project. Each kit page lists its contents and current availability.
Choose the color story, silhouette, texture or technique you want to try. Then adapt the scale, palette, hardware and finish to suit your own piece. Use the guides to plan and test your choices before you roll, cut, bake or assemble.
Polymer clay makers who want to experiment: hobbyists building skills, makers with a 3D printer or printing service, and sellers planning small batches. The ideas and guides are useful with your existing tools. Build kits provide printable tools and instructions for particular projects.
Build kits include 3D-printable STL tool files, an illustrated maker guide and the Maker Licence. The tools and file counts vary by project, so check the kit page and listing for the exact contents. Clay, hardware and physical printed tools are not included.
These are digital downloads. You need a compatible 3D printer or a printing service to make the tools before using them with clay. A service may print the files for you under the included Maker Licence, but it may not reuse, share or resell them.
Where it helps, we call out the tools, finish, hardware, and material questions that matter for the piece. Treat those as planning notes for your own worktable, especially when package directions, oven behavior, skin-contact findings, or adhesive cure time are involved.
You may sell finished polymer clay pieces you make with the tools. You may not share or resell the digital files, or sell, gift or transfer printed tools and display stands. A printed part made to be part of a piece, such as a wall hanger glued to a clay plaque, can only be passed on attached to that piece. You may modify files for your own use, but you may not share or sell those versions. Read the included Maker Licence for the full terms.
Yes! We love seeing how makers translate a reference into their own style. Different palettes, cutter scales, finishes, and hardware choices help other readers plan their own piece. Tag your build with #ClayBakeStudio so we can see what you make.