Polymer Clay Figurines: Stable Bases and Clean Features
Small figurines look simple until the base wobbles, the cap droops, or the face gets smudged while you are still shaping the body. This guide covers the order of operations that keeps polymer clay characters stable with cleaner features.

In brief
Key takeaways
- 1Build figurines from large masses to small features. The body and base should be settled before you ever touch the face
- 2Broad base contact does more for stability than tiny details. A figurine stands or falls on the footprint
- 3Support overhangs, ears, or projecting parts during baking with a documented heat-suitable support such as crumpled foil or polyester fiberfill to reduce sag risk
- 4Use shine selectively on figurines. Test any clay-compatible finish on a baked sample so the form still reads like clay rather than coated plastic
Plan the body, base, and pose before adding small features. Larger or varying-thickness forms may need a documented armature or lightweight core, consistent outer clay, and support for raised parts during the bake.
Set The Main Mass First
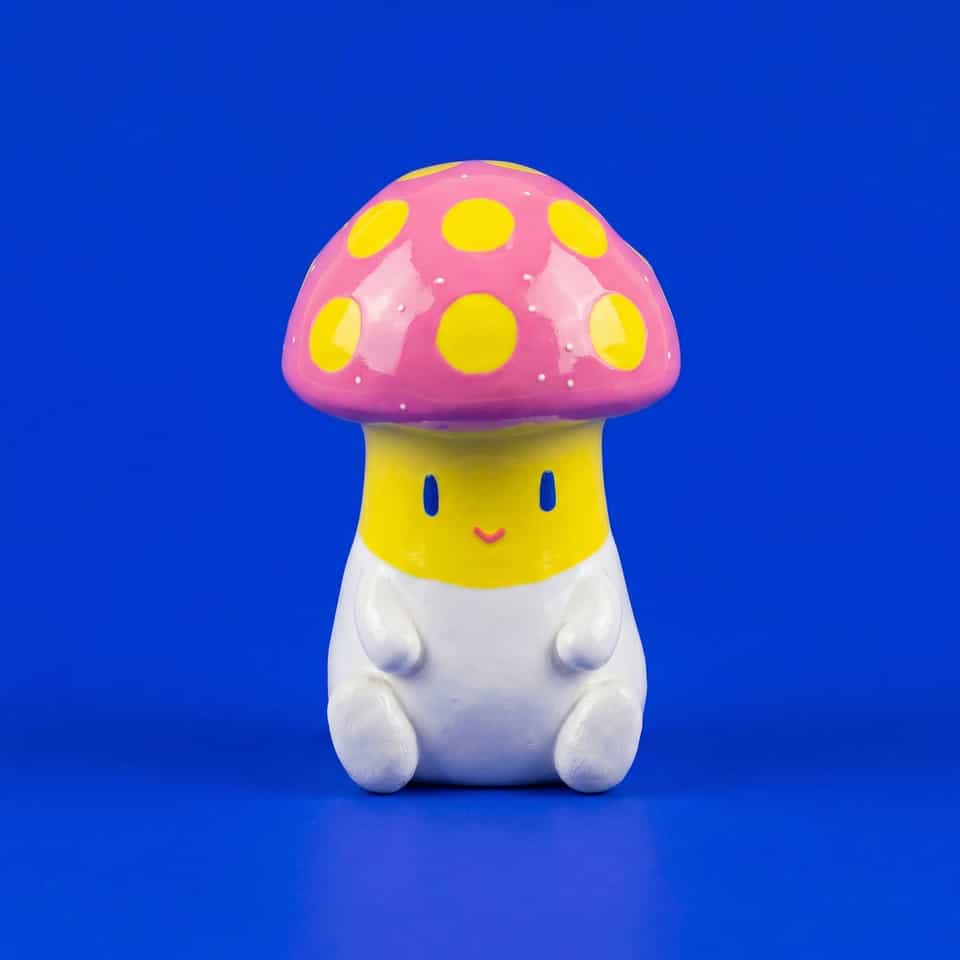
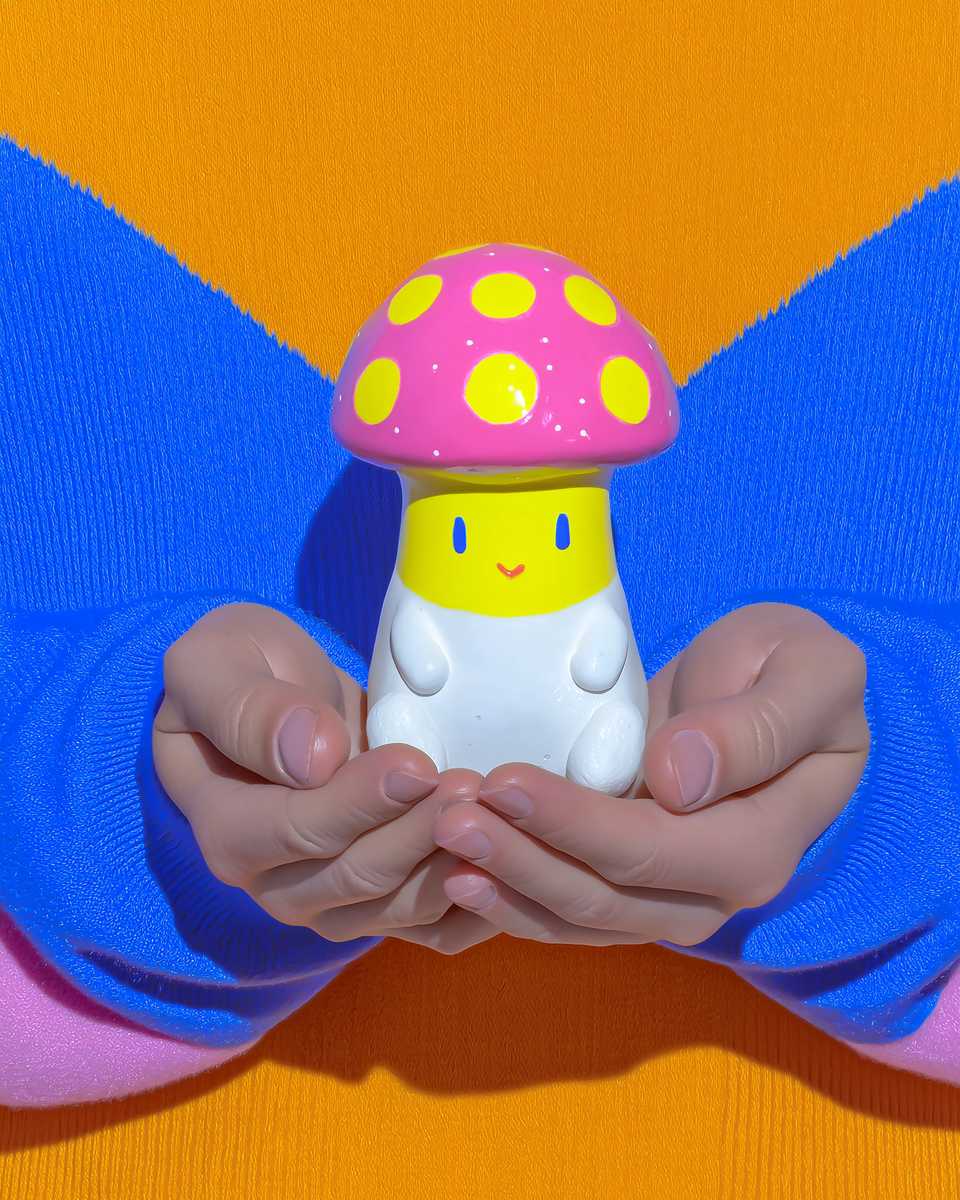
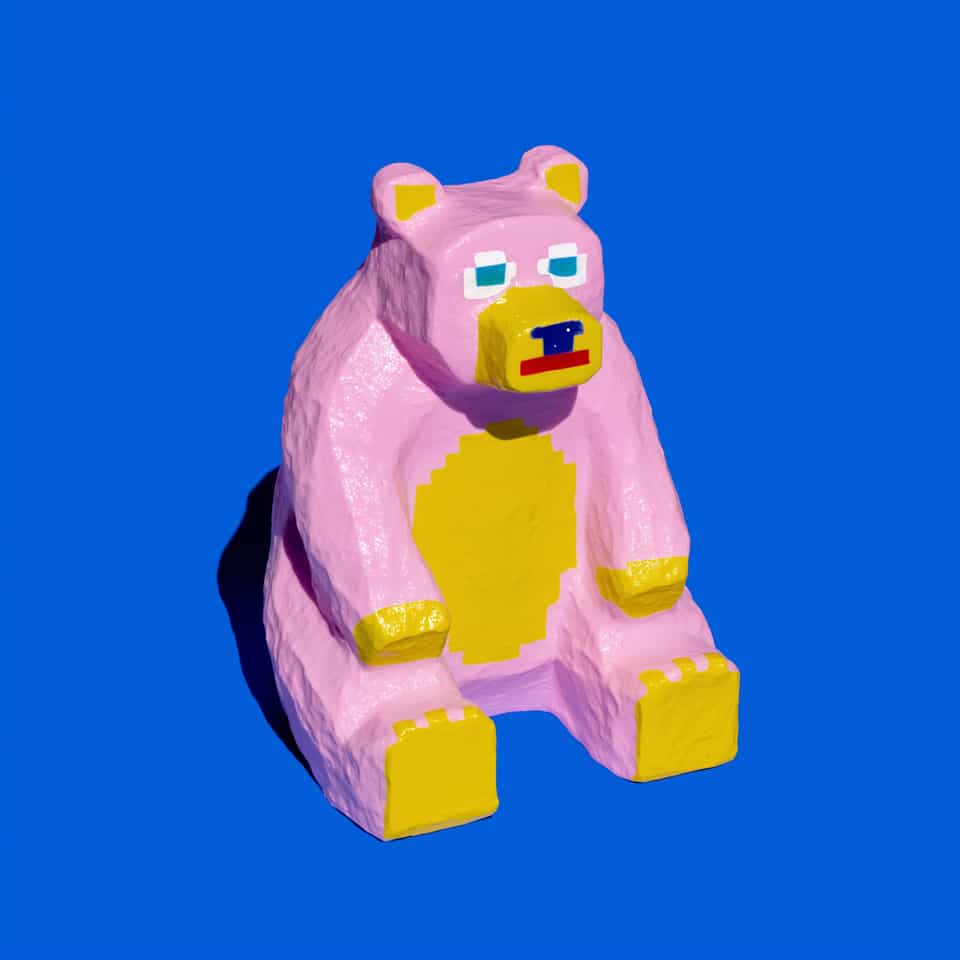
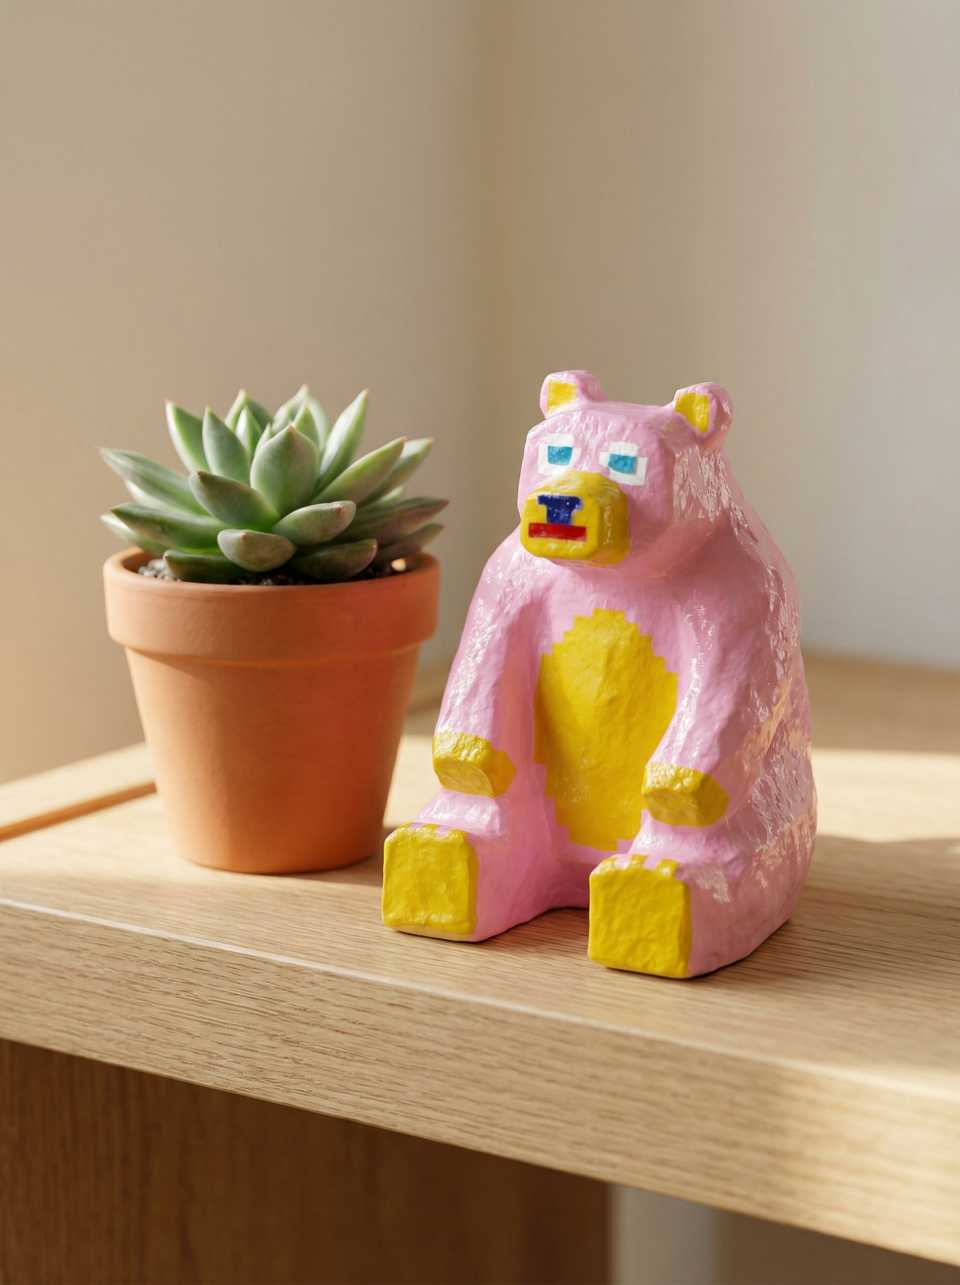
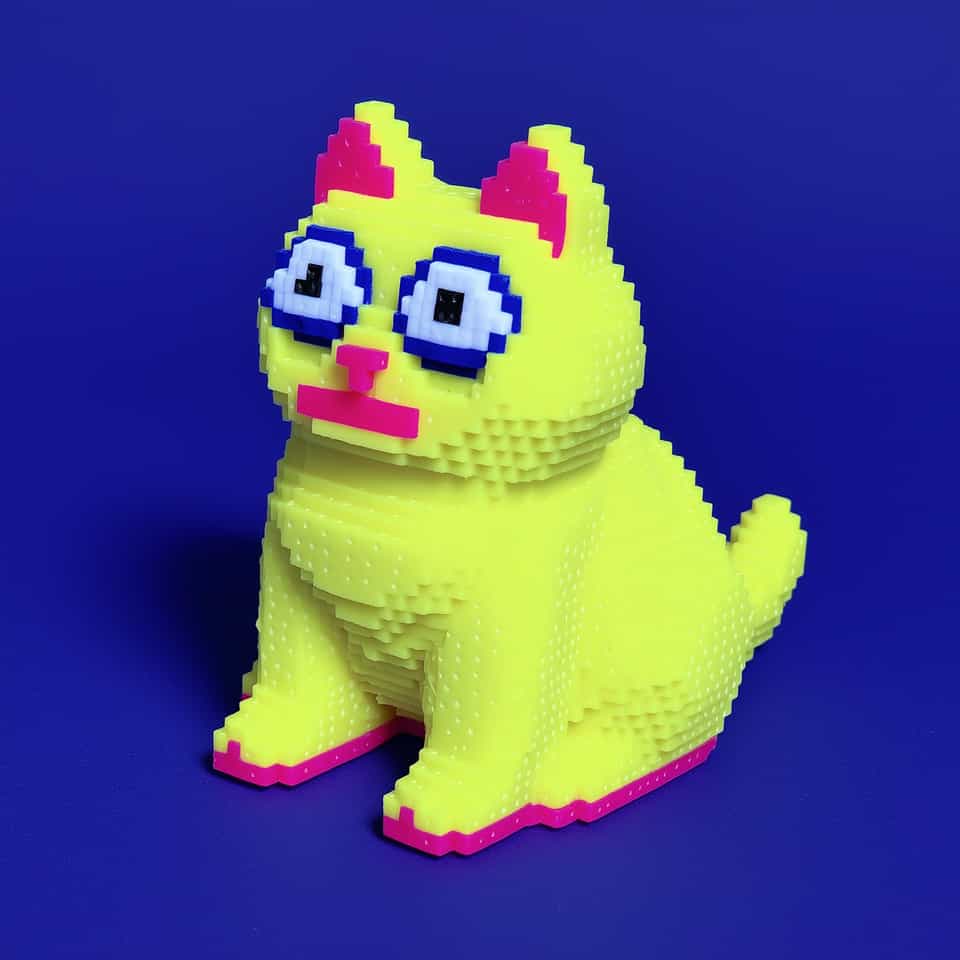
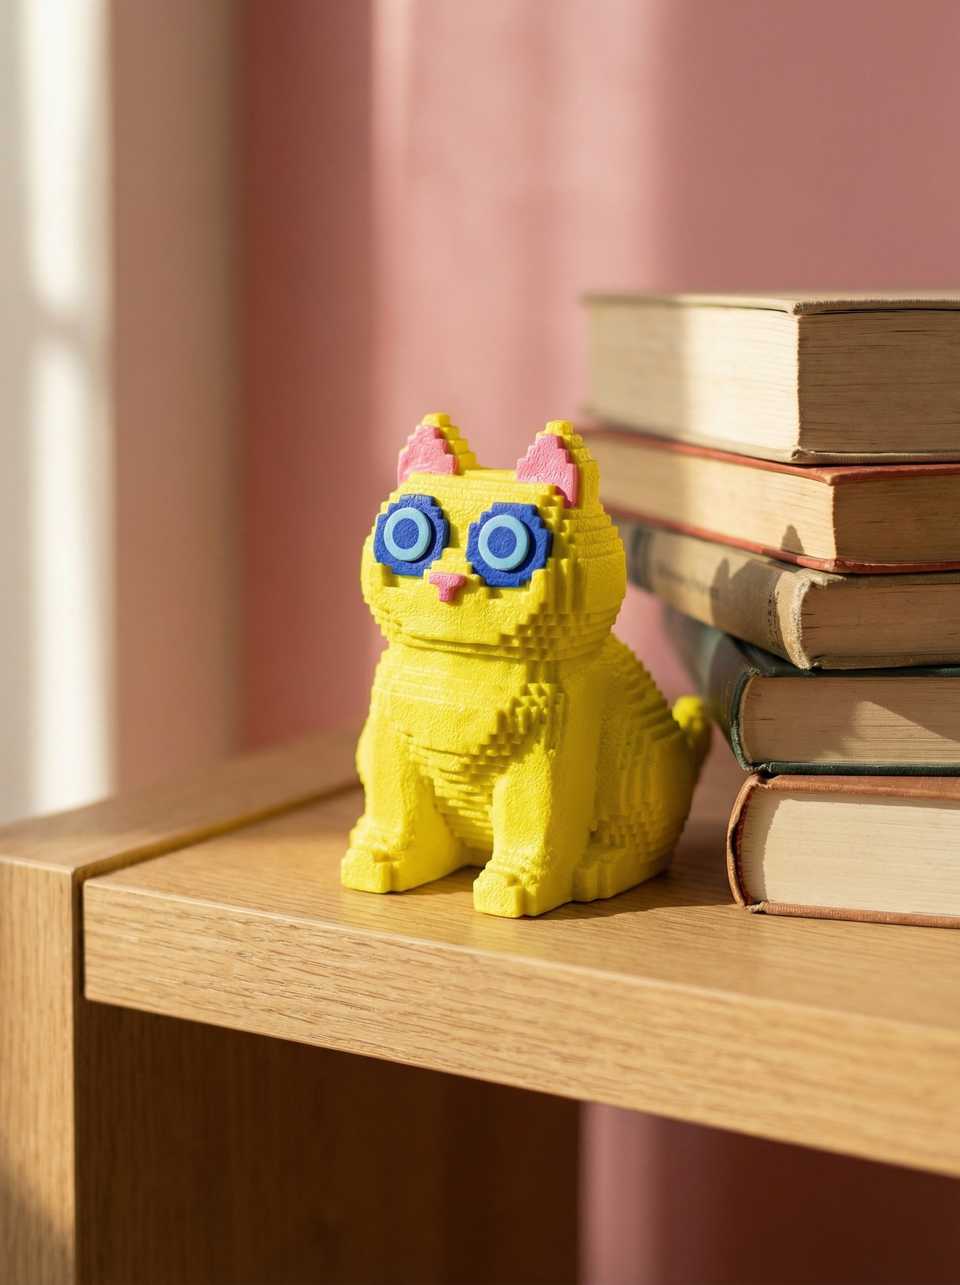
Shape the body, base, and pose, then inspect the raw form from more than one angle. A wider base, lower pose, or separate base disc is a design choice for this sample, not a universal stability rating.
Use Structure When The Form Needs It
For larger forms or bodies with varying thickness, follow the clay maker's armature or lightweight-core guidance. Keep the visible clay layer consistent and use only core materials documented for the package temperature. Small compact figures may not need the same structure.
Add Features After The Pose Holds
Place eyes, cheeks, mouth, and accessories only after the main form sits the way you intend. Build order and facial-detail order are practical ways to reduce handling, but they remain choices for this project.
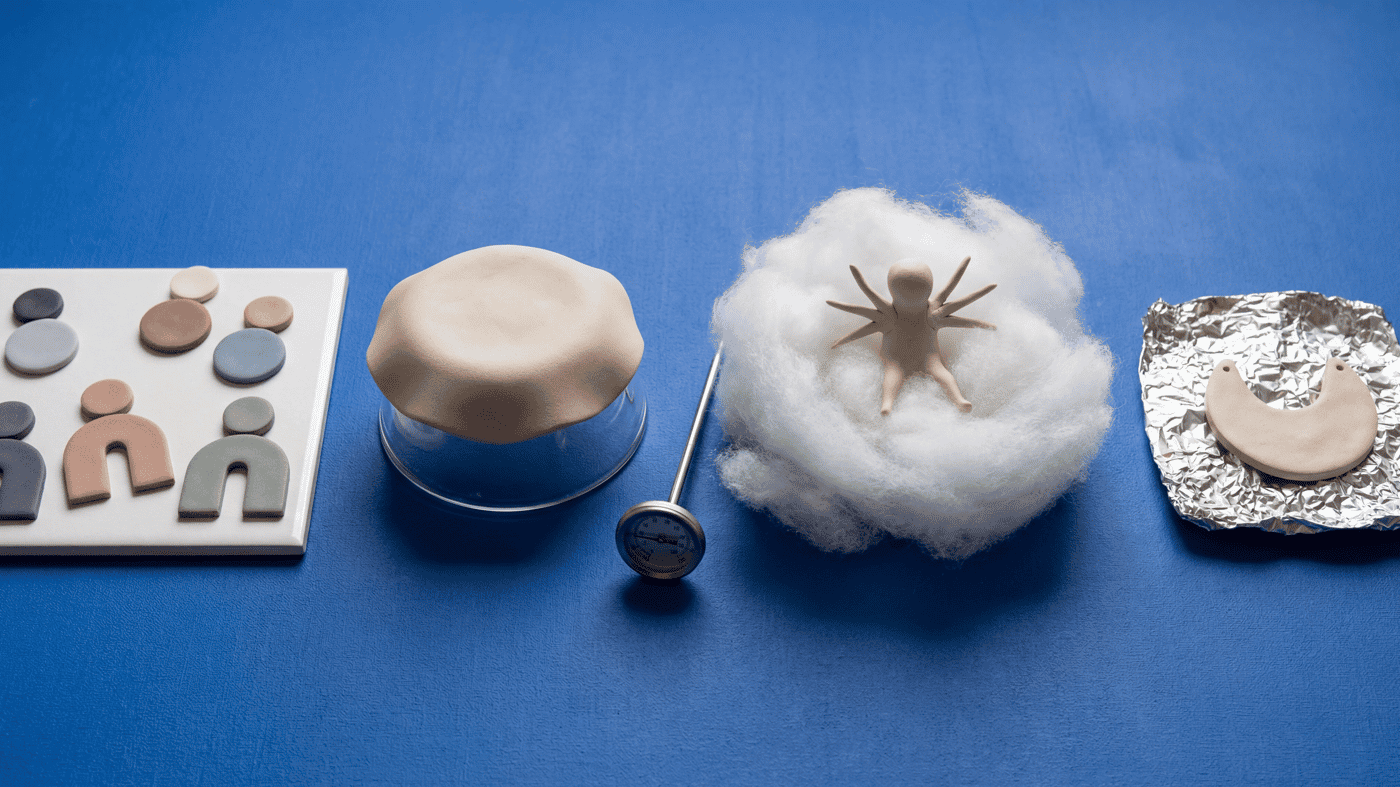
Support Raised Parts And Bake By The Package
Use a documented support such as shaped foil or polyester fiberfill under projecting parts. Verify the baking area with an oven thermometer and follow the exact package for every bake pass.
Stage Bakes Only When The Clay Allows It
Keep the piece unpainted and unglazed during any permitted second bake, let it cool between cycles, and follow the package each time. Check every armature, adhesive, paint, and finish before it returns to the oven.
Choose Finish After The Cooled Check
Inspect balance, features, and surface after cooling. Sealing is optional. If you add shine or paint, follow the exact product directions and test the full material stack on cured scrap first.
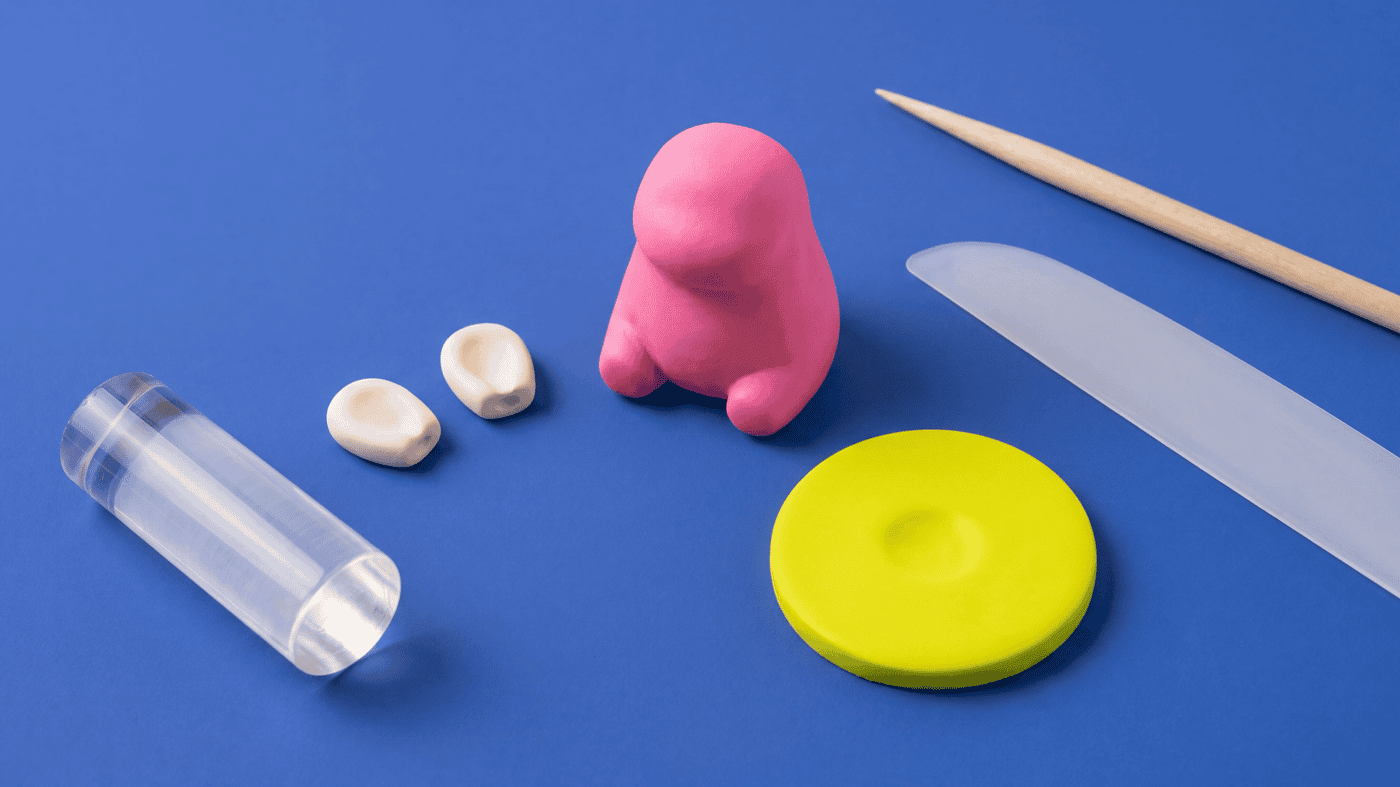
Supplies
Supplies mentioned here
Quick links to the materials and tools that fit this article. ClayBake tools stay on our own catalog.
Silicone sculpting tool set
Good for smoothing body forms and nudging small features without dragging them.
Ball stylus set
Good for eye sockets, smile marks, and small rounded details.
Polyester fiberfill
Good to test when a cap, ear, or projecting part needs gentler support during baking.
Super Sculpey Ultralight
Useful to compare as a lightweight Sculpey core option for larger bodies before the final detail skin goes on.
More guides in this path
Open these when the next decision is material choice, attachment, or finishing.
Polymer Clay Assembly: Build Order and Join Planning
Stabilize thickness and support before cure. Follow package directions, verify oven temperature, and support raised or extended portions during baking.
How to Support Polymer Clay During Bake by Shape
Match a documented tile, glass, shaped support, armature, or lightweight core to the part that must stay flat, curved, raised, or aligned.

How to Make Polymer Clay Mushrooms: Cap, Stem, and Spotting Tutorial
A beginner-friendly polymer clay mushroom tutorial: condition, shape a stable stem, dome the cap, press on white spots, support the overhang, and bake by package directions.
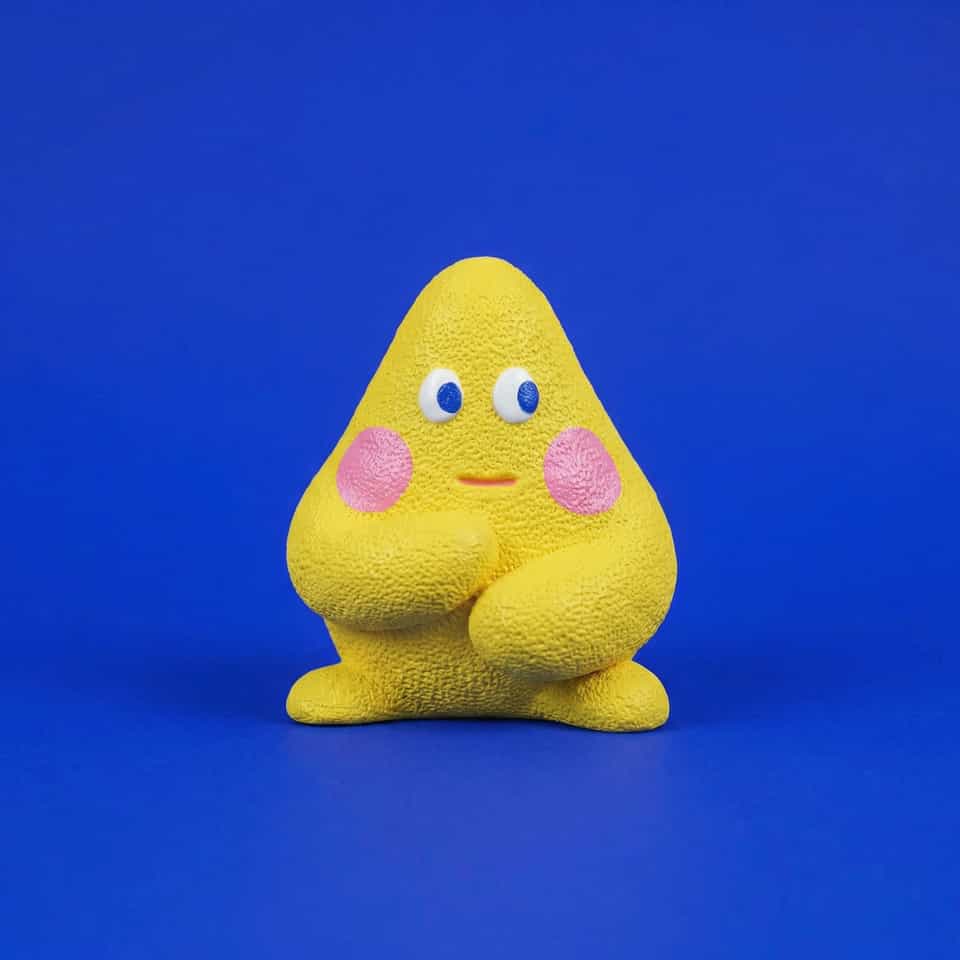
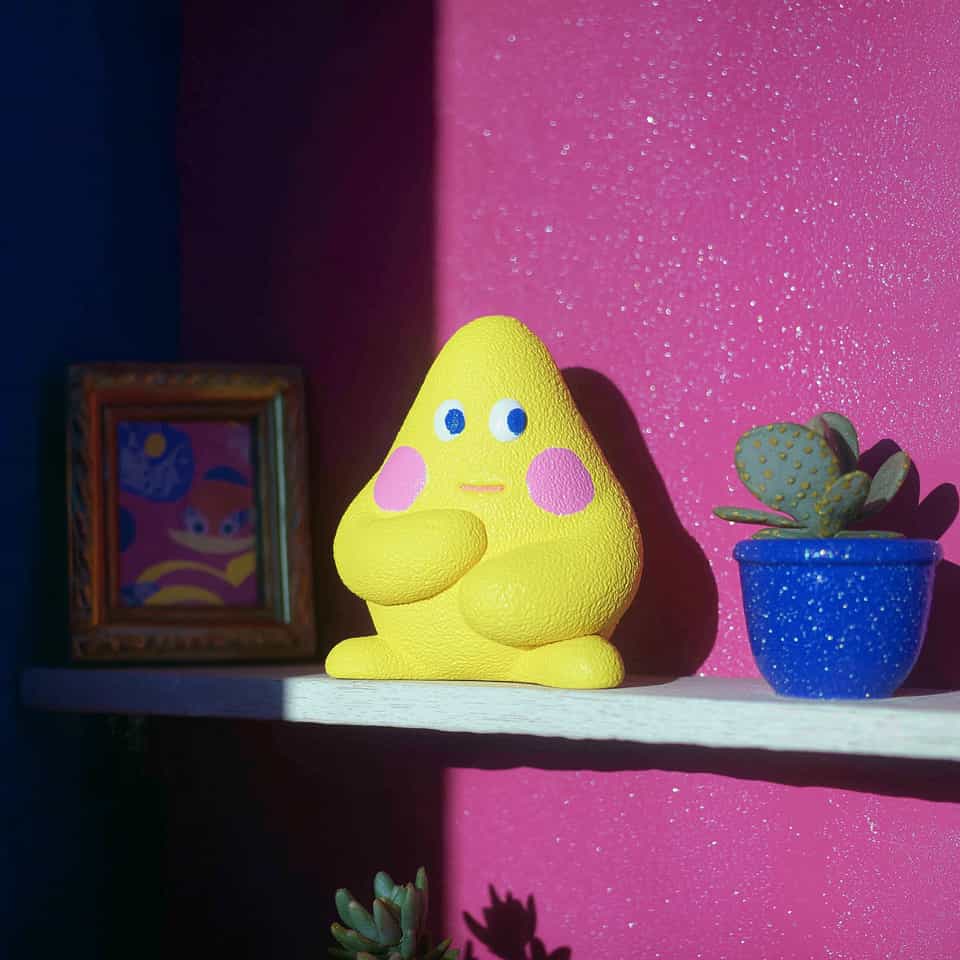
Finished examples with related clay decisions
Each piece shows how a material, attachment, or surface choice changes the final form.