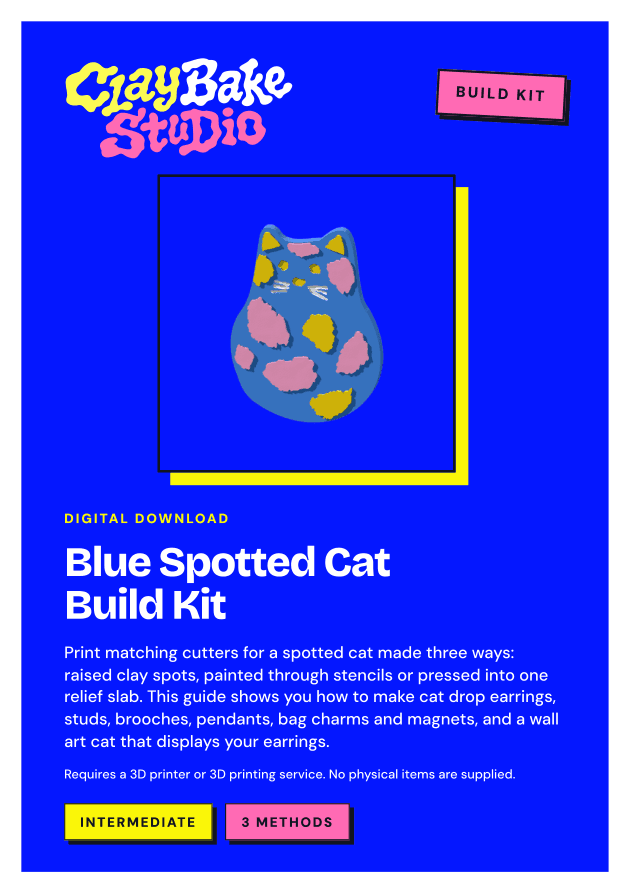
Colour-placement test tile
Use the primary applique route to test cutter release, colour placement, bake flatness, and photography without hardware.
3D print the tools. Make it in clay.
Use the 3D-printable cutters to make a cobalt flat-back clay sample with layered ears, spots, and face details.
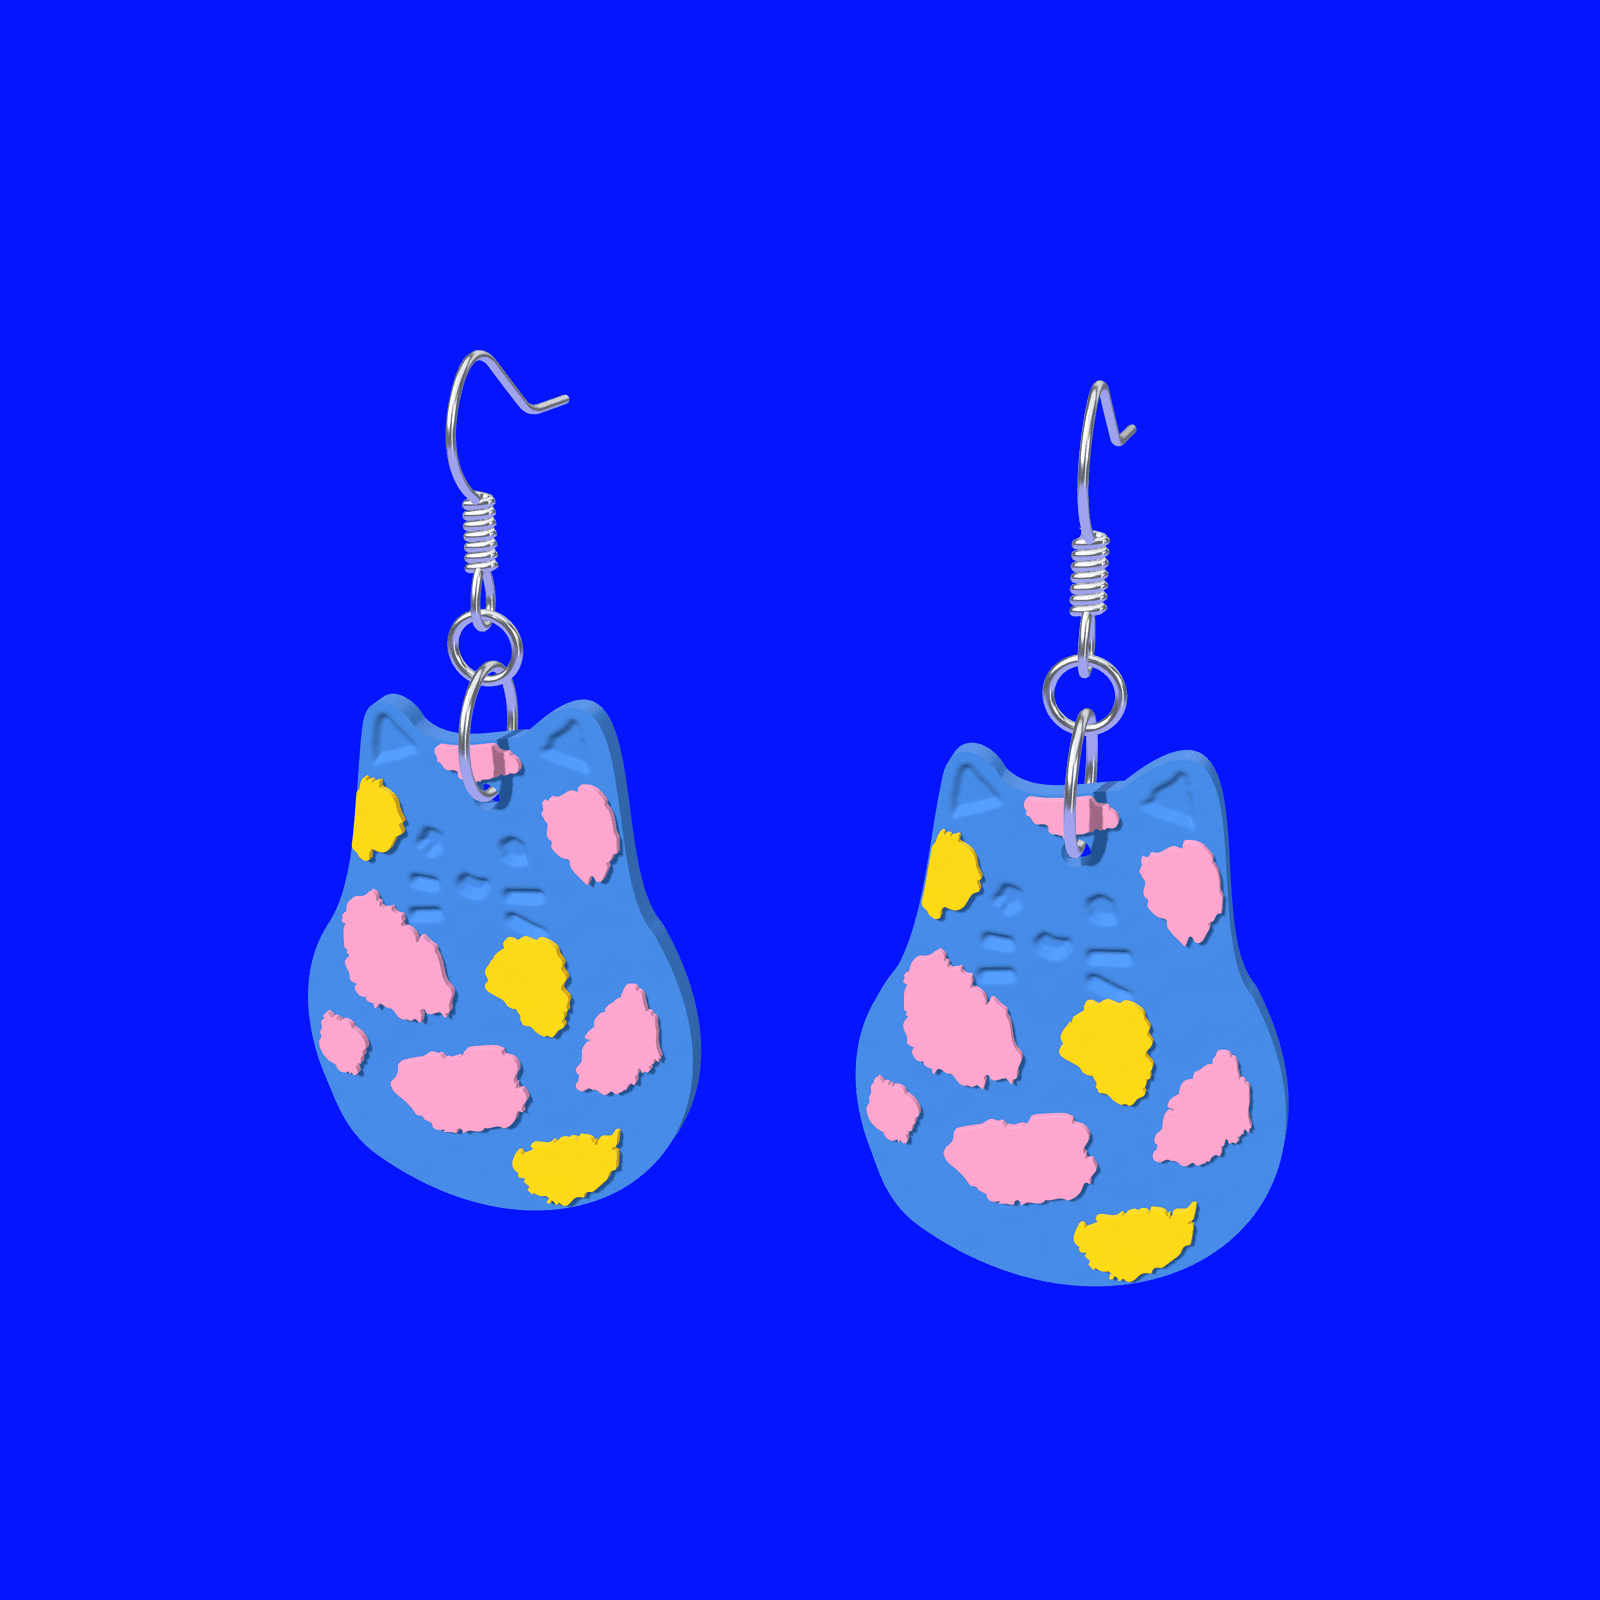
This is a flat reinterpretation of a three-dimensional cat reference, supplied as an unbacked piece without brooch, magnet, pendant, or desk-display hardware.
Digital download. Requires access to a 3D printer or 3D printing service. Clay, filament and finishing supplies are not included.


What you can make
Cut the flat-back body, add the ears, spots, and face details using the guide's colour map, then bake the unbacked sample and note its weight and flatness. If you adapt it for hardware, make a separate sample and check the finished weight, balance, bond, and intended use before relying on it.
Choose one supplied method, then make one unbacked flat test piece. The raised applique route, post-bake painted stencil route, and one-slab relief route are three complete alternatives, not extra layers combined in one build.

Step 01 · route and 3D printing check
Start with the applique cutters for the full flat-back colour build, or choose the stencil masks or one-slab relief cutter as a separate method. 3D print and clay-test one route before preparing every size.
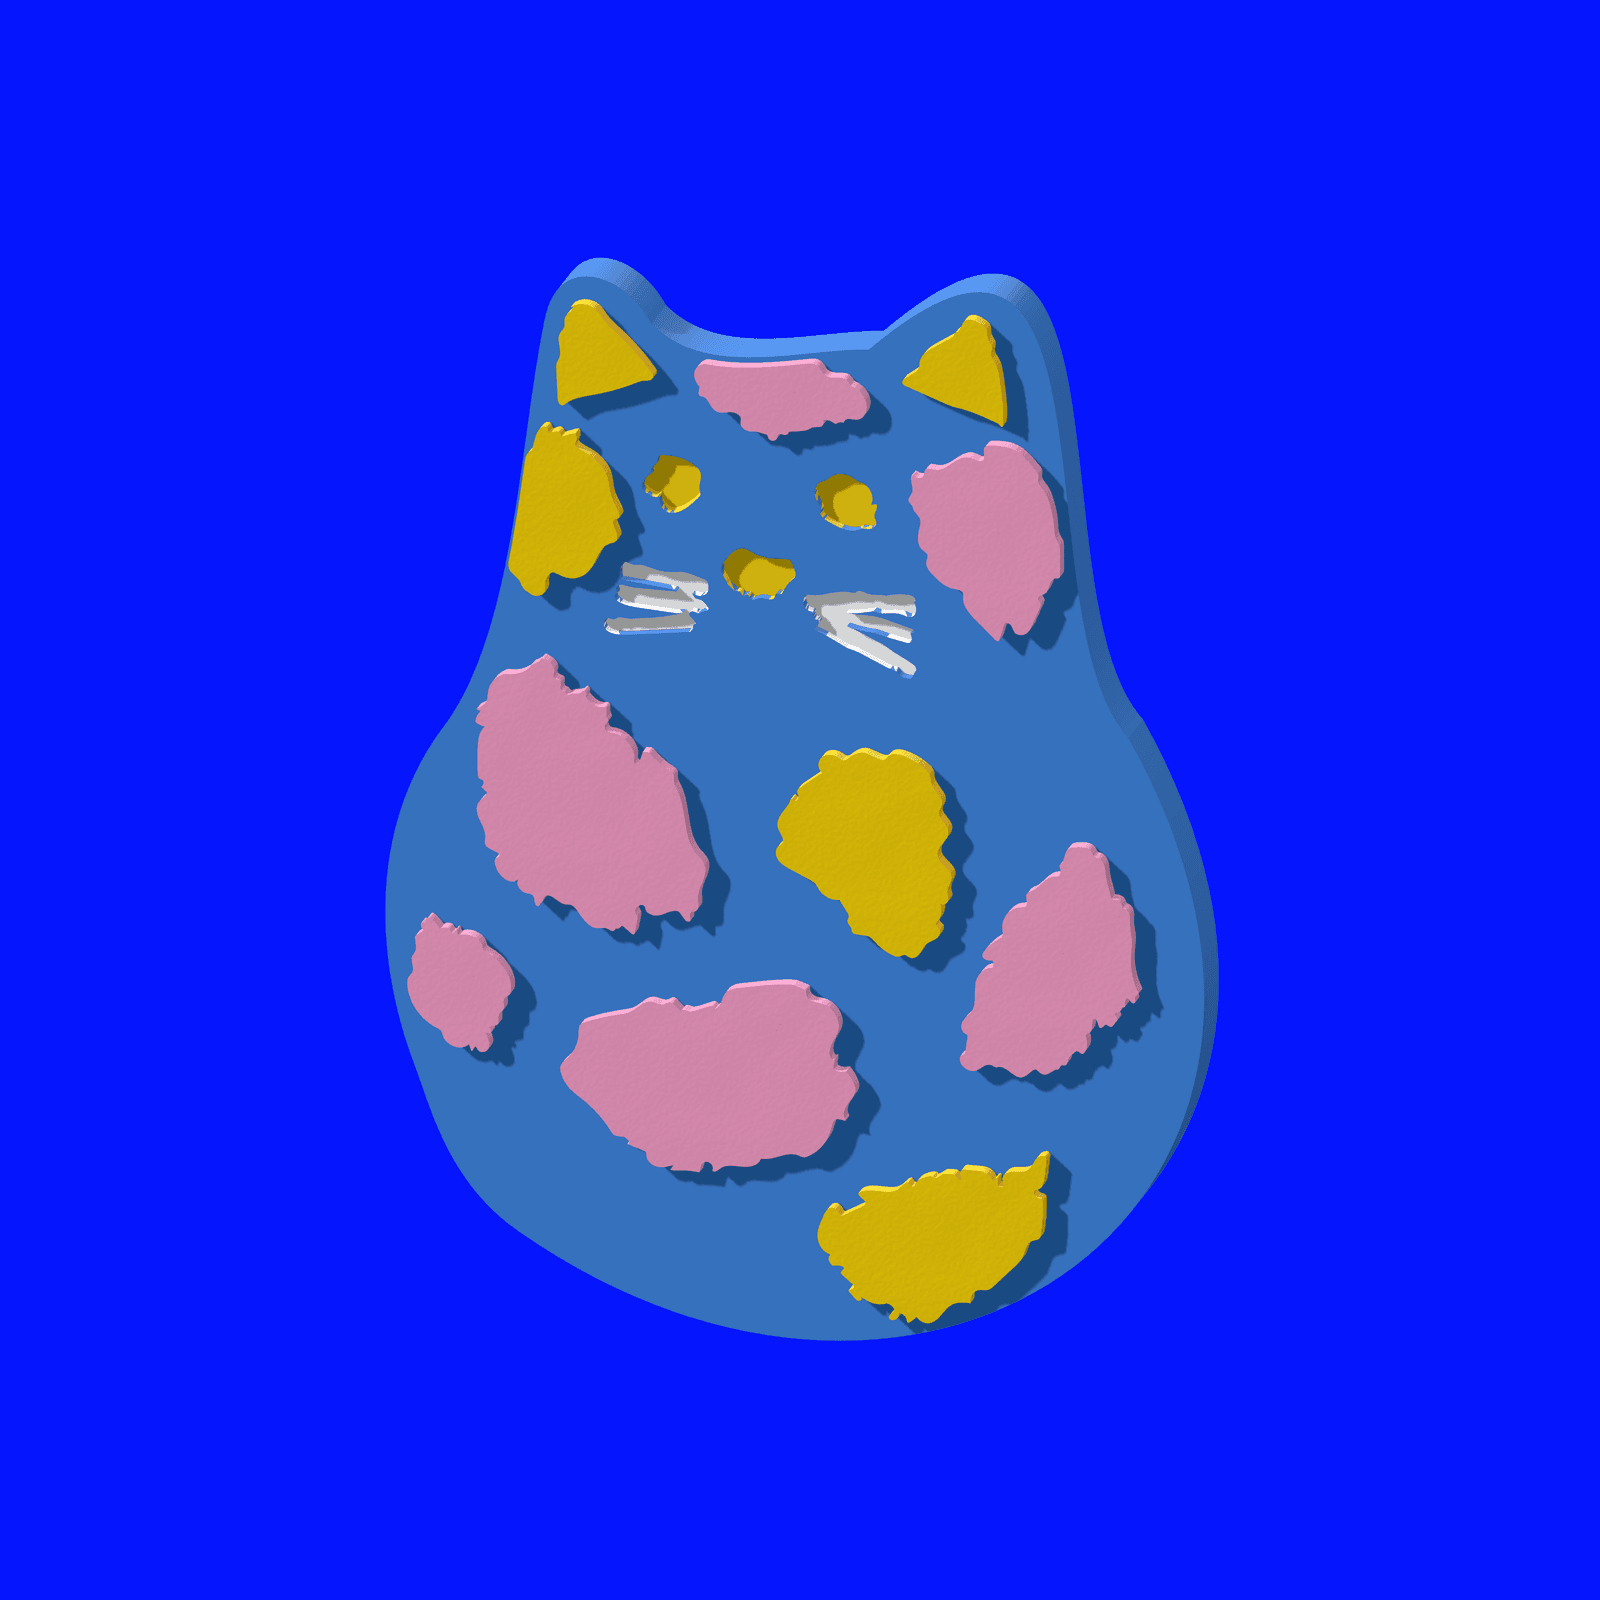
Viewer preview of the body-base cutter route.
Step 02 · body cutter
Roll one even base, press the body cutter straight down, and keep the rear face flat while the small colour pieces are prepared.
Viewer preview of the plain blue body before any raised or painted detail.
Step 03 · applique cutters
For the raised route, seat the inner ears first, then work through the mapped spot cutters from head toward tail so similar pieces do not get mixed up.
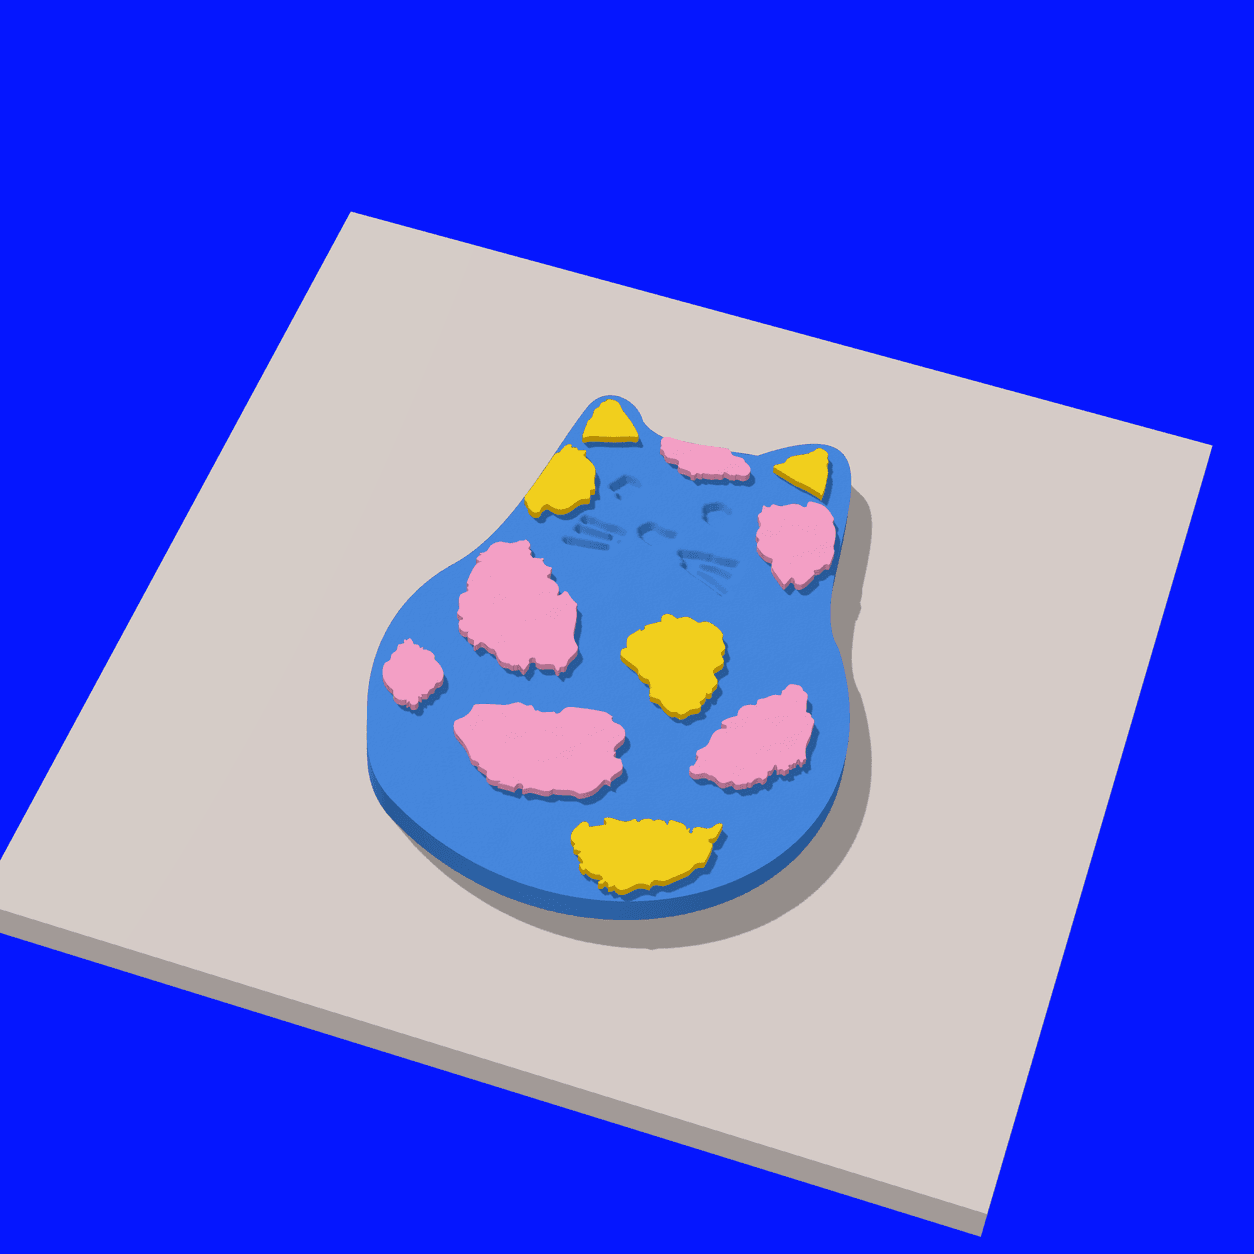
Viewer preview of every raised colour piece above its mapped position.
Step 04 · face placement guide
Use the face placement guide to mark position, then add the tiny dark and white details without turning the shallow guide marks into deep cuts.
Viewer guide for the face positions. It marks placement and does not cut through the body.
Step 05 · baked sample checks
Bake the flat sample, then note tool release, colour placement, rear flatness, and finished weight. Keep this first piece unbacked; any hardware adaptation needs its own balance, bond, and use check.
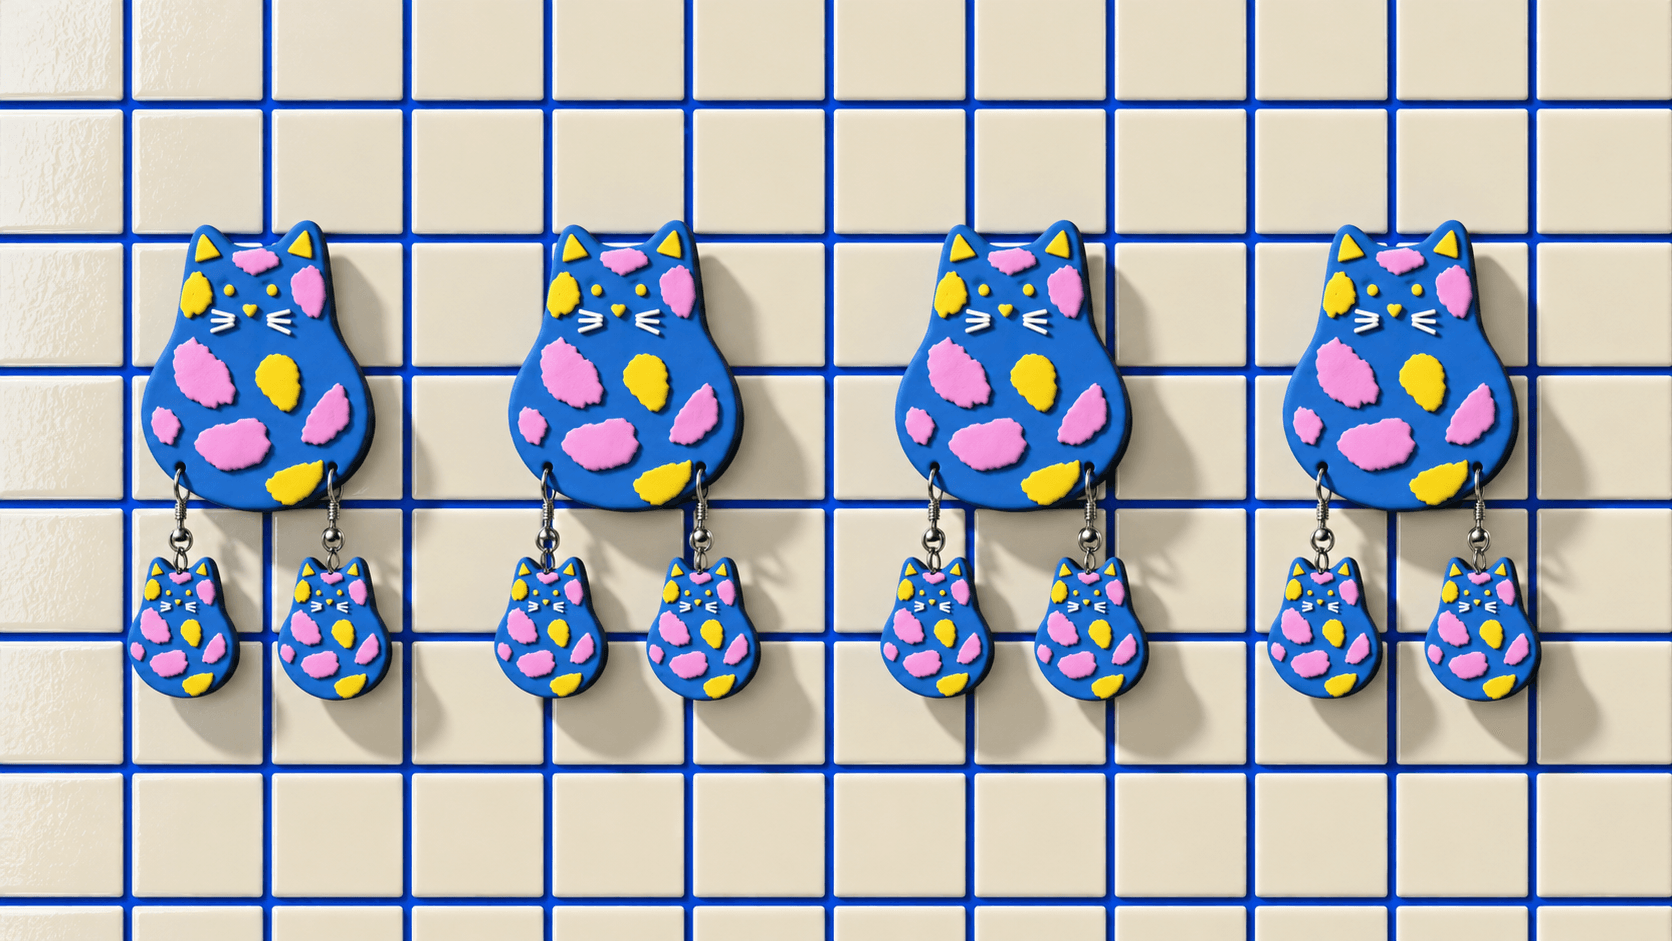
Top-down viewer target for the assembled applique map. This is not a photo of baked clay or a hardware test.
Step 06 · paint-through stencil masks
Bake and cool one plain blue body, proof the paint and all three masks on scrap, then stencil ears, spots, and face in separate light passes. Let the paint reach its full labelled dry before handling.
STL viewer card for the 3D-printed spot mask. The paid guide teaches the full post-bake paint order.
Step 07 · single-stepped relief cutter
Choose one relief size, press it into one thicker slab, lift vertically, then bake and document the unbacked result. Treat paint and finish as separate baked-scrap tests.
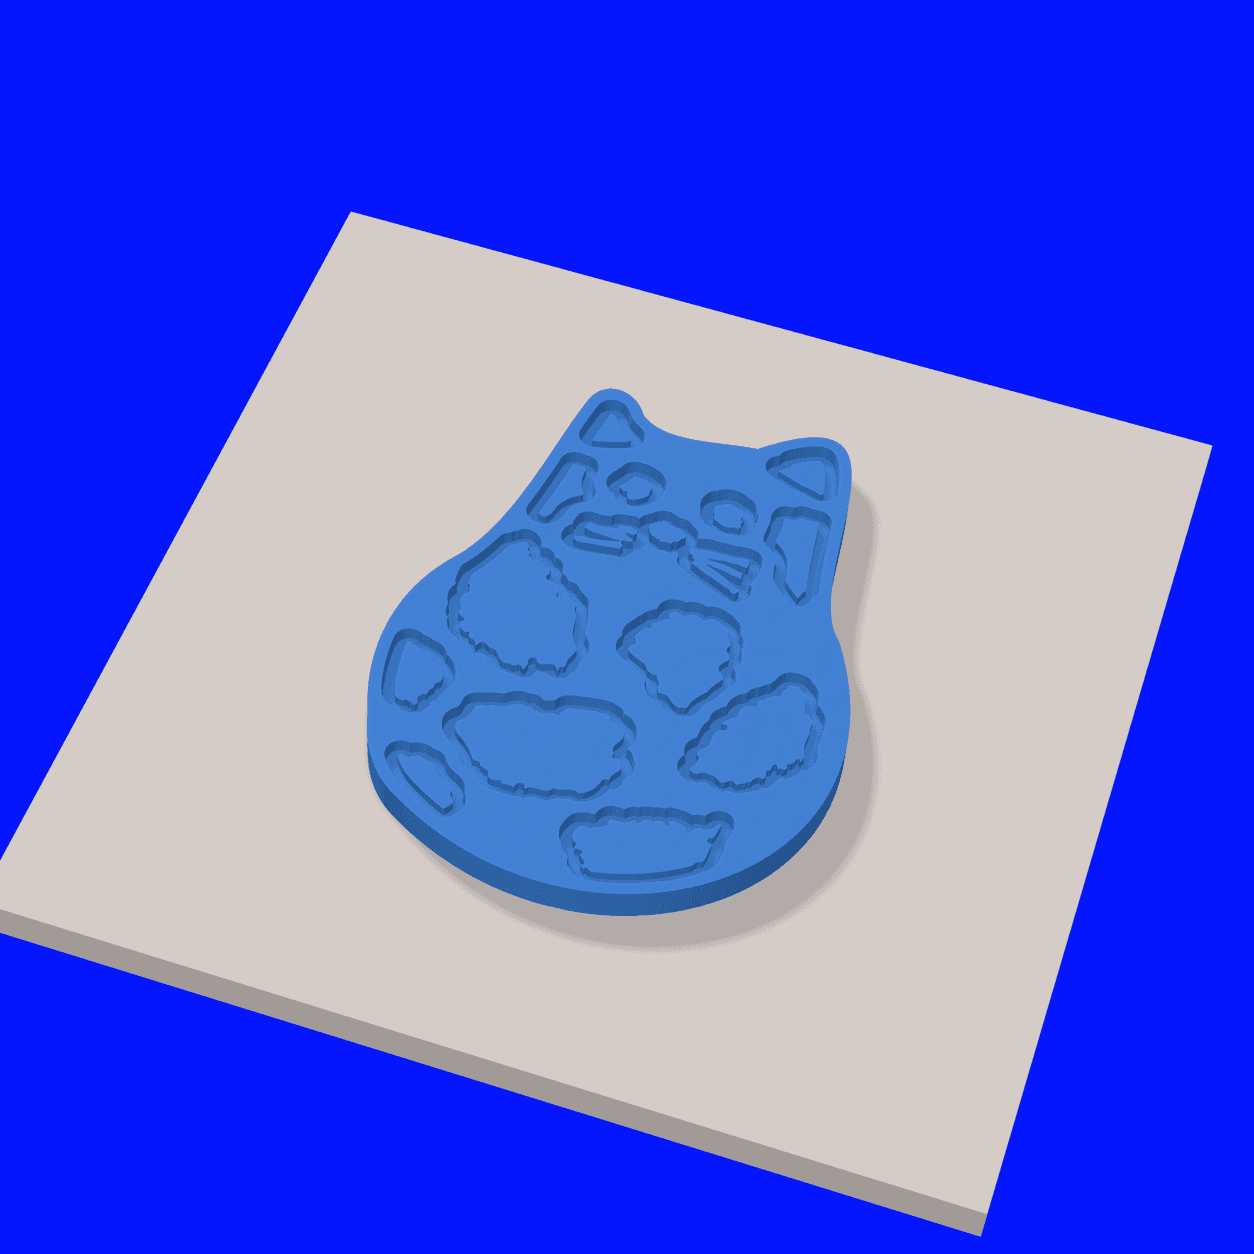
Viewer preview of the one-slab relief tool seated on clay. It does not prove physical release or backing strength.Make it your own
Use this version to make an unbacked flat clay piece. Before adding hardware, make a separate sample and test its weight, balance, bond, and intended use.

Use the primary applique route to test cutter release, colour placement, bake flatness, and photography without hardware.
See the cutters and helper tools included for each part of the making process.

Shows the main cat shape before the detail pieces are added.
Animated preview of the press-and-lift motion for the alternate single-slab cat relief cutter, before finishing or painting.

Viewer preview of the one-slab relief tool seated on clay. It does not prove physical release or backing strength.

Shows the same included cutter family assembled into the flat-back blue cat face.
Captioned STL viewer sequence showing the base, ears, spots, and face details added in build order. Use the PDF for the clay handling and alignment checkpoints.

Shows the included guide used to test eye, nose, and whisker placement.
21 3D-printable STL files, an illustrated maker guide and a maker licence.
3D print the body, spot, ear, and face-placement cutters for the primary flat-back applique method.
Use the relief route when you want one pressed slab to guide paint, powder, or a tonal cat test instead of many separate colour pieces.
3D print the stencil masks when you would rather paint the spots, ears, and face marks as flat colour instead of layering clay. Optional alternate to the applique route.
The PDF maker guide carries the exact 3D printing, clay, backing, adhesive, and testing details for the paid download.
blue-spotted-cat-svg-body-base-cutter.stlBody-base cutterblue-spotted-cat-svg-bottom-left-body-spot-placement-applique-cutter.stlBottom-left spot applique cutterblue-spotted-cat-svg-face-placement-press-guide.stlFace placement guideblue-spotted-cat-svg-head-top-spot-placement-applique-cutter.stlHead spot applique cutterblue-spotted-cat-svg-left-ear-inner-placement-applique-cutter.stlLeft inner-ear cutterblue-spotted-cat-svg-left-face-spot-placement-applique-cutter.stlLeft face spot cutterblue-spotted-cat-svg-left-mid-body-spot-placement-applique-cutter.stlLeft body spot cutterblue-spotted-cat-svg-lower-center-body-spot-placement-applique-cutter.stlLower centre spot cutterblue-spotted-cat-svg-lower-left-body-spot-placement-applique-cutter.stlLower left spot cutterblue-spotted-cat-svg-right-ear-inner-placement-applique-cutter.stlRight inner-ear cutterblue-spotted-cat-svg-right-face-spot-placement-applique-cutter.stlRight face spot cutterblue-spotted-cat-svg-right-mid-body-spot-placement-applique-cutter.stlRight body spot cutterblue-spotted-cat-svg-right-small-body-spot-placement-applique-cutter.stlRight small spot cutterblue-spotted-cat-single-stepped-relief-cutter.stlLegacy/source-reference relief cutter; use a named-size file for the guided routeblue-spotted-cat-single-stepped-relief-cutter-56mm.stlSingle-stepped relief cutterblue-spotted-cat-single-stepped-relief-cutter-60mm.stlSingle-stepped relief cutterblue-spotted-cat-single-stepped-relief-cutter-64mm.stlSingle-stepped relief cutterblue-spotted-cat-single-stepped-relief-cutter-68mm.stlSingle-stepped relief cutterblue-spotted-cat-ear-stencil-mask-fdm.stlEar stencil maskblue-spotted-cat-face-stencil-mask-fdm.stlFace stencil maskblue-spotted-cat-spot-stencil-sheet-fdm.stlSpot stencil maskbuild-kit-guide.pdfFull build method plus 3D print instructionsLicence.pdfIncluded maker licenceDesigned for intermediate polymer-clay makers who are already comfortable conditioning, rolling, cutting and baking clay. Basic slicer familiarity is enough for the 3D-printing side. Make one test piece before preparing a batch.
Pause and use the paid guide's clay-release check before lifting the smallest details.
Keep the included sample unbacked. For a brooch adaptation, make a separate piece and check finished weight, fabric balance, bond after full product-label cure, sag, and movement before wear.
Keep the included sample unbacked. For a magnet adaptation, make a separate piece and check pull, slide, twist, bond after full product-label cure, and small-parts risk on the intended surface.
Hold the stencil flat, use less medium, and make one scrap test before the finished piece.
More troubleshooting is included in the illustrated Maker Guide.
You may sell the finished polymer clay pieces you make. You may not sell, share or redistribute the digital files or 3D-printed tools. See the included Maker Licence for the full terms.
If a downloaded file is missing or is not as described, email Clay Bake Studio with the making set name and filename.
Email file support