Layered cutters
9 3D-printable filesAn outline cutter and web cutter make the layered gem.
- Four matching jewellery sizes, plus a 12 mm disc cutter for an optional clay topper.


3D print the tools. Make it in clay.
3D print the cutters, then cut and layer polymer clay into Faceted Gem earrings, studs, pendants, keychains, magnets, brooches and wall art.
Digital download: STL files to 3D print, plus a PDF guide. Requires a 3D printer or 3D printing service.

18 3D-printable STL files, an illustrated maker guide and the Maker Licence.
An outline cutter and web cutter make the layered gem.
The outline and facet lines in one slab.


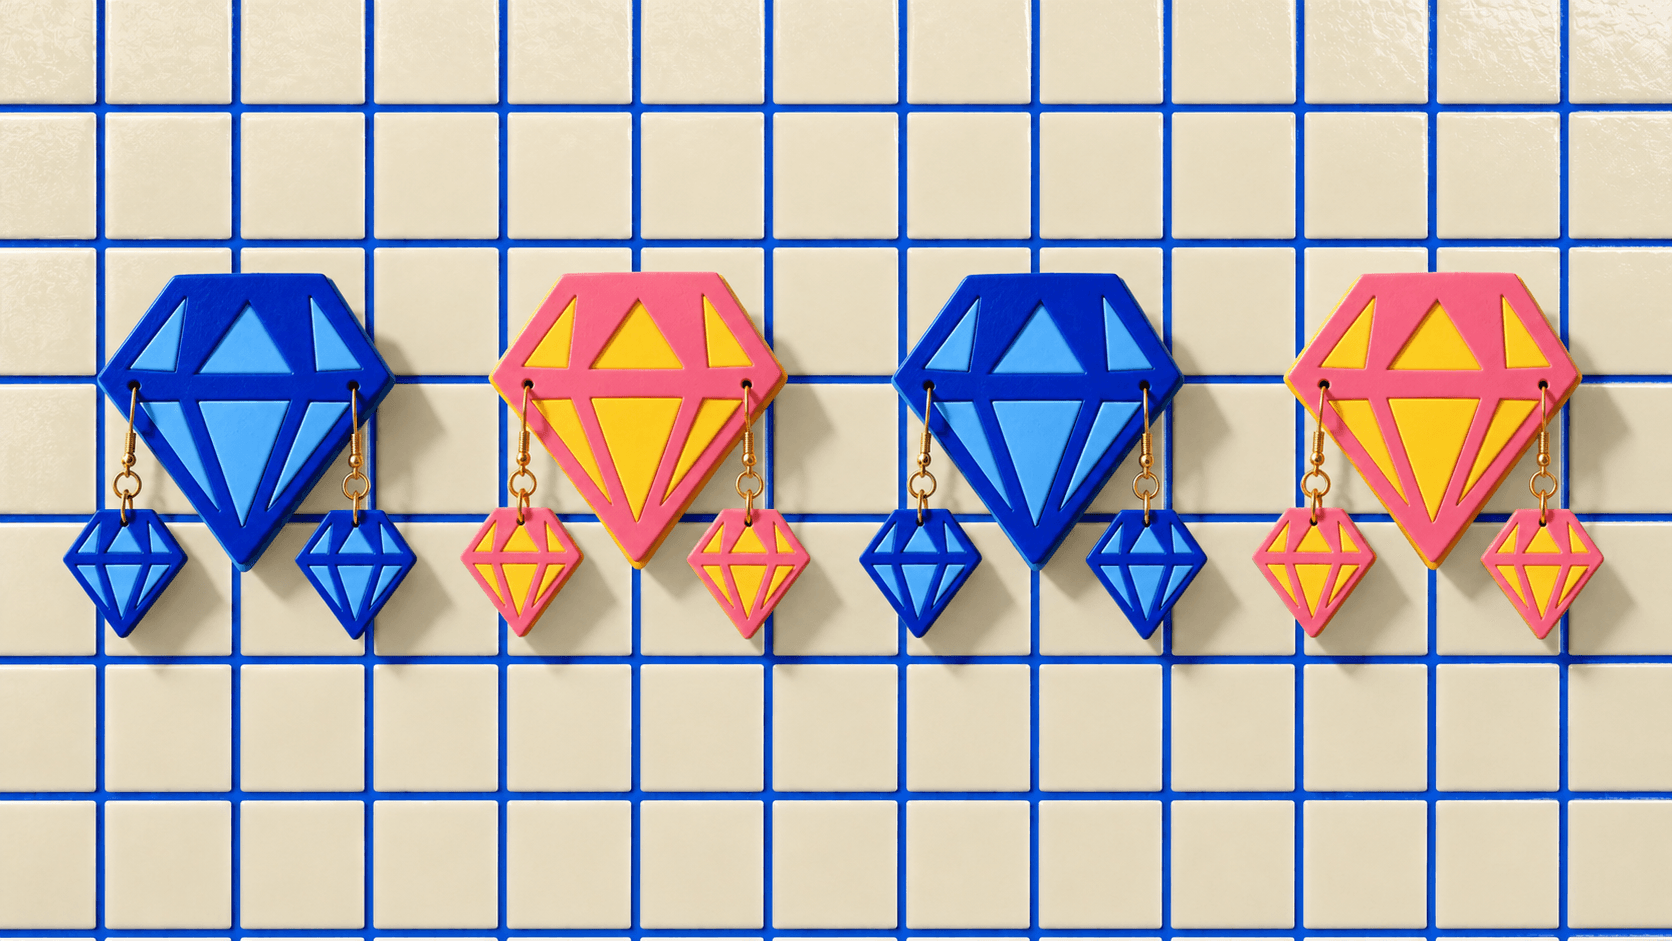
An 80 mm gem for wall art or an earring display.


Sizes name the gem height, from the flat top edge to the bottom point, excluding the finding. Dimensions are the clay gem's width and height at 100% print scale, not the cutter's outside dimensions.
20 mm at the outlines' scale. Not an actual-size template.
Every layered cutter and the relief cutter comes in all four gem sizes. The 42 mm gem hangs from a looped ball post, not an ear wire. Relief gems hang from a glued bail, never a drilled hole, and make drops only at 30, 34 and 38 mm. The 20 mm relief stud has its own cutter.
| Outline to scale | Size | Clay outline (W x H) | Methods | Use it for |
|---|---|---|---|---|
| 20 mm | 19 x 20 mm |
| Relief stud earrings on flat-pad posts (its own relief cutter; do not drill) | |
| 30 mm | 28 x 30 mm |
| Light drop earrings or ball-post dangles, pendant, charm, magnet or brooch | |
| 34 mm | 32 x 34 mm |
| Everyday drop earrings or ball-post dangles, pendant, charm, magnet or brooch | |
| 38 mm | 35 x 38 mm |
| Bold drop earrings or ball-post dangles, pendant, charm, magnet or brooch | |
| 42 mm | 39 x 42 mm |
| Statement ball-post dangles (layered; weigh them), pendant, charm, magnet or brooch | |
| 80 mm74 x 80 mm |
| Wall art display, with a pair of 30 mm drops or on its own | ||
Layered gems are drilled after baking and full cooling. Relief gems hang from a glued bail, and studs, brooches and magnets need no hole. The guide gives the hole and hardware for each size.
Making methods
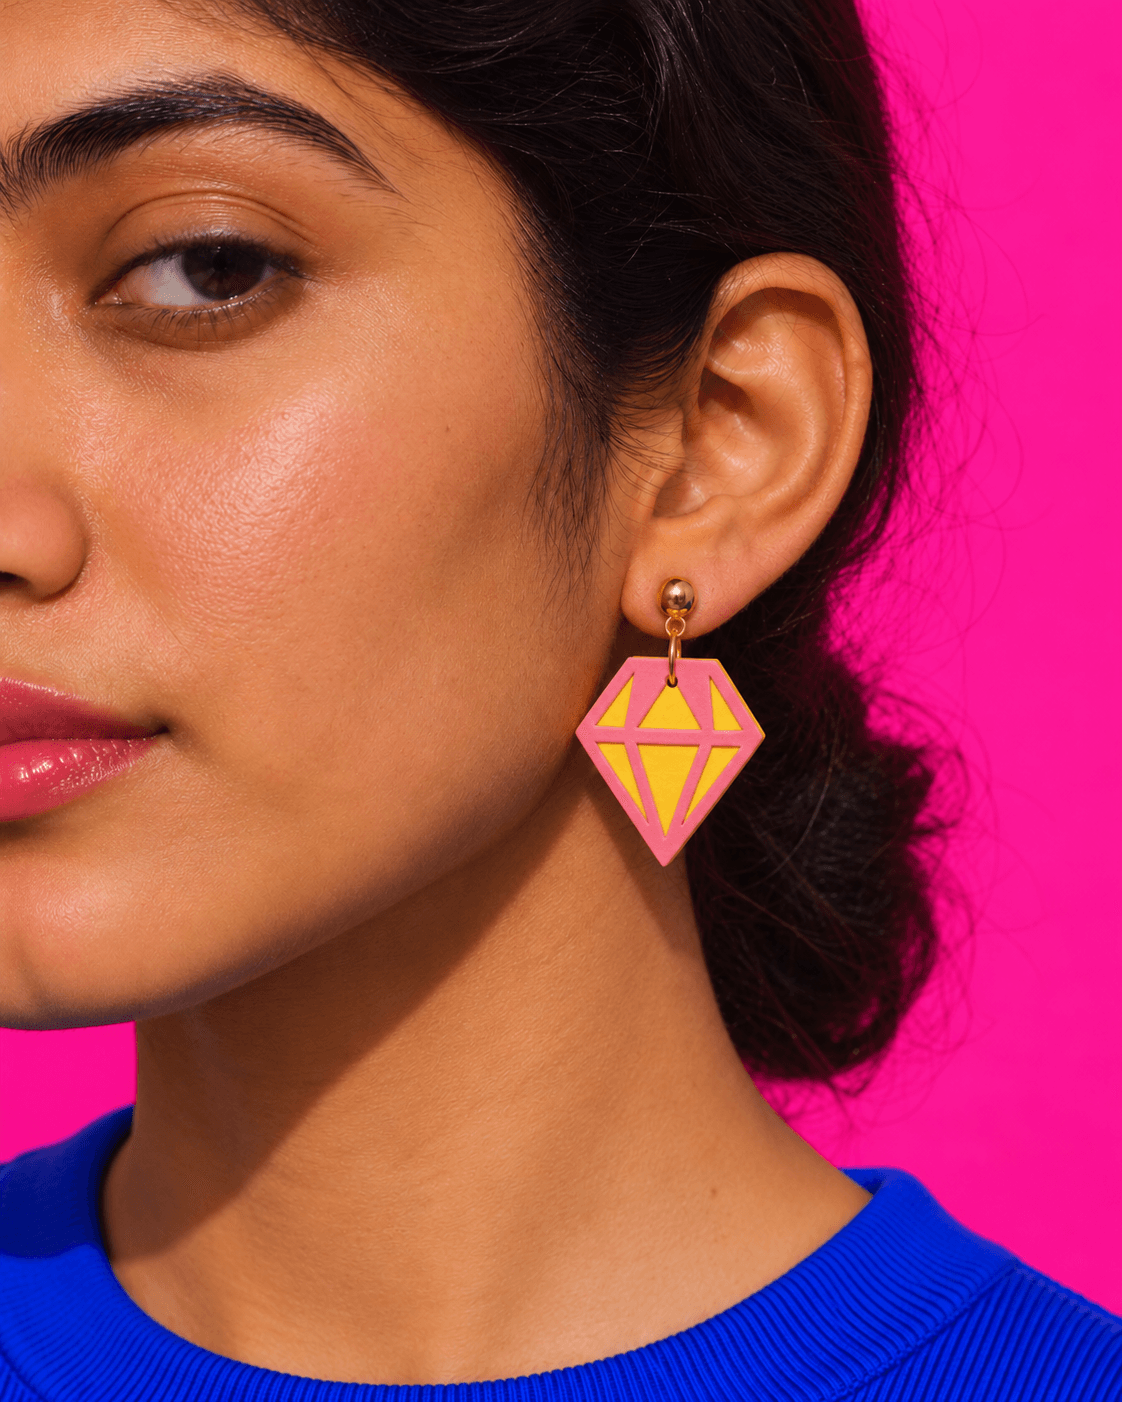
Lay the pink web on an oversized yellow blank and trim both with one press of the final outline cutter, or press the facet lines into one slab with the relief cutter. The pictured pair is the 42 mm layered gem on gold looped ball posts, about 5.2 g per earring. This is over the 5 g comfort guide; weigh the finished pair and try it on.
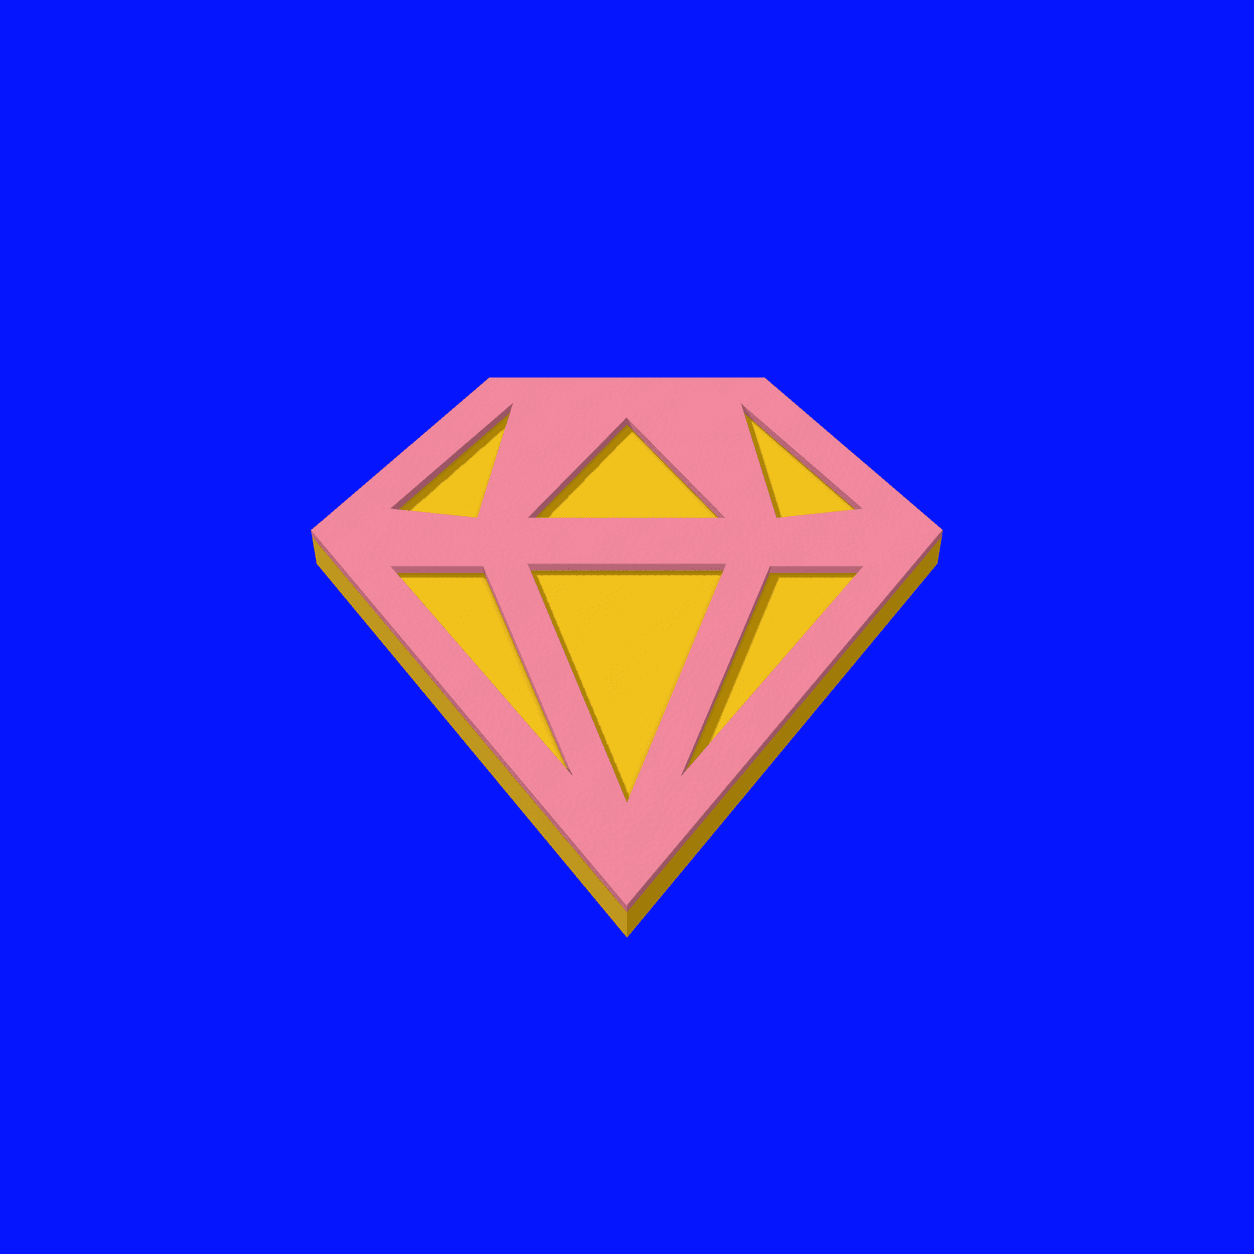
Cut a thin pink web of facet lines, lay it on an oversized yellow blank, then trim both layers with one press of the final outline cutter. Suits drop earrings, ball-post dangles, a pendant, keychain, magnet, brooch or wall art.
Cutter B presses and lifts from a thin coral pink slab, the six window scraps come out and the web sits on the yellow base; then the finished 42 mm pair and eight things to make. Follow the PDF guide for the full making method.
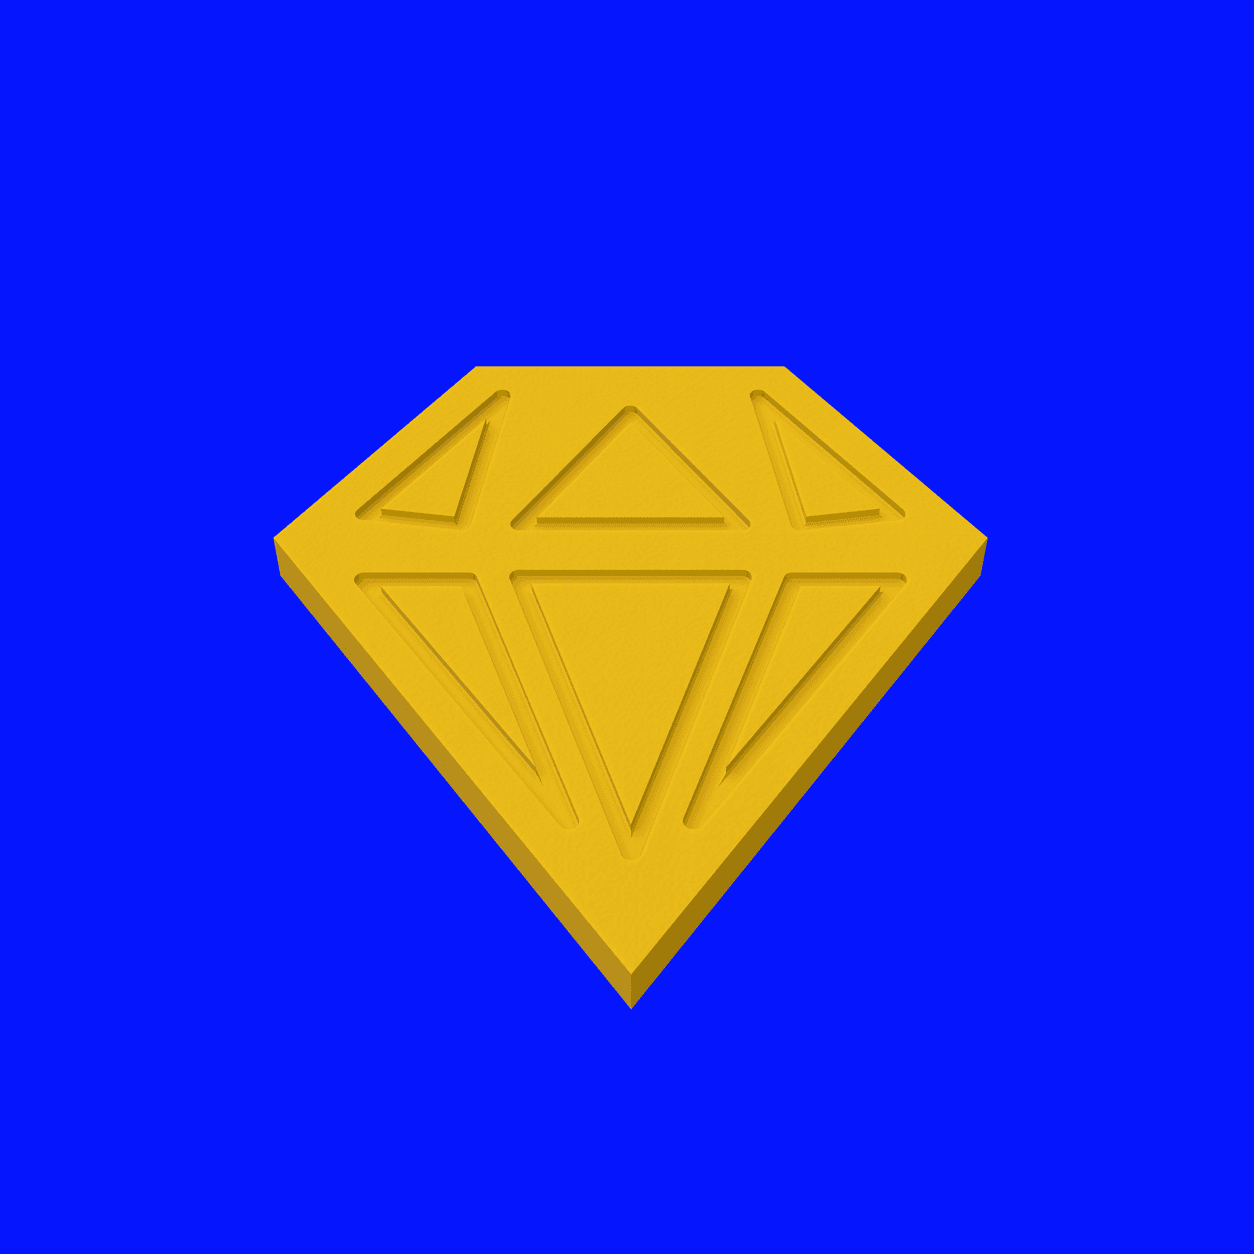
One cutter cuts the gem outline and presses the facet lines into a single slab of one clay colour. Paint the lines after baking if you like. Suits 20 mm studs, a magnet, brooch or display piece, or a pendant, charm or drop on a glued bail.
Facet relief cutter C presses one 3 mm yellow slab, lifts away and leaves the gem outline cut with the facet lines pressed in, ready to bake. Follow the PDF guide for the full making method.
Your first piece
Print only the files for the piece you are making; the rest are there when you want another size or method.
A single press cuts the gem and presses the facet lines into one slab, and there is no hole to make. Leave it one colour or paint the lines after baking.
See what you needThe full two-colour method in an everyday size. About 3.7 g per earring with its ball post and jump ring (an estimate).
See what you needThe statement size: about 5.2 g per earring with a plain ball post and jump ring, over the 5 g comfort guide. Weigh the finished pair and try it on.
See what you needWall art display
Cut and layer the same yellow base and pink web at 80 mm tall and the gem becomes wall art that holds a pair of 30 mm drop earrings. Make it in any colours.
Cut the pink web, place it on an oversized yellow blank, trim both layers with one press, then bake, drill and connect the findings. The guide gives the full method, placement and attachment instructions.

Step 01 · Tissue blade
Roll the yellow base colour and blade-cut two rough blanks larger than the gem. The final outline cutter is used once, at step 03.
Prepare one oversized yellow blank; the dashed shape marks the later outline cut.Help with this step

Step 02 · Web cutter
The web cutter makes the outline and facet lines as one connected piece. Clear the six window pieces, then lift the whole web on a tissue blade. Keep this fine outline bare when cutting; cling wrap changes the edge profile.
Remove the surrounding waste and all six inner pieces before lifting the connected pink layer.Help with this step

Step 03 · Final outline cutter
Lay the pink web on the yellow blank by hand, with yellow showing all round, and tack it down. Press once with the final outline cutter: its blade follows the pink outline to cut the yellow, and it presses the pink lines in.
The final outline cutter over the pink outline. Press once, peel the yellow waste away and leave the gem on its tile to bake.Help with this step

Step 04 · Oven and pin vise
Bake and cool fully, then drill the hanging hole with the back supported. Relief gems hang from a glued bail instead of a hole, and studs take a glued post. The guide gives the hole and ring for each size.
The layered gem outline. Bake and cool it fully before drilling the hanging hole.Help with this step

Step 05 · Paint and hardware
Add any painted highlights, then use a jump ring to join a 30, 34 or 38 mm layered gem to a looped ball post or ear wire. Use a looped ball post for a 42 mm layered gem. The included 12 mm disc cutter makes an optional clay topper. Make one pair first and check the fit, balance and comfort before making a batch.
The layered gem, ready for its jump ring and finding after baking and cooling.Help with this step
What you will need
Use the tools you already own. Choose your piece to see its findings, then check the shared materials below. Some linked hardware packs contain enough for many pieces.
Links marked "Affiliate link" may earn us a commission at no extra cost to you. Check sizes and materials before checkout.
What are you making?
The pictured pair: the gem hangs from the loop under a gold ball post, so it swings just below the lobe. All four layered gem sizes, 30 to 42 mm, can hang from a looped ball post.
A ball post with a small loop below it. A jump ring joins the loop to the gem. Pick a finding material that suits your ears.
Join each gem to its ball-post loop with a ring in 0.8 mm wire: 10 mm outside for the 30 and 34 mm gems, 12 mm for the 38 and 42 mm gems.
Only if the piece hangs sideways: add a small connector ring between the first ring and the ball-post loop to turn it to face forwards.
Two pairs open and close jump rings without scratching them. The linked pliers set also includes starter findings; compare their sizes with the guide.
For the 30, 34 and 38 mm gems. The 42 mm gem hangs from a looped ball post instead.
Ear hooks, silicone backs and open jump rings in one kit, enough for many pairs.
Join a 30 or 34 mm layered gem to its ear wire with a 10 mm outside ring in 0.8 mm wire; use a 12 mm ring for 38 mm. The 42 mm layered gem uses a looped ball post.
Only if the piece hangs sideways: add a small connector ring between the first ring and the ear wire to turn it to face forwards.
Two pairs open and close jump rings without scratching them. The linked pliers set also includes starter findings; compare their sizes with the guide.
Plus glue from the core kit below.
Glue one flat-pad post to the flat back of each 20 mm relief stud. This assortment includes the guide's pad size and others.
Plus glue from the core kit if you use a bail.
Ready-made chains with clasps, so the pendant is finished as soon as it hangs.
A ring through the layered gem's hole joins it to the chain. The guide gives the ring for each size.
Two pairs open and close jump rings without scratching them. The linked pliers set also includes starter findings; compare their sizes with the guide.
A relief gem hangs from a bail glued to its flat back instead of a hole.
Keep it decorative: hold the metal ring when you pull out your keys, not the clay.
A split key ring for keys, or a swivel clasp that clips to a bag strap. This pack has both.
A ring through the layered gem's hole, or through a bail on a relief gem, joins it to the key ring or clasp. The guide gives the rings for each size.
Two pairs open and close jump rings without scratching them. The linked pliers set also includes starter findings; compare their sizes with the guide.
Plus glue from the core kit below.
Glue one to the flat back once the piece has baked and cooled. Never bake a magnet.
Keep loose and finished magnets away from young children and pets; a swallowed magnet can cause serious internal injury, so get medical help straight away. Keep magnets away from pacemakers. Selling magnets? Check the magnet safety rules where you sell.
Plus glue from the core kit below.
A glue-on bar pin that fits fully on the flat back of your chosen size.
The pair you hang on it uses the drop earring supplies.
Use a small nail or screw with a flat head that fits the printed hanger. Follow the guide for head size, wall gap and fixing position.
Follow the tape label for the wall surface, preparation, pressure and waiting time. This projecting assembly has no established tape load rating.
Glues the printed hanger to the back of the baked, cooled display. Keep it out of the slot and let it cure fully.
Drills the two earring holes in the baked, cooled display. The guide gives the bit size.
Most makers already own some of these; the rest is your shopping list.
Two colours for the layered gem (shown: yellow and pink), or one colour for the relief gem.
Rolls even slabs between thickness guides.
Set each slab to the height the guide gives. Download our thickness guides separately, then print them alongside your cutters.
Checks each layer's thickness against the guide.
Cuts the oversized blank and lifts the thin web without stretching it.
Drills the hanging hole in a layered gem after baking and full cooling, with the back supported.
Supports the piece while it bakes flat.
Checks the real oven temperature against your clay packet.
Smooths the outer edge and back of the baked piece, from 400 grit up.
Glue stud posts, bails, brooch pins, magnets to baked, cooled clay. Jump rings through holes do not need glue. Follow the adhesive label and let it fully cure.
For dry sanding and drilling baked clay.
For drilling and sanding.
Conditions clay and rolls even slabs far faster than a hand roller. Keep it for clay only.
Drills hanging holes and sands edges quickly across a batch of baked pieces.
Tiny dabs help the pink web stick to the yellow blank where the broader parts of the web sit.
White paint for the highlights and a water-based gloss for shine. Test both on baked scrap.
Print the card and cutter files to present and sell your earrings.
Print a stand to show your pairs at markets and in product photos.
Prints the cutter files. If buying, compare models for your budget and workspace, and ventilate while printing.
The guide gives the nozzle, layer and support settings. Match the filament diameter to your printer.
Make it your own
See how each piece is finished, then shop only what it needs. The guide covers the sizes and attachment steps; clay and hardware are not included.

Hang the 30, 34 or 38 mm gem from an ear wire on a jump ring through its hanging hole. The guide gives the hole, ring and estimated weight for each size.
See what you need
Hang a layered gem from a necklace chain on a jump ring through its hole, or glue a bail to the back of a relief gem.
See what you need
Press one slab with the facet relief cutter for a one-colour gem. Leave it plain or paint the lines after baking.
See what you need
Hang the gem from a split key ring, or from a swivel clasp on a bag strap, on jump rings. Keep it decorative: lift your keys by the metal ring, not the clay.
See what you need
Glue a magnet to the flat back for a bright fridge decoration, then check that it holds on your fridge.
See what you need
Glue a bar pin to the flat back once the gem has baked and cooled. Dry-fit it first and let the glue cure fully.
See what you need
Show your pairs on printed earring display cards or a printed stand at a market stall or in product photos.
See the display card kit
Show your pairs on printed earring display cards or a printed stand at a market stall or in product photos.
See the display stand kit
Colourway
Keep the same cutters and swap the clay colours. Use the palette shown beside each colourway, or choose your own base and web colours.

Colourway
Keep the same cutters and swap the clay colours. Use the palette shown beside each colourway, or choose your own base and web colours.

Colourway
Keep the same cutters and swap the clay colours. Use the palette shown beside each colourway, or choose your own base and web colours.

Colourway
Keep the same cutters and swap the clay colours. Use the palette shown beside each colourway, or choose your own base and web colours.

Colourway
Keep the same cutters and swap the clay colours. Use the palette shown beside each colourway, or choose your own base and web colours.
Hang each gem from a gold looped ball post on a jump ring, so it swings just below the lobe. This is the pictured 42 mm pair.
Press a 20 mm relief stud with its own cutter, then glue a flat-pad post to the flat back.
Cut the same two layers at 80 mm for wall art that holds a pair of 30 mm drop earrings.
See the wall art displayYou may sell the finished polymer clay pieces you make. You may not sell, share or redistribute the digital files or 3D-printed tools. See the included Maker Licence for the full terms.
If a file is missing, won't open or doesn't match the listing, message us through Etsy messages with the build kit name and filename, and we'll put it right.
Message us on Etsy