Techniques
Polymer clay technique guides for conditioning blocks, reduction caning, slab construction, and hardware joins.

Articles

Sanding and Buffing Polymer Clay: Pressure and When to Stop
Your finish looked streaky or the edges rounded because you used the same pressure on curves as on flat backs. Sand curved surfaces with light pressure and flat areas more firmly. Stop the moment the next grit stops improving the test chip. Always test the finish on a scrap of the exact clay line.
Read the build
How to Reverse-Engineer a Polymer Clay Design from a Photo
You tried to copy a photo and ended up with a pile of failed test pieces because you guessed the build order. Study the front view first, diagnose the exact construction, and test your build theory on scrap clay before you touch your good colors.
Read the build
Faux Stone and Translucent Effects With Cernit Tests
Faux jade or opal that comes out cloudy or flat usually traces back to a few fixable things: bake temperature drift, sanding pressure on curves, trapped air, or contamination. Test each recipe on a small domed cabochon first, and change one thing at a time so you can see what helped.
Read the build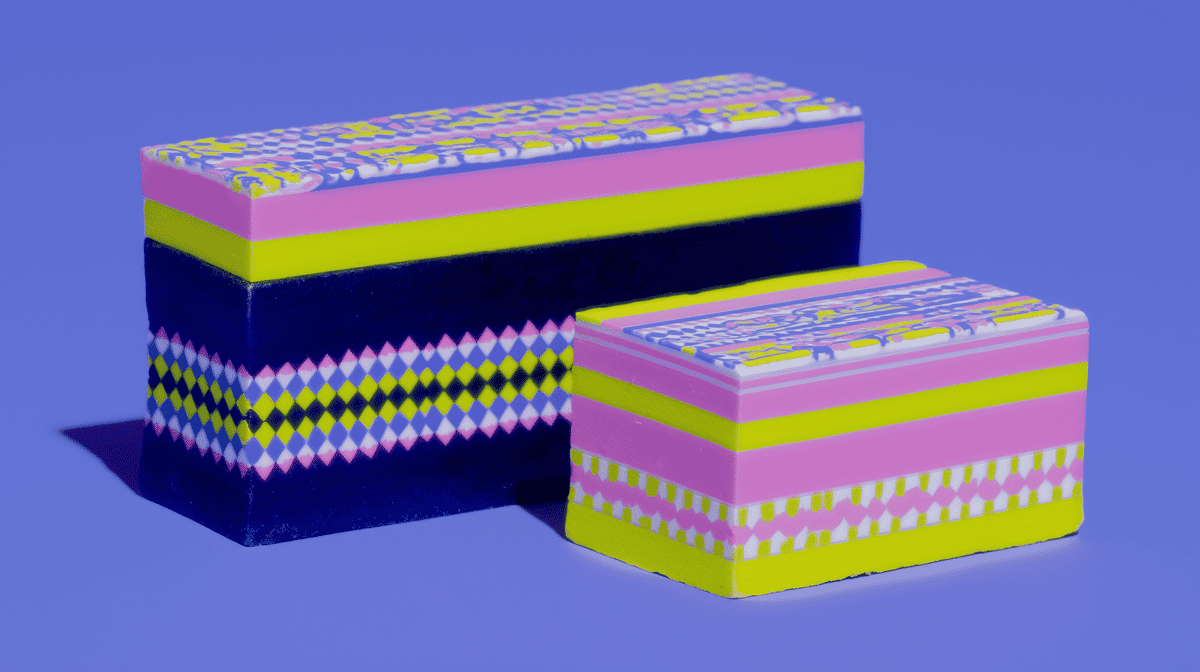
Nerikomi-Inspired Polymer Clay Patterns: Layered Slices and Clean Canes
A respectful polymer clay adaptation of ceramic nerikomi: build layered color blocks, compress them cleanly, slice with a sharp blade, and test the pattern before using it in jewelry.
Read the build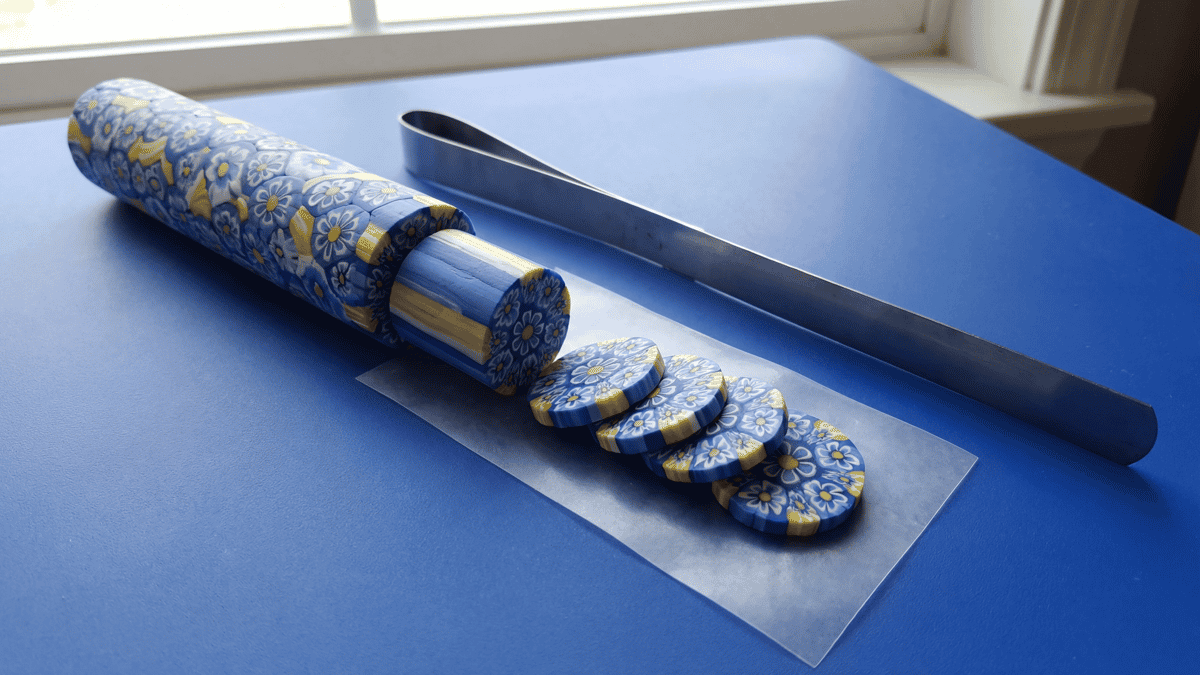
What Is a Polymer Clay Cane? Millefiori Explained
A plain-English guide to polymer clay canes, millefiori, flower canes, reduction, slicing, and when to use a cane over a backing slab instead of building the whole piece from patterned clay.
Read the build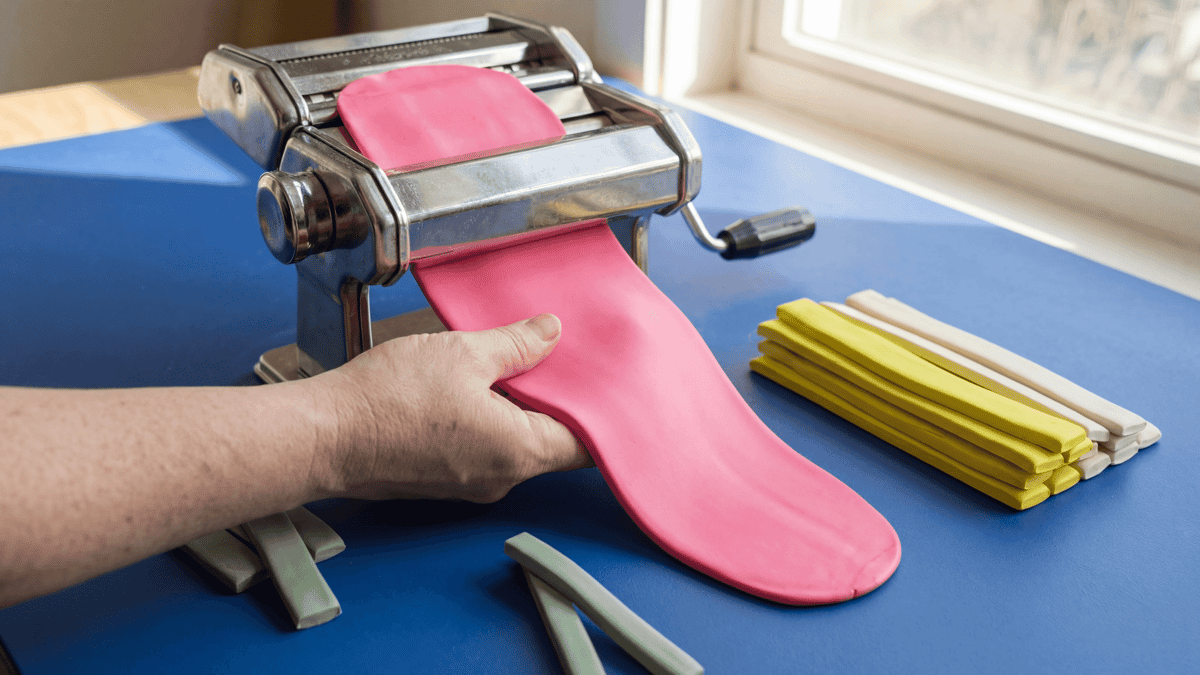
Conditioning Polymer Clay: Stop Cracked Edges and Canes
Your slab cracked at the edge, or your cane distorted because one color was softer than the rest. Condition until every color folds the same way, then do the fold test before you build the cane.
Read the build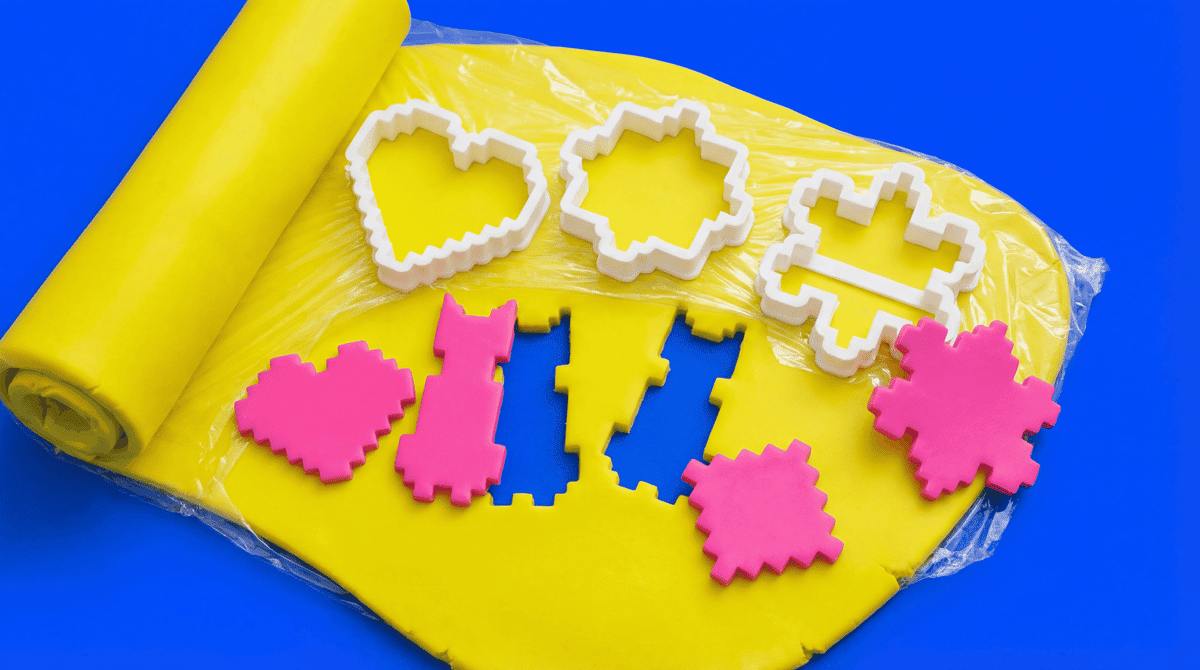
The Cling Wrap Trick for Smoother Polymer Clay Cutter Edges
If your cutters keep grabbing the clay or leaving rough edges, plastic wrap can help on the right shapes. Here is when to use it, which wraps tend to release more cleanly, when to skip it, and how to get a softer rounded edge when that suits the piece.
Read the build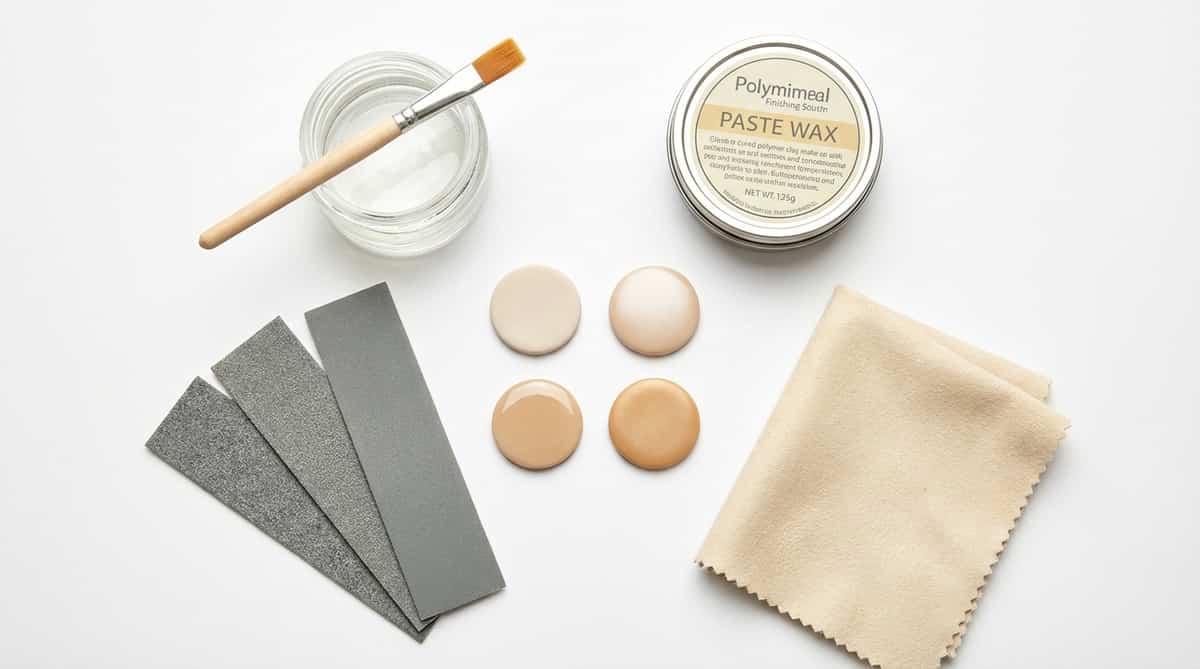
Polymer Clay Sealers, Wax, and Glaze: Compatibility Tests
Sealers, wax, resin, and glaze can behave differently by clay line, surface prep, color, and coat thickness. Test the full finish stack on a baked scrap before you coat the real piece.
Read the build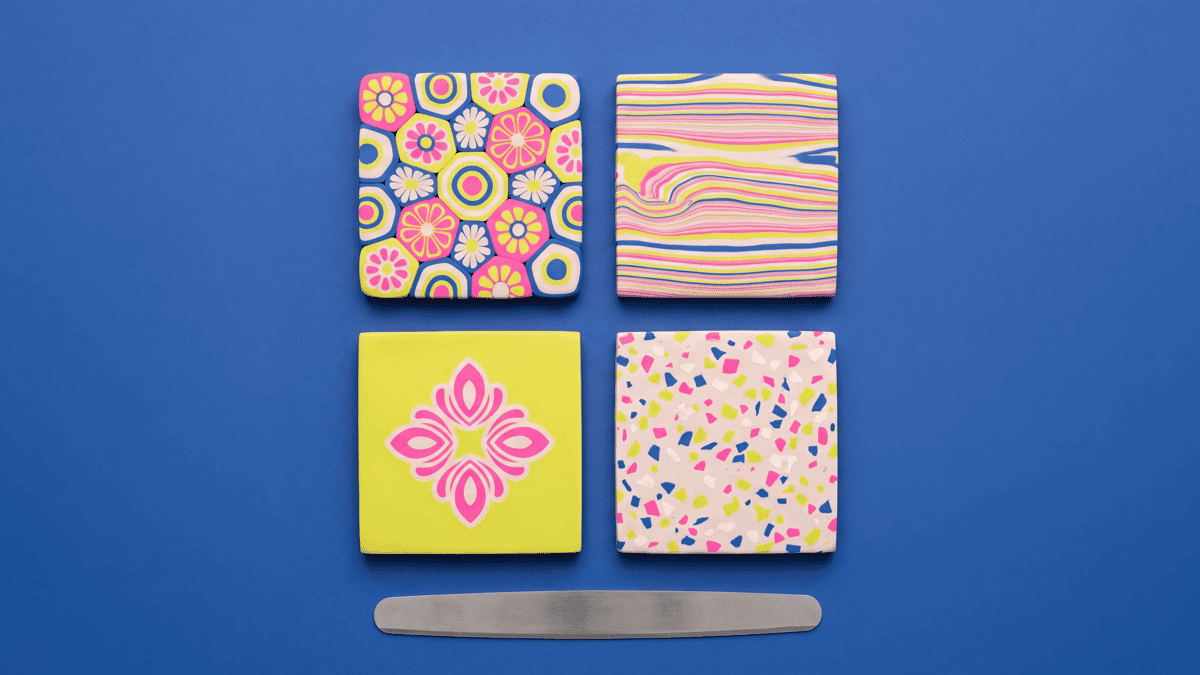
Polymer Clay Surface Effects: Cane, Inlay, Texture, or Print
You added inlay or a cane slice and the surface cracked or the pattern dragged because you chose the wrong technique for the shape. Match the effect to the result you need: repeating pattern (cane), precise placement (inlay), raised detail (applique), or loose texture (marbling/print). Then go to the right deeper guide.
Read the buildPolymer clay techniques
Pick the method, then test the tricky step.
Whether you want to roll Skinner blends, cut perfect 8-bit shapes, or embed hardware, mastering polymer clay is a process of small techniques. These guides suggest conditioning blocks, reduction caning, slab construction, and hardware joins, helping you isolate the tricky step, like reducing a cane or wet-sanding an edge, and conquer it.
Weekly notes
Get weekly polymer clay technique notes
New project notes, small checks, and practical links each week. Free, no spam, unsubscribe anytime.
We will not share or sell your email. Unsubscribe anytime.