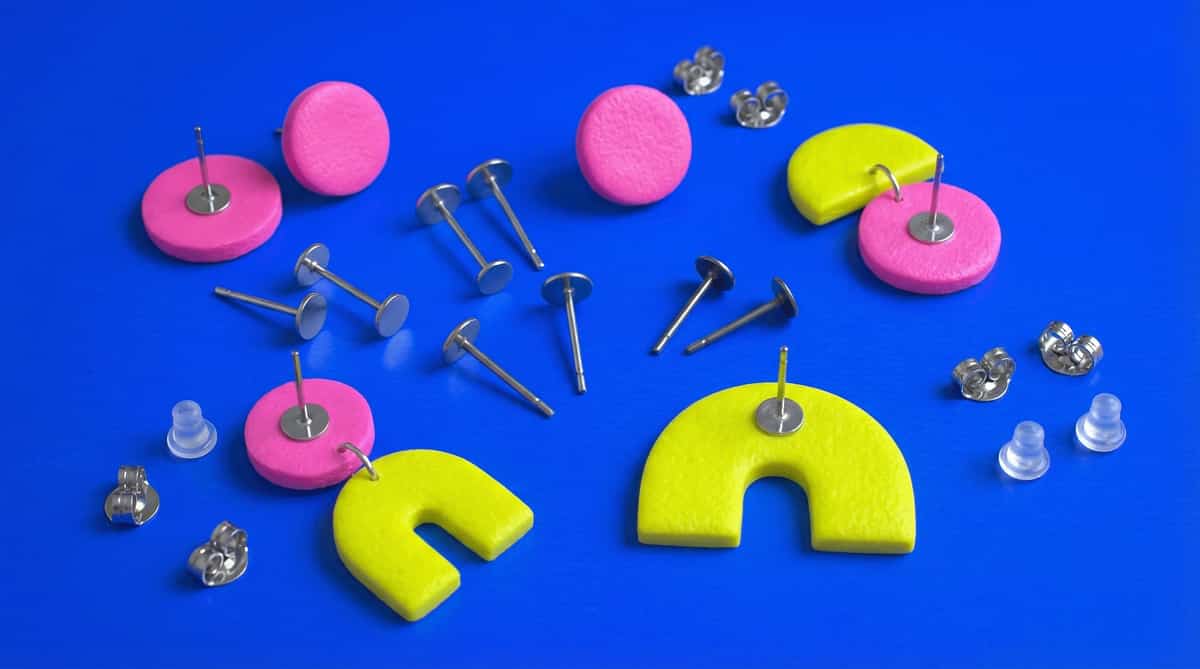
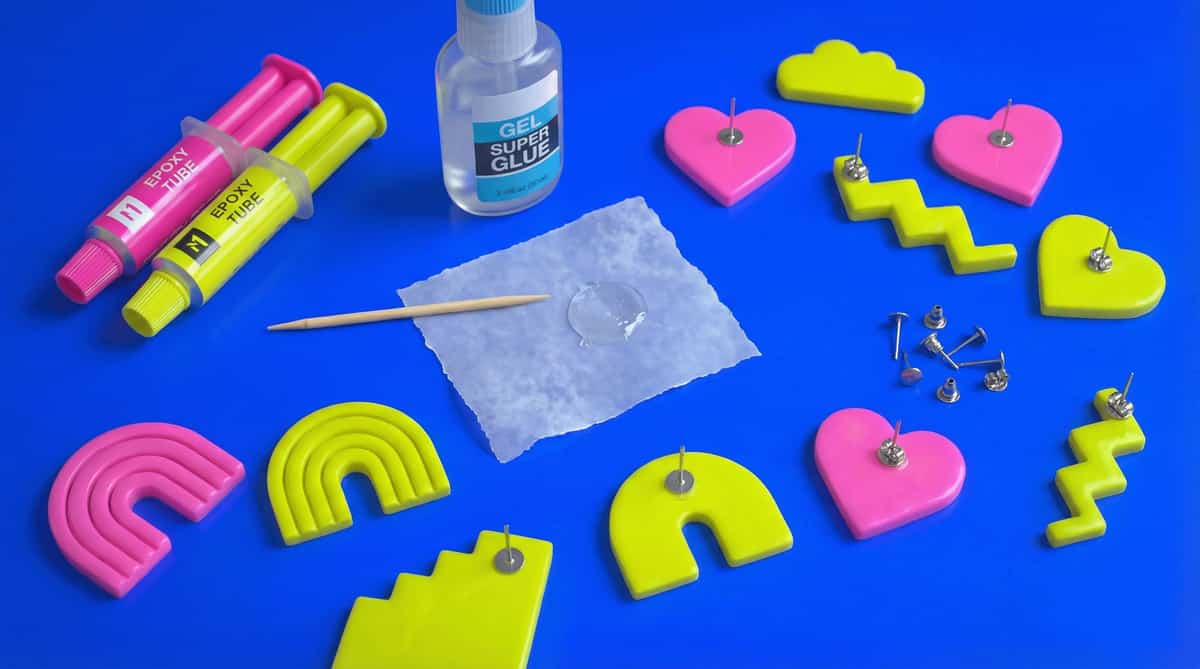
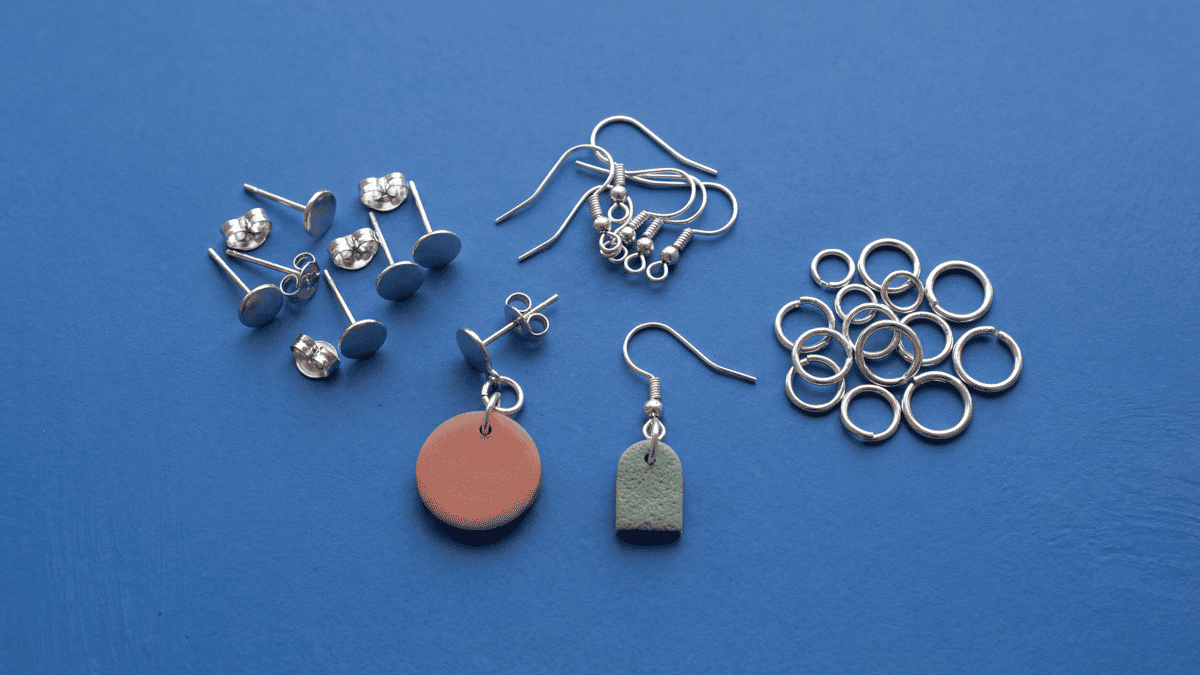
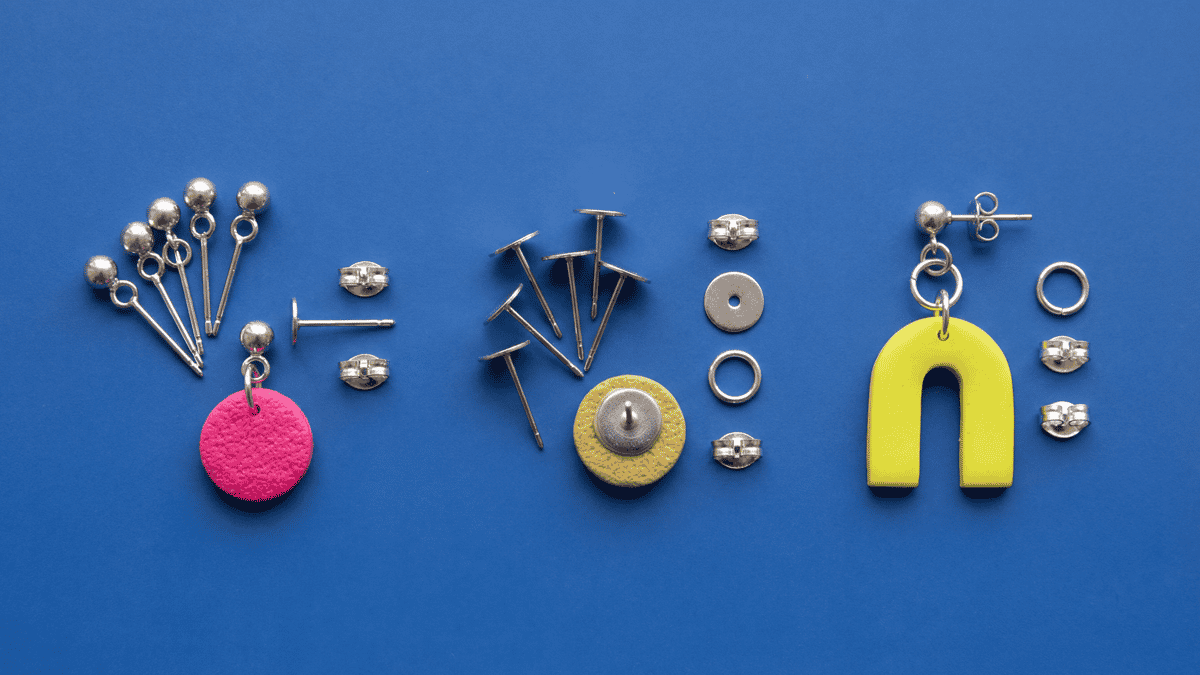
Start with the back of the stud: the space for a post pad, the clay surface, and how the post attaches. Compare embedded posts, glued pads, and the guides for each.
Test the post join on a scrap piece before you make a batch. Try these checks to find the method that suits your clay line, finish, and post pad.
Embed the posts for a mechanical lock
01
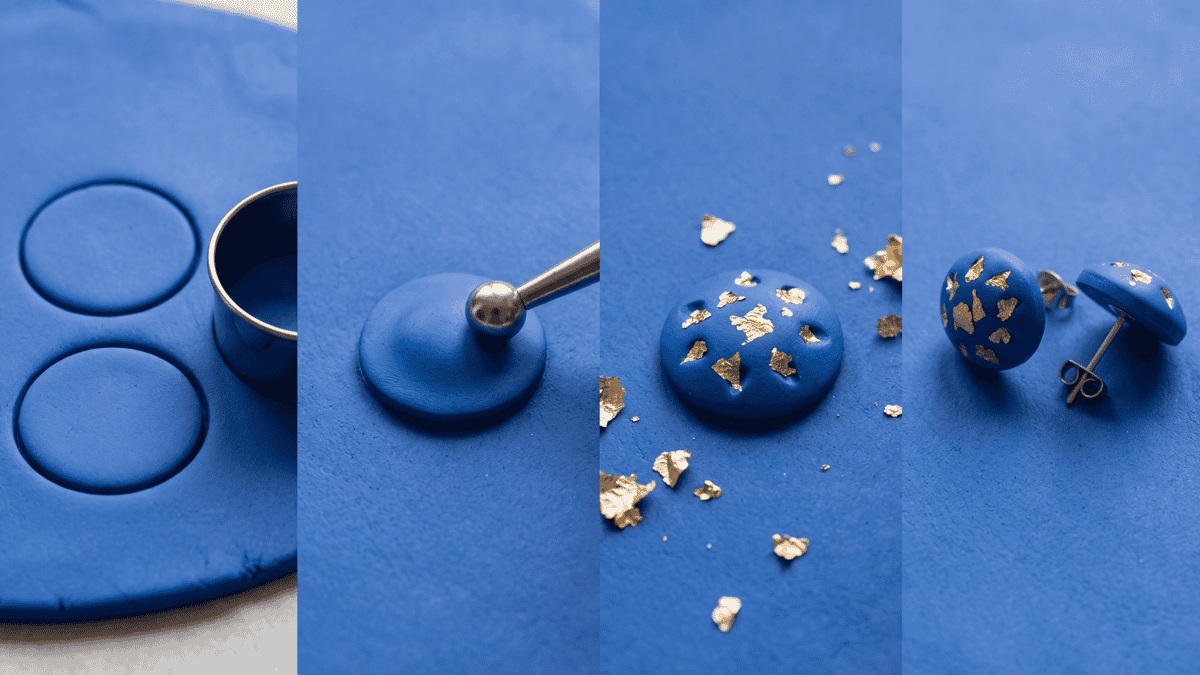
Glues can fail under shear stress, which is why makers use an embedded mechanical lock. Press the raw stud onto the post pad, cover it with a tiny scrap circle of clay, brush on liquid clay to fuse the layers, and bake them as one piece.
Smooth baked clay has no 'tooth' for adhesives to grab. Use a craft knife to score a tiny cross-hatch pattern on the back of the baked stud, wipe away dust with rubbing alcohol, and apply jewelry-grade glue.
If the back of your stud bakes with a slight curve, the flat metal post pad will wobble and lift. Bake your studs flat on a smooth ceramic tile under a parchment sheet, then sand any uneven spots before applying your glue.
Sanding dust and skin oils are major reasons glue fails to bond. Before you apply any adhesive, wipe the back of your baked clay stud with rubbing alcohol on a lint-free cotton swab, then let it dry completely.
Adhesive grabs the sealer film instead of the clay, so the bond peels off with the coat. Mask a bare island of baked clay for the post pad before you apply any topcoat.
Studs need fewer findings than dangles, but the pad size, back flatness, glue test, and clay thickness still decide the shopping list. Start with one stud pair before buying a larger hardware assortment.
JewelrySculpey documents one necklace option: put a small bend at the end of an eye pin, carefully insert it into raw clay, and bake it inside. Follow the exact clay package and test that named setup before repeating it.Read Guide
JewelryFor finished clay on posts, hooks, rings, or other smooth metal parts, try the adhesive, finish, and hardware together on scraps before using that setup on finished pieces.Read Guide
JewelryFor wearer-facing metal, look for specific material notes such as titanium or a named stainless alloy, then keep nickel and coating details with your batch notes.Read Guide
JewelryWear nitrile gloves for the final assembly and packing pass. Fingerprints on baked clay or polished metal parts show up under product photography lighting.Read Guide
FinishingRemove fingerprints after baking by starting with the lightest grit that will actually level the mark.Read Guide
TroubleshootingIf glue is failing on finished clay and metal parts, rough both surfaces lightly and retest a silicone glue or instant-drying glue on scrap pieces first.Read Guide
JewelrySculpey documents one necklace option: put a small bend at the end of an eye pin, carefully insert it into raw clay, and bake it inside. Follow the exact clay package and test that named setup before repeating it.Read Guide
JewelryFor finished clay on posts, hooks, rings, or other smooth metal parts, try the adhesive, finish, and hardware together on scraps before using that setup on finished pieces.Read Guide
JewelryFor wearer-facing metal, look for specific material notes such as titanium or a named stainless alloy, then keep nickel and coating details with your batch notes.Read Guide
JewelryWear nitrile gloves for the final assembly and packing pass. Fingerprints on baked clay or polished metal parts show up under product photography lighting.Read Guide
FinishingRemove fingerprints after baking by starting with the lightest grit that will actually level the mark.Read Guide
TroubleshootingIf glue is failing on finished clay and metal parts, rough both surfaces lightly and retest a silicone glue or instant-drying glue on scrap pieces first.Read Guide