Start here
What to choose and check first
Start with one clay line you can actually test, a small set of core tools, and a simple first project that teaches cure, thickness, and clean cuts before you guess at harder hardware decisions.
- 1Pick one clay line and stick with it for the first few projects. Mixing brands and instructions on day one is what makes beginner advice feel contradictory
- 2Use an oven thermometer at tray height to compare the oven dial with the actual heat near the clay
- 3Treat the package directions as your bake baseline. Premo, Sculpey III, Soufflé, Fimo, and Cernit do not share one universal rule
- 4Condition the clay until a folded slab bends without cracking on the outside curve, then cut or shape
- 5Once cure and slab control feel stable, the beginner toolkit guide is the next read for shopping decisions
This hub is organized around first-month learning order: pick one clay line, understand the core tools, learn to follow package bake directions, then test a simple project before you widen the cart or the technique stack.
Sculpey Premo starter colors
Good when you want one known clay line for first slabs, simple jewelry tests, and practice pieces.
Acrylic roller with thickness rings
Good for rolling more even slabs, which makes early cutter and bake tests easier to compare.
Analog oven thermometer
A low-cost way to compare the oven dial with the real tray temperature before you blame the clay.
Polymer clay is forgiving for first-time makers: it conditions in your hands, takes a clean cut, and bakes in a regular oven once you know your line and temperature. The first month is mostly about picking one clay line, learning how it conditions and cures, and getting past the few setup mistakes that make beginners give up early.
But walking into the craft store aisle can be overwhelming. Blocks of every color, a thousand tools, and conflicting advice. The shorter path is a smaller starter setup, one clay line you can actually test, and a first practice project that teaches the basics without forcing a risky hardware path on day one.
1. Choosing Your Clay: Start With One Known Line
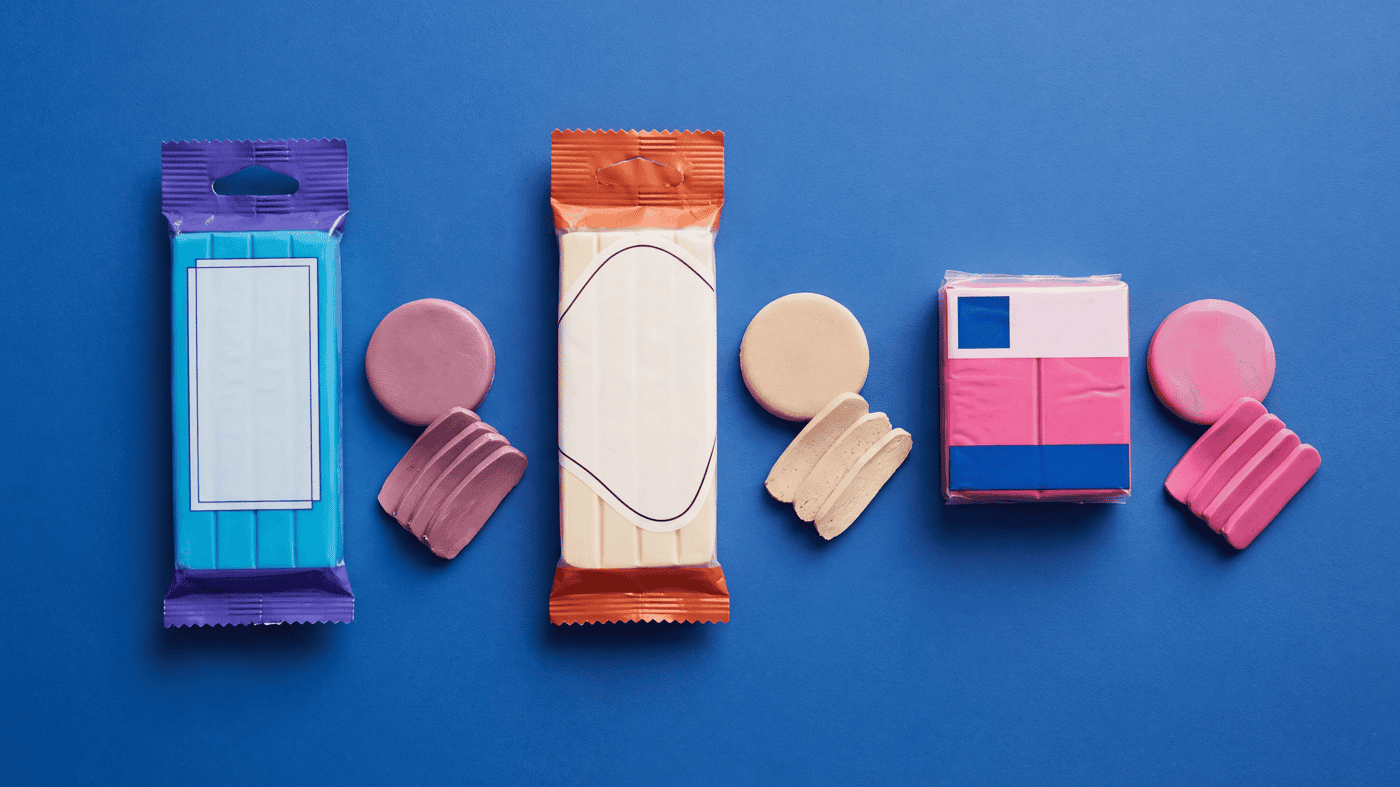
Premo and Soufflé are the two easiest clay lines for a beginner to test first for slabs and simple jewelry. Pick one line, learn how it conditions and cures, and do not treat any single line as universal.
Not all polymer clay lines behave the same way after cure. The safer beginner move is to pick one line, follow the package directions for that line, and bake a small test piece before you buy a giant stash or start mixing advice from different brands together. For a side-by-side comparison, see our beginner brand guide on Premo, Soufflé, and FIMO Soft.
Polymer clay brands differ in conditioning feel, cured surface, and how they behave in thin slabs, canes, or lightweight jewelry. Premo and Soufflé are often the easiest first brands to test for slabs and simple wearable shapes. FIMO Professional and Cernit are also workable, but they feel different in the hand and should be tested at your planned build thickness before you rely on them.
| Brand | Finish | Often Chosen For | Watch For |
|---|---|---|---|
| Sculpey Premo | Smooth, semi-glossy | Slabs, simple jewelry, color mixing | Follow the package directions and test your actual thickness |
| Sculpey Soufflé | Matte, suede-like | Lightweight earrings, matte-leaning finishes | Softer feel can change how crisp edges hold |
| FIMO Professional | Firm, matte | Caning, firmer detailed work | Firmer conditioning feel than softer lines |
| Cernit | Translucent, porcelain-like | Translucent looks, faux stone, jade effects | Test cure and finish on samples before committing |
| Sculpey III | Smooth, glossy | General crafts and thicker practice pieces | Test thin wearable parts carefully before you rely on them |
Maker note
Start with a sampler pack of Premo or Soufflé multipack if you want a smaller first order. White, black, a few primaries, and maybe translucent are enough to start testing color mixes without buying every block on the shelf.
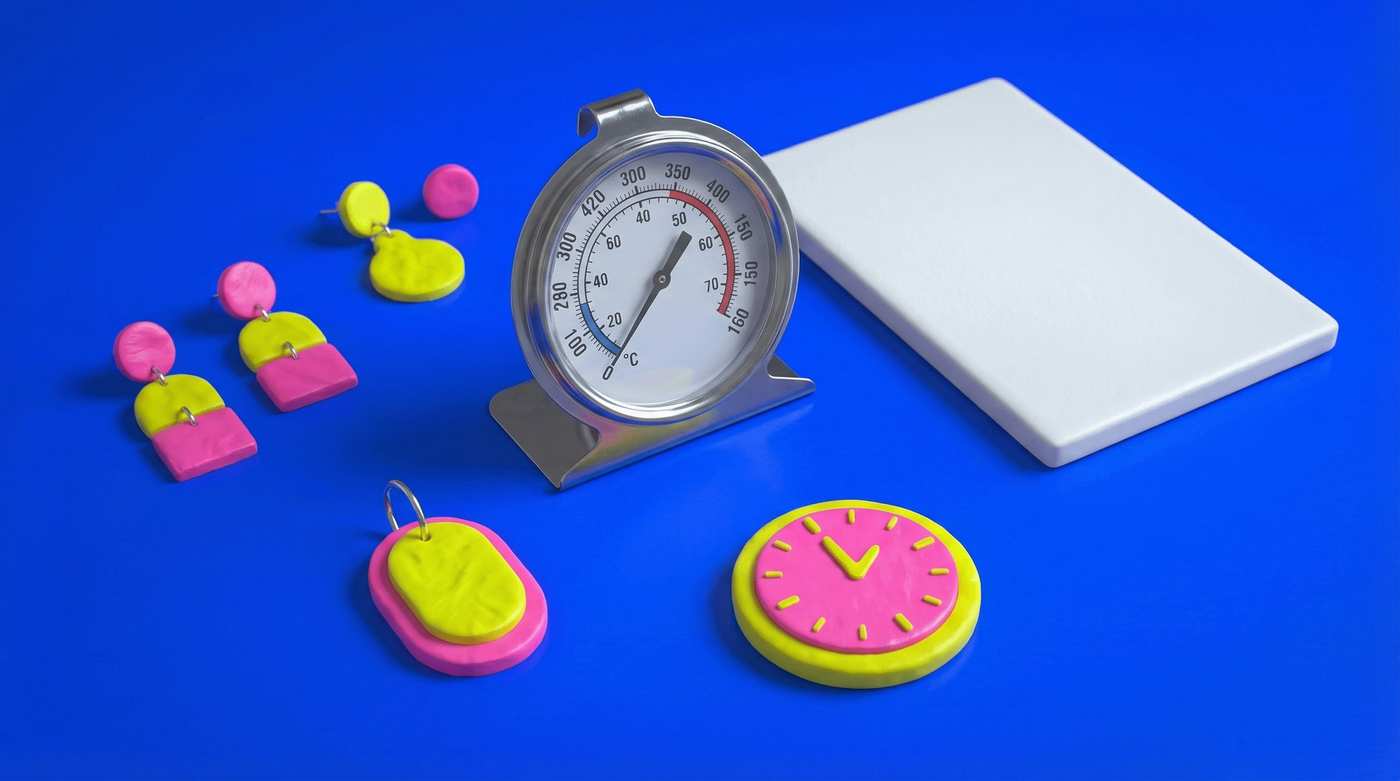
2. Core Tools To Understand First
One practical starter setup is a ceramic tile, acrylic roller, tissue blade, needle tool, and oven thermometer.
These five tools solve most first-month problems. If you want the shopping-only version of this decision, use our beginner toolkit guide.
- Work Surface: A smooth ceramic tile or another glass or metal surface kept dedicated to clay work. If you plan to shape and bake on the same surface, confirm that specific surface is oven-safe for that use so flat pieces move less between shaping and cure.
- Acrylic Roller: To flatten your clay. Use a clear acrylic roller so you can see what you're doing; a wooden pin presses its grain into the clay surface.
- Tissue Blade: A super sharp, flexible blade for slicing clay. It's much sharper than a kitchen knife and allows for clean cuts.
- Needle Tool: For poking holes and adding texture.
- Oven Thermometer: This is one of the most useful early upgrades. Oven dials can run hotter or cooler than the actual tray temperature, and that is exactly the kind of drift that turns into scorching or incomplete cure.
Nice-to-Have (But Not Essential)
- Pasta Machine: For conditioning clay and rolling even slabs. A dedicated clay pasta machine will save you hours of rolling.
- Clay Cutters: Start with a thin-walled cutter set covering circles, arches, and one "fun" shape to handle your first designs.
- Texture Slabs: For adding patterns to flat slabs quickly.
3. The Baking Rules
Start with the baking temperature and time on your clay line packaging, then use an oven thermometer to compare that target with the real tray temperature.
Fear of burning is common, but temperature drift and incomplete cure are just as real. Package-first baking is the most conservative baseline.
- Temperature: Check the package for your line first. Sculpey Premo publishes 275°F (130°C) for 30 minutes per 1/4 inch (6 mm) of thickness, but other lines can differ and should not be collapsed into one universal rule.
- Time: Use the time printed for that clay line. Test again if you change brand, thickness, form, or oven setup.
- The Tent Method: A foil tent or cover can help in ovens that overshoot or throw strong top heat, especially on light colors. Treat it as a heat-management option, not a requirement for every bake.
Incomplete cure is a common cause of broken polymer clay pieces. Follow the instructions for the clay line you are using, verify the real oven temperature with a thermometer, and use a small test piece when your bake setup or wall thickness changes.
4. Common Beginner Mistakes (And How to Fix Them)
The five biggest beginner mistakes are skipping conditioning, leaving fingerprints, fighting overly soft clay, trusting the oven dial, and expecting one bake rule to fit every clay line.
These five are the ones that quietly waste a first block of clay. Each fix is a small habit change, not a new tool.
Mistake #1: Not Conditioning Your Clay
The problem: Raw clay straight from the package can be crumbly or stiff. If you don't condition it (warm and knead it), it won't stick to itself properly and will crack.
The fix: Condition each piece until it feels workable and folds without cracking. If it is very stiff, slice it thin, stack the slices, and run them through a pasta machine or roller in repeated passes.
Mistake #2: Fingerprints Everywhere
The problem: Your finished piece has visible fingerprints baked into the surface.
The fix: Wear thin craft gloves while conditioning and shaping raw clay if fingerprints or skin comfort are recurring issues. You can also wet sand light surface marks after baking if the design still suits that finish path.
Mistake #3: Clay Sticking to Everything
The problem: Clay sticks to your work surface, roller, or cutters.
The fix: Work on a ceramic tile or glass surface instead of an unknown plastic, dust cutters lightly when needed, and chill overly warm clay briefly before forcing it through a sticky cut.
Mistake #4: Burnt or Discolored Pieces
The problem: Your white clay came out beige, or pieces have brown spots.
The fix: Use an oven thermometer to check the real tray temperature, and add a foil tent if your oven runs hot or throws strong top heat. Bake on the middle rack instead of crowding the top elements.
Mistake #5: Brittle Pieces That Break
The problem: Your earrings snapped when you dropped them.
The fix: Check the package instructions for your clay line, verify the real oven temperature, and test a small piece before changing the bake. If you are trying thin wearable parts, also check whether your current clay line is the best fit for that thickness.
5. Your First Project: Simple Circle Practice Pieces
Simple flat circles are a cleaner first project than a full hardware build. You learn slab thickness, clean cutting, and package-first baking without guessing at posts, glue, or wearability on day one.
You will make two matching circles: leave them flat as finish-test chips, or add a top hole to turn one into a pendant later.
What You'll Need
- 1 block of your chosen polymer clay line
- Round cutter (or a bottle cap/small glass)
- Needle tool or skewer if you want to mark a top hole before baking
- Ceramic tile or other oven-safe surface dedicated to clay work
- Oven thermometer
Step-by-Step Instructions
- Condition your clay: Knead until it feels workable and folds without cracking.
- Roll a flat slab: Using your roller (or a glass jar), roll a small even slab at the thickness you want to test.
- Cut your shapes: Press your round cutter straight down, don't twist. Lift carefully. You need 2 circles the same size.
- Smooth the edges: Use your finger to gently smooth any rough edges. For a cleaner look, lightly roll over the cut pieces with your finger.
- Optional top-hole mark: If you want one piece to become a pendant test later, mark the top hanging point lightly while the clay is still raw.
- Place on tile or tray: Transfer your circles to the ceramic tile or other oven-safe surface you keep for clay work.
- Bake: Follow the package directions for your clay line and use the thermometer to confirm the real oven temperature near the tray.
- Cool and inspect: Let the pieces cool, then check the edges, thickness, and surface. This is the point where you decide whether you want sanding, buffing, or a later hardware test.
- Optional next step: If you want to turn one piece into a pendant or stud later, use the pendant or post guides instead of guessing the hardware path from memory.
Variations to Try Next
- Mix two colors for a marbled effect before rolling
- Press a texture stamp into the surface before cutting
- Stack two different-sized circles for a layered look
- Use an arch or oval cutter instead of circles
Ready to start? Grab one clay line, roll out a small slab, cut a couple of shapes, and run a clean test bake. The fastest way to learn polymer clay is still to make something small, look closely at the result, and adjust deliberately from there.
Still deciding what to actually buy? The beginner toolkit list turns this into a focused shopping plan. Want to feel the difference between brands first? The brand comparison covers how Premo, Soufflé, FIMO, and Cernit handle in the hand, and the thermometer guide covers how to confirm your real tray temperature before you blame the clay. If you want a small target piece to copy as practice, the terrazzo arch drops and nested arch hoop earrings are both built from beginner-friendly slab work.
More guides in this path
Open these when the next decision is material choice, attachment, or finishing.

Best Polymer Clay Beginner Toolkit (2026): Core Tools To Start With
Start with one clay line, a flat tile, an acrylic roller, a tissue blade, a needle tool, and an oven thermometer. These basics help you roll cleaner slabs, cut neater shapes, and trust the bake before adding specialty tools.
Best Polymer Clay Brands for Beginners: Premo vs Soufflé vs FIMO Soft
Premo is a practical first test when you want one clay line for slabs, simple earrings, and general practice. Choose Soufflé when lightweight matte-leaning earrings are clearly the goal, and look at FIMO Soft when a softer conditioning feel matters more than firmer edge retention.
Best Oven Thermometer for Polymer Clay: What To Buy First (2026)
Start with your clay line's package directions, then use an oven thermometer to check whether the shelf near your tray or tile is actually reaching that target. Placement matters more than gadget complexity, and an analog dial is usually enough to start.
Finished examples with related clay decisions
Each piece shows how a material, attachment, or surface choice changes the final form.