In brief
Key takeaways
- 1Polymer clay heat-cures into a slightly flexible plastic. Air dry clay loses water at room temperature and stays porous and brittle
- 2For jewelry, wearables, and anything exposed to sweat or water, polymer clay is often the better starting material after a proper cure and sample handling test. Air dry clay softens or partly dissolves when wet
- 3Polymer clay color sits in the clay across the whole piece. Air dry color is surface paint that chips or scratches off
- 4Air dry clay is friendlier on day one because there is no oven step. Polymer clay is friendlier across a year of work because finished pieces survive use
- 5Mixing the two materials in one piece almost always fails at the join. Pick one material per piece and lean into what it does well
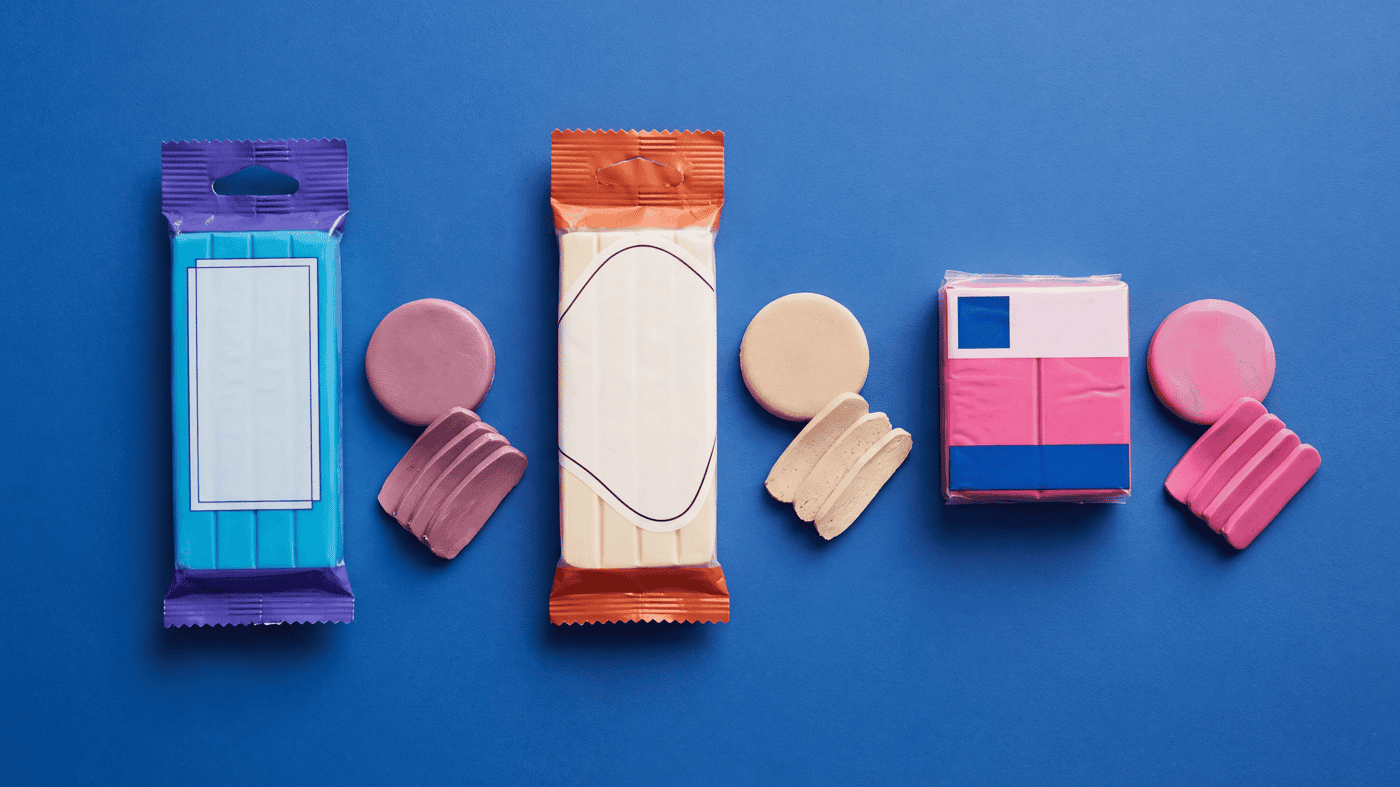
You are standing at the craft store shelf with an inexpensive brick of air dry clay in one hand and a block of Sculpey in the other. The cost gap looks small on the shelf, but it matters more than the two numbers suggest, because once a piece is finished the two materials hold up very differently to water, wear, and thin edges.
Quick Comparison: Polymer vs Air Dry
This table is a working snapshot, not a brand-by-brand ranking. Always read the package directions for the specific product you actually buy, since formulas vary across lines.
| Attribute | Polymer Clay | Air Dry Clay |
|---|---|---|
| How it cures | Heat cure in an oven | Water evaporates at room temperature |
| Cure time | Many Sculpey lines cure about 30 minutes per quarter inch at the package temperature; always follow your brand's package | 12 to 72 hours depending on thickness and humidity |
| Durability | Slightly flexible plastic, resists chipping and impact | Rigid but brittle, chips at thin edges |
| Detail capability | Holds fine texture, cane slices, surface inlay | Holds shape, but shrinkage softens fine detail |
| Color stability | Pre-colored throughout the block, color stable through cure | Painted after drying, color sits on the surface only |
| Water resistance | Water-resistant after bake | Softens or partly dissolves in water |
| Painting | Optional, accepts acrylic and alcohol-based paints | Usually required, accepts most water-based paints |
| Sealing | Optional, mostly aesthetic | Strongly recommended for durability |
| Storage of unused | A year or two if cool, sealed, out of sunlight | Weeks to months in sealed wrap before drying out |
| Best for | Jewelry, wearables, fine detail, color work | Decorative-only pieces, kids' projects, larger sculpture |
How They Cure: Oven vs Air
The materials are not the same chemistry. Polymer clay is a PVC particle suspension carried in a plasticizer, and the PVC particles gel and fuse with their plasticizer system when the piece reaches the package temperature, usually somewhere between 230 F and 300 F depending on the brand. Once that cure happens, the change is permanent and the piece is a stable plastic.
Air dry clay is a starch, cellulose, or cotton-pulp suspension carried in water. It hardens because the water evaporates, not because anything fuses. That single difference explains most of the practical gaps below. Polymer clay cures all the way through as long as the bake is long enough for the thickness (oven heat still has to work its way into a thick mass, which is why bake times scale with thickness); air dry clay dries from the outside in, which means a thicker piece can have a wet core for days while the surface feels finished, and the whole piece shrinks as the water leaves.
Durability and Wearability
Baked and cooled polymer clay is a slightly flexible plastic. A thin test slab can bend a small amount under thumb pressure before it cracks, and a properly cured sample can hold drilled holes and hardware tests better than most air dry clay. The cracking guide covers what still goes wrong, but the baseline is more suitable for jewelry.
Air dry clay finishes rigid but brittle. The thinner the piece, the less impact it tolerates. Earring-thin slabs of air dry clay can chip at the edges, snap under post pressure, and react badly to moisture. For decorative pieces that sit on a shelf and never get rained on, air dry can hold up for years. For wearable jewelry exposed to body heat, sweat, and weather, polymer clay is usually the first material to test.
Color and Finish
Polymer clay is pre-colored across the entire block. You can mix colors before the bake, blend canes, or build marbling, and the color is stable through cure. A chip later still reads the same color underneath because the pigment is in the clay, not painted on top. That property is what makes techniques like millefiori, mokume gane, and surface inlay possible at all.
Air dry clay is usually sold in white, terracotta, or grey, and the working assumption is that you will paint it after it dries. That works fine for decorative sculpture, but the color is surface-only. A scratch reveals the raw clay underneath, and a chip on an air dry piece reads as a damaged spot in a way that a chip on polymer clay does not.
Detail Capability
Polymer clay holds fine detail well. Texture stamps press cleanly, cane slices keep their pattern, and small surface marks usually survive the cure with very little change. Because polymer clay does not rely on water evaporation, a test pair is easier to keep close in size from shaping through cure.
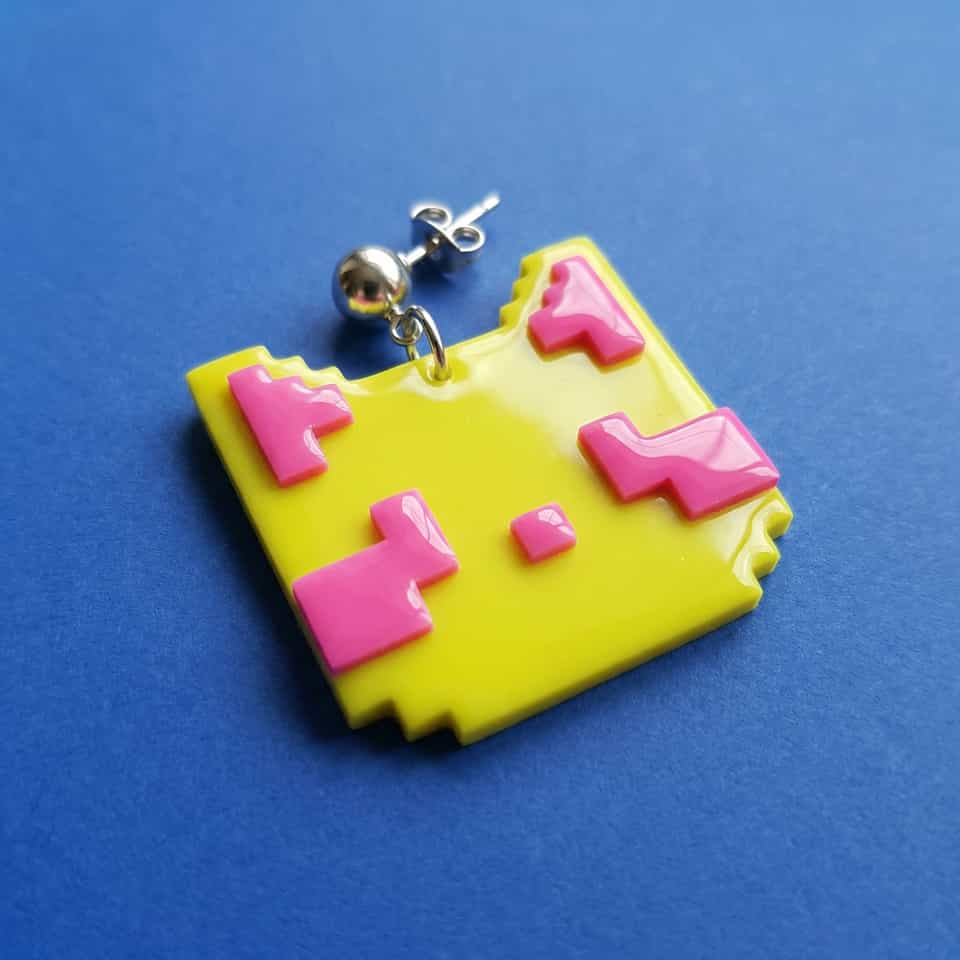
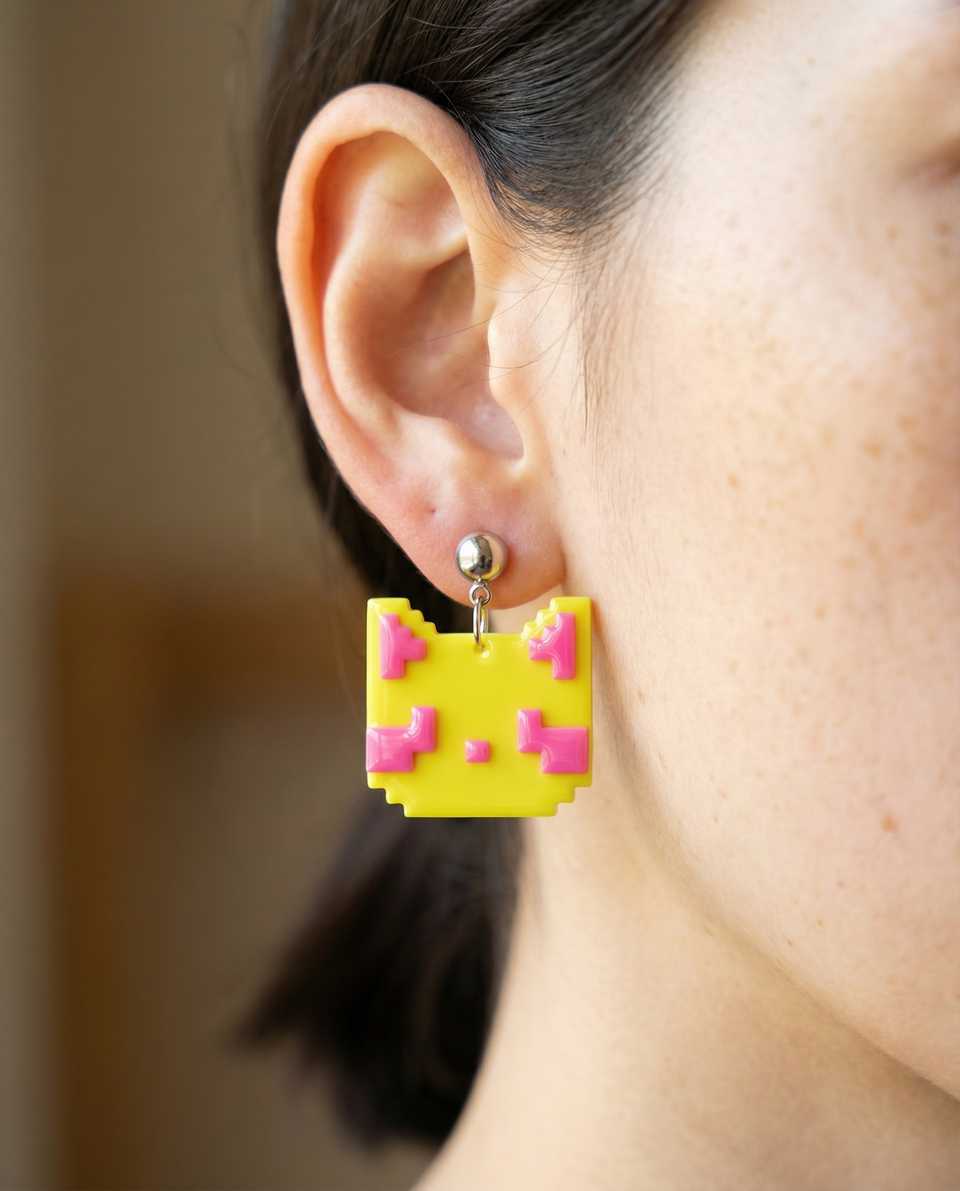
Air dry clay can hold detail at first, but shrinkage during drying is the catch. Depending on the brand and the thickness, an air dry piece can shrink as the water leaves, and that shrinkage is rarely uniform. Fine detail softens, thin walls warp, and matched pairs can drift out of register. For pixel grids, cane work, or anything that needs two pieces to match closely, polymer clay is the easier one to keep in register.
Cost and Setup
Air dry clay is cheaper per pound and needs almost no setup. A pack of clay, a rolling pin, and a butter knife will get you through a first project. Polymer clay costs more per ounce and asks for an oven, an oven thermometer, a ceramic tile or sheet pan, an acrylic roller, and a tissue blade. The beginner toolkit covers the short list of what is actually worth buying first.
The catch with cost: a low-cost air dry decoration that crumbles after a few weeks of handling costs more per finished piece than a polymer clay version that survives. Weigh what you spend against whether the piece holds up to the use you planned, not just the number on the shelf.
Working with Kids and Studio Considerations
Sculpey describes its polymer clays as non-toxic when used as directed, and most air dry clay brands carry similar non-toxic labeling, but always check the package for the specific product you bought. The practical safety difference is the oven step. Air dry clay is simpler for unsupervised kid use because there is no heat source, no temperature target, and no risk of scorching a piece in a small toaster oven. Polymer clay needs adult supervision for the bake, and the room benefits from light ventilation during cure.
Both materials should stay off food prep surfaces. Once a tool has touched raw clay, retire it from food use for good. That rule is the same for either material. Neither clay is meant for plates, mugs, or utensils that touch food, even after a full cure or full dry.
When to Choose Each
Choose polymer clay if: the piece is jewelry, the piece may meet moisture or sweat, the piece carries fine detail, the color story matters across the whole piece, or you plan to repeat the design across a small batch and need pieces to match closely.
Choose air dry clay if: the piece is a kids' craft project that has to finish in one afternoon, the piece is decorative only and will live on a shelf, you do not have a dedicated oven for non-food cure, or the piece is a very large sculpture where an oven cure is impractical and shrinkage is acceptable.
Can I Mix Them in One Piece?
Generally no. The two materials have different chemistries, different shrinkage behavior, and different surface finishes, so a hybrid piece tends to fail at the join. Some makers experiment with adding small air dry texture elements onto baked and cooled polymer clay surfaces, but the bond is fragile and depends on adhesives rather than a real material fuse.
The cleaner approach is to pick one material per piece and lean into what that material does well. If you want polymer clay's durability and air dry clay's quick low-equipment workflow on different projects, that is fine. Trying to combine them inside a single earring or sculpture usually creates a weak point where the two materials meet.
Picking your first material today? Start with the getting started with polymer clay guide for a full first-week walkthrough.
Keep going:
- The beginner toolkit turns that walkthrough into a focused shopping list.
- The brand comparison covers how Premo, Soufflé, FIMO, and Cernit feel in the hand.
- The cracking guide is the troubleshooting read for after-bake failures.
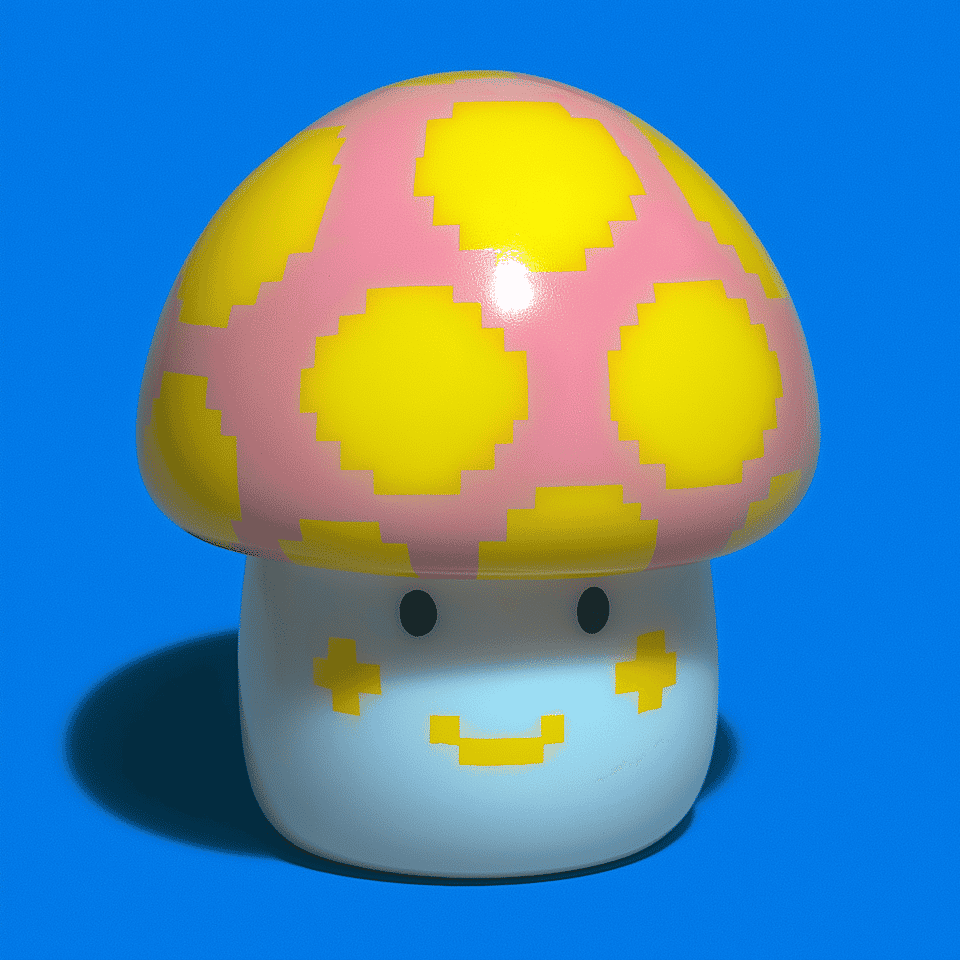
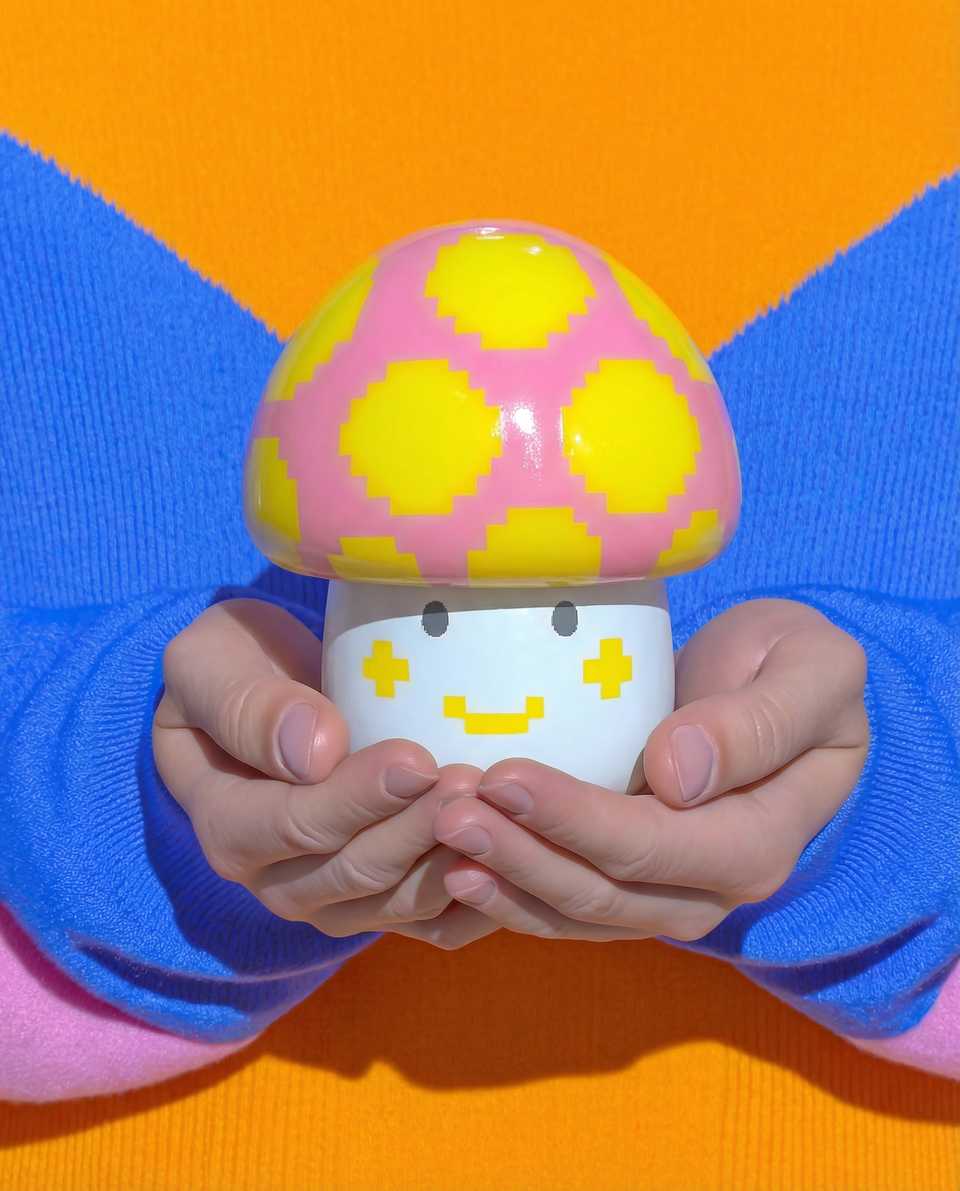
- For a sculptural piece that shows what polymer clay can do that air dry clay cannot, see the build notes on the signal mushroom figure.
More guides in this path
Open these when the next decision is material choice, attachment, or finishing.
Polymer Clay for Beginners: Brands, Tools, First Project (2026)
A beginner primer on clay choice, core tools, a first project, and the mistakes that most often cause early frustration.
Best Polymer Clay Beginner Toolkit (2026): Core Tools To Start With
Start with one clay line, a flat tile, an acrylic roller, a tissue blade, a needle tool, and an oven thermometer. These basics help you roll cleaner slabs, cut neater shapes, and trust the bake before adding specialty tools.
Best Polymer Clay Brands for Beginners: Premo vs Soufflé vs FIMO Soft
Premo is a practical first test when you want one clay line for slabs, simple earrings, and general practice. Choose Soufflé when lightweight matte-leaning earrings are clearly the goal, and look at FIMO Soft when an easy, soft conditioning feel is what you most want from a first line.
Finished examples with related clay decisions
Each piece shows how a material, attachment, or surface choice changes the final form.