Polymer Clay Mokume Gane: Reduction, Distortion, and Slicing
Mokume gane only reveals its topographic pattern when the stack is distorted before slicing. This guide covers slab thickness, the poke-and-press distortion step, and slicing the stack so each layer makes a clean ring instead of a smear.

In brief
Key takeaways
- 1Roll thin even slabs around 1 mm and stack 6 to 10 contrasting layers. Thinner, even layers are what makes the topographic rings read clearly
- 2Distort the stack with a ball tool or rounded poker so the flat layers curve into peaks and valleys before any slicing
- 3Compress lightly after distortion to flatten the top surface without crushing the curved layers underneath
- 4Chill the stack, then shave thin horizontal slices with one confident pull each. Sawing motions blur the rings
The fun of mokume gane is the reveal. You build a tall striped block of clay, push and dimple the top until it looks lumpy and ruined, then shave a thin layer off with a clay blade and the slice that comes away looks like a topographic map. Concentric rings of color, like the contour lines on a hiking chart or the growth rings of a cut log. You did not draw any of it; the geometry of the dimples did the work. One stack will give you six or eight different slices like that before the pattern flattens out, which is part of why mokume keeps showing up in pendants, drops, and inlay work.
Mokume gane borrows its name from Japanese metalwork, where smiths fused stacks of contrasting metals and then carved into them to expose the layered grain. In polymer clay the principle is the same and the work is much faster: thin slabs in alternating colors, a deformed top surface, and horizontal slices that catch the curves of the layers underneath. The technique sits between two easy mistakes, a stack that was not distorted enough (you get stripes) and one that was sliced while too warm (you get blur). The middle ground is where the topography reads, and it is reachable on a first try with a chilled stack and a sharp blade.
Roll Even Thin Slabs Before You Stack
Layer thickness controls how the rings will read. Keep the slabs thin, even, and matched across every color.
Condition each color fully and run it through the pasta machine to a consistent thin setting. Sculpey Premo, FIMO Soft, and Cernit each behave a little differently at the same machine setting, so compare a small test strip before building the full stack.
Choose colors that have visible value contrast. Mokume gane only reads when the layers are easy to tell apart. A stack of similarly toned blues will produce subtle, sometimes muddy patterns. A stack that mixes warm and cool, or light and dark, gives the slices clear ring definition.
Cut all the slabs to roughly the same footprint before stacking. The exact size matters less than keeping them matched, since uneven slabs create gaps that air-trap during stacking and cause delamination during baking.
Build A Stack With Enough Layers To Read
Stack the slabs in alternating colors, pressing each new layer onto the one below to push out air.
Lay the first slab flat on a ceramic tile. Place the next slab on top and press gently from the center outward to push out air bubbles. Repeat until the side view shows enough color bands to make rings after distortion; roughly six to ten layers reads well for most palettes. Too few layers leave the rings sparse; too many can make the stack hard to slice cleanly.
If you want metallic accents, add a sheet of composition gold or silver leaf between two layers. The leaf will crack and break during distortion, which is the desired effect. It produces shiny irregular flashes mixed in with the color rings. Keep a clay layer on each side of the leaf so it stays bonded; sandwich it between two clay layers rather than against itself.
Once the stack is built, press the whole thing flat with an acrylic block or a tile to seal the layers together. The stack should now feel like one solid brick of clay. Trim the edges square with a clay blade so the layers are visible from the side.
Distort The Stack With A Ball Tool
This is where the technique earns its pattern. Push and dimple the top of the stack so the flat layers below curve up and down.
Use a small to medium ball stylus, the rounded back end of a paintbrush, or a clay shaping tool with a rounded tip. Press it firmly into the top of the stack so the upper layers indent. The deeper you press, the more dramatic the rings will be when you slice.
Cover the top of the stack with these dimples, varying their depth and spacing. Some makers also poke from the bottom up so the rings face both directions. Stop short of pressing all the way through; you want deep curves in the layers, not holes through the stack.
If you want larger swirls instead of small dimples, drag the ball tool sideways through the stack to create curved channels. Combining dimples and drags gives the most varied slice patterns later. Stop when the top of the stack looks lumpy and irregular.
Press The Peaks Down Without Flattening The Layers
Press the dimples down slightly so the top of the stack is somewhat level again, but keep the curved layer shapes underneath.
Lay an acrylic block or smooth tile on top of the distorted stack and press gently. The goal is to bring the highest peaks down so slicing has a more even surface to work against, while leaving the bent layers below mostly intact. If you press too hard, the curves flatten back into stripes and the technique fails.
This compression step is what most failed mokume gane attempts skip. Without it, the first few slices come off uneven and chunky rather than thin and ring-shaped.
Chill The Stack Before You Slice
Cold clay slices cleaner. Rest the stack briefly in the fridge before reaching for a blade.
Warm clay drags under the blade and smears layers into each other, which is the main reason for blurry slices. A short chill firms the stack so the blade pulls through cleanly.
Do not freeze the stack solid. A few minutes in the freezer can crack layers when the blade lands. Aim for cool and firm, not hard.
Shave Thin Slices Off The Top
Use a long flexible clay blade and shave thin horizontal layers off the top of the stack.
Hold the stack steady on the tile. Position the blade at one end of the top surface and pull it through with one confident motion, keeping the blade as parallel to the work surface as possible. A sawing motion will smear the layers; a single clean pull keeps the slice crisp.
Shave slices thin enough to bend onto a backing slab without smearing the rings. The first slice from a freshly distorted stack often shows only partial pattern; the next few slices usually expose the most striking rings. Save every slice, even the partial ones, since they layer well as accent pieces.
As you slice deeper, the pattern changes. Each layer down exposes a different cross section of the distorted layers, which means a single stack can give you several useful pattern slices before the rings flatten back into stripes near the bottom.
Apply Slices Without Re-Rolling Them
Press mokume gane slices onto a backing slab gently, do not run them back through the pasta machine.
Each slice is a fragile pattern. Re-rolling stretches the rings into smears and undoes the distortion work. Lay the slice on a backing slab of conditioned solid color, press it down with light fingertip pressure or a flat acrylic block, then trim the final shape with a cutter.
If the slice has small gaps or torn edges from slicing, fill them with conditioned scrap of a matching color before pressing into the backing. The seam usually disappears once the slab is pressed flat.
Bake And Finish
Bake mokume gane pieces flat on a tile per your clay line's package directions, then sand and buff for depth.
The pattern reads better with a smooth glassy or softly satin finish. Sand the cured surface with 400, 600, 800, then 1000 grit wet sandpaper, working in small circles. A final buff with a soft cloth or a set of fine micro-mesh polishing pads brings out the layers.
Heavy gloss can deepen the read but also adds reflections that fight the pattern. Test on a scrap slice before committing the whole batch. Some makers prefer a satin glaze for mokume gane since it lets the layers carry the visual weight without competing reflections.
The Four Choices Behind A Clean Mokume Slice
Mokume gane, layered topographic patterns, and stacked-and-sliced slabs come down to four decisions: how the stack is built, how it is distorted, which way it gets sliced, and what backing slab catches the slices. Plan all four before any shaving begins.
Builds that depend on getting all four right:
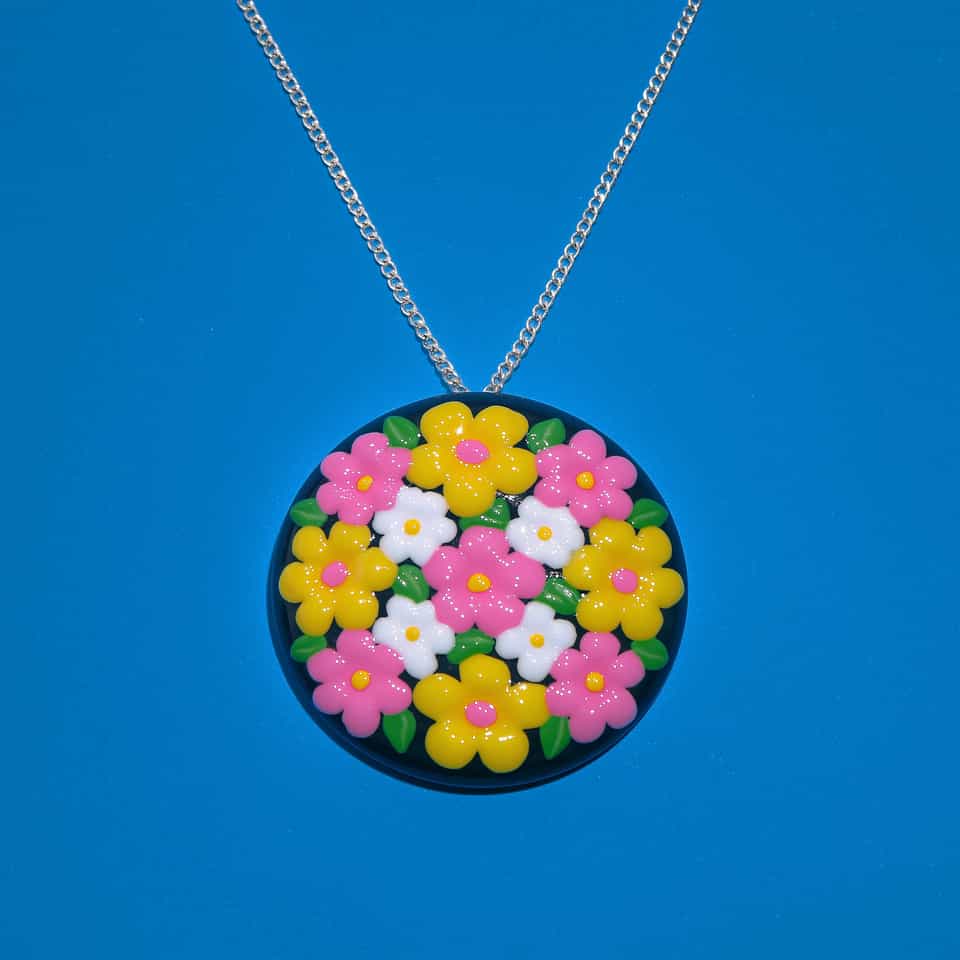
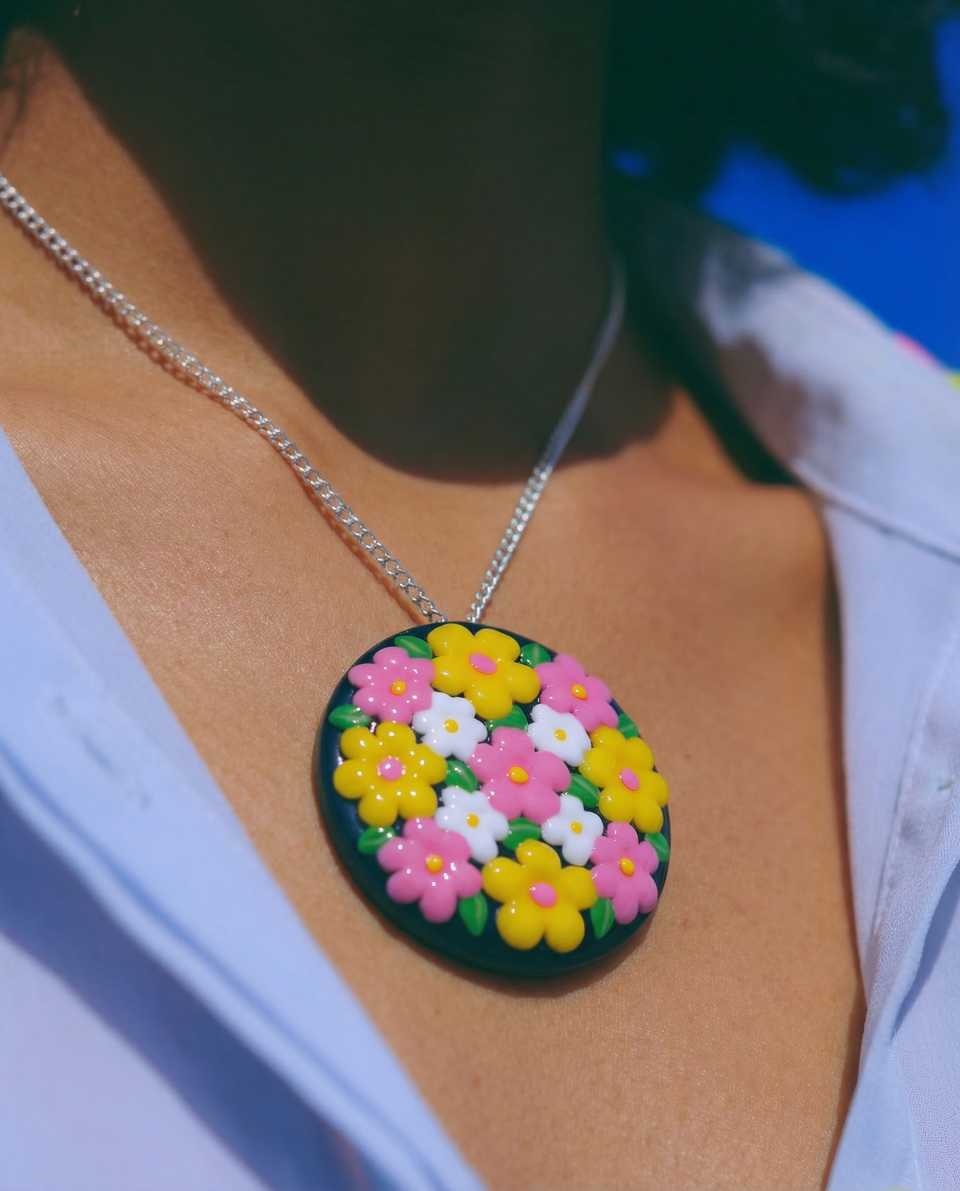
- topographic pendant slabs and statement drops
- woodgrain-style brooches and trinket dishes
- multi-layer color study earrings
For a related surface inlay technique that uses pattern slices on a base slab rather than reduction, see the Sutton slice surface inlay guide.
More guides in this path
Open these when the next decision is material choice, attachment, or finishing.

Polymer Clay Surface Effects: Cane, Inlay, Texture, or Print
You added inlay or a cane slice and the surface cracked or the pattern dragged because you chose the wrong technique for the shape. Match the effect to the result you need: repeating pattern (cane), precise placement (inlay), raised detail (applique), or loose texture (marbling/print). Then go to the right deeper guide.

How to Use Sutton Slice in Polymer Clay (Surface Inlay Tutorial)
Sutton slice puts a thin patterned cane slice into a textured base slab so the design sits flush with the surface. This guide covers texture choice, slice thinness, the press-and-shave step, and how to keep the inlay from lifting at the edges.

Polymer Clay Pendant Holes, Bails, and Jump Ring Placement
Pendants hang crooked or the hole tears through the top edge because the hardware was placed from the side instead of the visual center. Mark the real balance line, leave enough clay margin, and choose drilled hole, bail, or short jump ring from the finished front view.
Finished examples with related clay decisions
Each piece shows how a material, attachment, or surface choice changes the final form.