Best Polymer Clay Beginner Toolkit (2026): Core Tools To Start With
Start with one clay line, a flat tile, an acrylic roller, a tissue blade, a needle tool, and an oven thermometer. These basics help you roll cleaner slabs, cut neater shapes, and trust the bake before adding specialty tools.

Start here
What to choose and check first
- 1Keep the first kit to one clay line, a ceramic tile, an acrylic roller, a tissue blade, a needle tool, and an oven thermometer
- 2Solve the beginner failures (uneven slabs, sticky cutters, off-temp ovens) before adding a drawer of specialty extras
- 3Thickness guides are usually the highest-payoff upgrade. They fix rolling, cutting, and pair-matching all at once
- 4Wait on the pasta machine until repeat slabs or wrist fatigue become the real bottleneck. It is rarely a day-one purchase
- 5Add finishes and hardware once cure, slab control, and clean cuts already feel stable on scrap pieces
Each tool is judged by the beginner failure it removes first: unknown oven heat, uneven slabs, distorted transfers, ragged cuts, or messy hole placement. The shortlist stays small until the workflow proves it needs another part.
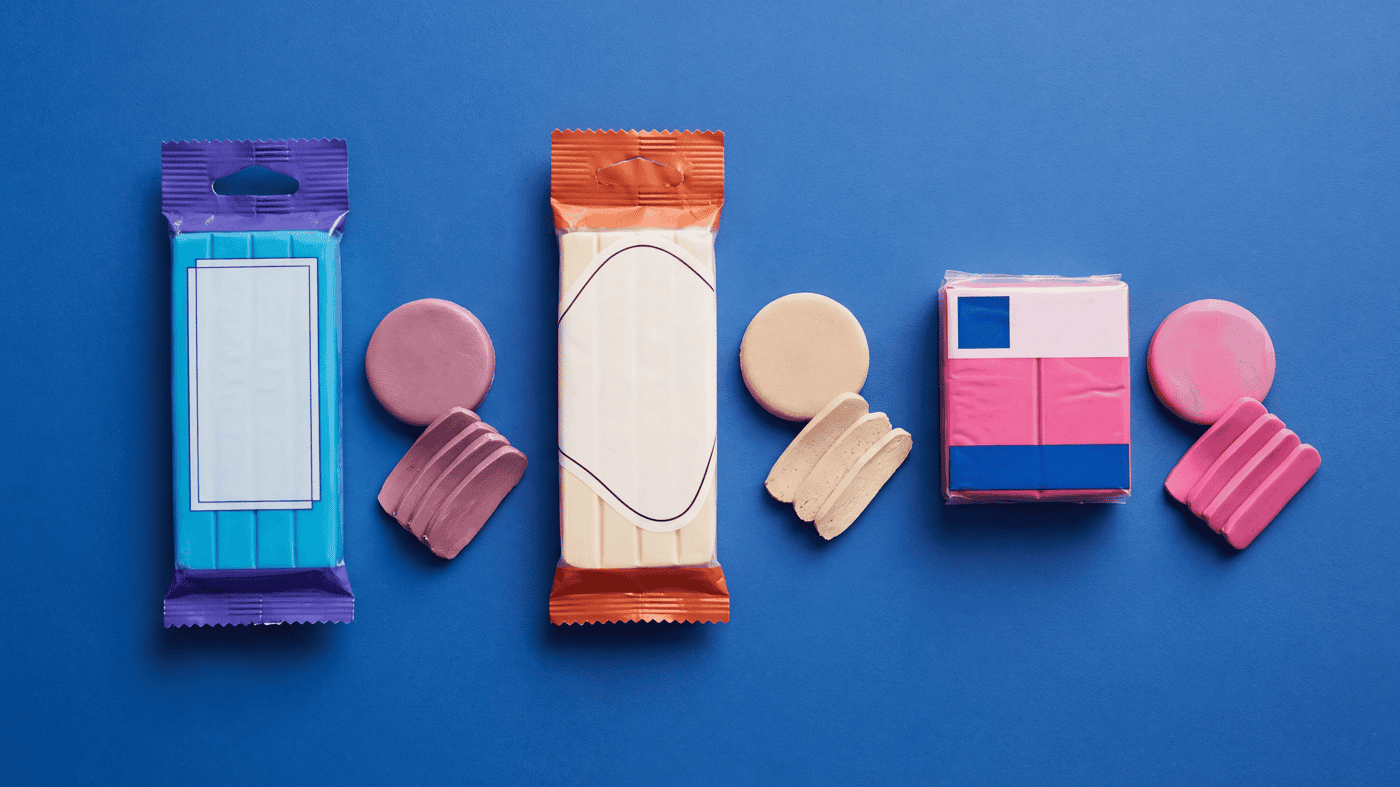
Sculpey Premo starter colors
A practical starter-clay choice when you want one known line for slabs, simple jewelry, and general practice.
Smooth ceramic tile
Use as a flat clay-dedicated work surface. If you plan to bake on it, confirm that specific tile is oven-safe for that use and test it with scrap first.
Acrylic clay roller
Smooth roller for flattening conditioned clay into even slabs without picking up wood grain or surface residue.
Tissue blade set
Thin, sharp blades for straight cuts, trimming edges, and lifting pieces cleanly from the tile.
Needle tool
Piercing tool for pendant holes, connector holes, lint cleanup, and nudging small parts without marking the surface.
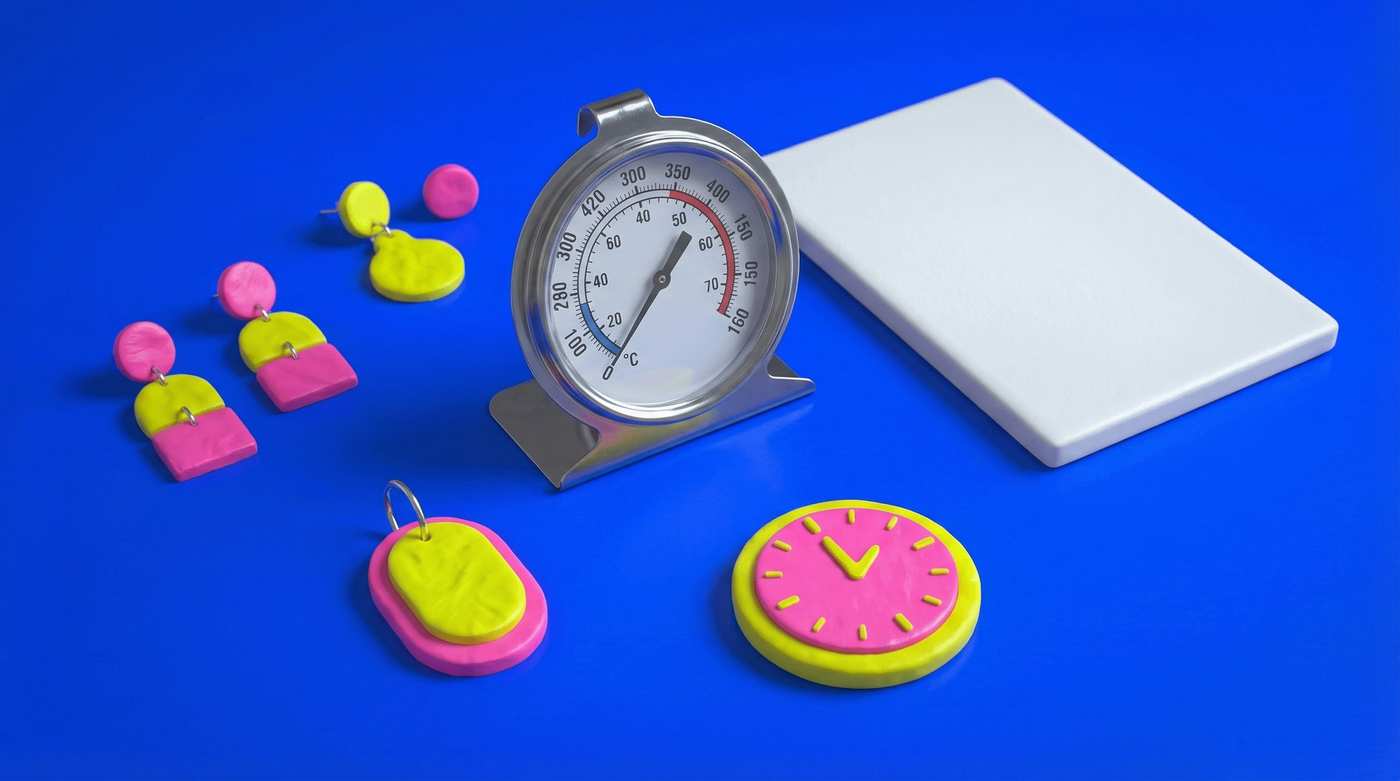
Analog oven thermometer
Sits at tray height so you can compare the oven dial with the real bake temperature.
Wet-dry sandpaper variety pack
For cleaning up bake edges and smoothing fingerprints on the pieces that actually need a finish pass.
Thickness guides
Helps cutters and rollers work more consistently by keeping the slab thickness even across the piece.
The best beginner toolkit is not the fullest supply haul. It is the small set of tools that keeps your slabs even, your cuts clean, and your bake temperature checked.
Start With A Small Kit
A polymer clay starter setup only needs to solve a few repeat beginner problems: unknown oven heat, uneven slabs, distorted transfers from table to tray, ragged cuts, and messy hanging holes. Once those are handled, the clay itself can teach you a lot before you add a bigger machine or a drawer of specialty tools.
When the starter order gets crowded, beginners usually buy variety instead of control. More colors, novelty cutters, and finish products do not fix bad slab thickness or a hot oven. A smaller kit does, because every tool has one clear job and every bake tells you something useful.
The Core Starter Kit
A useful starter kit usually looks like this:
- Two to three blocks of one clay line such as Premo starter colors. One known line gives you one set of package directions to test and repeat.
- A smooth ceramic tile or another flat non-stick surface. Roll, cut, and move the piece on the same surface so the slab does not stretch on the way to the oven.
- An acrylic roller. Smooth enough to roll even slabs without adding wood grain or holding clay residue.
- A tissue blade. For straight cuts, trimming edges, and lifting shapes from the tile with less distortion.
- A needle tool. For pendant holes, stud marks, nudging lint away, and small cleanup work.
- An analog oven thermometer. The simplest way to compare the package target with the real shelf heat near your tray.
What Each Item Actually Solves
The clay is not just material. It is the learning baseline. One line with clear published bake guidance lets you see how thickness, color, and cure behave in your own oven. If you mix three brands on day one, every bake becomes a debate about which directions deserve trust.
The tile solves distortion. It gives you a dead-flat surface for rolling and cutting, and many flat pieces can travel straight to the oven on it. That means fewer stretched arches, fewer finger dents, and fewer moments where a good cut goes soft just because you lifted it too early.
The acrylic roller solves slab consistency. A smooth cylinder rolls more evenly than improvised kitchen tools and stays easier to clean. The tissue blade solves edge quality and lifting. The needle tool solves controlled hole placement and tiny cleanup jobs where fingers are too blunt. The thermometer solves the most expensive beginner mistake of all, which is blaming the clay when the oven is the thing lying to you.
What Not To Buy Yet
Skip the big novelty cart. Giant cutter sets, resin kits, multi-step glazes, silicone mold libraries, texture bundles, and specialty presses all have a place later, but they are not the first tools that improve your work. Early on they mostly create more variables, more cleanup, and more ways to misdiagnose what went wrong.
Heavy finishing products are especially easy to buy too early. A rushed topcoat can add tackiness, clouding, yellowing, or visible drips to a piece that would have looked cleaner left bare and properly cured. Your first pieces need reliable cure and simple surface cleanup more than they need a thick gloss story.
If You Want One More Upgrade
The highest-payoff next add is usually thickness guides. They make the roller more repeatable, help cutters release more evenly, and give you cleaner side profiles without adding a whole new machine to learn. If your first issue is inconsistent silhouettes rather than slab thickness, a very small cutter set can be the next step, but keep it focused and compare shapes against our beginner cutter guide instead of buying thirty shapes at once.
One extra upgrade should go toward repeatability, not surface drama. If the same problem shows up one project after another, buy the tool that fixes that one thing.
When A Pasta Machine Becomes Worth It
A pasta machine becomes useful when the roller is no longer the bottleneck. That usually happens when you are making slabs repeatedly, when your wrist starts feeling the strain, or when matching the same thickness across several pairs is becoming harder than the design itself. Add it when you can name the time loss clearly, not because every clay video seems to start with one. When that moment arrives, our pasta machine buying guide compares Atlas, Imperia, and entry-level picks against polymer clay slab volume rather than pasta-dough use.
The same rule applies to a second tile, a larger tray, or a better blade. Upgrade when the current tool starts creating repeatable friction. That is how you build a kit that matches your work instead of a generic supply list.
Finishes And Adhesives Can Wait
You do not need a finish for every first piece. A well-cured slab with clean cuts often looks intentional without any coating, especially for matte-leaning earrings, pendants, and test tiles. Sanding is worth adding when fingerprints, blade drag, or tiny bumps are the thing holding the surface back, and a small pack of wet-dry sandpaper is usually enough to start.
Adhesives and hardware are separate decisions, not automatic toolkit items. If you know you are heading toward earrings, treat posts, glue, and cure testing as their own build system later. The starter kit is about getting the clay itself under control first.
Storage Still Matters
Raw clay lasts longer when it stays cool, sealed, and out of direct sunlight. Finished pieces last longer when they are not rubbing against each other in a loose box. A simple labeled bin for raw blocks and a padded tray for baked pieces go further than most beginners expect.
The Short Version
Start with one clay line, one flat surface, one roller, one blade, one needle tool, and one thermometer. Add the next tool only when a repeat problem makes the need obvious. That keeps the beginner toolkit practical instead of bloated.
More guides in this path
Open these when the next decision is material choice, attachment, or finishing.
Polymer Clay for Beginners: Brands, Tools, First Project (2026)
A beginner primer on clay choice, core tools, a first project, and the mistakes that most often cause early frustration.
Best Polymer Clay Brands for Beginners: Premo vs Soufflé vs FIMO Soft
Premo is a practical first test when you want one clay line for slabs, simple earrings, and general practice. Choose Soufflé when lightweight matte-leaning earrings are clearly the goal, and look at FIMO Soft when a softer conditioning feel matters more than firmer edge retention.
Best Oven Thermometer for Polymer Clay: What To Buy First (2026)
Start with your clay line's package directions, then use an oven thermometer to check whether the shelf near your tray or tile is actually reaching that target. Placement matters more than gadget complexity, and an analog dial is usually enough to start.
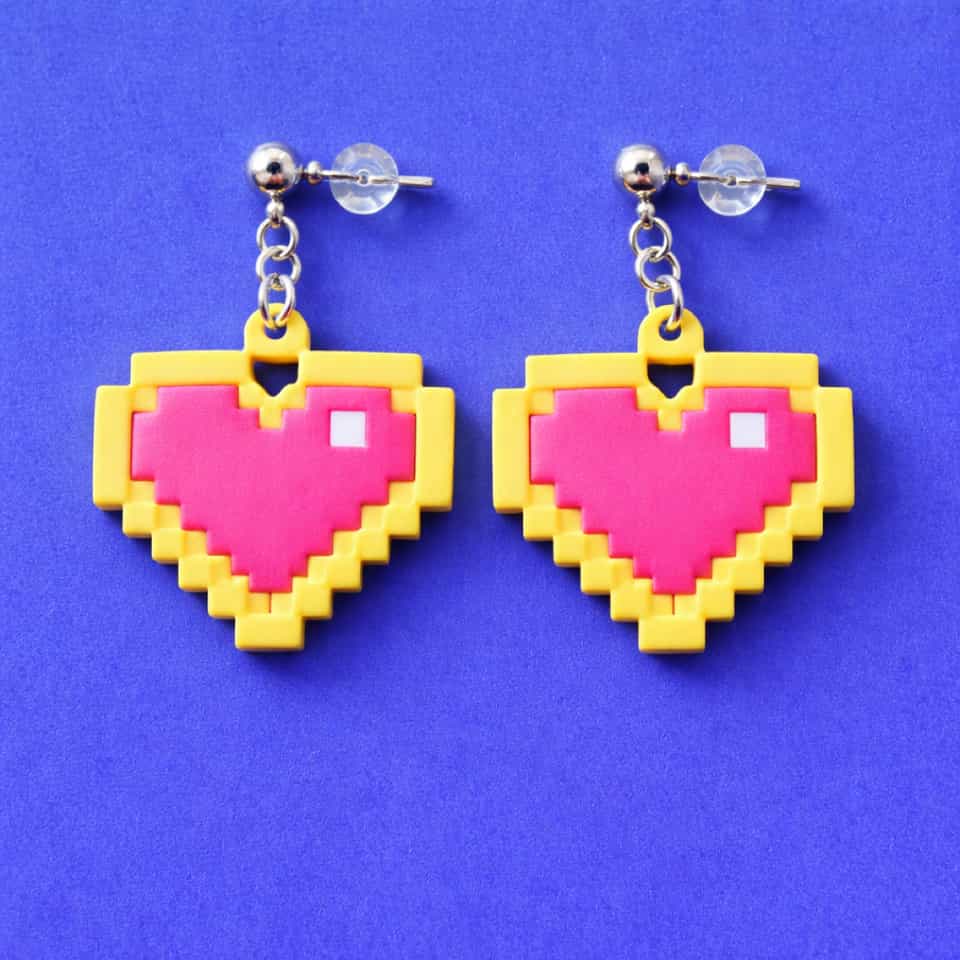
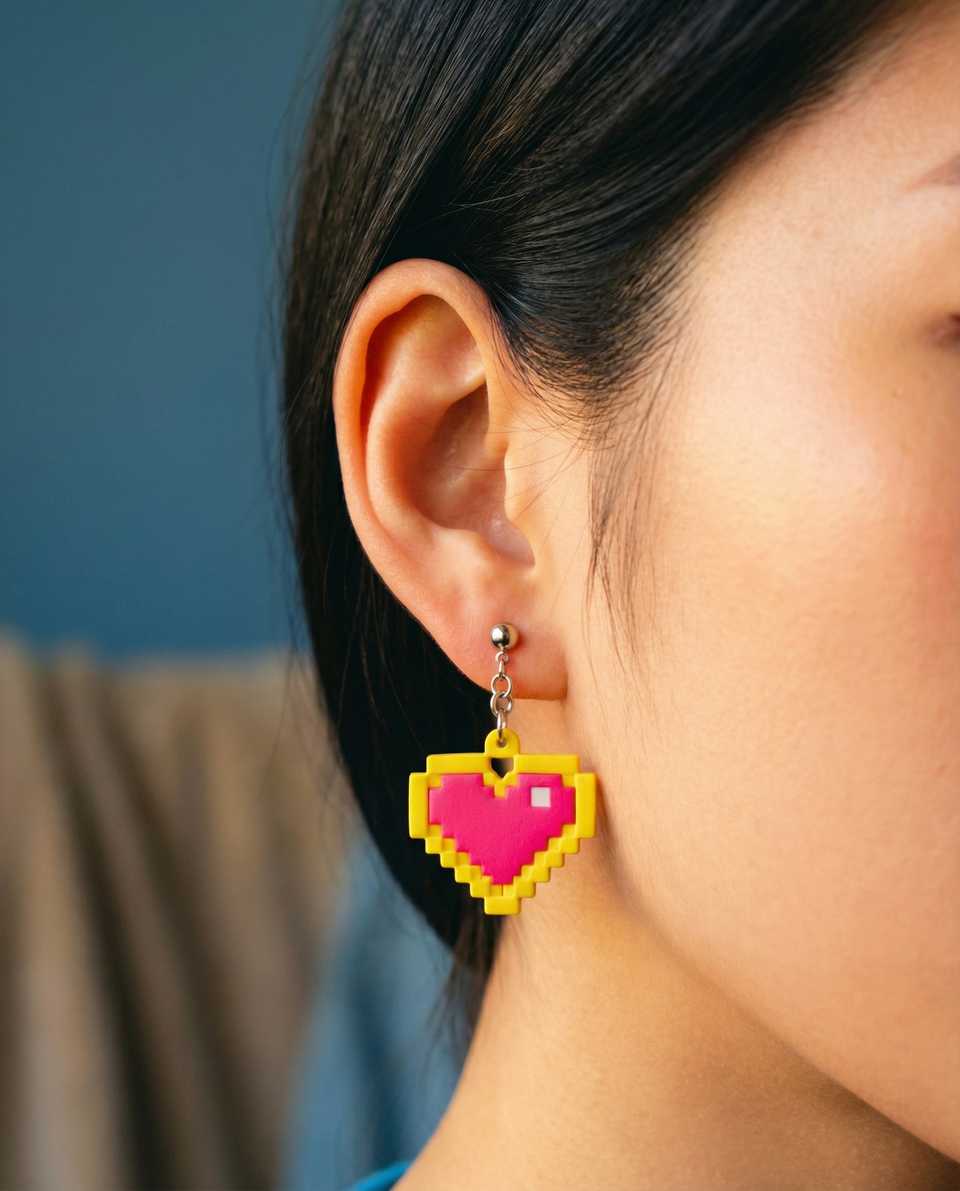
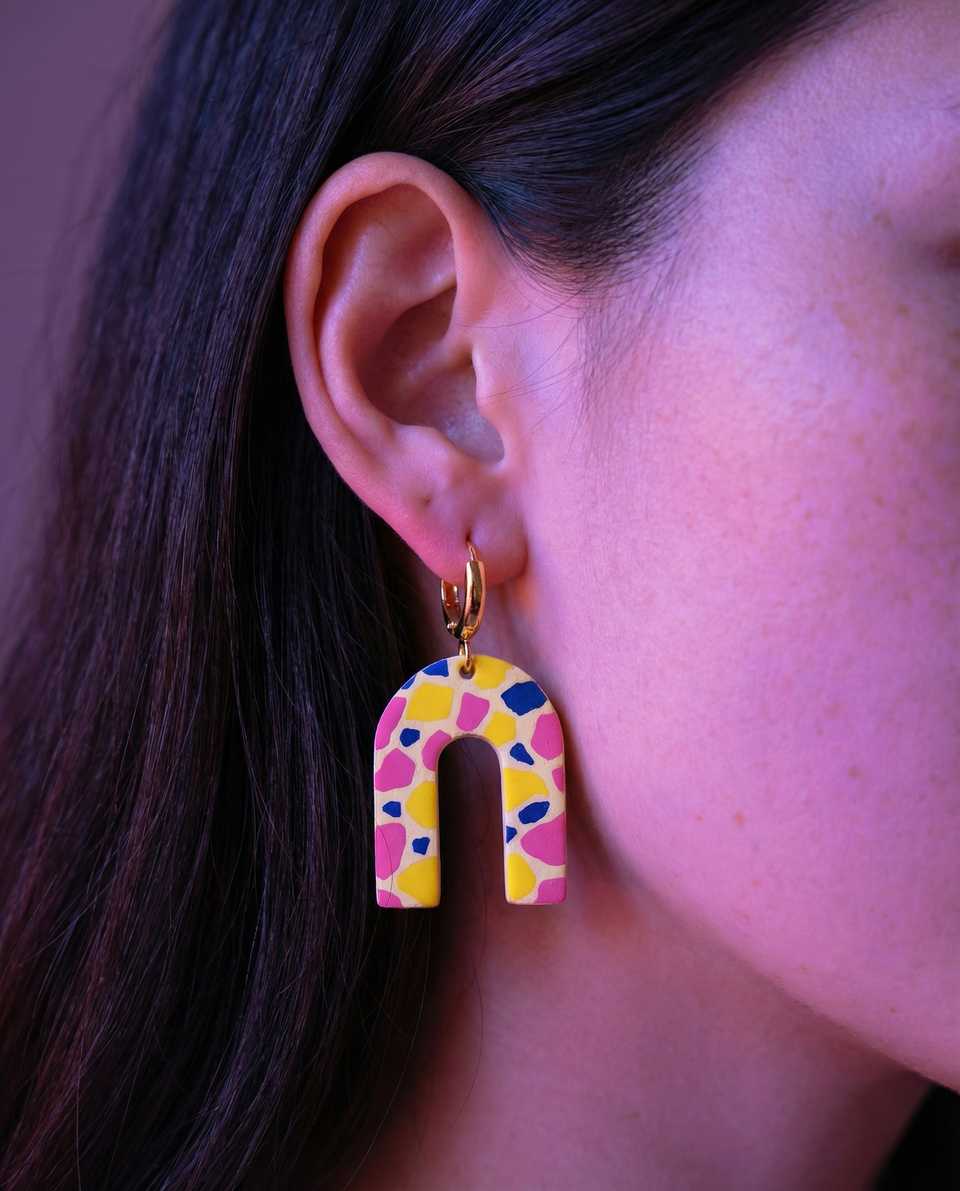
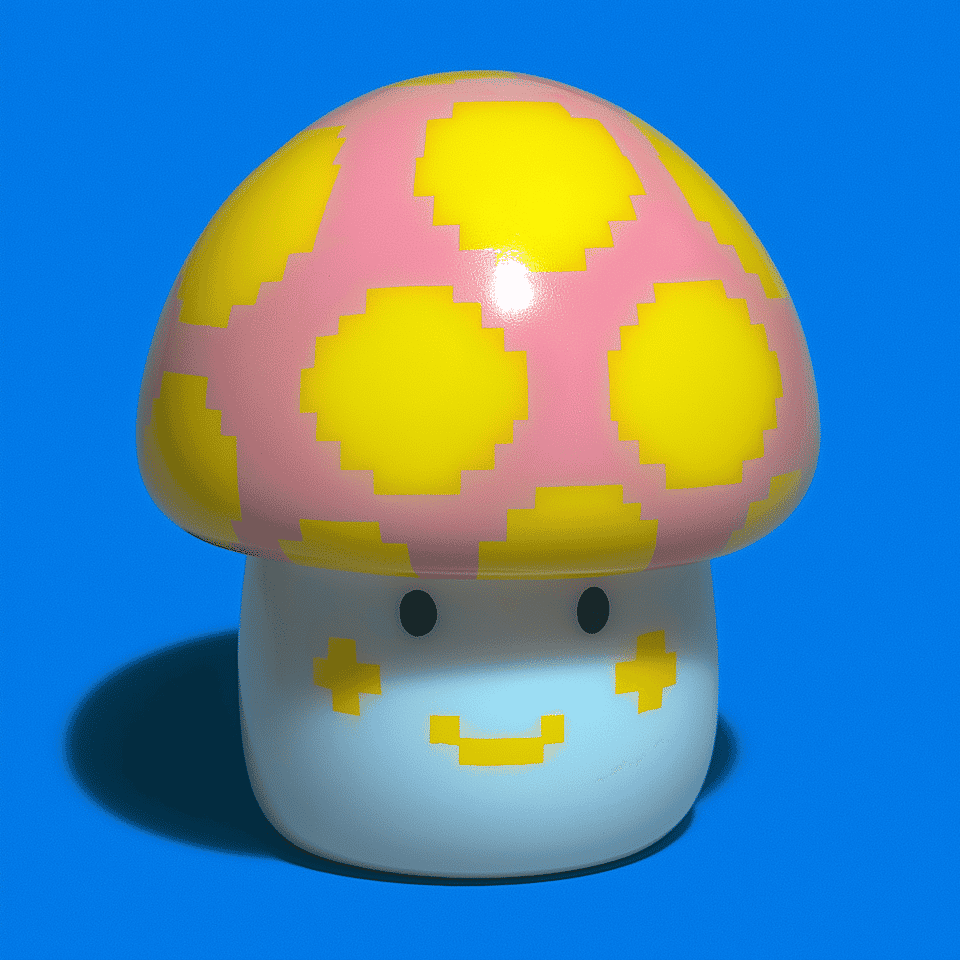
Finished examples with related clay decisions
Each piece shows how a material, attachment, or surface choice changes the final form.