Best oven thermometer for polymer clay: what to buy and how to use it
Choose a dial you can read through the oven door, or an oven-rated air probe with an outside display. Then check the temperature beside your clay.
Some links on this page are affiliate links. If you buy through them, we may earn a commission at no extra cost to you. As an Amazon Associate I earn from qualifying purchases. Disclosures

Start here
What to choose and check first
A readable analog oven thermometer is a simple first choice for polymer clay. Choose an oven-rated air probe with an outside display if the closed door obscures the dial or you want to follow temperature changes. Put the thermometer beside the intended baking area before heating. Add the clay after preheating and checking the temperature against its packet.
The specifications and baking instructions come from the manufacturers; the photographed Taylor Pro belongs to our studio, and the comparison covers features rather than measured accuracy.
Article contentsOpenClose
For a first polymer clay setup, choose an analog oven thermometer such as the Taylor Pro shown below, provided you can read the markings near your clay's temperature through the closed door. If you cannot, an oven-rated air probe with an outside display is the more useful purchase. The choice comes down to seeing the temperature where the clay will bake.
The Taylor Pro thermometer in our studio
The thermometer shown here is the Taylor Pro TYPTHOVEN that belongs to our studio. The photo shows its outer Celsius scale, inner Fahrenheit scale, hanging hook and standing base.
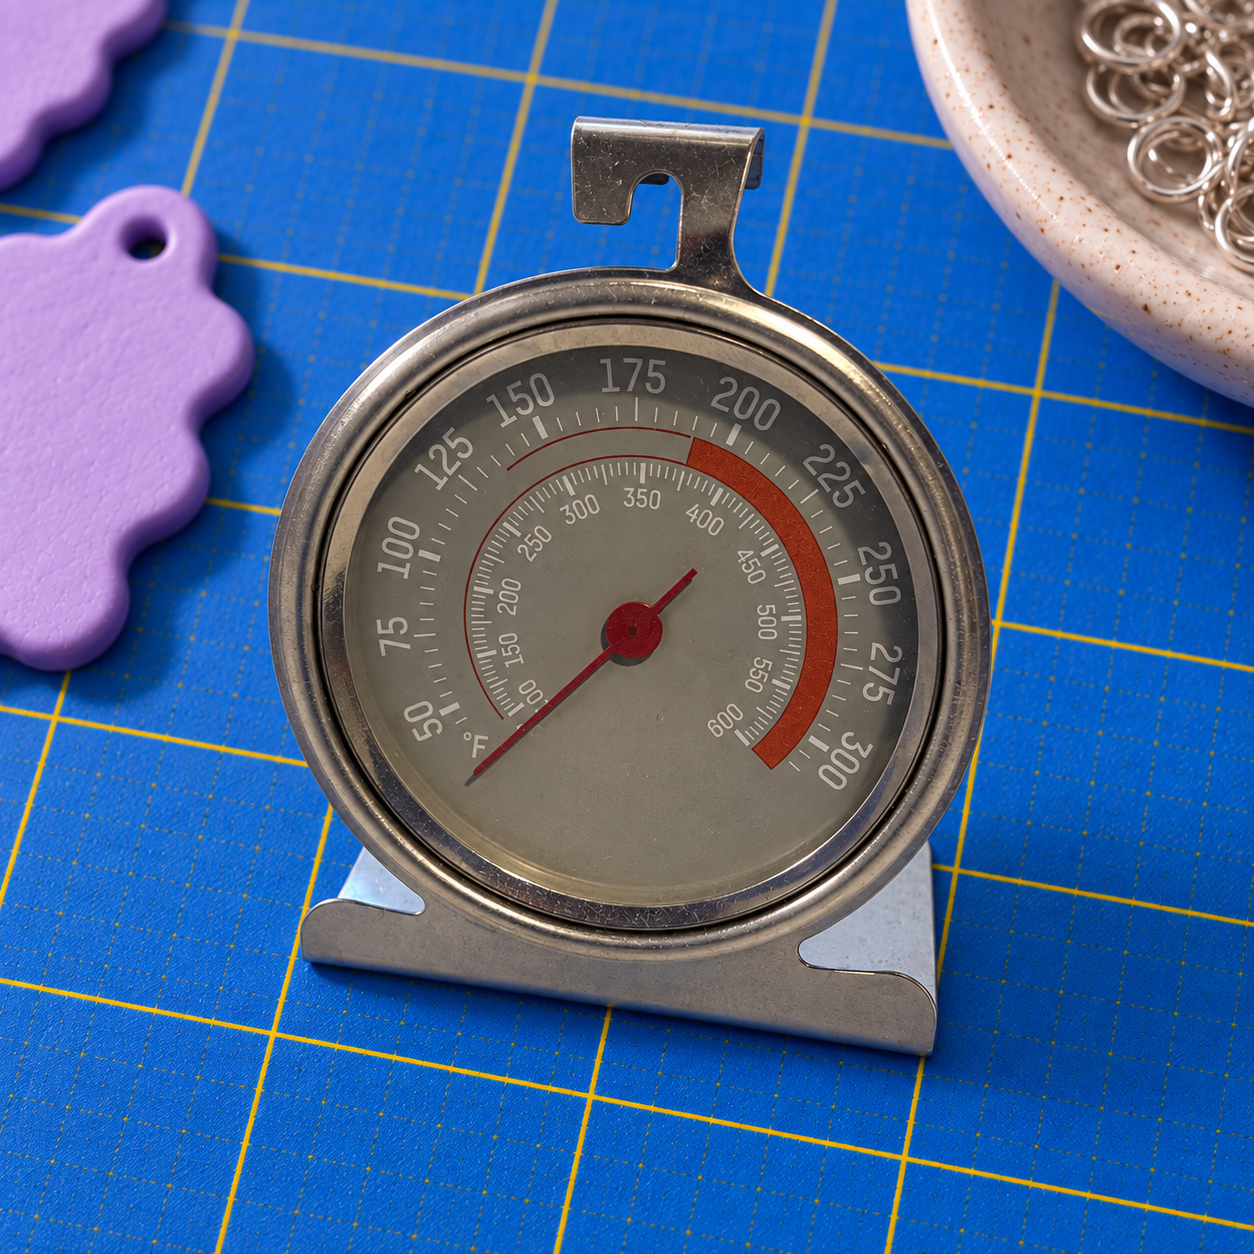
Look closely at the markings around your clay's packet temperature before buying. On this dial, 130°C is near the 125°C tick; the larger 150°C label is farther along. A dial that looks clear in a product photo still needs to be readable at rack height through your oven window.
Taylor specifies placing this model in a cool oven before preheating. Its printed scales run from 50 to 300°C and 100 to 600°F. Taylor Pro's product instructions give the model details and handling requirements.
Analog dial or digital air probe?
Choose an analog dial for a straightforward visible reading, or a digital air-probe kit when an outside display would make monitoring easier.
| Type | Choose it when | Check before buying |
|---|---|---|
| Analog oven dial | You can see the markings through the closed door. | A hook or stable base fits beside the baking area, and the relevant scale is legible. |
| Digital oven-air probe and display | You want to follow changes without peering through the window. | The kit includes a compatible display, oven-rated air probe, suitable cable and a way to secure the probe. |
The Taylor 5932 is a separate US alternative: Taylor lists a 3-inch dial and hanging or standing placement. It is not the studio model pictured above. Compare the scale and mounting arrangement with the space in your oven.
An air probe measures the air around it. An ordinary instant-read meat thermometer is not the same purchase. As one example, ThermoWorks' oven-air probe uses a rack clip and requires a compatible monitor; its cable is suitable for an indoor oven door. Check those details for the kit you choose.
Search Amazon for oven-air probe and display kits, then verify the included parts against the manufacturer's instructions. For a complete kit, look for the display, a compatible ambient-air probe, the oven-rated cable and the rack clip. Check the stated accuracy separately from how many digits the screen displays.
Where to put the thermometer
Put the thermometer beside the clay on the rack you intend to use, with its face directed toward the oven window. Sculpey's baking guidance places it in the baking area, readable through the closed door.
Arrange the Taylor Pro while the oven is cold. Try the hook first if it gives a clear view; if hanging hides the face, use the base in a stable position. Close the door and check the view before heating. Leave room for the tray and any supports so loading the clay will not knock the thermometer over.
For a digital air probe, secure the sensing end beside the intended clay position with its rack clip, following that probe's instructions. Route the oven-rated cable through the door as the manufacturer directs and keep the display outside the oven. The clip should hold the probe in place when you load the tray.
Choose the baking surface and supports for the shape you are making. The guide to supporting polymer clay during baking explains which surfaces and supports suit flat pieces and curved shapes.
How to check the oven before baking clay
Compare repeated thermometer readings with the temperature printed on your clay packet before loading your work. The oven setting is the number selected on its controls; the actual reading is the temperature reported by the thermometer beside the baking area.
- Arrange the cold oven. Put the thermometer on the intended rack and confirm that you can read it with the door closed.
- Read the clay packet. Identify its temperature, units and baking time, including any thickness instructions. Use the matching Celsius or Fahrenheit scale.
- Preheat fully. Select the packet temperature and allow the oven to complete preheating before assessing the baking conditions.
- Watch the readings rise and fall. Ovens cycle as their heating switches on and off. Observe repeated cycles and write down the highest and lowest readings you see, with the door closed.
- Correct a persistent mismatch. If readings stay above the packet target, lower the oven setting; if they stay below it, raise the setting. Let the oven complete more heating cycles, then compare the readings again.
- Bake by the packet. Once the thermometer shows the temperature specified on the packet, load the supported clay, follow its baking time and continue monitoring. If the readings keep swinging across the target and you are unsure how to judge them, use the next paragraph before loading a finished tray.
ThermoWorks explains oven cycling. If you cannot tell whether the swings suit your clay, keep your high and low readings and the oven setting. Check the oven and thermometer makers' troubleshooting instructions, then ask the clay maker about those readings before baking a finished tray. Do not average away readings above a maximum temperature stated on the clay packet.
The packet matters even when two clays look similar: STAEDTLER specifies 110°C for 30 minutes for FIMO soft. Use the instructions for your own clay line. The beginner clay-brand guide helps distinguish those lines.
What to do when a test piece darkens
Use a small sample to investigate darkening before risking a finished piece. Sculpey's FAQ describes a disc about 12 mm wide and 6 mm thick, baked according to the Sculpey packet. If it darkens, reduce the oven setting by 10°F, approximately 5°C in that guidance, and repeat with another sample.
Watch the thermometer during that adjustment: the measured temperature must still meet the clay's packet instructions. If the reading was already correct, do not keep lowering it to suppress darkening. Check the sample's position, shielding, oven and thermometer. A foil tent or inverted pan can shield clay from element heat, as Sculpey describes, but cannot correct air that is too hot.
This sample checks for a visible baking problem. Its colour cannot calibrate the thermometer or prove that the clay has cured. If cooled work is brittle or cracks, use the polymer clay cracking guide to investigate the bake and construction together.
Using a toaster oven
Use the clay packet's temperature and time in a toaster oven, just as you would in a conventional oven. Sculpey's baking guidance covers both oven types. Check that the cavity has room for supported clay and the thermometer before preparing a tray.
If using a foil tent, keep it clear of the elements and follow the oven's instructions. Position it so the thermometer remains readable. An adult should handle the bake, with good ventilation, following Sculpey's safety guidance. Plan the handling space with the studio safety and setup guide.
Checking and cleaning your thermometer
Let the Taylor Pro cool, then wipe it clean; its care instructions prohibit immersion. Do not use an ice bath as a home check for this model.
Recheck the baking arrangement after moving racks, changing ovens or clay, or getting an unexpected result. If the thermometer seems faulty, contact its manufacturer with the model, oven setting and readings you observed. Ask whether it offers an accuracy check or recommends replacement. A second unchecked thermometer can show a disagreement, but it cannot tell you which reading is correct.
Can an infrared thermometer check the oven?
No: an infrared thermometer cannot check oven-air temperature. It reads a surface, so pointing it at a tray measures that surface; pointing it through the closed window reads the glass. ThermoWorks explains these infrared limits. Use an oven dial or oven-rated air probe beside the clay for this job.
In brief
Key takeaways
- Choose a dial you can read through the closed door; use an oven-rated digital air probe when you need to follow changing temperatures from outside
- Put the Taylor Pro thermometer into a cold oven before preheating, beside the intended position of the clay
- Compare the thermometer reading with the temperature on your clay packet, using the matching Celsius or Fahrenheit scale
- Watch several readings after preheating, because the oven cycles between heating and cooling
- A sample that keeps its colour does not calibrate the thermometer or prove full cure; follow the clay's prescribed temperature and time
More guides in this path
Open these when the next decision is material choice, attachment, or finishing.
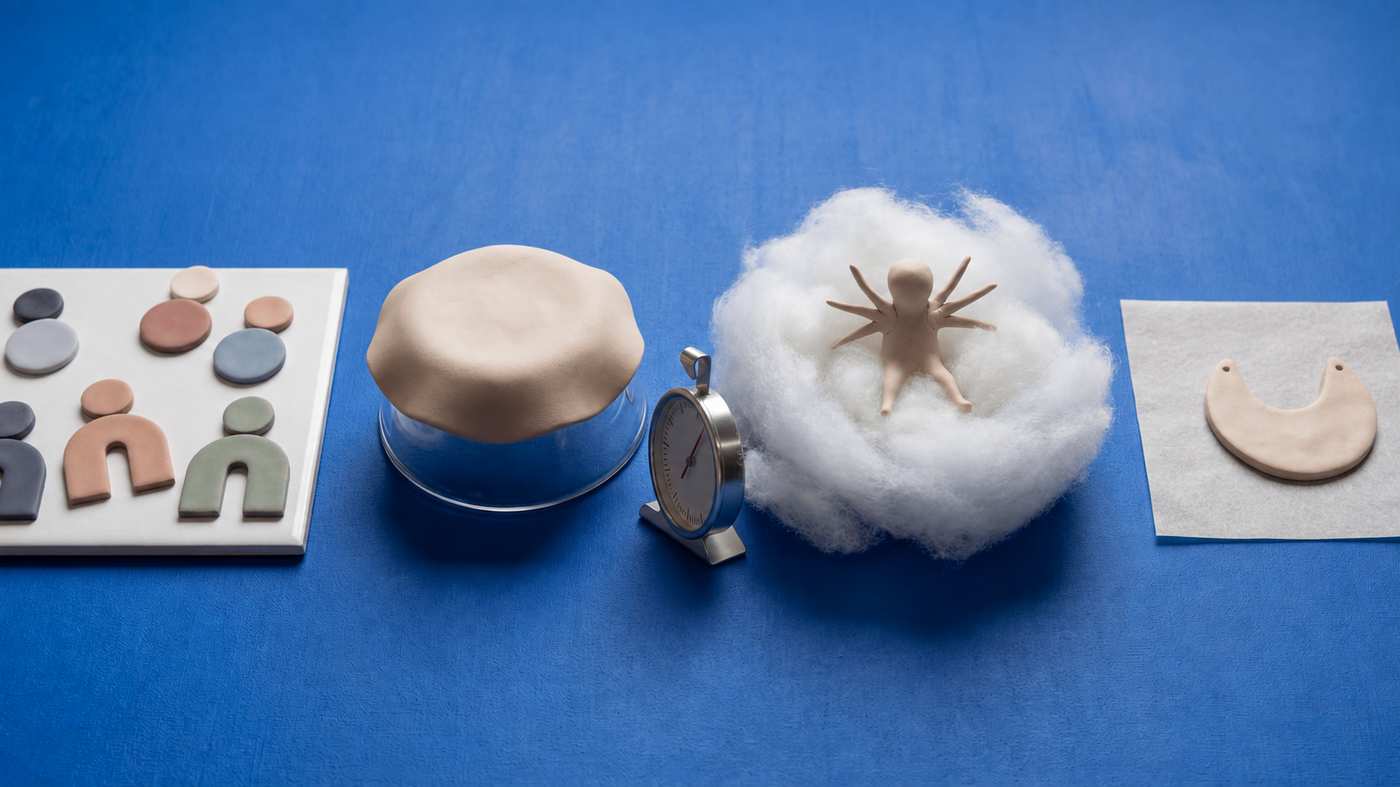
What to bake polymer clay on: tile, card and supports for flat, folded and large pieces
Bake flat pieces on a glossy tile and move them onto plain card only for a matte back. Hold curves, limbs and overhangs with fiberfill, crumpled foil or an oven-safe glass form, bake round beads on skewers, and leave everything on its support until it feels cool.
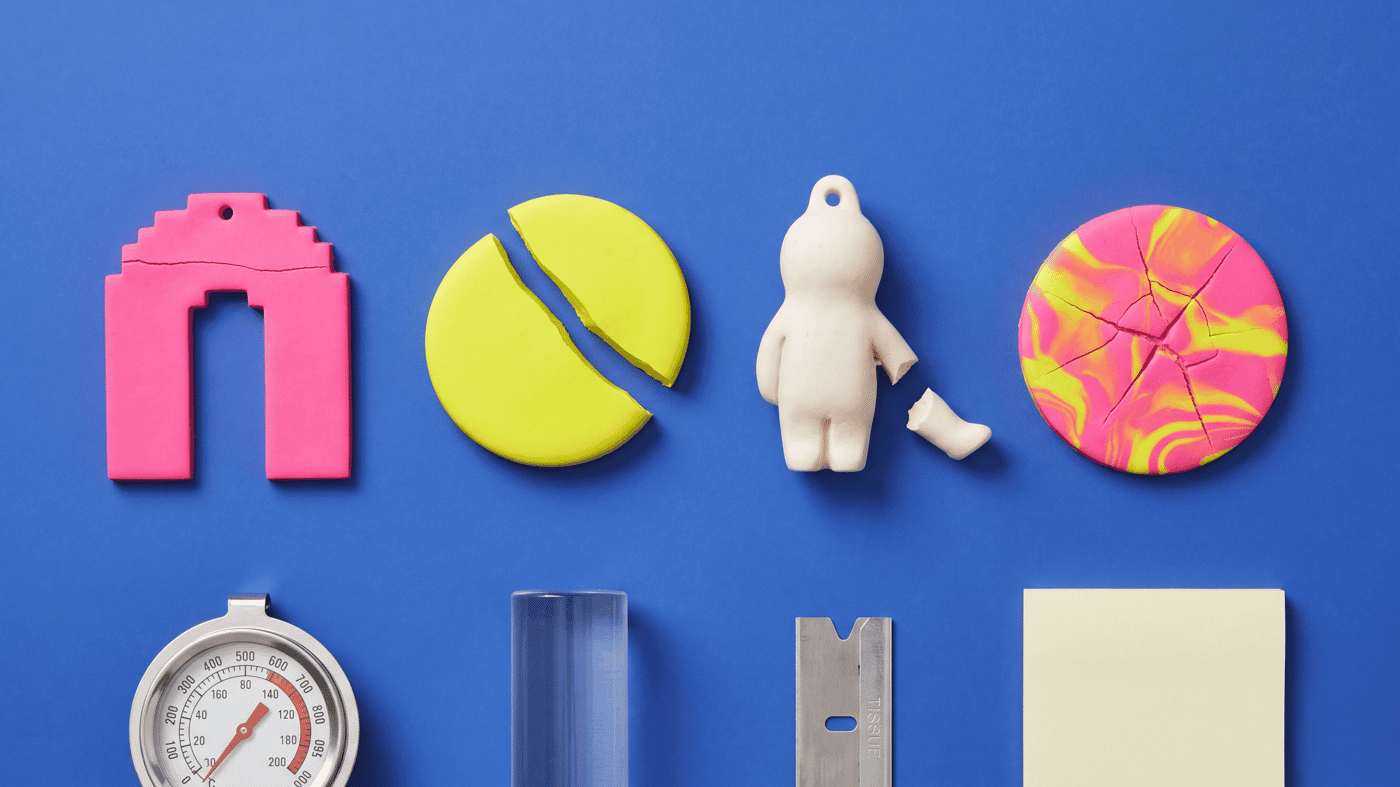
Why Is My Polymer Clay Cracking? Causes and Checks
When polymer clay cracks, check the package bake, measured oven temperature, conditioning, thickness, and support before assigning one cause.
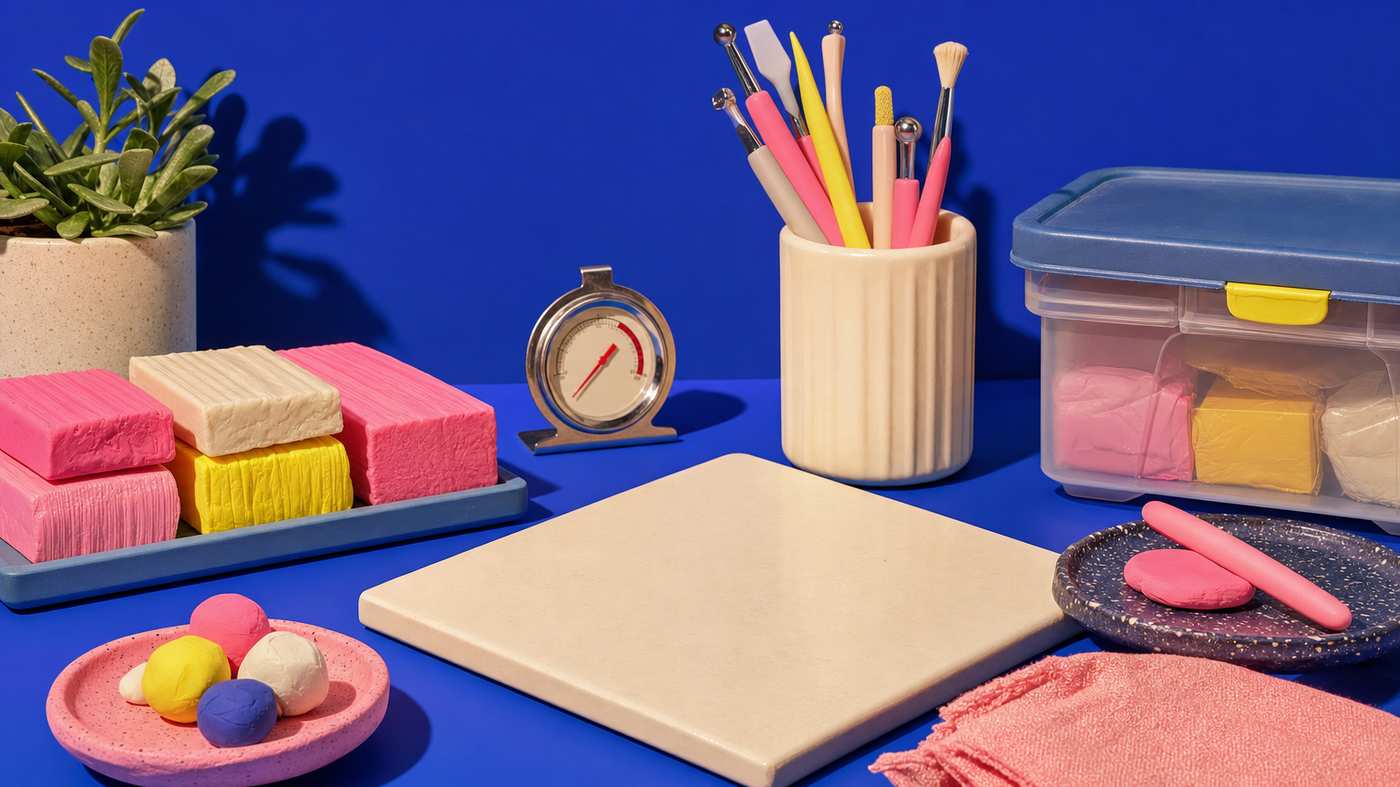
A polymer clay setup that packs away in one tray
Set up one active polymer clay project on a portable tray, move the supported work toward baking, and clear a shared table without rebuilding everything next time.