In brief
Key takeaways
- 1Pick support by shape first (shaped foil nest for curves and hollows, flat tile for slabs), then adjust to the clay line, wall thickness, and a test-bake
- 2There is no universal max size chart. Stability depends on even thickness, unsupported span, and the weight resting on each part
- 3For taller, heavier, or projecting forms, build a foil or wire armature into a scrap test before committing to the real piece
- 4Support and oven accuracy work together. Keep an oven thermometer in the baking area whenever you bake
Choose support from the part that must stay flat, curved, raised, or aligned. Use a documented bake surface, shaped support, armature, or lightweight core, then follow the exact clay package with an oven thermometer in the baking area.
Start With The Shape That Needs Help
Identify the area that must hold its position before the piece enters the oven. A flat back, a curved wall, and a raised projection call for different support. This is a planning check for that object, not a universal size or weight formula.
Use Documented Bake Surfaces And Supports
Sculpey documents ceramic tile and glass for flat pieces. For curves or raised areas, its guidance includes crumpled foil, tissue paper, polyester fiberfill, and suitable glass bowls. Match one of those options to the form and keep the result specific to that setup.
A ceramic tile is one documented flat bake surface. Its color does not diagnose cure or heat distribution.
Use An Armature Or Core Within Product Guidance
Sculpey recommends armatures for larger forms with varying thickness and documents wire, crushed aluminum foil, and Super Sculpey UltraLight for supported builds. Follow the instructions for the exact core and outer clay.
Do not invent a universal height, span, shell thickness, solid-clay limit, loose-foil expansion rule, or UltraLight pre-bake requirement. Those decisions depend on the documented products and the form in front of you.
Keep The Cure Package-Specific
Use the time and temperature on the exact clay package and verify the baking area with an oven thermometer. Use a tented piece of aluminum foil when the clay maker calls for protection from direct heat. Do not substitute a pizza-stone or tile-above-the-piece method without product-specific instructions.
Stage Bakes Only When Every Product Allows It
Sculpey documents multiple package-directed bakes before paint or glaze and Bake and Bond for attaching raw clay to cured clay. Let each stage cool and follow the exact clay, adhesive, core, and finish instructions before another oven cycle.
Make One Representative Sample
When the form, support, or core changes, make a small sample using the same clay line and package settings. Record the support material and cooled result. That sample informs the next build without becoming a universal performance promise.
The practical sequence is simple: choose support from the shape, use documented materials, follow every product instruction in the build, verify the oven, and keep size claims tied to tested evidence.
Supplies
Supplies mentioned here
Quick links to the materials and tools that fit this article. ClayBake tools stay on our own catalog.
White ceramic tiles for polymer clay
Ceramic tile is one documented flat bake surface. Follow the clay maker's surface and package guidance for the exact piece.
Polyester fiberfill
Polyester fiberfill is one documented support for raised or curved clay areas during the package-directed bake.
Super Sculpey Ultralight
Sculpey's most lightweight clay, useful as a core, filler, or armature that keeps larger bodies light.
Analog oven thermometer
Place an oven thermometer in the baking area and compare the reading with the exact clay package target.
More guides in this path
Open these when the next decision is material choice, attachment, or finishing.
Polymer Clay for Beginners: Brands, Tools, First Project (2026)
A beginner primer on clay choice, core tools, a first project, and the mistakes that most often cause early frustration.
Polymer Clay Figurines: Stable Bases and Clean Features
Small figurines look simple until the base wobbles, the cap droops, or the face gets smudged while you are still shaping the body. This guide covers the order of operations that keeps polymer clay characters stable with cleaner features.

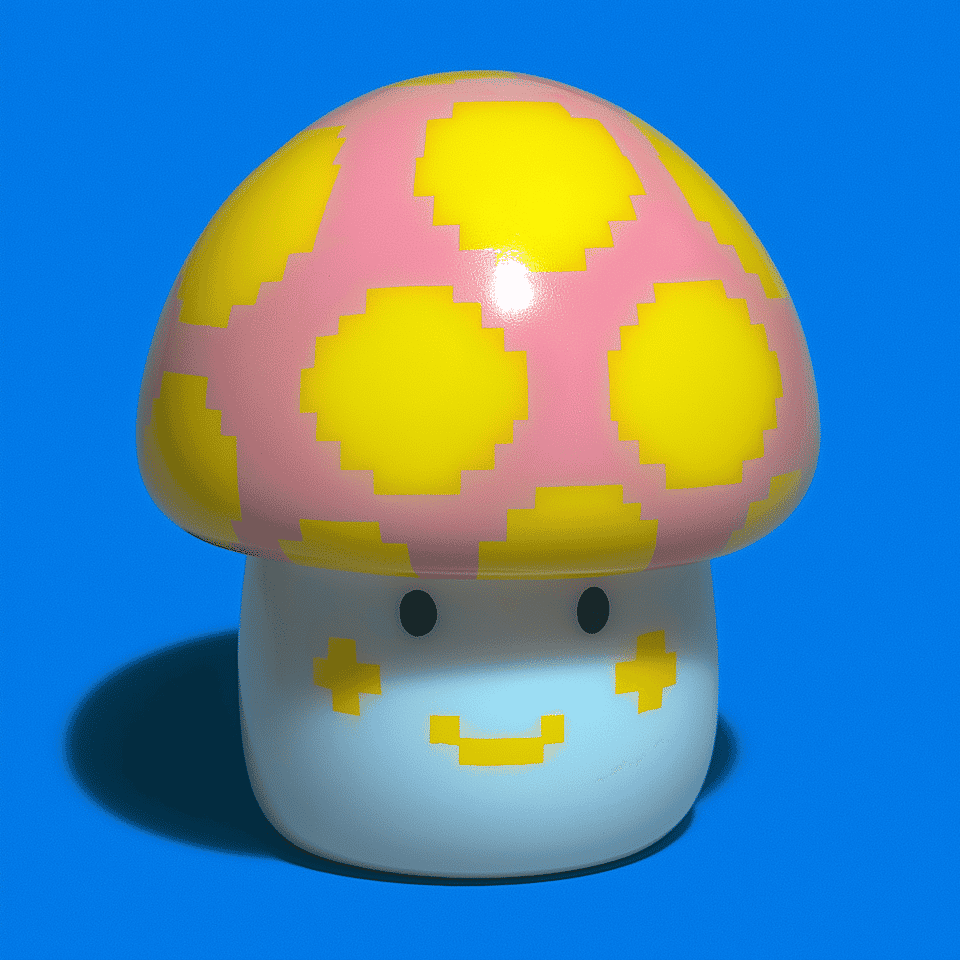
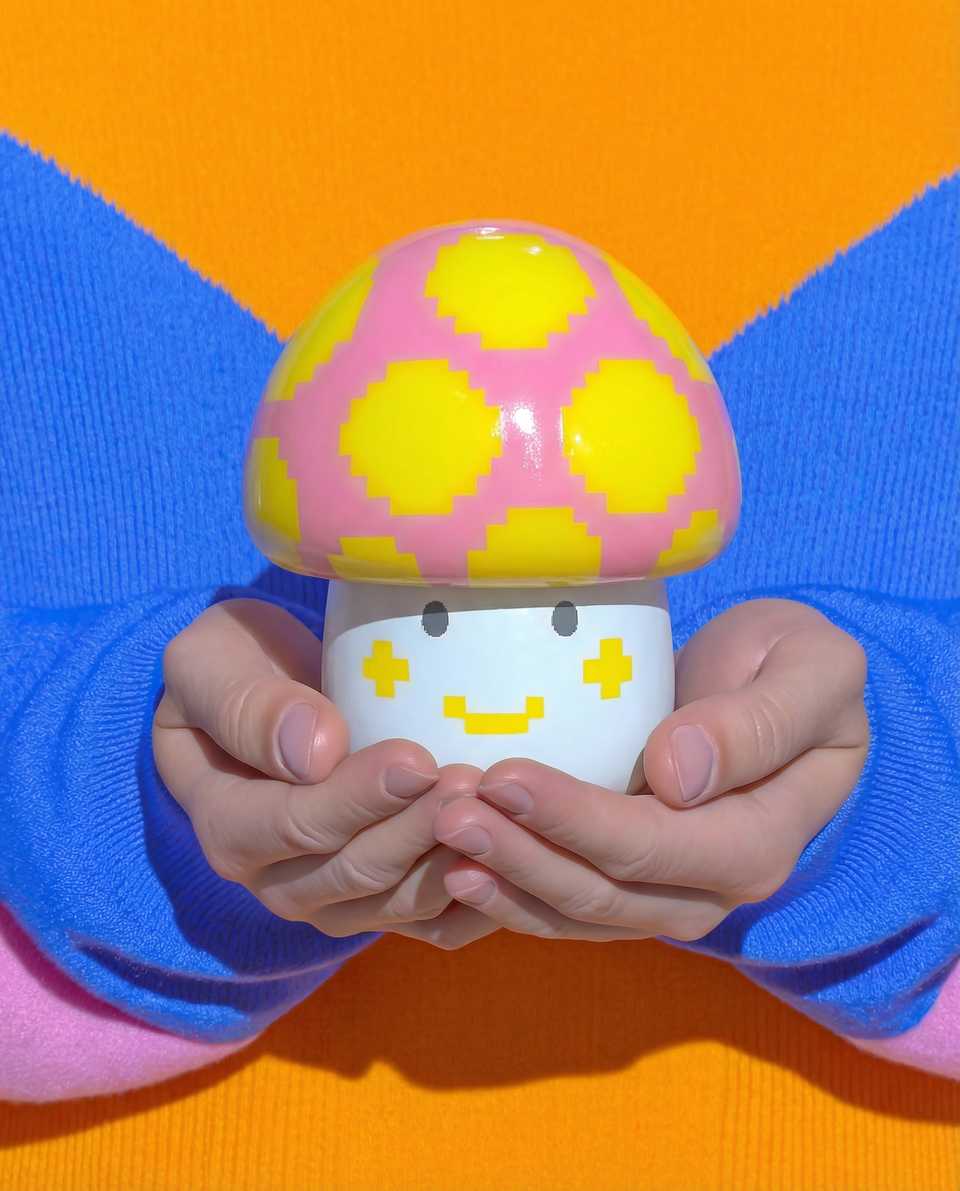
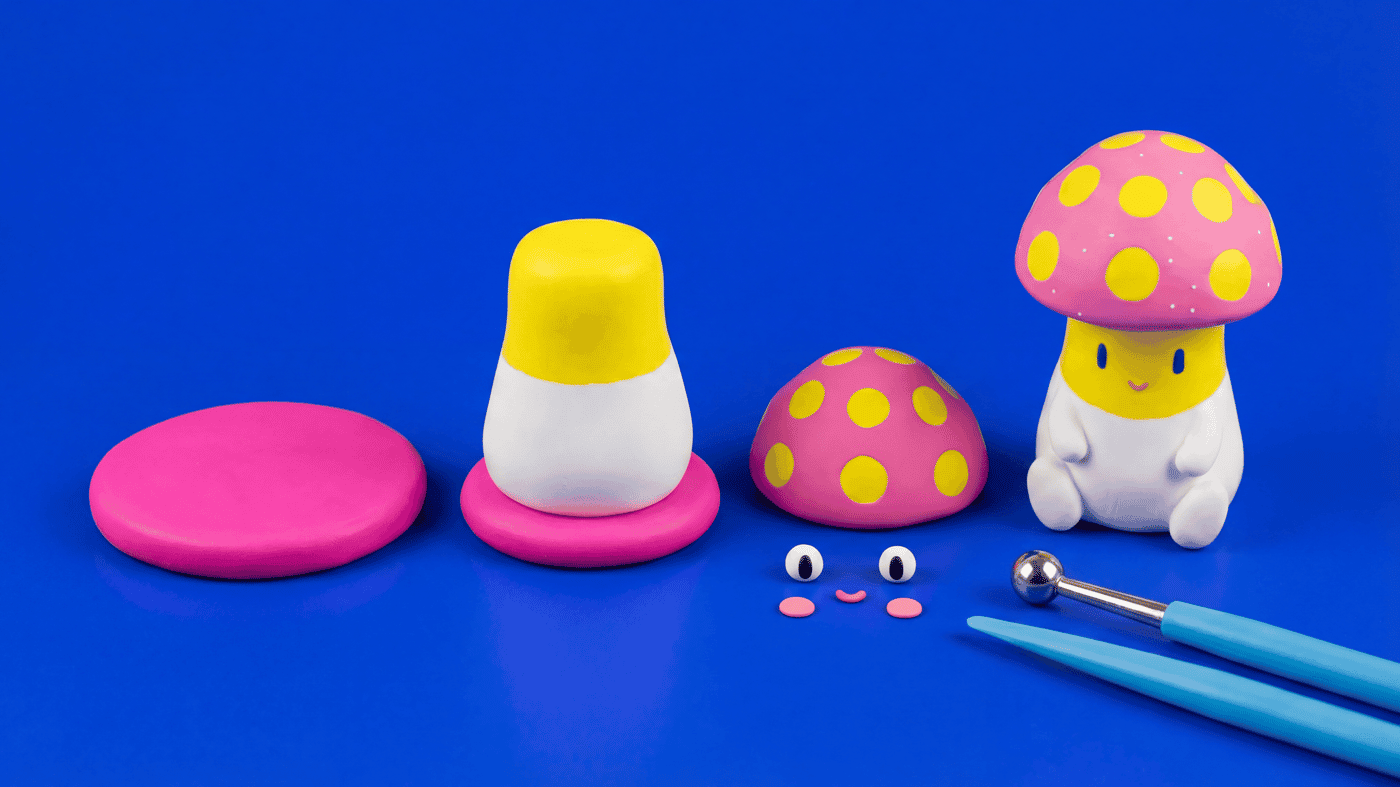
How to Make Polymer Clay Mushrooms: Cap, Stem, and Spotting Tutorial
A beginner-friendly polymer clay mushroom tutorial: condition, shape a stable stem, dome the cap, press on white spots, support the overhang, and bake by package directions.
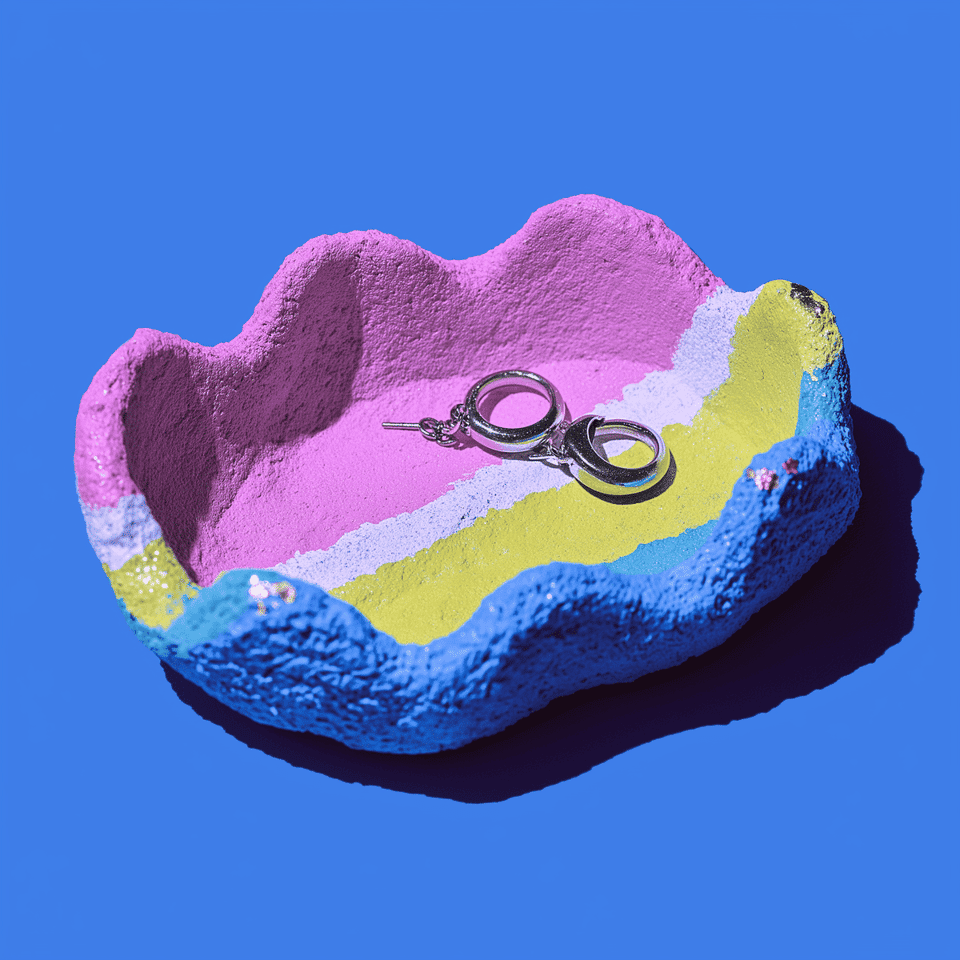
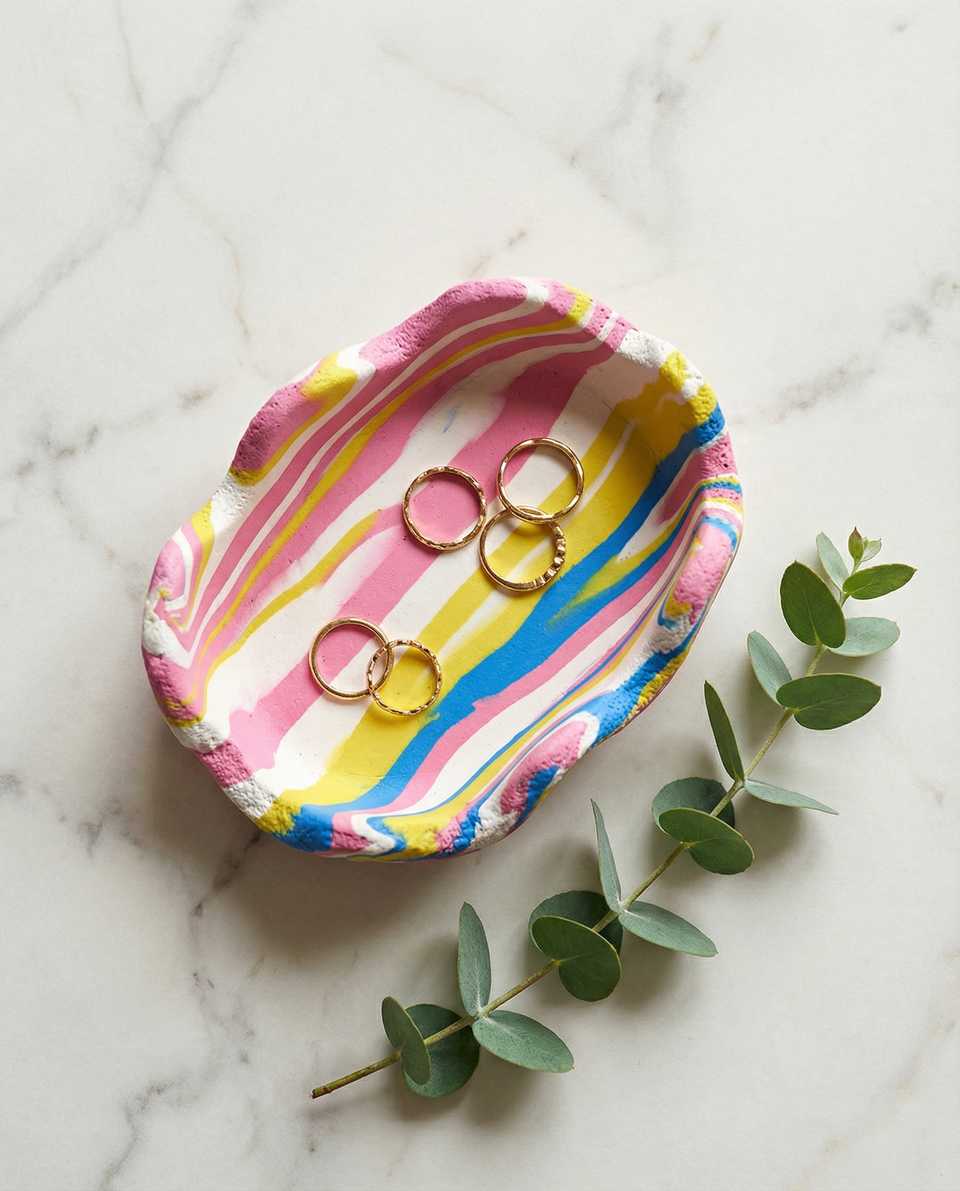
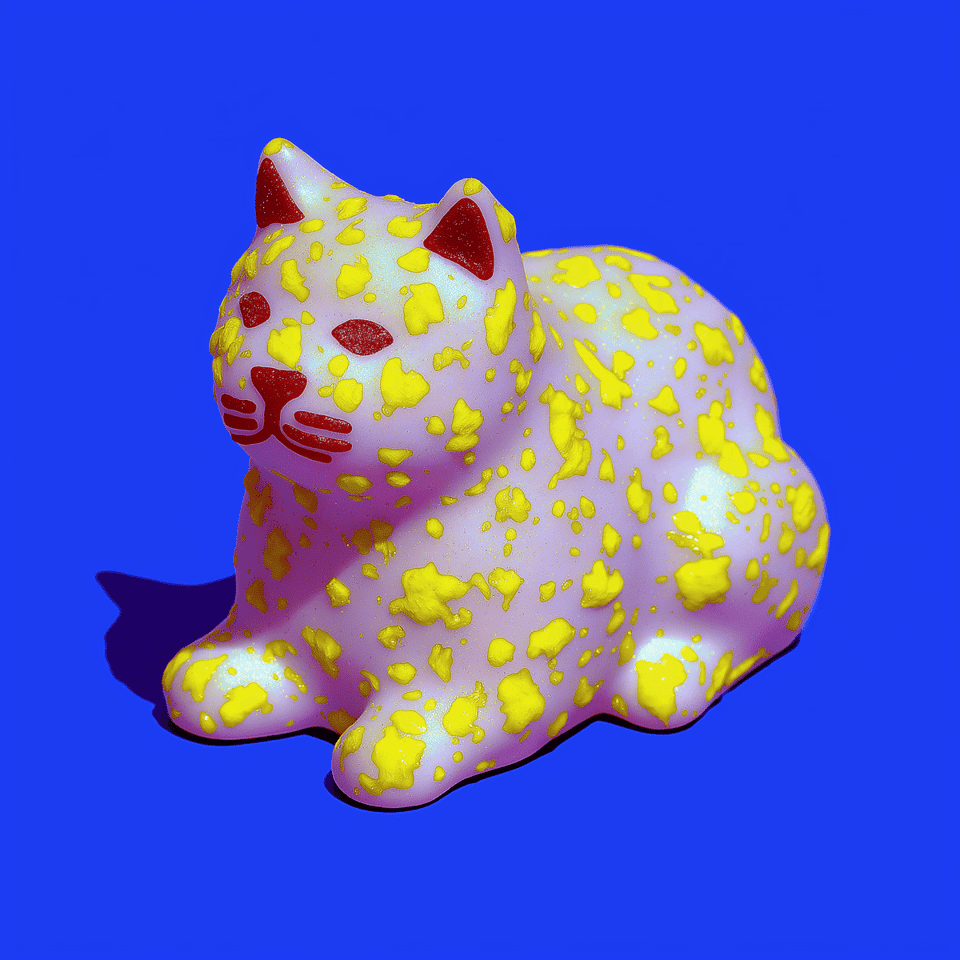
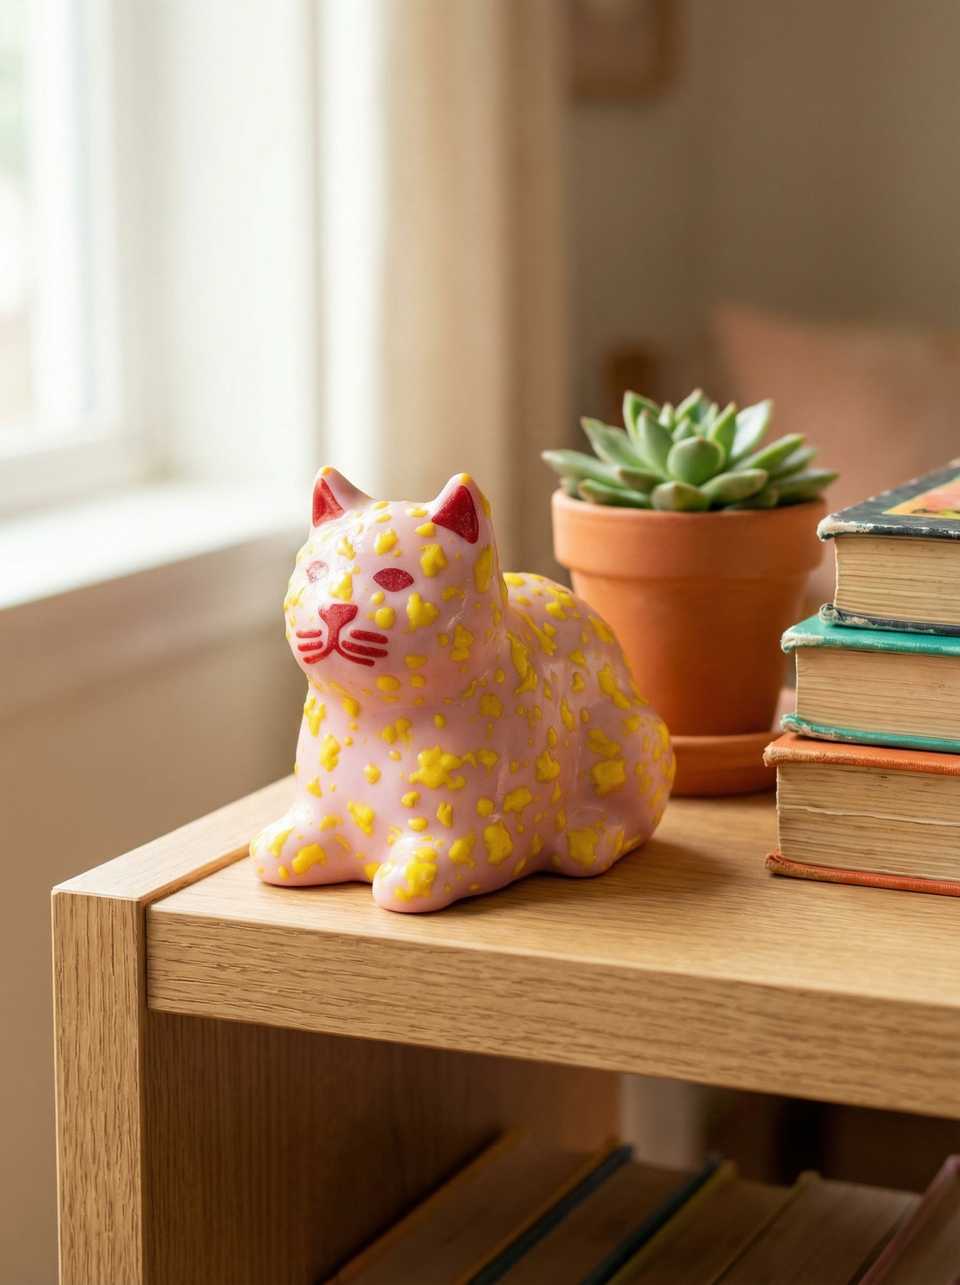
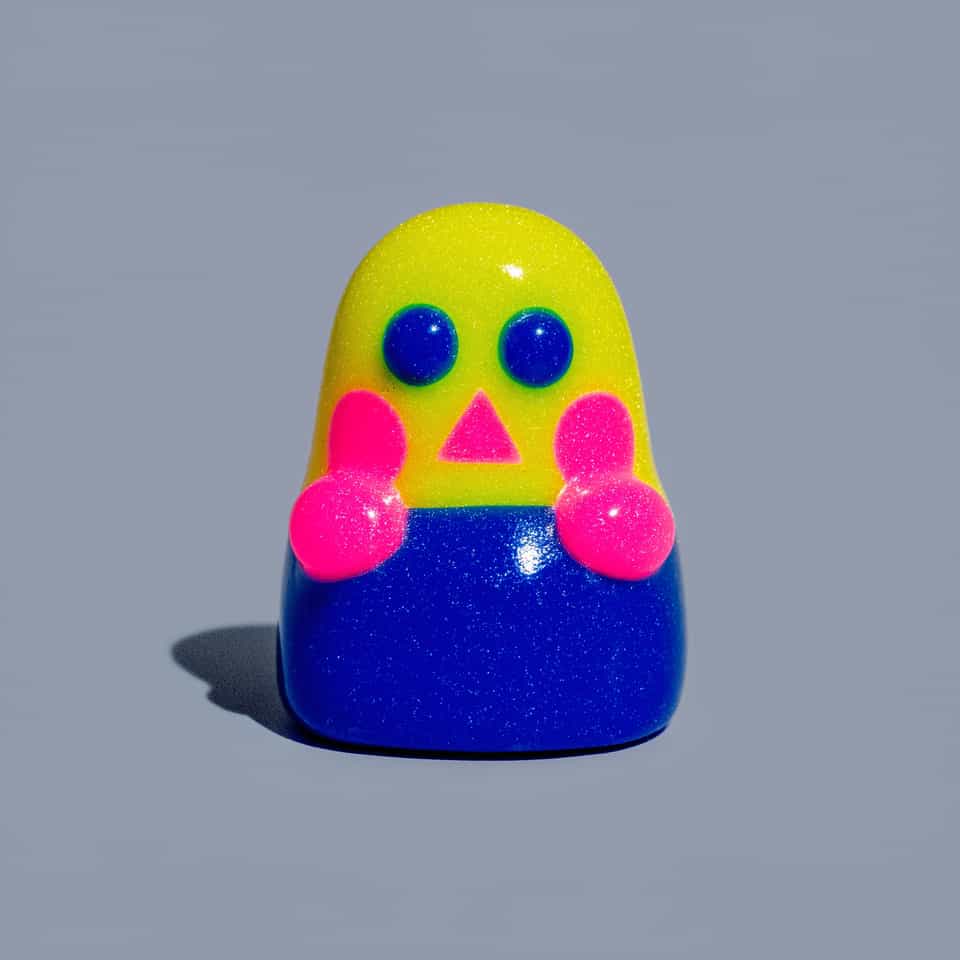
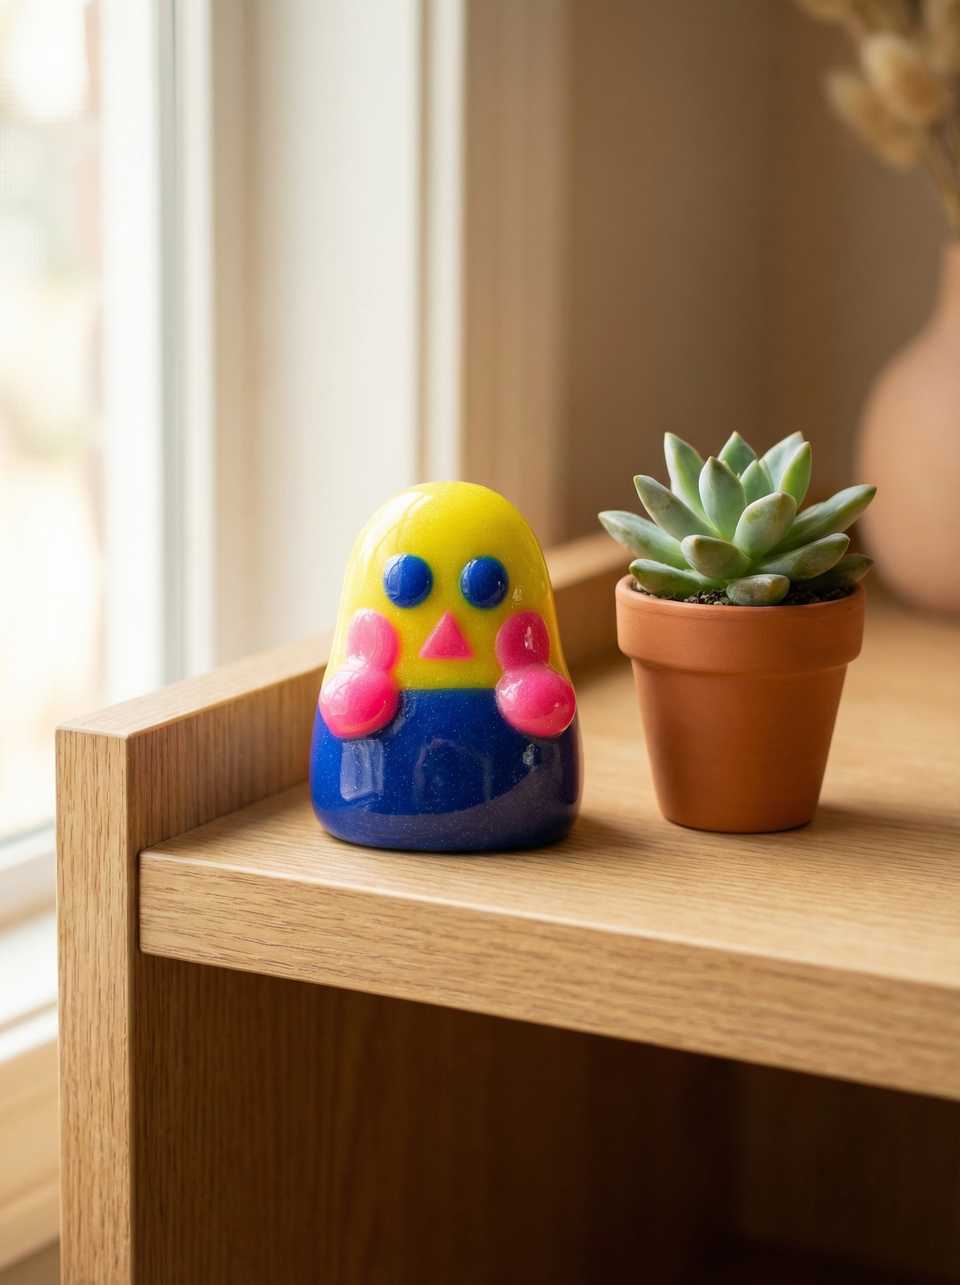
Finished examples with related clay decisions
Each piece shows how a material, attachment, or surface choice changes the final form.