Polymer Clay Surface Effects: Cane, Inlay, Texture, or Print
You added inlay or a cane slice and the surface cracked or the pattern dragged because you chose the wrong technique for the shape. Match the effect to the result you need: repeating pattern (cane), precise placement (inlay), raised detail (applique), or loose texture (marbling/print). Then go to the right deeper guide.

In brief
Key takeaways
- 1Sort surface effects by family first: cane, inlay, applique, print, or mix-and-fold. The family decides the right deeper guide and the right reference image
- 2Most surface-effect failures trace back to clay temperature, conditioning, or compression. Rest the block, match softness across colors, and bake on a flat tile
- 3Pair finish to family: matte for cane and mokume gane, tested gloss for sutton slice and applique, satin or matte for screen and stencil work
- 4Test the pattern on a small swatch before scaling. The swatch shows how color shifts during cure and how the chosen finish reads on top of the technique
Surface effects are how a flat polymer clay slab becomes a designed object. Cane work, inlay, applique, print, marbling, mokume gane: each is a different way to put pattern, texture, or color into the clay rather than on top of it. Pick the family first, then pick the technique inside that family.
This page points you to the right technique guide. Each guide below covers one decision: how to slice a cane cleanly, how to press inlay flush, how to layer applique on a base slab, how to print or stencil cleanly, or how to twist a marbled log without losing the pattern. Use the table to jump to the deeper guide that matches the piece in front of you.
Pick Your Surface Effect
Pick the row that describes what the piece in front of you needs to do. Each linked guide covers one technique start to finish, so you only need the one that matches your piece.
| If you want to... | Use this guide |
|---|---|
| Get topographic ring patterns from layer distortion | Polymer Clay Mokume Gane Reduction and Slicing |
| Press contrast clay into a textured base, shave flush | Polymer Clay Sutton Slice and Surface Inlay |
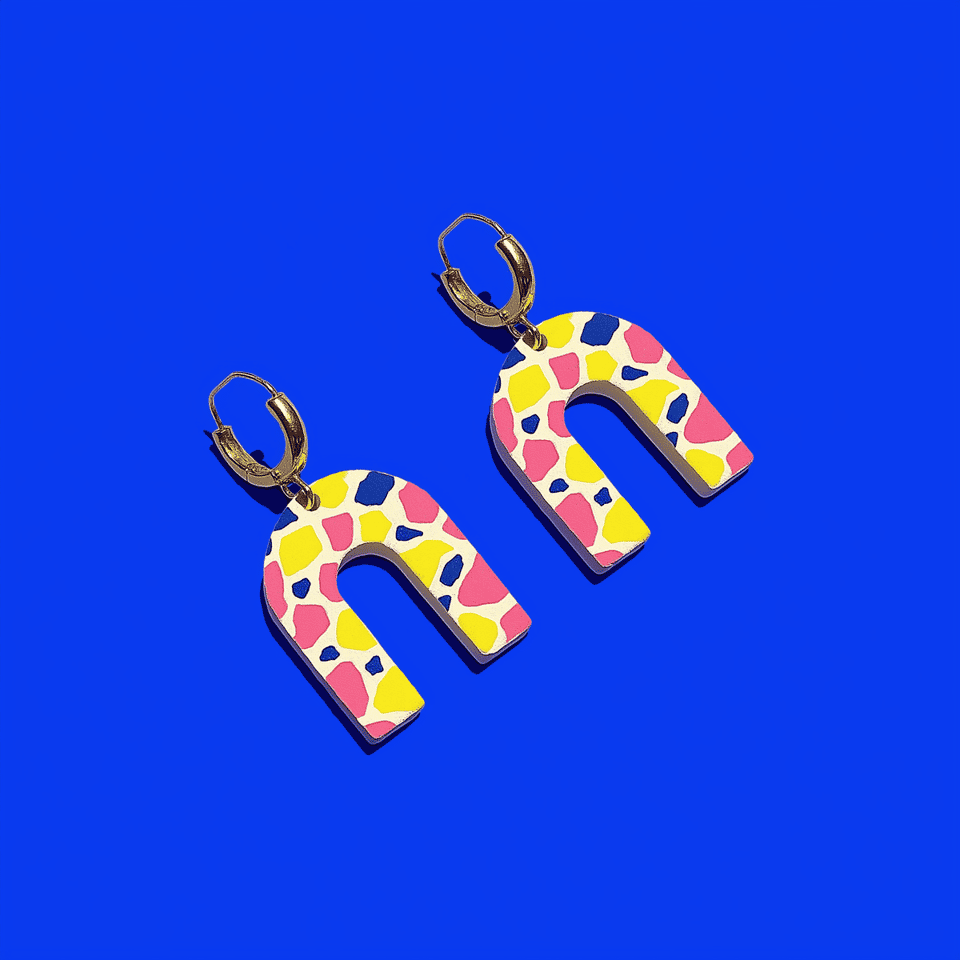
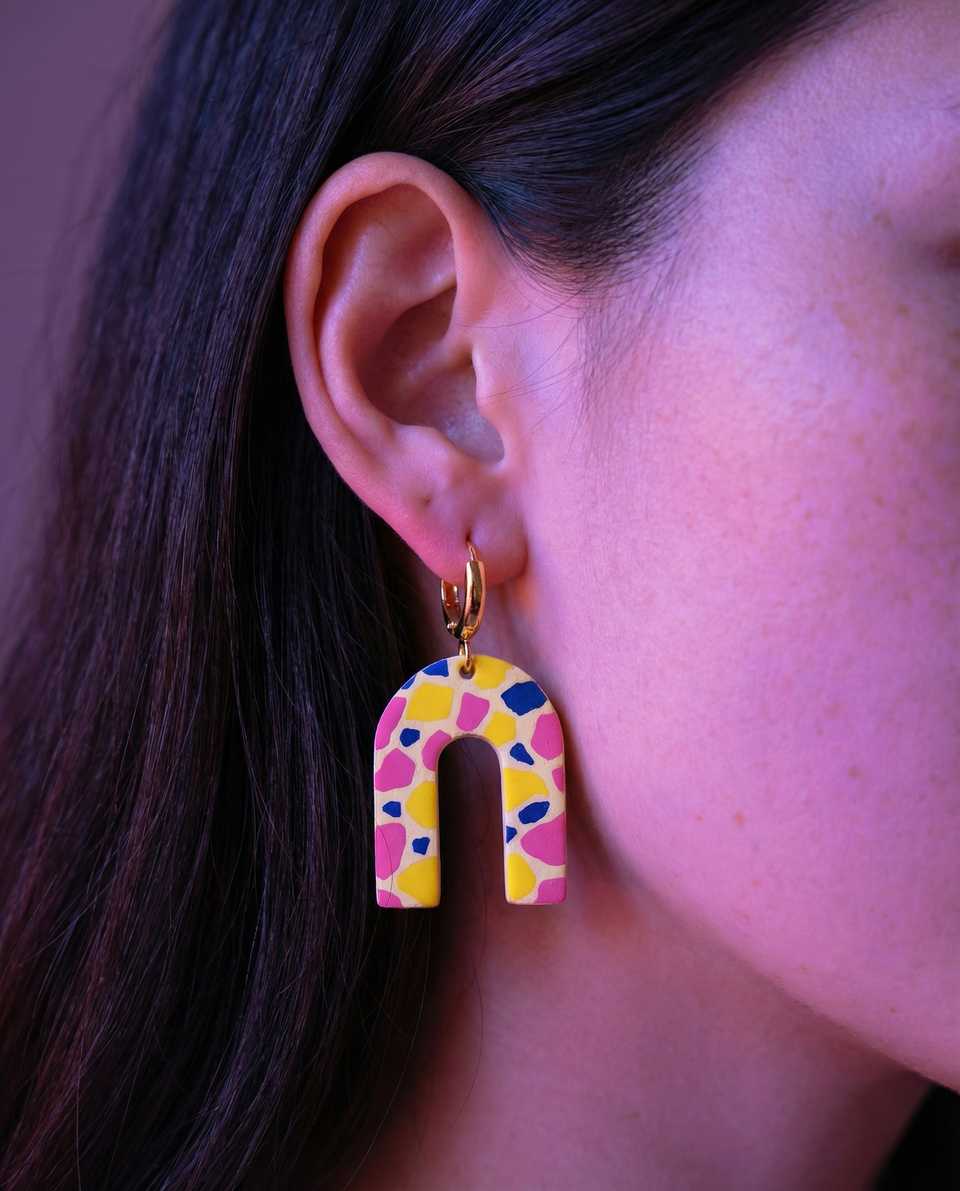
| Embed colored chips in a base slab for stone-like patterns | Polymer Clay Terrazzo Slabs, Chips, and Clean Cuts |
| Mix translucent and color for cherry-amber bakelite swirl | Polymer Clay Faux Bakelite Swirl and Color Mixing |
| Twist and roll for organic marbled patterns | Polymer Clay Marbling Tutorial |
| Press cut motifs onto a base slab as raised applique | Polymer Clay Two-Color Flower Applique |
| Decide between raised applique and flush confetti inlay on the same base | Polymer Clay Surface Applique and Confetti Inlay |
| Print graphic patterns through silkscreens, stencils, or halftone | Polymer Clay Silkscreens, Stencils, and Halftone Graphic Slabs |
| Build layered color blocks and slice them for nerikomi-style patterns | Nerikomi-Inspired Polymer Clay Patterns |
| Blend two or more colors into a smooth gradient slab | Polymer Clay Skinner Blends, Gradients, and Ombre Slabs |
The Four Categories of Surface Effects
Most polymer clay surface effects sort into four practical families. Naming the family first makes it easier to pick the right deeper guide and the right reference image.
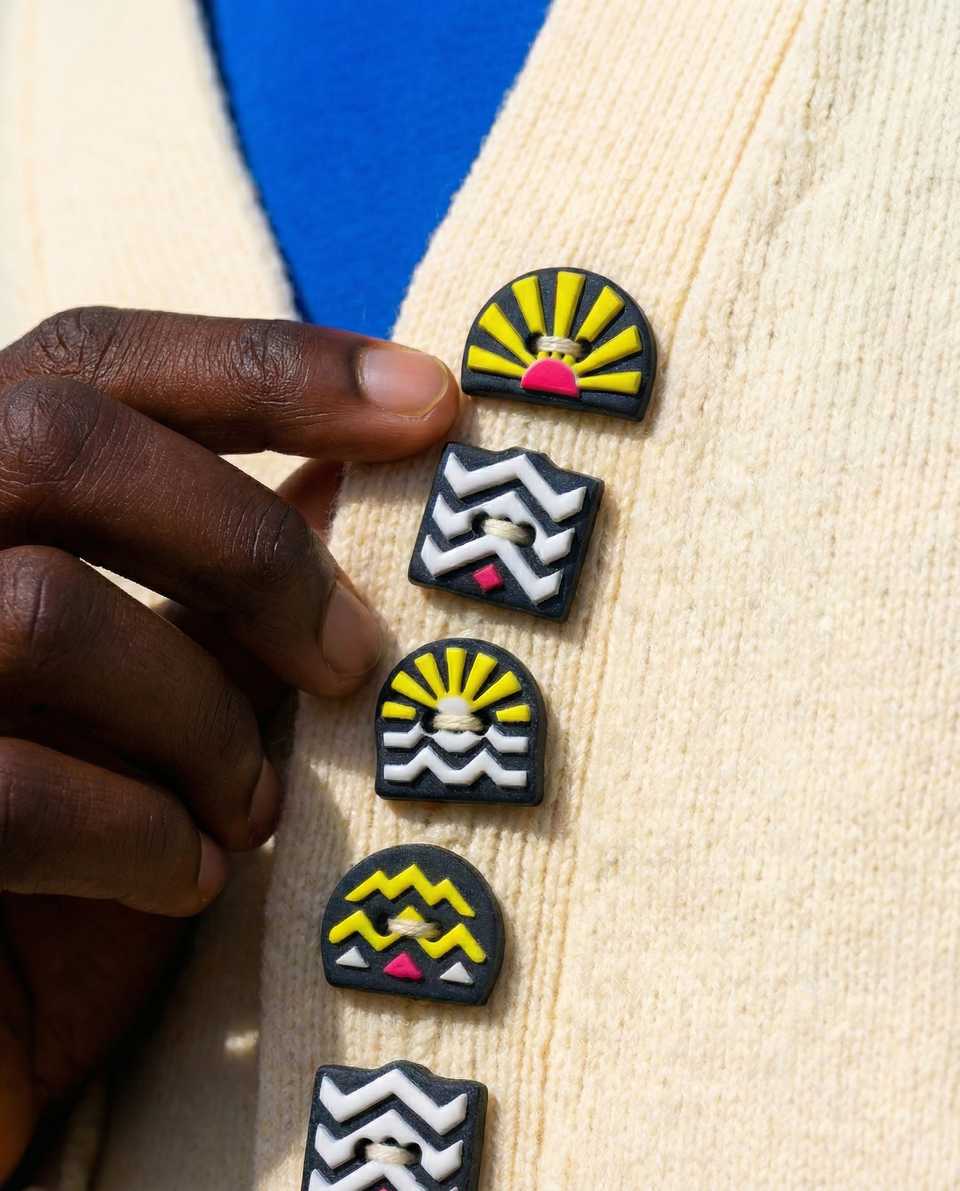
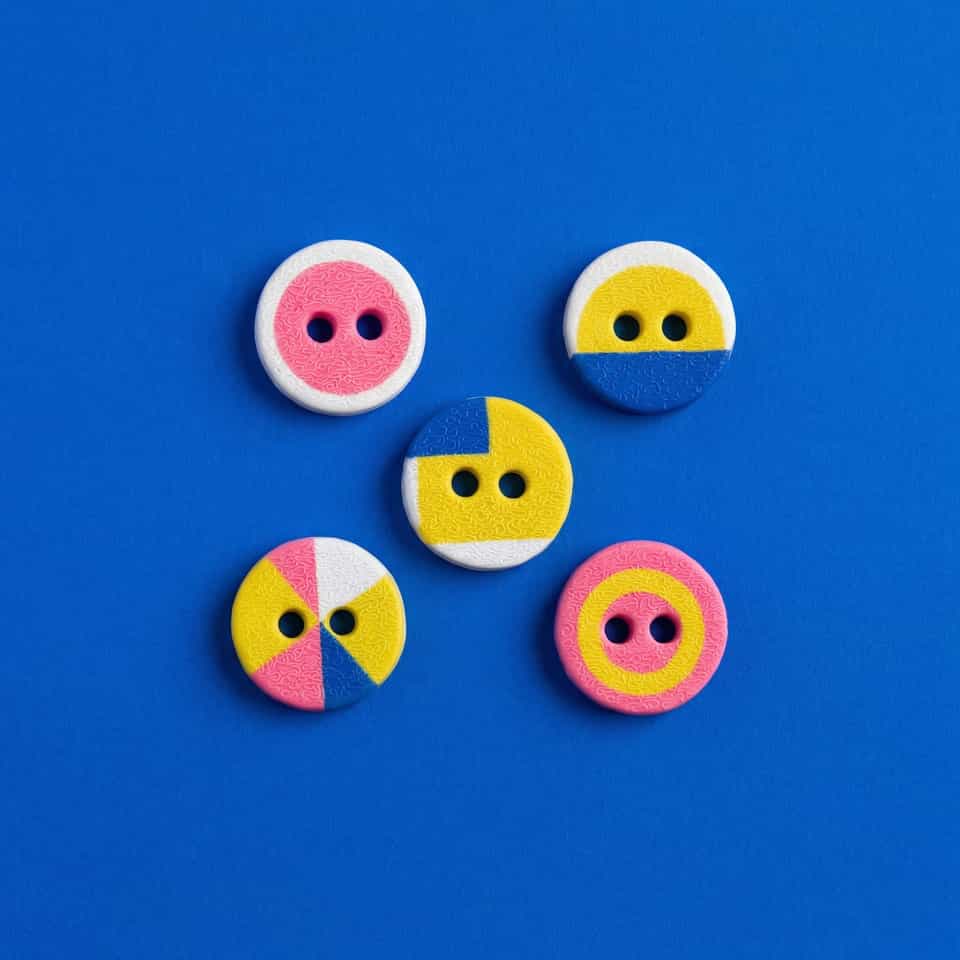
Cane and Millefiori
Patterned logs of clay you slice across to reveal a repeating design. The pattern runs through the whole log, so one cane feeds many pieces. Mokume gane and faux bakelite belong here too, because both rely on a stacked or twisted block that gets sliced. See the mokume gane guide for layered topographic patterns and the faux bakelite guide for translucent amber swirl work.
Inlay
Contrast clay pressed into a base slab so the result reads as flush color blocks rather than raised pieces. Sutton slice is the cleanest example: a textured base receives a thin slab of contrast clay, then a blade shaves the surface flush so only the contrast in the texture remains. Terrazzo also fits here, because the chips become part of a single slab once rolled. Start with the sutton slice guide for crisp flush patterns or the terrazzo guide for stone-like chip patterns.
Applique
Cut motifs pressed onto a base slab as raised pieces. The visual reads from silhouette as well as color, which is why applique works well for graphic shapes, flowers, and pixel patterns. The two-color flower applique guide covers the common floral build, and the surface applique and confetti inlay guide covers when to keep motifs raised versus pressing them flush into the base.
Mix-and-Fold
Color manipulation in the slab itself: marbling, partial blends, and twisted ropes that get rolled flat. The pattern lives in how the colors fold together rather than in stacked layers. The marbling guide is the entry point. Marbling is also one of the safer first techniques because the only real failure mode is over-mixing into mud.
How to Pick Your First Technique
Pick the family that matches the result you want, not the technique with the longest tutorial.
- You want repeatable patterns across many pieces: start with a simple two-color cane. The same log will feed a whole batch of earrings or buttons.
- You want fast organic results: start with marbling. The pattern looks finished within minutes of folding the clay.
- You want crisp graphic shapes: start with applique on a base slab. A cutter and a base slab will give you a clean graphic result on the first try.
- You want something that looks expensive without lots of equipment: start with mokume gane or terrazzo. Both produce visually rich slabs from a relatively short build.
- You want something that reads from a distance: start with a large applique motif or a bold cane slice. Fine print and small inlay can disappear at arm's length.
Whichever technique you start with, the build still has to fit a real piece. The earring findings hub covers how the back of the slab needs to support the hardware you choose, and the beginner toolkit covers the short list of tools every surface-effect technique relies on.
What All Surface Effects Share
Every technique in this cluster relies on the same handful of fundamentals. If a piece keeps failing across different surface effects, the issue is usually one of these.
- Conditioning matters more than brand choice. Under-conditioned clay will not blend, slice, or press cleanly. Run each color through a pasta machine until it bends without cracking.
- Slab thickness sets the workflow. A very thin base behaves differently from a thicker one. Thin slabs can distort during inlay, while thicker slabs can hide fine cane detail.
- Cool clay slices and presses better than warm clay. Rest a cane or stacked block briefly before slicing, or chill if needed. Warm clay smears at the color boundaries.
- Test the pattern on scrap before the finished piece. Bake a small swatch with the same clay line, similar slab feel, and the same intended finish. The swatch shows how color shifts during cure.
- Bake on a flat tile so the slab does not flex during cure. Most distortion happens because the slab moved while the clay was still fusing.
For the broader cure-side troubleshooting, the cracking guide covers oven temperature, slab thickness, and rest time as a connected system rather than three separate fixes.
When Surface Effects Fail (And Why)
Most failure modes repeat across techniques. Naming the cause is usually faster than retrying the same build.
- Pattern smears during reduction: over-conditioning or warm clay. Rest the block, chill if needed, and reduce from the center outward with rotation between passes.
- Inlay lifts after baking: the contrast clay was not pressed firmly enough into the base, or the two clay softnesses were mismatched. Press from the center outward, and match conditioning across colors.
- Print bleeds at the edges: too much paint on the screen, or a wet pass over a still-tacky slab. Use less paint and let the slab rest a few minutes between passes.
- Cane distorts: reduced too quickly, or sliced before the cane was firm enough. Rest the cane, slice with a fresh sharp blade in single confident pulls, not a sawing motion.
- Applique pieces tilt or pop off: the base slab was too dry on the surface or the applique was too dry on the back. Lightly score or condition the contact area before pressing.
If the failure is happening at the cure stage rather than during the build, work through the cracking and bake-failure guide first. Most surface-effect failures are actually bake-stage failures wearing a different mask.
Finish Compatibility for Surface Effects
Different surface effects pair with different finishes. The choice is not cosmetic; the wrong finish can flatten a cane or lift a print.
- Cane and millefiori: usually read best matte or with a light buff. Heavy gloss can flatten the visual depth of the color layers.
- Sutton slice and applique: often benefit from a tested gloss because gloss lifts the contrast between the inlay and the base. Test on a baked and cooled scrap first.
- Print, stencil, and stamp work: usually want a matte or satin finish. Some glossy sealers can lift or smear the printed paint, especially if the paint was not fully dry.
- Marbling and faux bakelite: a buff or a light gloss usually reads best because the swirling color benefits from a small amount of surface depth.
- Mokume gane: a buff or matte finish keeps the layered topography visible. Heavy gloss can flatten the patterned depth.
For the full sealer-by-finish breakdown, see the best sealer for polymer clay and the finish compatibility guides. Both cover how a chosen sealer interacts with the specific surface effect on the slab.
Choose Your Next Read
Pick the deeper guide that matches the technique family for the piece in front of you. Each guide covers one technique start to finish, without sending you back to a second article.
- Polymer Clay Mokume Gane Reduction and Slicing when you want layered topographic ring patterns from a stacked, distorted, then sliced block.
- Polymer Clay Sutton Slice and Surface Inlay when you want crisp flush color blocks pressed into a textured base and shaved flat.
- Polymer Clay Terrazzo Slabs, Chips, and Clean Cuts when you want a stone-like slab built from chips of contrast clay rolled into a single base.
- Polymer Clay Faux Bakelite Swirl and Color Mixing when you want the cherry-amber translucent swirl that vintage bakelite jewelry reads as.
- Polymer Clay Marbling Tutorial when you want fast organic swirling color from a folded and rolled clay log.
- Polymer Clay Two-Color Flower Applique when you want raised cut motifs pressed onto a base slab so the silhouette reads as part of the design.
- Polymer Clay Surface Applique and Confetti Inlay when you need to decide whether motifs should sit proud of the base or press flush.
- Polymer Clay Silkscreens, Stencils, and Halftone Graphic Slabs when the surface effect is a printed graphic pulled through a screen or stencil.
- Nerikomi-Inspired Polymer Clay Patterns when you want to layer color blocks and slice across the stack to reveal a repeating pattern.
- Polymer Clay Skinner Blends, Gradients, and Ombre Slabs when the design feature is a smooth color transition built into the slab itself.
More guides in this path
Open these when the next decision is material choice, attachment, or finishing.

Polymer Clay Mokume Gane: Reduction, Distortion, and Slicing
Mokume gane only reveals its topographic pattern when the stack is distorted before slicing. This guide covers slab thickness, the poke-and-press distortion step, and slicing the stack so each layer makes a clean ring instead of a smear.

How to Use Sutton Slice in Polymer Clay (Surface Inlay Tutorial)
Sutton slice puts a thin patterned cane slice into a textured base slab so the design sits flush with the surface. This guide covers texture choice, slice thinness, the press-and-shave step, and how to keep the inlay from lifting at the edges.

Polymer Clay Terrazzo Slabs, Chips, and Clean Cuts
Terrazzo slabs turn muddy when chips drag, sink unevenly, or blur into the base color during rolling. The fix starts with chip size and density decisions before you ever press them in.
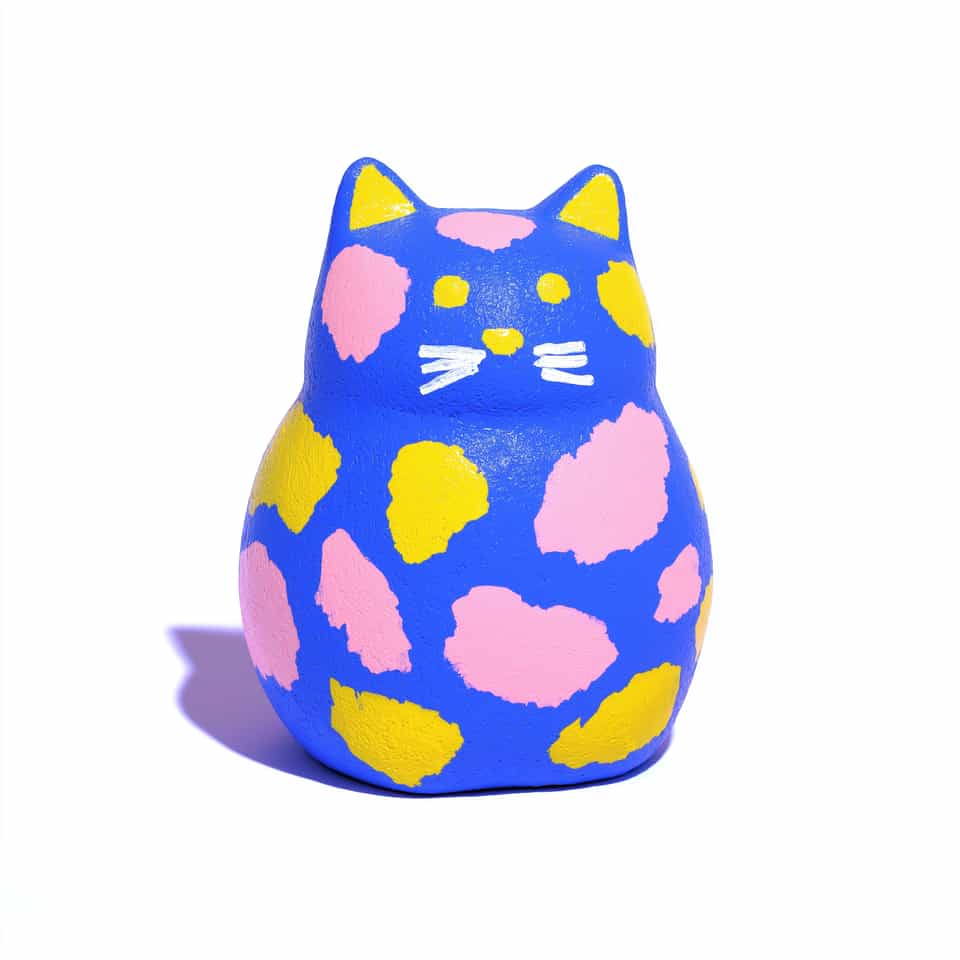
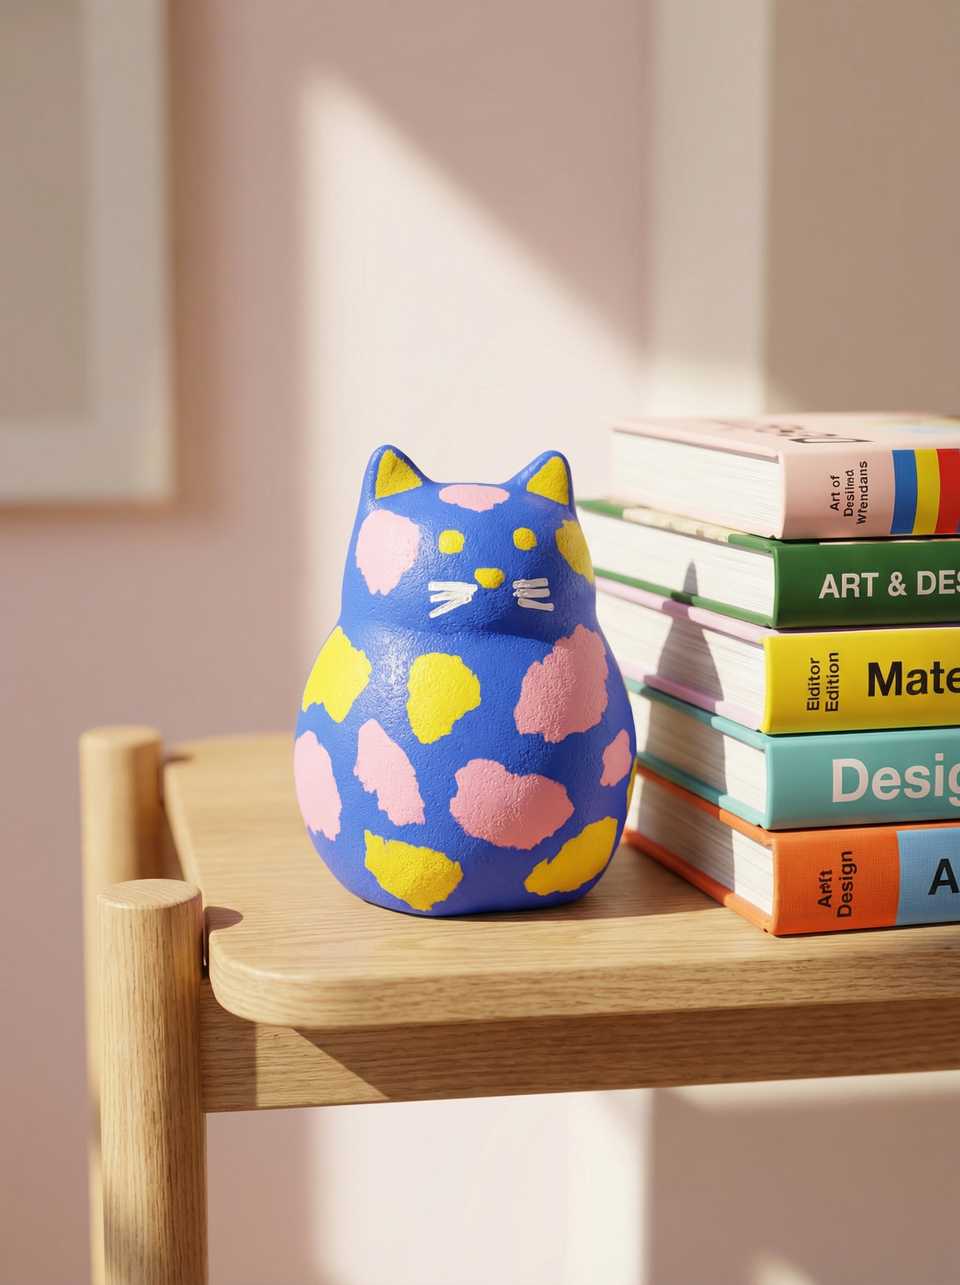
Finished examples with related clay decisions
Each piece shows how a material, attachment, or surface choice changes the final form.