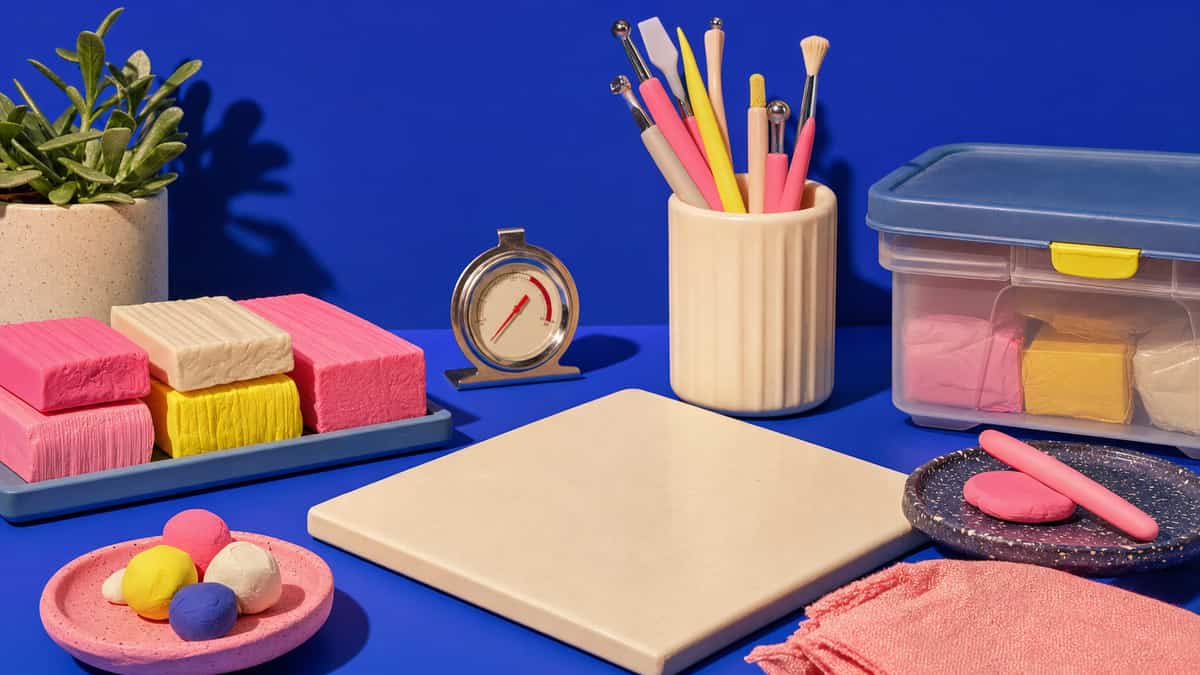
Use the chosen pair to decide clay, tools, findings, and oven checks. This is the earring-specific layer after the general starter kit: fewer mystery tools, more attention to the exact back, hole path, and finish stack.
Pick the pair before the cart
01
A stud, a linked dangle, and a large statement pair do not need the same first order. Choose one reference pair first, then let its shape decide the cutter, slab thickness, post pad, hole path, and ring size you test.
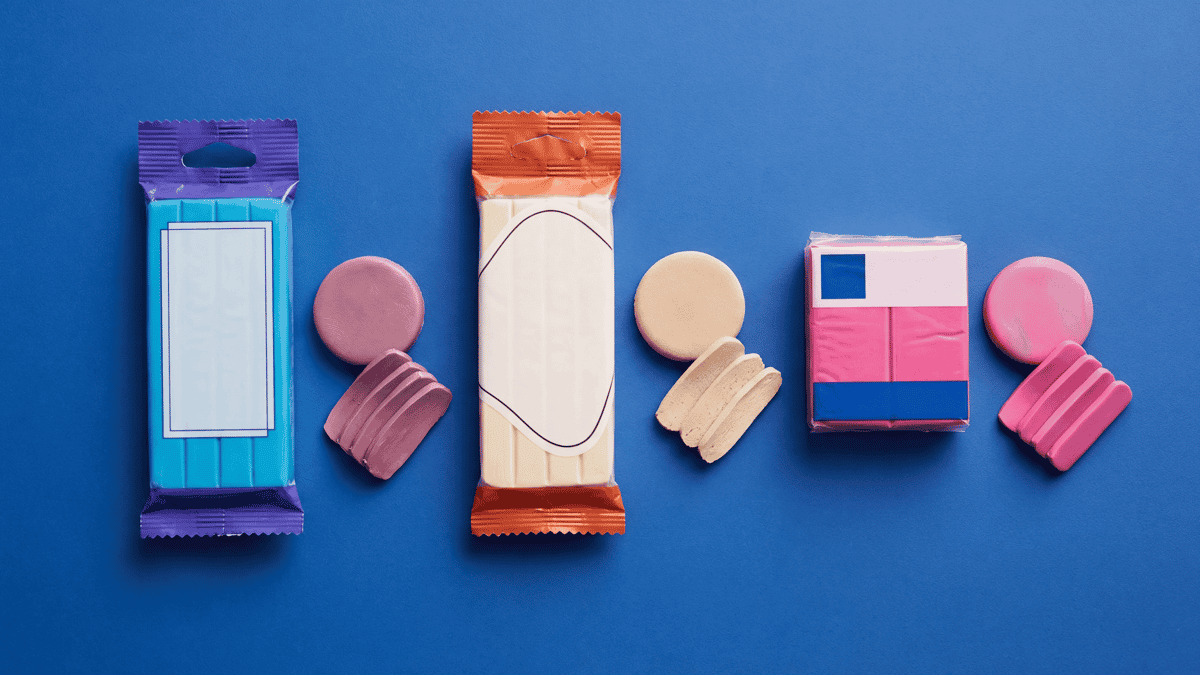
Use one clay line and a small color range for the first pair so the package instructions, slab feel, and finished surface are easier to judge. Test the planned thickness on scrap before buying more colors.
Why a pasta machine does not replace the acrylic roller
03
The machine handles conditioning and even slabs; the roller handles small pieces, joins, and pressed patterns. A hard tile supports the blade, while a flexible mat lets you move the clay with its support.
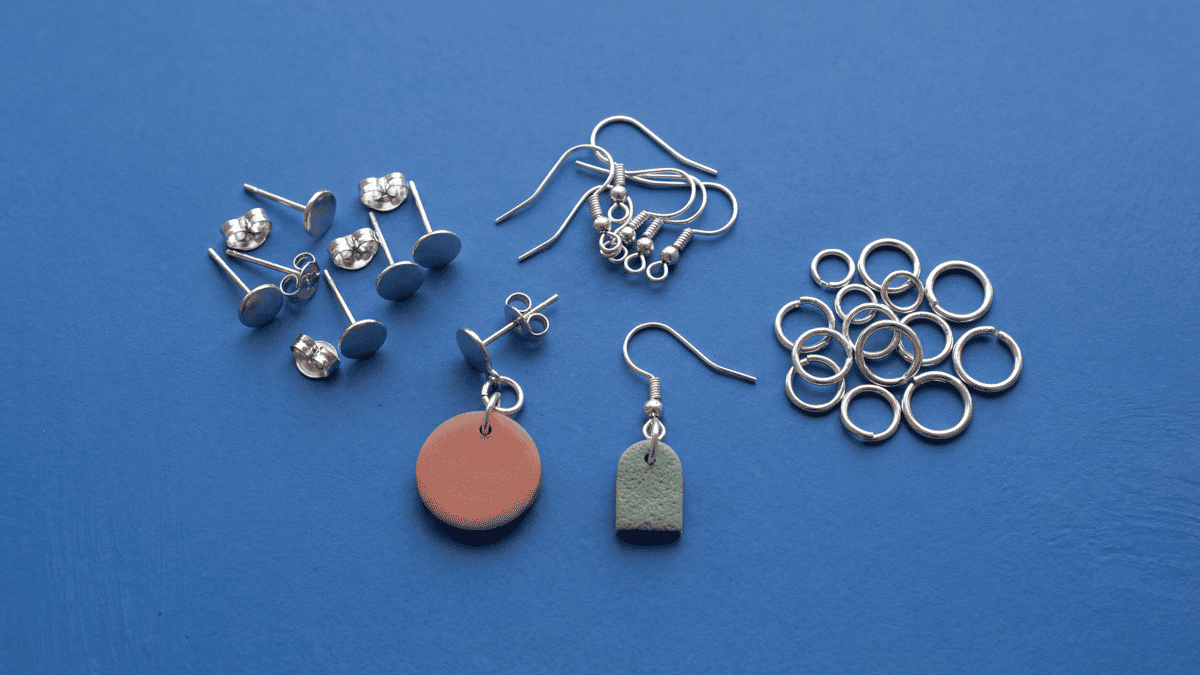
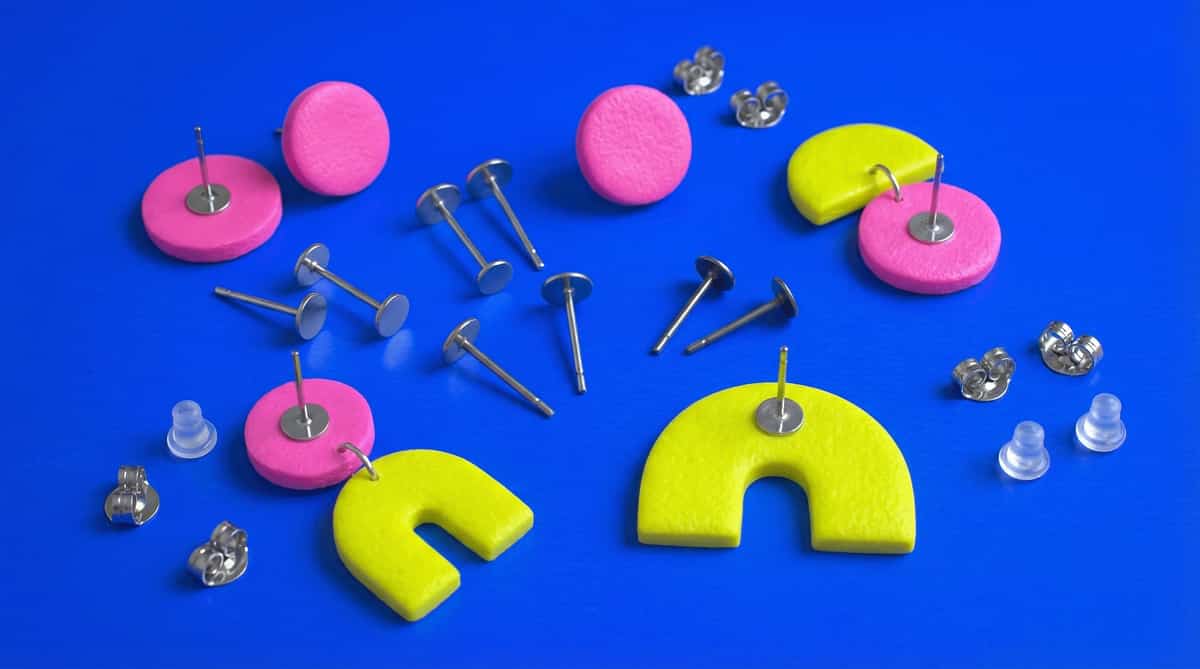
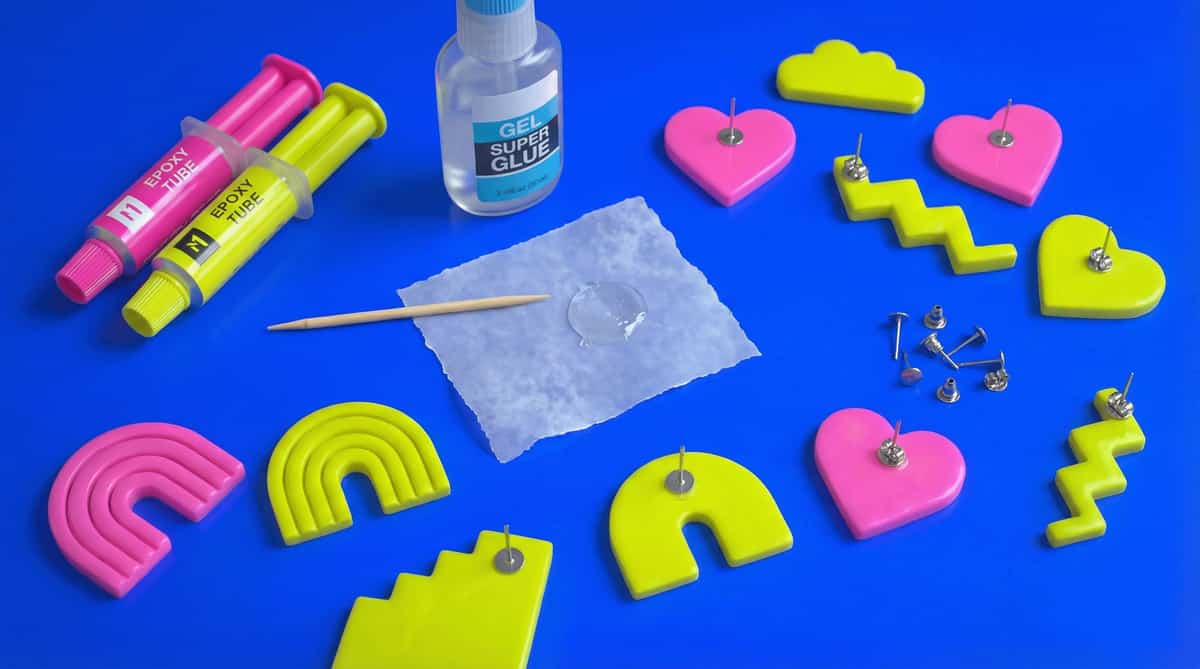
Pick findings where the listing names the post stem material, base metal, finish, or coating, then buy a small pack first. Check that the post pad sits flat, the hook direction matches the front, and the ring clears the clay edge.
Follow the clay package first, verify tray-height temperature with a standalone thermometer, and bake a scrap at the same planned thickness. Add finishes, larger cutter sets, and batch hardware only after that small test gives you useful data.
Each lookbook pair gives you build notes for clay, cutter, post or hook, bake setup, finish, and ring choices. Start with the pair, then gather only the supplies that build makes useful.
ToolsChoose a smooth glazed tile or finished-edge glass work board as a rigid work surface. Treat it as a bake surface only when that exact product's instructions allow the clay-package temperature.Read Guide
ToolsA clear acrylic roller helps you keep pressure even and see what is happening on the slab as you roll.Read Guide
ToolsRoll slabs between thickness guides (stacked playing cards, acrylic strips, or printed rails) to keep every slab the same depth across a batch.Read Guide
ToolsWhen choosing cutters, compare the edge, wall stability, size range, and actual cuts on conditioned scrap before buying more.Read Guide
ToolsReplace tissue blades the moment they start to drag or tear clay. A fresh blade is the cheapest fix for ragged cane slices and uneven slab cuts.Read Guide
TroubleshootingBrowning or scorched edges usually mean the oven runs hotter than the dial. Confirm with a tray-height thermometer, then bake covered with a foil tent at the package temperature.Read Guide
ToolsChoose a smooth glazed tile or finished-edge glass work board as a rigid work surface. Treat it as a bake surface only when that exact product's instructions allow the clay-package temperature.Read Guide
ToolsA clear acrylic roller helps you keep pressure even and see what is happening on the slab as you roll.Read Guide
ToolsRoll slabs between thickness guides (stacked playing cards, acrylic strips, or printed rails) to keep every slab the same depth across a batch.Read Guide
ToolsWhen choosing cutters, compare the edge, wall stability, size range, and actual cuts on conditioned scrap before buying more.Read Guide
ToolsReplace tissue blades the moment they start to drag or tear clay. A fresh blade is the cheapest fix for ragged cane slices and uneven slab cuts.Read Guide
TroubleshootingBrowning or scorched edges usually mean the oven runs hotter than the dial. Confirm with a tray-height thermometer, then bake covered with a foil tent at the package temperature.Read Guide