Best earring posts for polymer clay studs: pad size, backs and metal
Buy flat-pad posts, set the post a little above the middle of the stud, pick a pad that lies flat on the stud's back, and check which metal the listing names for the post itself.
Some links on this page are affiliate links. If you buy through them, we may earn a commission at no extra cost to you. As an Amazon Associate I earn from qualifying purchases. Disclosures

Post fit check
Match the post to the clay back
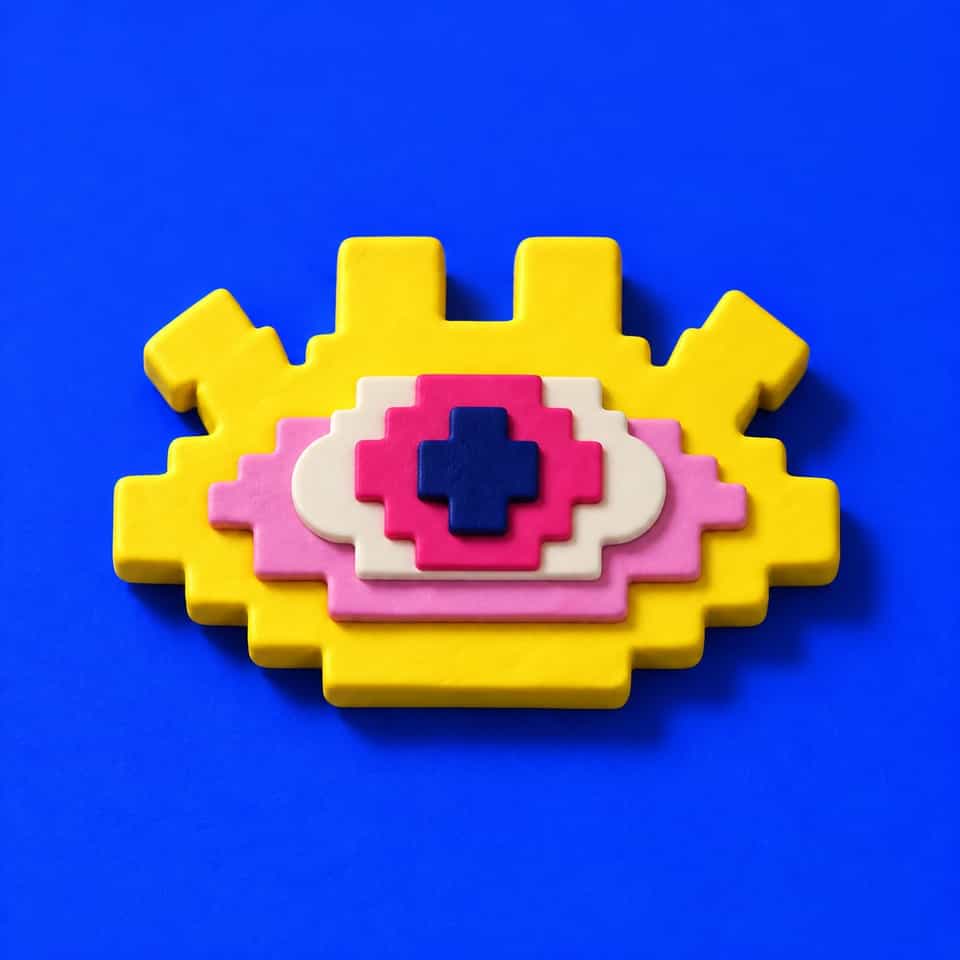
For a flat polymer clay stud, buy flat-pad posts, which have a small flat disc called the pad. Set the post on the centre line and a little above the middle, as the ClayBake Pixel Eye kit does, and choose a pad that lies flat on the stud's back with clay showing all round it. A stud that tips forward on a small earring back sits more upright on a disc back. Check which metal the listing names for the post itself.
Post sizes and styles come from jewellery supplier listings and guides, earring back behaviour from supplier and jeweller guides, post position from the ClayBake Pixel Eye kit design and a Sculpey project, and metal wording from the Association of Professional Piercers and a dermatology review; no studio wear test is claimed.
Article contentsOpenClose
For a flat polymer clay stud, the earring post to buy is a flat-pad post: a straight metal post with a small flat disc, called the pad, that sits against the back of the clay. Set the post a little above the middle of the stud, choose a pad that lies flat on the stud's back, and give a large stud an earring back with a disc behind the lobe, so the stud sits upright in the ear.
Start with baked, cooled studs, because you check each post against the finished back.
Which post type works on a flat polymer clay stud?
A flat-pad post works on a flat clay stud, because the whole pad lies against the clay, where glue or a thin covering layer of clay can hold it. Jewellery suppliers also sell posts with a small cup, called a bezel cup, for a domed stone or cabochon, and cup-and-peg posts for half-drilled beads and pearls. Neither has a flat face for a flat clay back. A ball stud with a loop underneath is for hanging a drop below the stud; the findings guide shows how to hang a drop from a looped stud.
A post listing should give you these details. Read them before you order:
| Listing detail | What it tells you | Typical in supplier listings |
|---|---|---|
| Pad diameter | The width of the flat disc. It has to fit on a flat part of the stud's back. | 3 to 10 mm |
| Post thickness (gauge) | How thick the post wire is. A lower gauge number means thicker wire. | 20 gauge (about 0.8 mm) to 22 gauge (about 0.6 mm) |
| Post length | How far the post reaches through the lobe to hold the earring back. | About 9.5 to 11 mm |
| Groove near the tip | A small notch that holds a butterfly back in place. | At least one groove close to the end |
| Metal of each part | The post, pad and back can be different metals. | For example, a titanium post on a stainless steel pad |
| Backs included | Many post packs are sold without backs. | Check the pack contents |
Where should the post go on the back of the stud?
Put the post on the stud's centre line from side to side, and a little above the middle from top to bottom, so slightly more of the stud hangs below the post than sits above it. The ClayBake Pixel Eye kit, which makes 26 mm eye studs, sets its pad a little above the middle of the eye, high enough to carry the weight below it. Sculpey's Simple Flower Earrings project also glues the post at the back top centre of each flower, though those flowers carry a clay drop on a jump ring below them.
- On an even shape, such as a circle or a flower, find the centre, then move the mark a little way up.
- On an uneven shape, such as a cat head with ears or a lopsided blob, lay the baked stud face down on the flat end of a pencil eraser. Slide it until it sits level, mark the back directly above the eraser, and set the post a little above that mark.
- On a pair, mark both studs in the same place so they sit at the same height in the ears.
What pad size does a clay stud need?
Use the largest pad that sits fully on a flat part of the stud's back, with clay showing all round its edge: a bigger pad gives the glue or covering clay more metal to hold. The Pixel Eye kit, for example, puts a 6 mm pad on its 26 mm eye stud. To check a pad against your own stud:
- Lay the baked stud face down on a soft cloth so the front is not scratched.
- Stand a post on the back, pad down, on the mark you made.
- Look along the back from the side. The pad should lie flat without rocking. If it rocks, it is crossing a curve or a raised edge; try a smaller pad or a flatter spot.
- Hold the post by its stem with the pad pressed onto the back, and lift the stud to look at the front. No metal should show past the outline. If it does, use a smaller pad.
A small stud, or a narrow shape such as a star, may only take a 3 or 4 mm pad. If you plan to bake the post in under a thin covering layer of clay, that layer has to be wider than the pad and still smaller than the stud, so leave room for it. A mixed pack such as the Craftdady posts and backs kit with 4 to 10 mm pads lets you try several sizes on the same stud.
Which earring backs keep a clay stud upright?
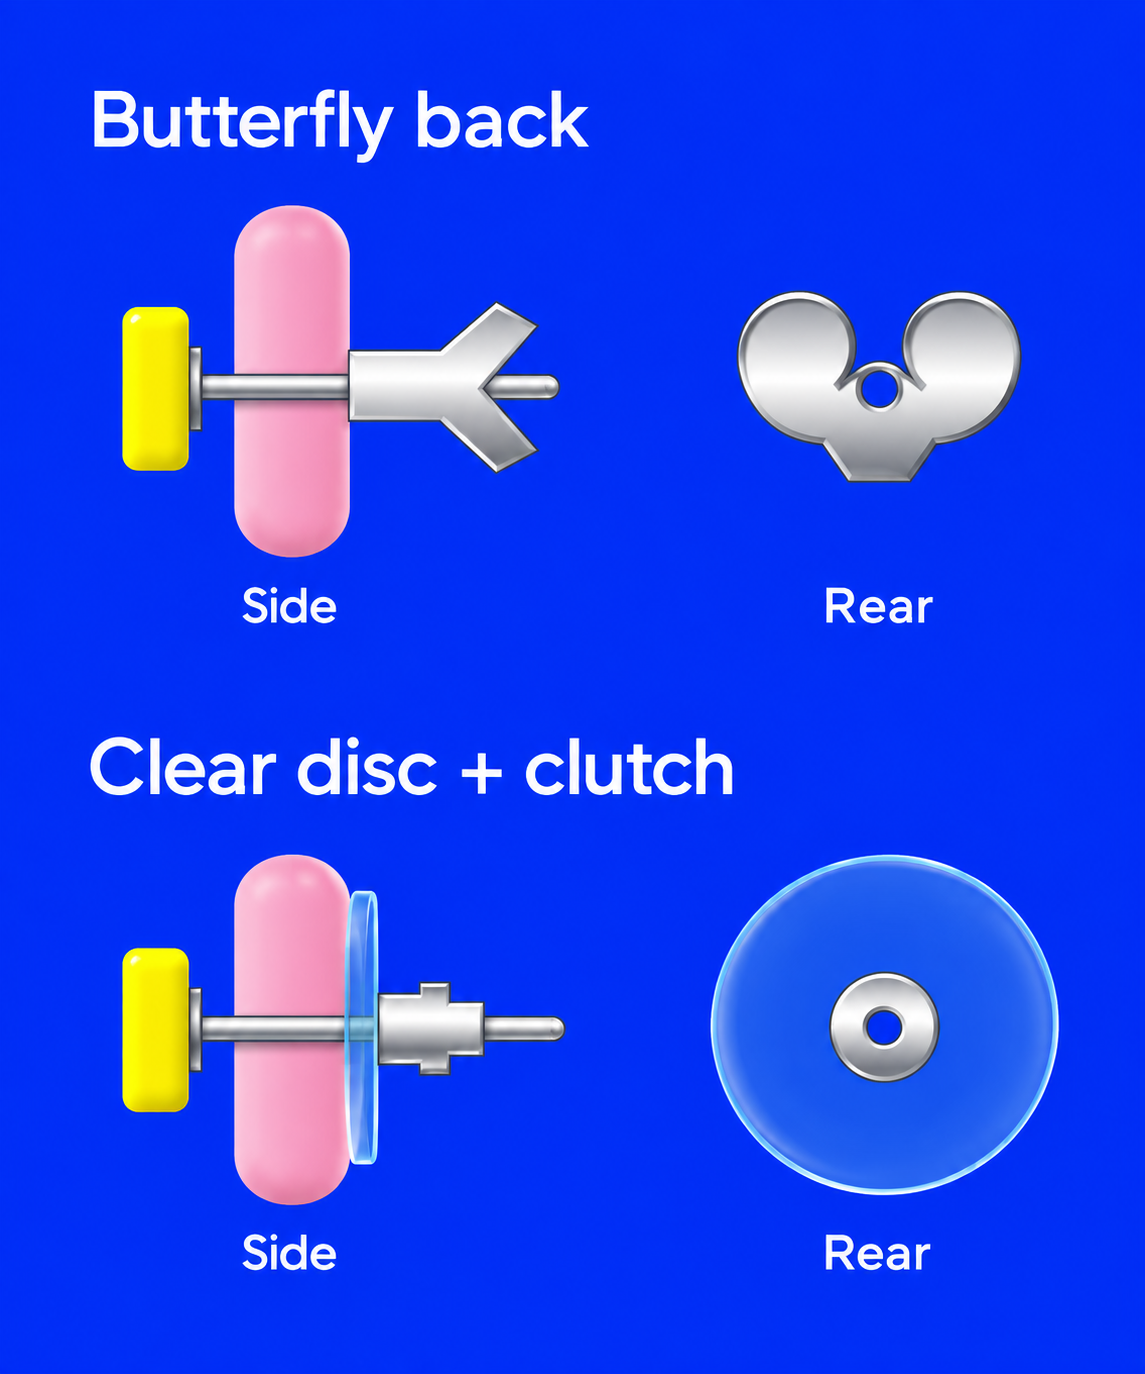
A back with a flat disc that rests behind the lobe helps a large or heavy clay stud sit upright; a small butterfly or rubber back suits a light one. A stud's weight sits in front of the lobe, so on a small back a heavy stud can tip forward with nothing behind the ear to hold it, and jewellery suppliers describe a disc back as helping large or heavy earrings stay upright and flat against the ear.
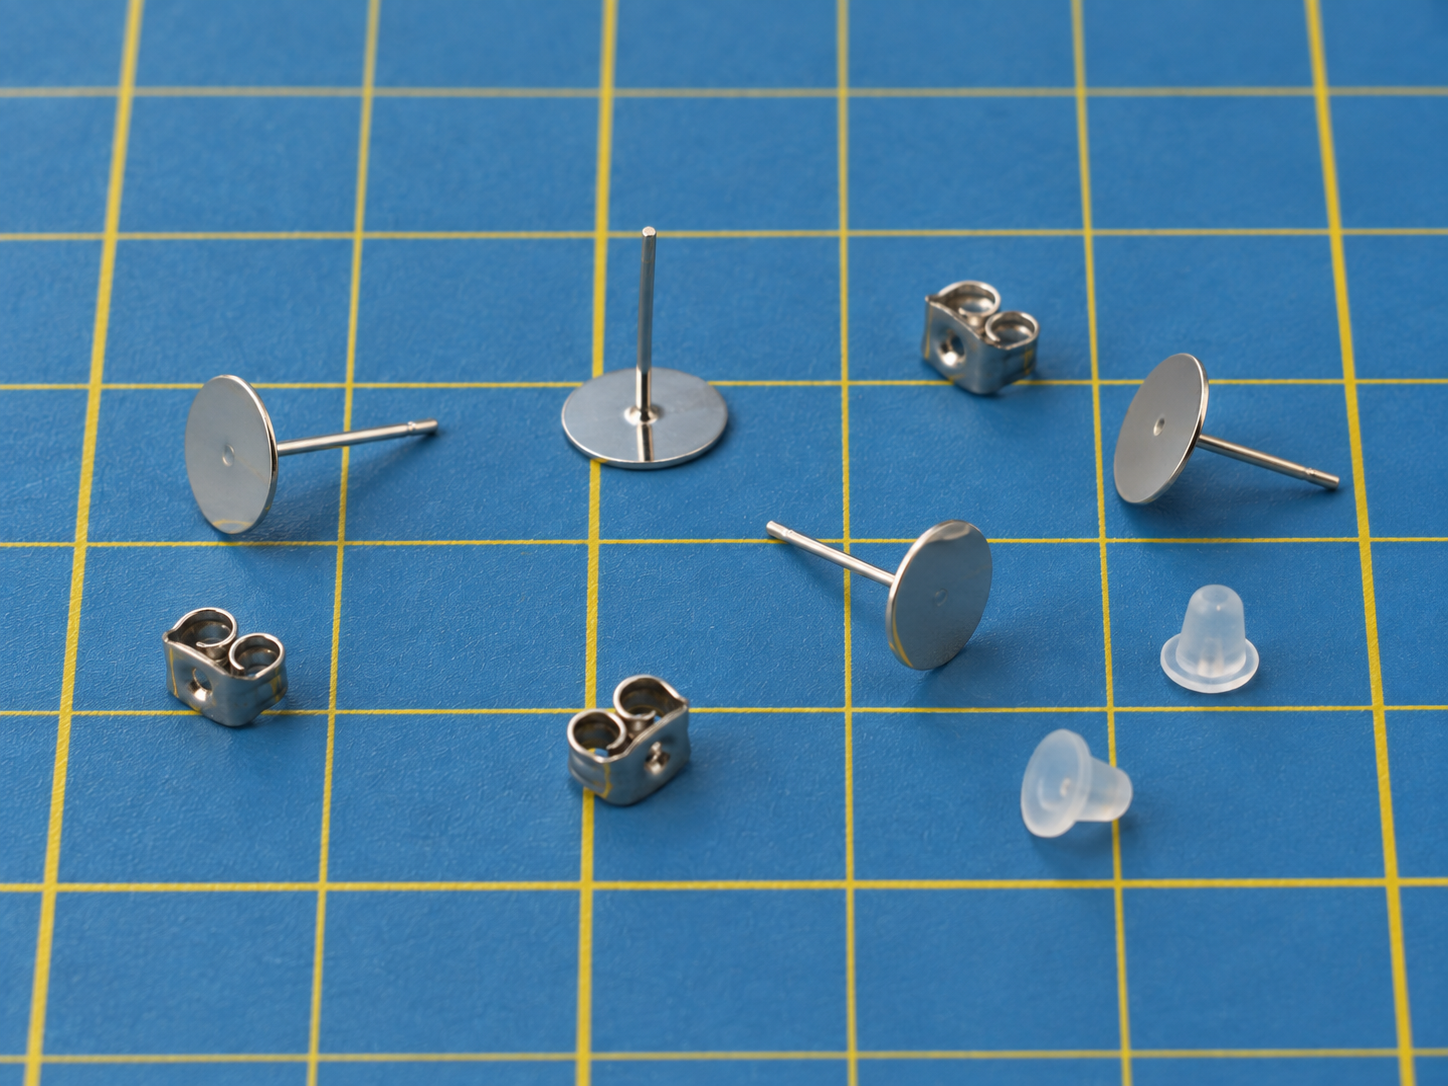
- Butterfly back: a metal back with two curls that grips the groove near the post's tip. A lightweight butterfly back, especially a sterling silver one, can loosen with use; squeeze the curls gently together to tighten it.
- Rubber or silicone back: a soft plug that grips the post. It suits light studs, and jewellery suppliers note that rubber stops gripping as well after some years.
- Disc back: a butterfly or small tube-shaped back set in a clear plastic disc. The disc spreads the stud's weight behind the lobe. Search disc earring backs on Amazon.
To decide whether your stud needs a disc back, try it on with the back that came with the post. If it tips forward, or it is noticeably heavier than studs you already wear comfortably, use a disc back. A lighter stud tips less on any back, so cut it smaller or roll it thinner if the design allows; the findings guide shows how to weigh a pair and compare it with earrings you already wear.
Which metal should the post be made from?
Look for a post whose listing names the metal of the post itself, the part that passes through the piercing, such as 316L stainless steel or titanium to a named standard. If a listing gives no metal or grade for the post, choose one that does. The pad and back are often a different metal from the post: the titanium posts with 6 mm pads, for example, come with stainless steel backs.
- Stainless steel. The 304 and 316L grades sold for findings contain nickel, and a 2019 dermatology review reports that they release very little of it.
- Titanium. For new piercings, the Association of Professional Piercers accepts implant-certified titanium to ASTM F-136 or ISO 5832-3, and commercially pure titanium to ASTM F-67. Look for one of those standards on the listing.
Do not call a post hypoallergenic or nickel-free because a listing uses those words; neither has a US standard behind it. Name the metal and grade instead. The findings guide explains nickel content, nickel release and what to tell buyers.
Should you glue the post on or bake it in?
Bake the post in under a thin layer of clay if the stud has not yet been painted or glazed; if it has, sand the pad spot back to bare clay and glue the post on. Baking in is the method experienced makers who have written about attaching metal to clay call the surest. Glue suits a finished stud because Sculpey's re-baking advice is written for unpainted, unglazed clay.
- Baking in: the pad sits under a thin layer of clay, liquid clay joins that layer to the stud, and the stud is baked again. Sculpey's FAQ says clay cannot be bonded to metal and is better wrapped around it, which is what the covering layer does. In the studio we bake studs in under a thin slab with liquid clay and add a tiny amount of glue on top after baking, which we find generally the neatest finish. The findings guide has the steps for baking in a stud.
- Gluing on: the pad is glued to a spot of bare, roughened clay after the last bake. It is quicker and needs no second bake. The earring post glue guide covers which glue to use and how long to wait.
Why do clay studs droop or spin, and how do you fix it?
A clay stud droops when it is heavy for its earring back, and it turns in the ear when the post sits at or below the stud's balance point, because then no extra weight hangs below the post to keep it the right way up. Wear the stud or hold it by its back, look at it from the front, and match what you see:
- The stud tips forward. It is heavy for its back. Change to a disc back, and make the next studs thinner or smaller if the design allows.
- The stud turns sideways or upside down. The post is at or below the balance point. On the next pair, set the post a little higher using the balance mark above.
- The back slides off the post. A butterfly back needs the groove near the tip; squeeze its curls to tighten it, and replace a rubber back that no longer grips.
- Metal shows past the edge, or the pad rocks. The pad is too big for the flat part of the stud's back. Use a smaller pad on the next pair.
- The post came off. The glue guide explains what the failed joint tells you and how to glue the post back on.
In brief
Key takeaways
- Set the post a little above the middle, so slightly more of the stud hangs below it; if a stud turns in the ear, set the post higher on the next pair
- If the pad rocks on the stud's back or metal shows past the front outline, use a smaller pad
- Many post packs come without earring backs; a stud that tips forward on a small back sits more upright on a disc back
- Check which metal the listing names for the post itself; the pad and back can be a different metal
More earring attachment guides
Use these next when you need to choose glue, build stud toppers, add connector rings, or pick hook and post findings.
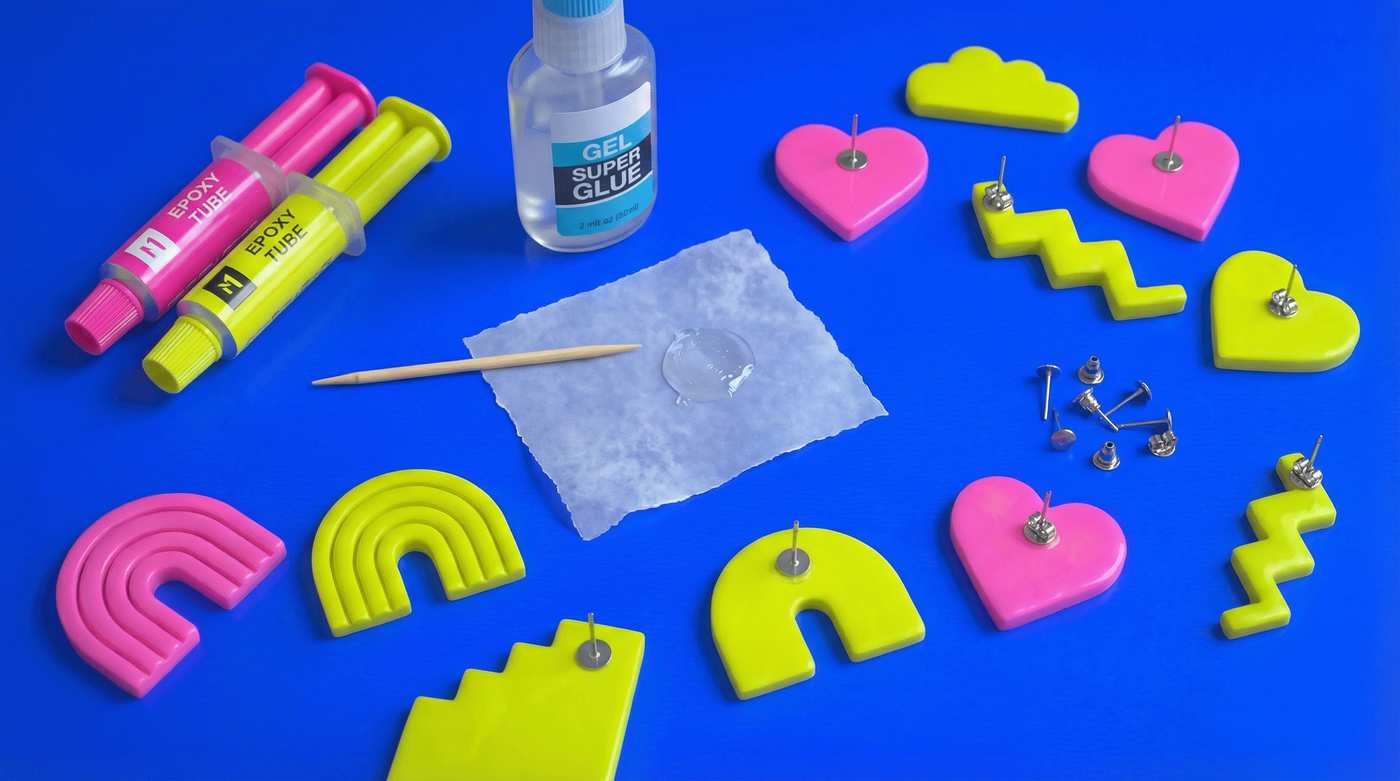
Best glue for polymer clay earring posts: what makers use
Two published maker sources name gel super glues such as Loctite's Gel Control and Gorilla Super Glue Gel for posts. Sand the spot to bare clay, use a small dot and wait 24 hours before wearing.
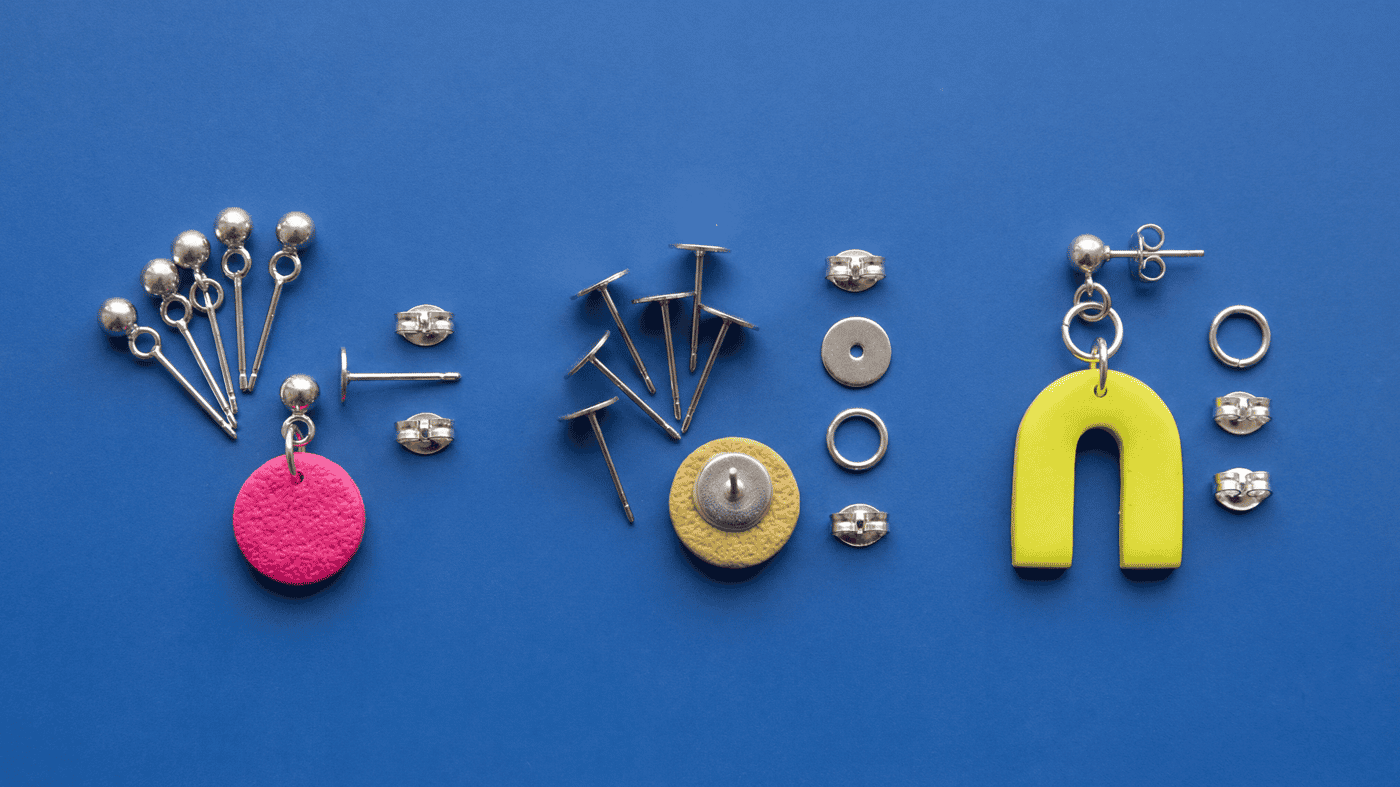
Polymer Clay Stud Toppers, Flat Pads, and Connector Rings
Choose the top connection from the front view first, then keep the attachment short and balanced. Compare visible loop-tops, flat pads, short ring paths, and balance-line marks on a sample before you make the final pair.
How to attach a brooch pin to polymer clay so it sits straight and stays on
A clay brooch that flops forward on a jacket, spins round, or loses its pin comes down to where the pin sits and how the pad is glued. The fabric check at the end shows if you got both right.
Finished earrings with different attachments
See where the post sits on finished studs: a hidden flat pad, a flat-back stud, the Pixel Eye kit's 6 mm pad, or a connector ring.