Polymer Clay Safety and Studio Setup: A Practical Reference
A working polymer clay studio is easier to trust when clay tools and work surfaces stay separate from food prep, and any shared oven is handled by the clay brand's directions. This reference covers ventilation, oven setup, handling, food-contact boundaries, raw-clay storage, and when to discard a bake.

In brief
Key takeaways
- 1Keep clay tools, work surface, and oven separate from food prep. Once a tool has touched raw clay, retire it from food use for good
- 2Run a fan or open a window during bake, and check tray-height heat with an oven thermometer before trusting the dial
- 3Polymer clay is not food-safe as a material even after baking. Keep it off plates, mugs, and utensils that touch food
- 4Sealing changes how a piece looks and feels. It is not a fix for under-cured clay, weak joins, or skin-contact concerns
- 5Store raw clay cool, sealed, and out of reach of children and pets. Discard pieces that scorched or blistered during bake
Most polymer clay safety advice boils down to a few practical boundaries: keep clay tools and work surfaces separate from food prep, use the package oven settings, ventilate while baking, and treat any shared oven with the cleanup steps your clay brand recommends. The rest of this reference walks through how that actually looks in a small home studio, from ventilation to storage to when to throw a piece away.
None of this is meant to be scary. Polymer clay is a forgiving, well-documented craft material. It is simply a plastic compound, not a food or cosmetic product, and a few steady habits let you enjoy it for years without having to think twice about cross-contamination.
Keep Clay Work Separate From Food Prep
The single most useful habit is keeping your clay workspace and your food workspace apart. That means a clay-only tile, clay-only blades, clay-only rollers, and a work zone that is not the same counter where you prep dinner. Clay residue and small crumbs are easy to miss in cracks and cutting boards, and they are not something you want landing on bread or fruit.
The same principle applies to pets and kids. Raw polymer clay can look like candy to a toddler or a curious dog, and ingestion is not safe even if the amount is small. Store raw clay above head height, inside a closed bin, or in a drawer the household knows not to open. If you share a kitchen table with family life, fold a clay-only work mat out when you are working and roll it away when you are done.
Oven Setup And Ventilation
A dedicated toaster oven is the more controlled setup for regular clay work, because it keeps the bake completely separate from food cooking and lets you leave a thermometer and tile in place between sessions. A shared oven can work when the clay brand instructions allow it, but it introduces extra housekeeping. You need ventilation, clay-only trays or covers, and a cleanup routine that keeps craft residue away from food prep.
Ventilation in a small studio does not have to be complicated. Open a window before the oven goes on, keep a cross-breeze by cracking a second window or door on another wall, and aim a small fan so it pushes oven-area air toward the open window rather than across the room. If you work in a windowless space, a plug-in range hood, an inline extraction fan pointed at the window, or simply moving the bake to a better-ventilated room for that session are all reasonable options. The goal is to move bake-area air outward, not to filter it through the rest of the living space.
One ventilation detail trips up apartment makers in particular: a recirculating range hood, the common over-the-stove kind that pulls air through a charcoal filter and pushes it back into the kitchen, does not move bake-area air outside. It can mask smell in the short term, but it is not the right tool for clay bake ventilation. What you actually want is an outside-vented range hood, an open window with a small fan moving air out of the room, or a separate room with a window that you can close off from the rest of your living space during the bake.
For an apartment without a kitchen window, the most workable setup is usually a small dedicated toaster oven set up near a bedroom or office window, baked with the window cracked open and a small fan in the window pulling air out of the room. In good weather, baking on a balcony is also a reasonable option. Indoor air during polymer clay bake has not been studied as extensively as, say, oil paints or resin, so the practical position is to minimize exposure where you reasonably can while still following the clay brand's own baking guidance.
For frequent clay work, the simpler rule is to dedicate the oven to clay. For occasional shared-oven use, follow the clay brand's safety guidance, keep all clay-contact trays and covers out of food use, ventilate well, and clean before cooking food again.
Dedicated Oven And Clay-Only Surfaces
For frequent clay work, a dedicated toaster oven is the simplest setup because the thermometer, tile, tray, and foil cover can stay in one clay-only station. That does not mean a home oven is automatically unusable for occasional clay baking. Follow the clay brand's package and safety guidance, ventilate well, use a separate oven thermometer, and keep clay-contact trays, covers, tiles, and mats out of food use.
Label clay-only trays and tiles visibly, so a housemate or family member does not use them for food by mistake. Store those surfaces with the clay kit rather than in the kitchen drawer. The clean habit is separation: clay-contact surfaces stay with clay, food-contact surfaces stay with food.
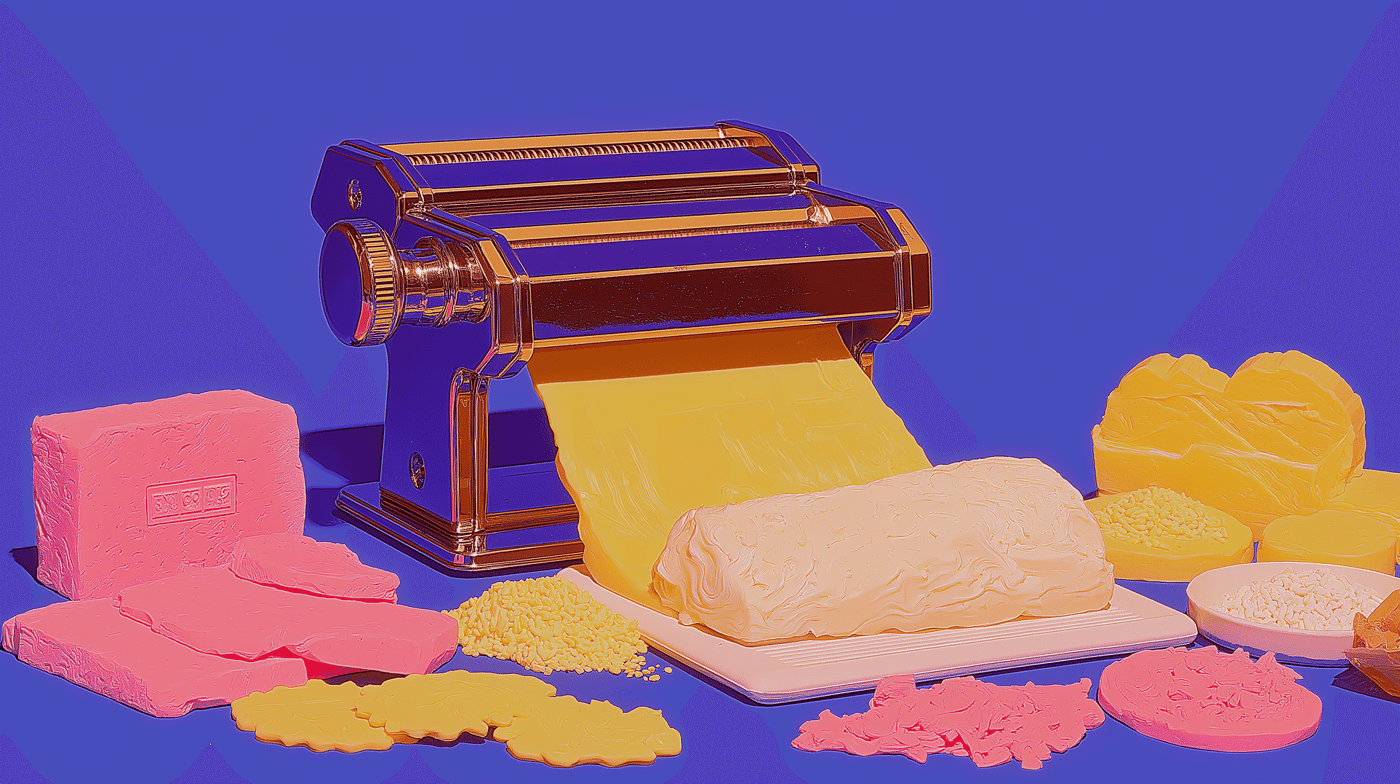
If you discover after the fact that you used a kitchen tool for clay, retire that tool to clay-only use. That applies to pasta machines, tissue blades, rolling pins, cutters, texture tools, and baking slabs. Wash it, label it, and store it with the clay kit. For future bakes, move toward a dedicated clay oven if you bake often or if the shared-oven routine is hard to keep separate.
If A Piece Burns: Fume Response
Burnt polymer clay smells distinctly different from food. It is sharp, acrid, and plastic-like, often with a slight chemical edge that lingers in fabric and carpet. If you have ever smelled it, you will recognize it immediately the next time. That smell is the signal to act, not to wait it out.
The reason it matters: overheated polymer clay can create irritating smoke or odor, and the exact response guidance belongs to the clay line's package instructions and safety data sheet. Exact composition, amount, and risk depend on the clay line, how much burned, and how long it overheated, so treat the published safety data sheet for your clay line as the authority rather than any general guide, this one included.
If a bake goes wrong and you smell that sharp burnt-plastic note, the immediate response is straightforward: turn off the oven, open windows, leave the room, and let the air clear before you go back in. A fan in the window pulling air outward speeds this up. Do not stand over the oven trying to inspect what happened, and keep children and pets out of the room until the smell is gone. Discard the burned piece rather than trying to salvage it, and retire the clay-contact baking slab to clay-only use.
Prevention is mostly about temperature control. Use an oven thermometer at tray height, never bake above the package-recommended maximum, do not use a regular kitchen oven on broil for polymer clay, and recheck the thermometer if an oven that has been reliable starts behaving oddly. Older home ovens can drift as the thermostat ages, so trust the thermometer more than the dial.
Use An Oven Thermometer At Tray Height
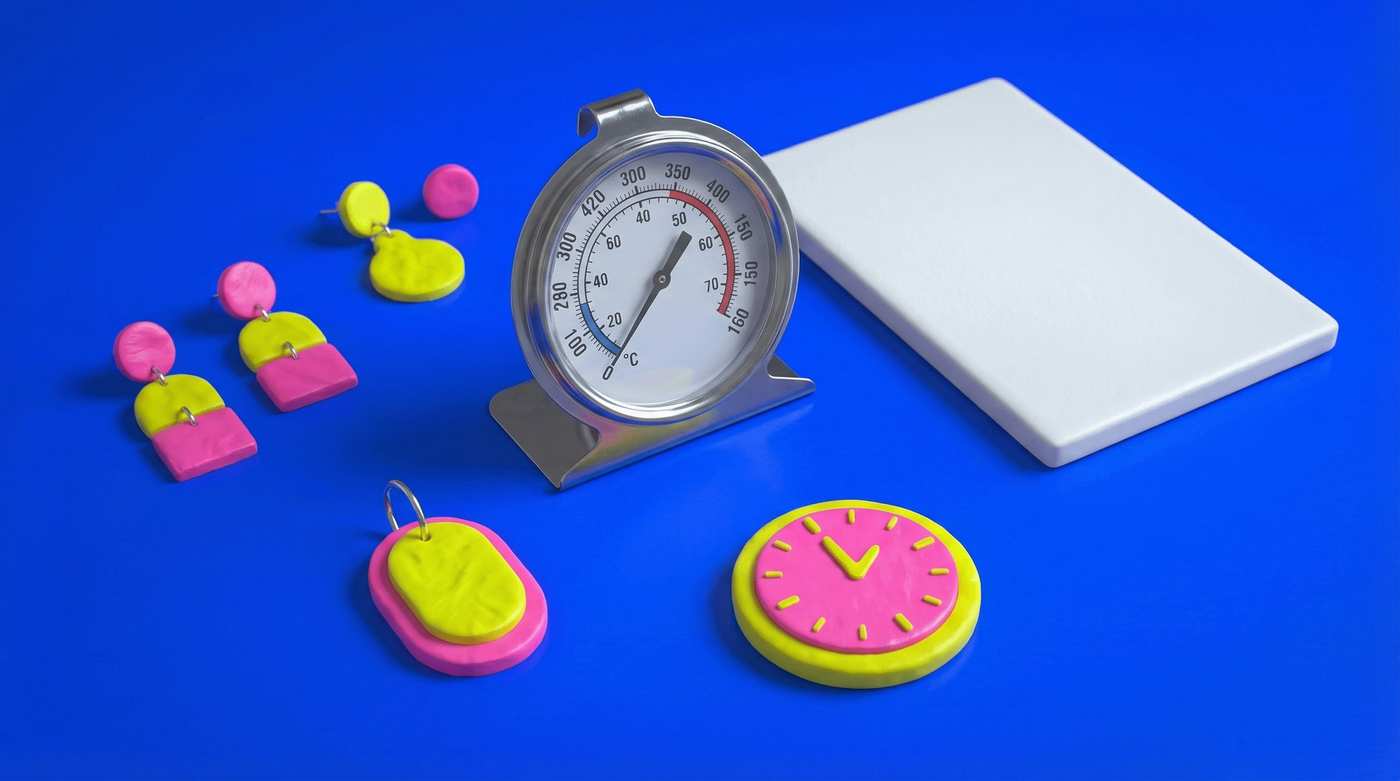
Every polymer clay line publishes its own cure temperature and time, and home ovens can drift from the dial setting. Using the number on the package without verifying the real shelf temperature is a common reason pieces come out under-cured, brittle, or scorched.
A simple analog dial thermometer parked at tray height tells you what the clay is actually seeing. If the oven runs hot, turn the dial down until the thermometer reads the package target. Do the check whenever you switch clay lines, move racks, or start noticing bakes behaving differently. For a deeper look at placement, analog versus digital, and toaster-oven hot spots, see our oven thermometer guide.
Handling The Clay Itself
Wash your hands before you condition clay if you have just handled food, and wash them again before you touch food afterward. The point is not that raw clay is acutely toxic, it is that you do not want raw-clay residue mixing with anything you plan to eat. A baby wipe or alcohol wipe between colors also helps keep pale pieces smudge-free.
Some makers find their hands feel dry or tight after a long conditioning session, and a few people are more sensitive to raw clay than others. Thin craft gloves are an easy option if that describes you, or if you want to keep light-colored clay fingerprint-free. For most people gloves are not required, but they are a valid comfort choice during longer builds.
Food Contact, Jewelry Contact, And Wearability
Treat polymer clay pieces as decorative unless the exact clay and finish manufacturers explicitly support that exact food-contact use. Clear coats and sealers do not change the default boundary, because coatings scratch, chip, and wear over time. Do not make plates, mugs, cups, straws, cutlery, food bowls, or anything else that directly contacts food or drink from polymer clay.
For jewelry, the wearer-facing decisions are the cured clay quality, the hardware material, the finish stack, and the attachment method. Sealing is a finish choice, not a safety retrofit. A well-constructed cured piece with properly set hardware is what makes a polymer clay earring wearable, not a glaze on top of a weak join. For findings, glues, and attachment logic, try the same clay, finish, hardware, and glue setup through normal daytime handling or wear before offering it to someone else.
Wearability Test
Before a new jewelry build leaves your setup, check five things in order: the clay cured without brittleness, the wearer-facing edge feels smooth, the finished weight feels reasonable for the earring or pendant style, the hardware material is listed without unsupported skin-safety promises, and the attachment passes gentle tug, twist, and normal daytime wear testing. If any one of those fails, fix that variable before you make a batch.
Storing Raw Clay Safely
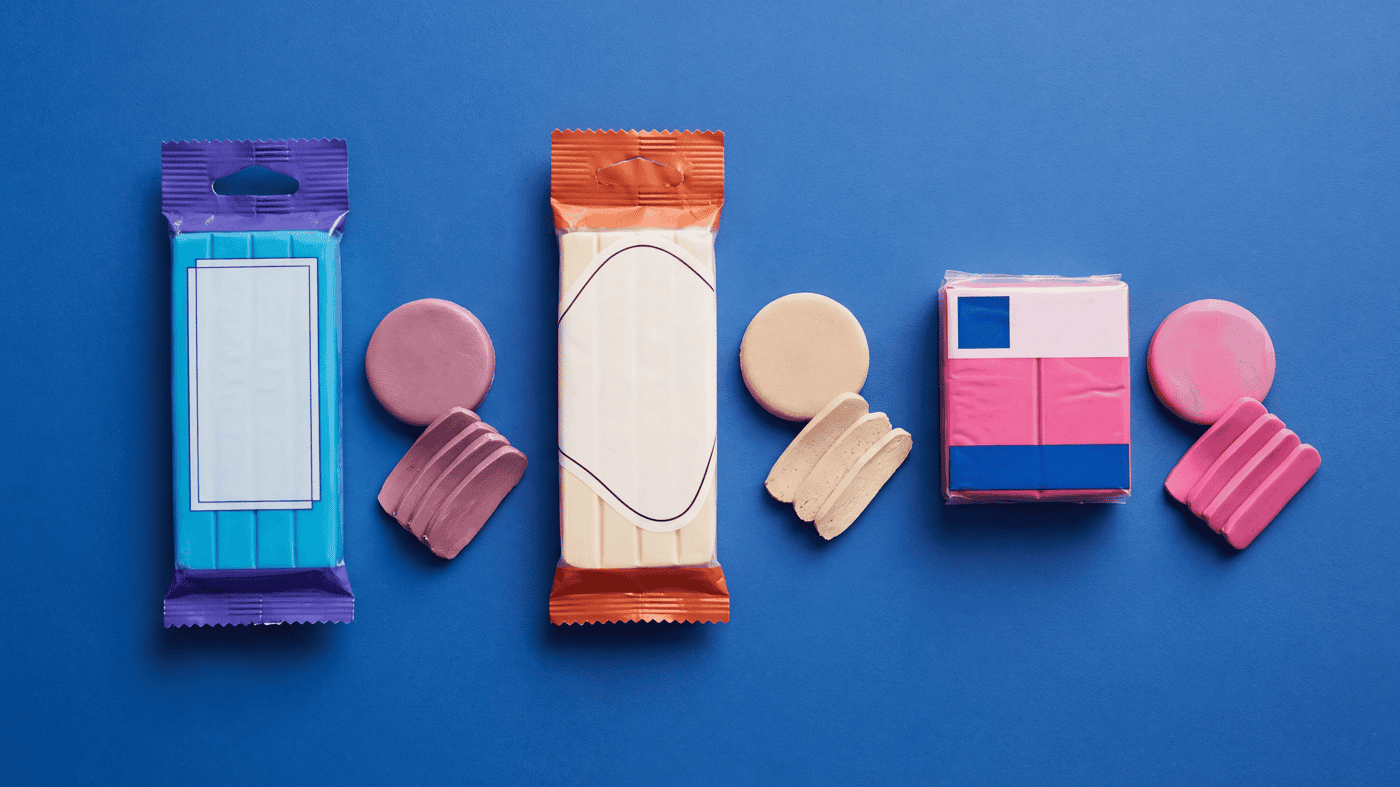
Raw polymer clay partially cures when it sits in heat or direct sunlight, so a south-facing windowsill or a shelf above a radiator is a bad long-term home for it. Keep blocks in a cool drawer or bin, ideally inside their original wrapper or a labeled bag. Do not mix incompatible brands in the same sealed bag for long periods, because some formulations can soften or harden each other over time.
Keep raw clay out of reach of children and pets. Raw clay is not meant to be ingested, and a chewed corner off a block looks innocuous but can turn into a vet visit. Label your storage containers clearly so visitors know the bin is craft material, not play dough.
When To Discard A Piece After Baking
Not every imperfect bake is a write-off, but some bakes should not be worn or sold. A piece is past saving when it shows visible blistering, darkened or scorched patches, a burnt-plastic smell that does not fade, or surface pitting from overheating. Pieces that cured below the recommended temperature for too long are a different kind of problem: they can look fine at first but snap brittle during normal wear, which is its own safety issue once the hardware is attached.
When you are not sure, bend a thin edge from a test piece. A properly cured thin sample often flexes slightly before it breaks. A piece that cracks easily at everyday thickness may be under-cured, too thin for the span, or made from a line that does not suit that use. Confirm oven temperature with the thermometer, rebake according to the package guidance if the clay line supports a second pass, and treat pieces that still fail as training data rather than inventory.
A Few Steady Safety Habits Are Enough
The most useful mental model is that polymer clay is low-maintenance but non-negotiable on a few points. Dedicate the tools. Dedicate the oven where you can. Ventilate the bake. Read the package. Check the temperature. Keep food and clay apart. Once those habits are in place, you can stop thinking about safety during the build and focus on making work you are proud of.
More guides in this path
Open these when the next decision is material choice, attachment, or finishing.
Polymer Clay for Beginners: Brands, Tools, First Project (2026)
A beginner primer on clay choice, core tools, a first project, and the mistakes that most often cause early frustration.
Best Oven Thermometer for Polymer Clay: What To Buy First (2026)
Start with your clay line's package directions, then use an oven thermometer to check whether the shelf near your tray or tile is actually reaching that target. Placement matters more than gadget complexity, and an analog dial is usually enough to start.
Best Polymer Clay Brands for Beginners: Premo vs Soufflé vs FIMO Soft
Premo is a practical first test when you want one clay line for slabs, simple earrings, and general practice. Choose Soufflé when lightweight matte-leaning earrings are clearly the goal, and look at FIMO Soft when a softer conditioning feel matters more than firmer edge retention.
Finished examples with related clay decisions
Each piece shows how a material, attachment, or surface choice changes the final form.