Best glue for polymer clay earring posts: what makers use
Two published maker sources name gel super glues such as Loctite's Gel Control and Gorilla Super Glue Gel for posts. Sand the spot to bare clay, use a small dot and wait 24 hours before wearing.
Some links on this page are affiliate links. If you buy through them, we may earn a commission at no extra cost to you. As an Amazon Associate I earn from qualifying purchases. Disclosures

Start here
What to choose and check first
Use a gel super glue for a metal post on baked polymer clay. In one published maker's hand-pry test, most glues let go of the metal, but Gorilla Super Glue Gel and Loctite Super Glue Gel Control held, and Sculpey says Loctite and Gorilla instant glues work well with polymer clay. Sand and clean a bare spot of clay and the metal pad, put a small dot of gel on the pad and press it on, then wait 24 hours before wearing.
Glue choices come from Sculpey's FAQ, one published maker's hand-pry adhesive test and a published survey of experienced clayers; set, cure, surface and safety details come from Loctite, Gorilla, Eclectic, Devcon, J-B Weld and Permabond product pages and data sheets; the studio's own step is a tiny amount of glue after baking a post in. No studio strength test is claimed.
Article contentsOpenClose
For a metal earring post on baked polymer clay, makers name gel super glues such as Loctite's Gel Control and Gorilla Super Glue Gel. Super glue is cyanoacrylate, a glue that grabs in seconds, and the gel form is thick enough to stay on the pad, the small flat disc at the base of the post. It needs bare clay that is clean and lightly roughened, a small dot of glue, and its full cure time before the earring is worn.
The steps start from a baked, cooled stud and a flat-pad post.
Which glue do polymer clay makers use for earring posts?
Two published maker sources name gel super glues for earring posts, and Sculpey's own FAQ says adhesives such as Loctite and Gorilla instant glues work well with polymer clay.
- A published hand-pry adhesive test. In 2016 one maker tested adhesives on baked polymer clay. The test glued baked clay discs and zinc-coated steel washers to strips of several clay brands, then tried to pry each one off by hand. Most of the washers popped off easily, many with no glue left on them, which reads as the metal resisting the adhesive. Gorilla Super Glue Gel, Loctite Super Glue Gel Control and Super 'T' held both the clay discs and the metal washers.
- A published survey of experienced clayers. One long-running maker resource, drawing on hundreds of responses from experienced clayers, recommends flexible super glues for joining baked clay, such as Loctite Gel Control, Zap-A-Gap and Gorilla Glue Gel, because baked clay flexes a little and a rigid glue can let go when the piece is stressed. For earring posts it names Loctite Gel Control and adds that Gorilla's gel also works well.
Loctite sells more than one Gel Control. The one its data sheet describes as a flexible solid once cured, and its product page calls rubber toughened, is Loctite Super Glue Ultra Gel Control. Gorilla describes Gorilla Super Glue Gel as a no-run gel reinforced for impact resistance, rather than as flexible. Both list metal among the materials they bond.
Both maker sources also say glue is not the surest hold on metal: the hand-pry test found the metal harder to bond than the clay, and the survey's advice is that baking metal into the clay is better over time. The findings guide shows how to bake the post in under a thin layer of clay. In the studio we make studs that way and add a tiny amount of glue on top of the covered back after baking, which we find generally the neatest finish. Keep that glue off the post.
Super glue, epoxy, E6000 or liquid clay for earring posts
Gel super glue is the quick choice for a post on a baked stud. The other three suit different jobs, and their labels give different working and cure times, listed in the cure-time section below.
| Glue | How it works on a post | Choose it when |
|---|---|---|
| Gel super glue, such as Loctite Ultra Gel Control or Gorilla Super Glue Gel | Grabs in seconds and stays on a small pad. | You are gluing a post onto a baked stud and can hold it still for under a minute. |
| E6000 Jewelry & Bead | Eclectic lists polymer clay and metals for it and says it dries rubbery and flexible. It starts to get tacky in about 2 minutes. | Its label covers your materials and you can leave the pair for up to three days. For posts, both maker sources name gel super glues. |
| Two-part clear epoxy | Resin and hardener mixed together. Devcon 2 Ton gives 8 to 12 minutes to work and fills small gaps under a pad that does not sit perfectly flat. | The joint needs filling or more time to position. Neither J-B Weld nor Devcon lists polymer clay among the surfaces it bonds; makers report that epoxy bonds well on clay, with some failures. |
| Liquid clay or bakeable clay adhesive, such as Sculpey Oven-Bake Clay Adhesive (sold as Bake & Bond) | Not a glue: it sets only in the oven and joins clay to clay. Sculpey lists 275 °F (130 °C) for 30 minutes. | You are baking the post in under a layer of clay. |
How do you glue a post onto a baked clay stud?
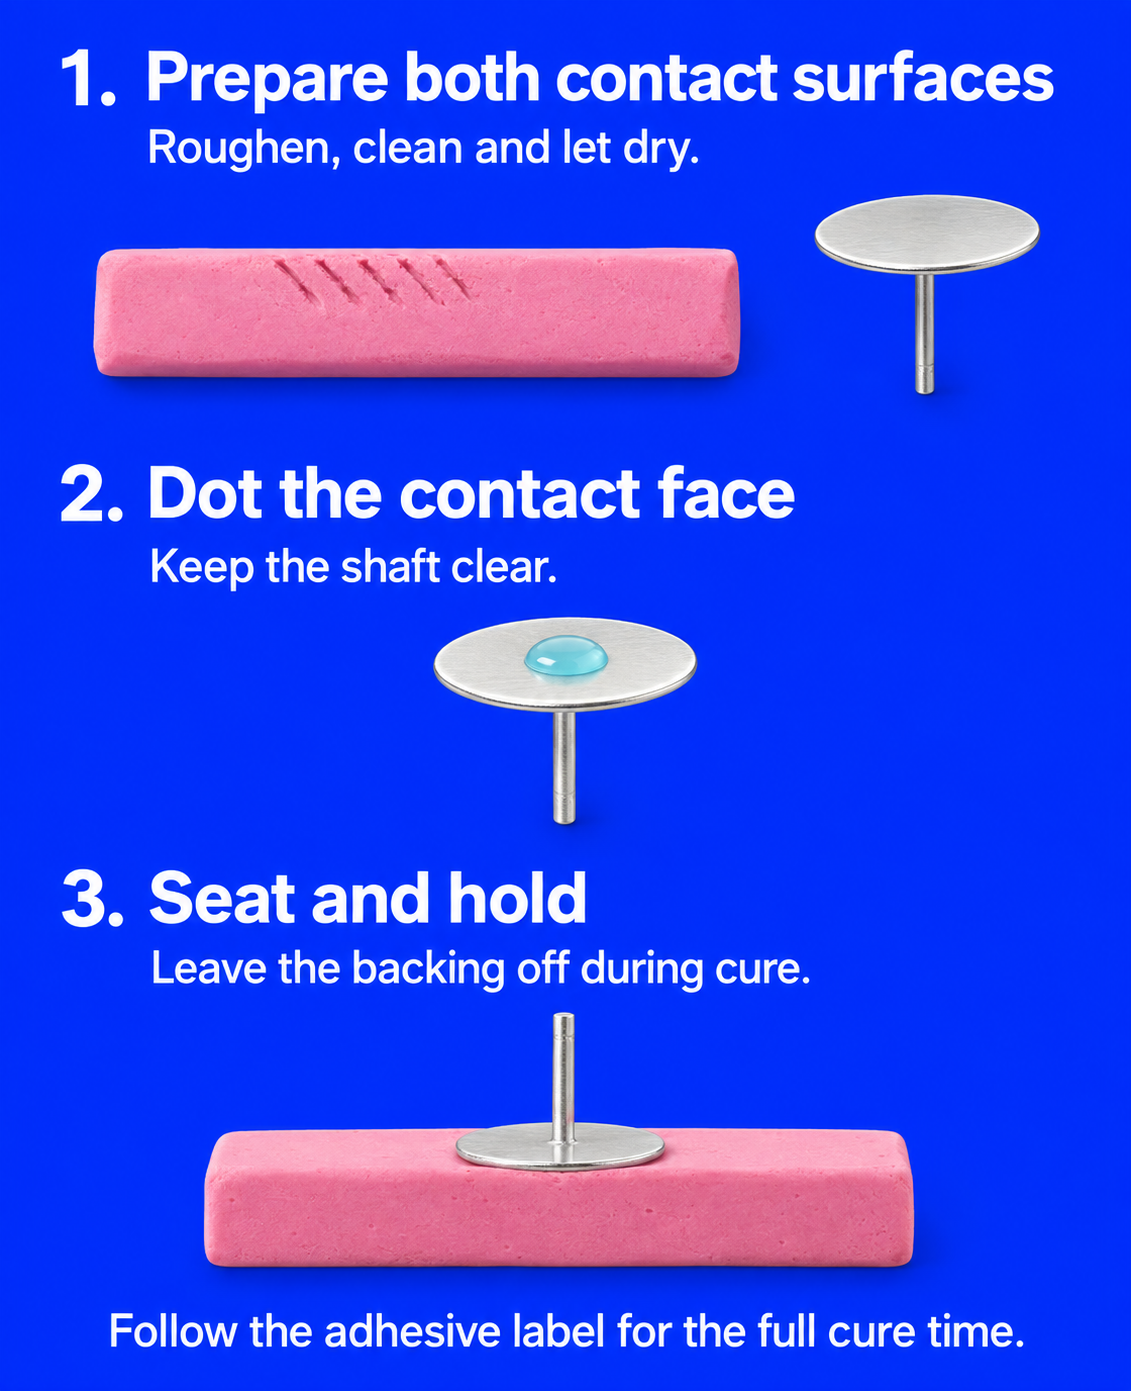
Glue the post on after the stud's last bake, onto a spot of bare clay that you have sanded and cleaned, with a small dot of gel, and keep the post upright until the glue has cured.
You need:
- A fully baked, cooled stud. Bake to the clay package directions. On poorly cured clay the glue and post can pull the clay surface away.
- Flat-pad posts with a pad that fits the back. The earring post guide covers pad size and where the post goes.
- A gel super glue from the section above.
- Fine sandpaper and a pencil to mark the spot.
- Isopropyl alcohol and a cotton bud.
- Tweezers or flat pliers to hold the post.
- A folded soft cloth to rest the stud on face down.
- Mark the spot. Lay the stud face down on the cloth and draw a small circle where the pad will sit: on the centre line, a little above the middle.
- Sand the spot back to bare clay. Rub inside the circle with fine sandpaper until the clay is lightly roughened. If the back has glaze, varnish, paint or mica powder there, keep sanding until the dust on the paper takes the colour of the clay and no shiny patch or film edge is left inside the circle.
- Roughen the pad. Rub the flat face of the metal pad on the sandpaper a few times, so the glue has texture to grip. Loctite's data sheet and Eclectic both say to lightly roughen smooth surfaces.
- Clean both with alcohol. Wipe the sanded spot and the pad with isopropyl alcohol on a cotton bud to remove skin oils and dust, let them dry, and handle the post only with tweezers from here on. Use alcohol, not acetone, on the clay, because acetone dissolves baked clay.
- Put a small dot of gel on the pad. Hold the post in tweezers, pad up, and add a dot about a third as wide as the pad, so it spreads thin when pressed and does not squeeze out past the edge. A small dot also keeps down blooming, the white haze described in the FAQ below. Keep glue off the post itself.
- Press and hold. Still holding the post in tweezers, press the pad onto the spot with the post pointing straight up, and hold it still for the label's time: 15 to 30 seconds for Loctite Ultra Gel Control, or 10 to 45 seconds for Gorilla Super Glue Gel. Look from two sides to check that the post stands upright.
- Leave it face down until it has cured. Leave the stud on the cloth, post up, for the full cure time in the next section.
How long before you can wear or sell glued earrings?
Wait 24 hours for either gel super glue before you put the backs on, wear the earrings or pack them to sell. The glue grabs in seconds, but it reaches full strength hours later.
| Glue | Grabs or sets in | Full cure, from the label |
|---|---|---|
| Loctite Super Glue Ultra Gel Control | 15 to 30 seconds of holding | 12 to 24 hours; leave glued studs the full 24 hours |
| Gorilla Super Glue Gel | 10 to 45 seconds of pressing | 24 hours |
| E6000 Jewelry & Bead | Begins setting in about 10 minutes | 24 hours to cure; maximum strength after 48 to 72 hours |
| J-B Weld ClearWeld | Sets in 5 minutes | Cures in 1 hour |
Put the backs on only after that time, because pushing a back onto the post presses on the fresh joint. Loctite notes that its times also depend on temperature, humidity and how much glue you use.
Can you glue a post onto a glazed or varnished stud?
Yes, once you sand the finish off the spot where the pad goes, as in step 2 above. Glue sticks to whatever is on the surface, so on a glazed back the post holds only as well as the glaze holds the clay. Glue on a sealer, mica powder or paint makes a weak bond, and Loctite's data sheet says not to use its gel on glazed surfaces.
On a new pair, glaze the front and edges and leave the pad spot on the back bare, so there is nothing to sand later. If you plan to bake the post in instead, do that second bake before painting or glazing.
How do you keep super glue off skin and the ear post?
Keep the glue on the pad side of the joint, work in a ventilated room, and let the glue cure fully before the earring is worn. Loctite's label warns that the glue contains cyanoacrylate and may cause an allergic skin reaction, and super glue bonds skin in seconds.
- Keep the post clean. The post passes through the piercing, so the glue belongs on the pad and the clay. If glue reaches the post, let it cure, then scrape it off with a craft blade before wearing; Loctite gives scraping as the way to remove cured adhesive.
- Keep fingertips clear. Hold the post with tweezers or flat pliers, as in the steps above.
- Ventilate. Loctite's data sheet says to use it in a well-ventilated area, and Gorilla says its super glue has a strong odour and should be used where there is good air movement.
- If glue bonds your skin, do not pull it apart: Gorilla says to soak the bonded area in warm, soapy water. If glue gets in an eye, Loctite says to flush it with water for 15 minutes and call a doctor.
Can you bake a stud again after gluing the post?
No: finish all baking before the glue goes on. Loctite's data sheet says not to use its super glue in an oven, and plan ahead so super glue is never baked, because the bake may weaken it. Add any clay details, bake them and let the stud cool before you glue the post.
Why did the post come off, and how do you fix it?
Look at the back of the stud and at the pad before you clean anything: what came away with the post tells you which step to change.
- Clean pad, glue left on the clay. The glue let go of the metal. The hand-pry test found metal the harder surface to bond, so roughen the pad well and clean it with alcohol before gluing again.
- A skin of glaze, paint or mica on the glue. The glue held the finish, and the finish lifted off the clay. Sand the spot to bare clay.
- A layer of clay on the pad. The clay itself tore, which points to poorly cured clay. Check your oven's real temperature with the oven thermometer guide and bake to the package directions before gluing new studs.
- Glue still tacky at the edges. Too much glue, or a joint handled before full cure; Loctite notes that cure time depends on the amount of glue. Use a smaller dot and wait the full time on the next pair.
To glue the post back on:
- Scrape the old glue off the clay with a craft blade held nearly flat, then sand the spot lightly until it looks matte.
- Clean the pad. Scrape or sand the cured glue off it. Loctite suggests acetone for super glue on metal; use it on the loose post only, away from the stud and any flame, because acetone dissolves baked clay and is highly flammable.
- Glue it again with the steps and cure time above.
If the same stud keeps losing its post, bake the post in under clay instead; the findings guide has the steps for baking a post in.
In brief
Key takeaways
- Two published maker sources name gel super glues such as Loctite's Gel Control and Gorilla Super Glue Gel for earring posts
- Sand the pad spot back to bare clay, roughen the metal pad, and clean both with isopropyl alcohol, not acetone
- Use a dot of gel about a third as wide as the pad, and keep glue off the post that goes through the ear
- Wait 24 hours before putting the backs on or wearing the pair
- Finish all baking before gluing; super glue does not go in the oven
More guides in this path
Open these when the next decision is material choice, attachment, or finishing.
Best earring posts for polymer clay studs: pad size, backs and metal
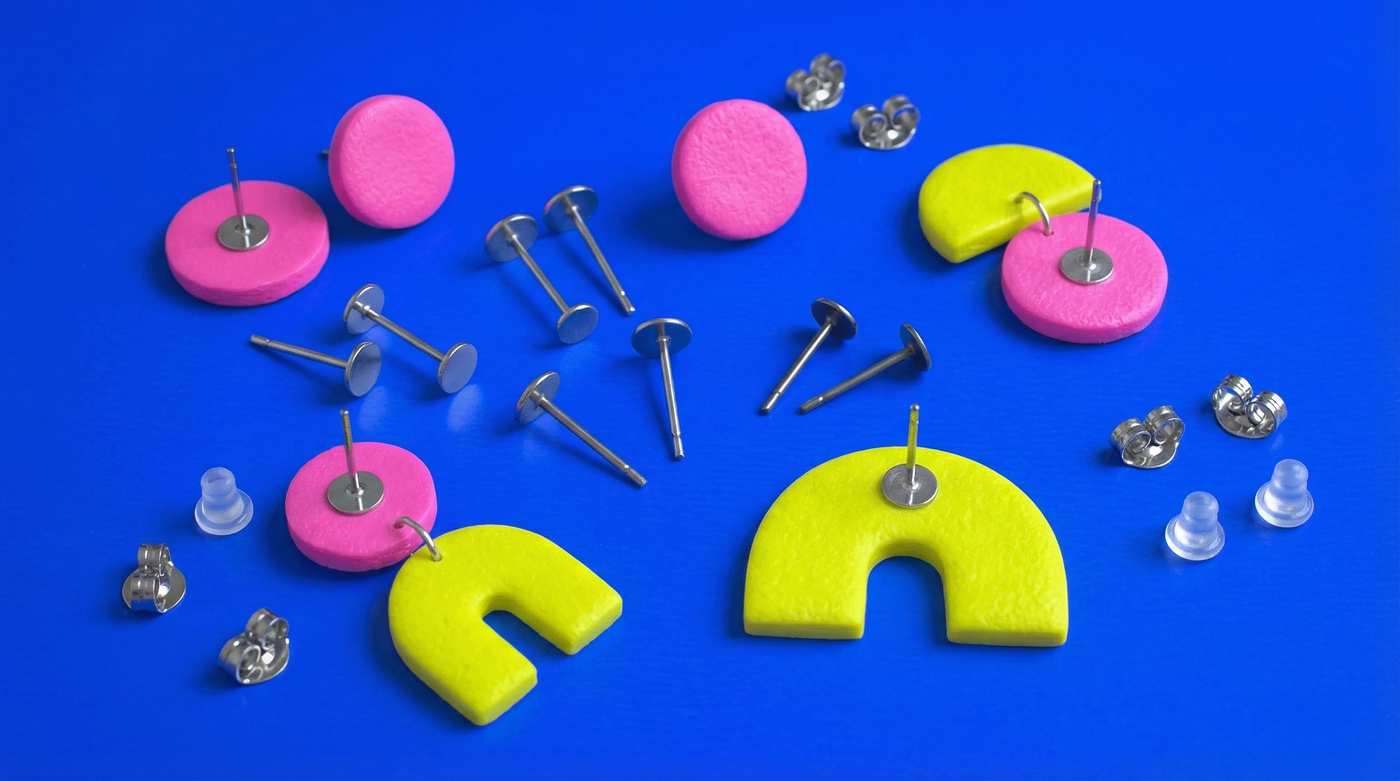
Buy flat-pad posts, set the post a little above the middle of the stud, pick a pad that lies flat on the stud's back, and check which metal the listing names for the post itself.
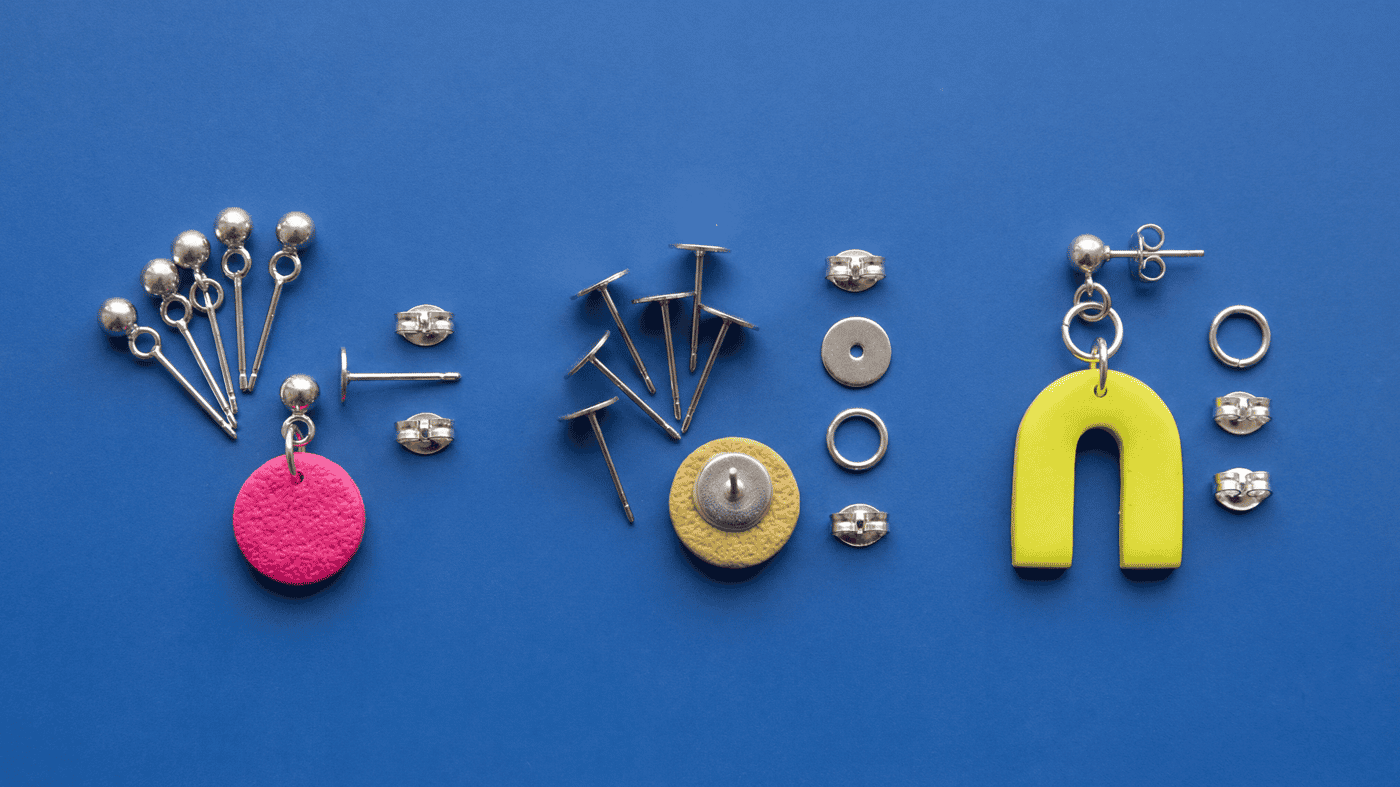
Polymer Clay Stud Toppers, Flat Pads, and Connector Rings
Choose the top connection from the front view first, then keep the attachment short and balanced. Compare visible loop-tops, flat pads, short ring paths, and balance-line marks on a sample before you make the final pair.
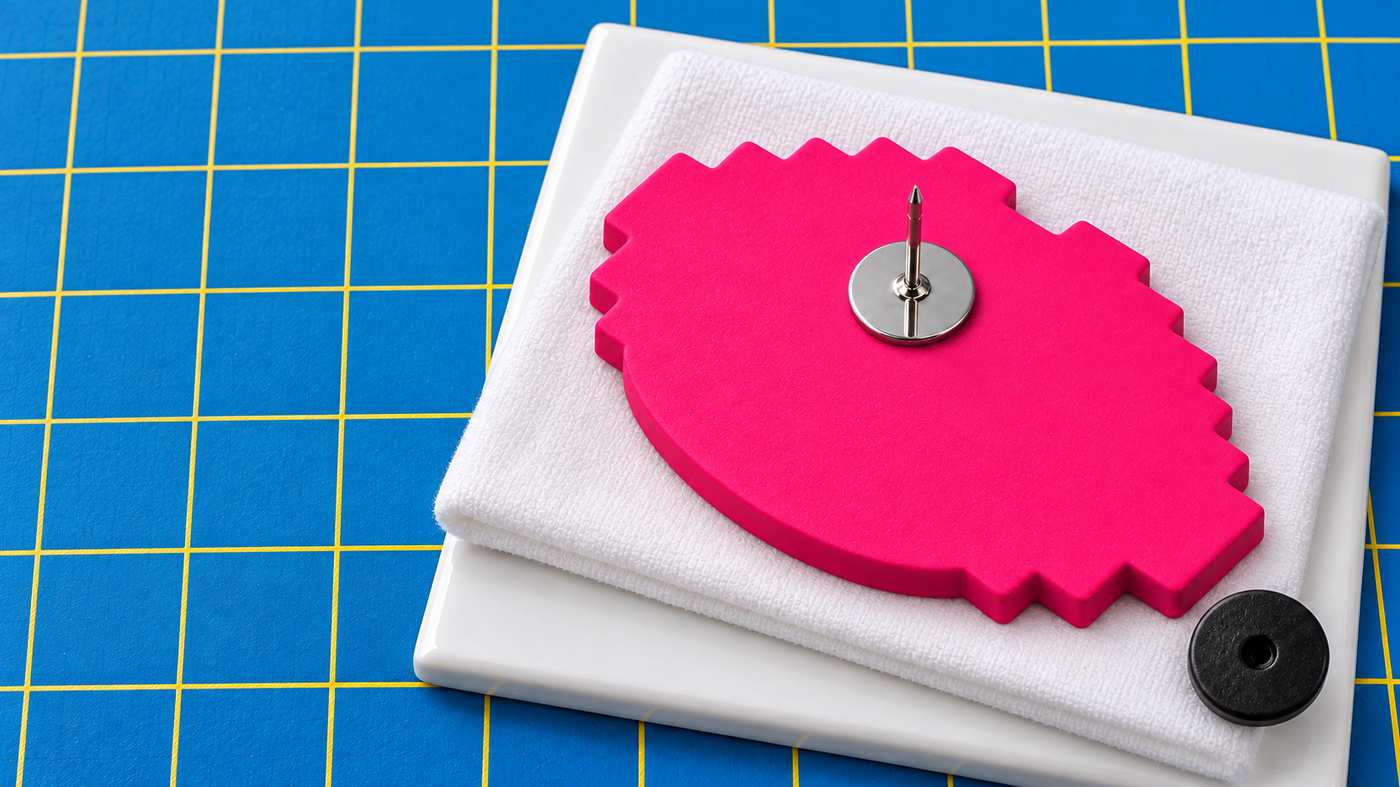
How to attach a brooch pin to polymer clay so it sits straight and stays on
A clay brooch that flops forward on a jacket, spins round, or loses its pin comes down to where the pin sits and how the pad is glued. The fabric check at the end shows if you got both right.
Finished examples with related clay decisions
Each piece shows how a material, attachment, or surface choice changes the final form.