1
Step
Condition your yellow, hot-pink, and light-pink polymer clay until pliable. FIMO Professional is highly recommended for these precise pixel cuts to prevent edge distortion, though Sculpey Soufflé is an excellent alternative if you prefer a lightweight, velvety matte finish.
2
Step
Roll the yellow clay to 2.5 mm, the hot-pink clay to 2 mm, and the light-pink clay to 1.5 mm. If the clay sticks to your rollers or work surface, lightly dust them with a small amount of cornstarch as a release agent.
3
Step
Create your templates on graph paper using a pixel grid. You will need a larger star template for the yellow base and a smaller star template for the pink inset. Lightly dust the paper templates with cornstarch to prevent them from sticking to the raw clay.
4
Step
Dust your craft knife blade with cornstarch, then carefully cut two yellow base stars, two pink inset stars, and two tiny light-pink highlight squares (about 2x2 mm) following the staircase pixel profile of your templates.
5
Step
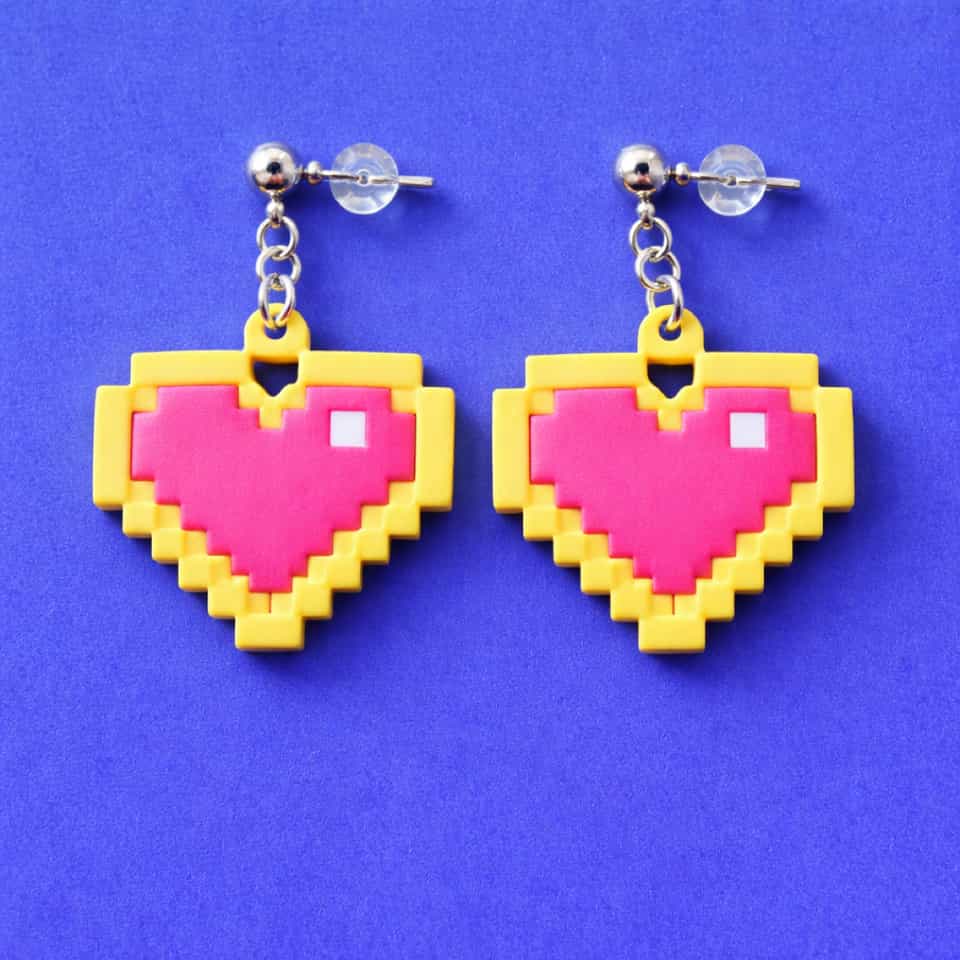
Wipe the contact areas of the yellow and pink stars with a damp cotton swab to remove any release powder. Press the pink star onto the center of the yellow star to leave an even yellow border, then place the light-pink highlight square on the upper-right area of the pink star, gently pressing to secure.
6
Step
Pierce a hole in the top point of each yellow star using a needle tool dusted with cornstarch. Bake the pieces on a flat ceramic tile according to the clay brand directions. Once fully cooled, you can apply a thin coat of compatible water-based polyurethane (like Varathane) or UV resin if a sealed finish is desired; avoid solvent-based glazes or aerosol clear coats. To assemble, clean your silver ball-stud posts and jump rings with rubbing alcohol. Open a silver jump ring, thread it directly through the star hole and the loop of the ball-stud post, then close the jump ring securely.