Start here
What to choose and check first
A sharp starter set in a few core shapes is more useful than a large novelty bundle on your first cutter order.
- 1Look for a thin cutting edge, stable walls, and labeled sizes. There is no single magic spec; those three together are what makes a set repeatable
- 2Start with a few repeatable shapes (circles, arches, pebbles) before chasing novelty forms or themed packs
- 3Compare printed and metal cutters side by side on edge feel, wall stability, and the size range you actually use
- 4Keep printed cutters out of the oven and direct sun. Clean them with warm (not hot) water so the resin does not warp
- 5Dust with a thin layer of cornstarch when clay sticks. Test any stronger release aid on a scrap before using it on a real piece
The ordering favors cutters that stay clean in use: sharp release, wall support, repeatable sizing, and shape families you will reach for often before novelty outlines.
Stainless steel arch and circle cutter set
Check thin cutting edges, stable walls, clean release, and size labels before choosing a starter set.
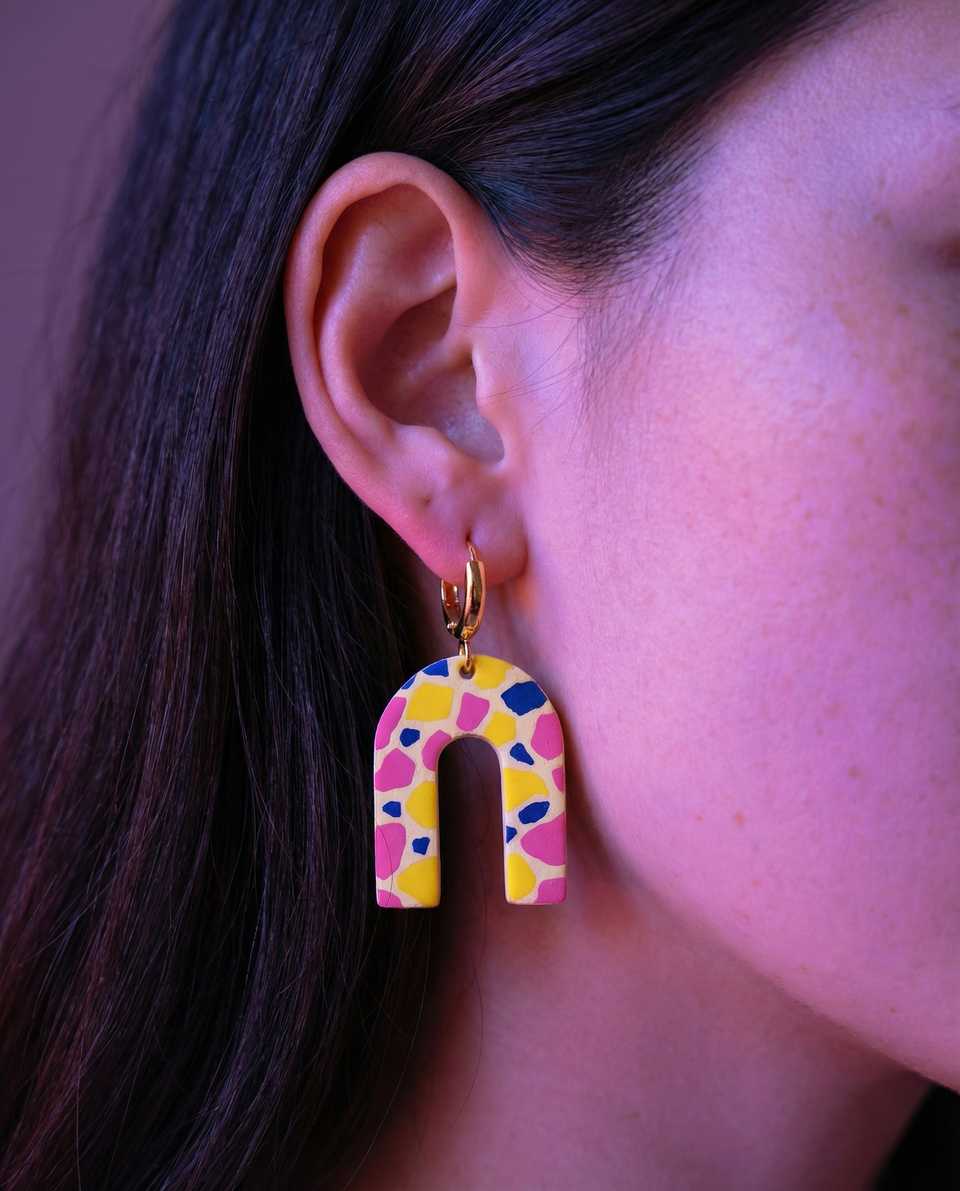
Resin 3D printed earring cutters
Good after you know which statement silhouettes you reach for most. Check smooth beveled cutting edges, clear sizes, and photos of the actual cutter edge.
Thickness guides
Check guide thicknesses that match your usual slab depth and fit beside your roller.
Most cutter sets create more cleanup than they save because the edges are thick or the walls flex. The useful first buy is the shape family that releases cleanly at your usual slab thickness and stays stable under hand pressure.
How to Choose Clay Cutters: A Buyer's Guide
Look for a thin cutting edge, stable walls, clear size labeling, and a shape that releases clay cleanly at your usual slab thickness.
Before you add 47 cutters to your cart, four things decide whether a cut comes out clean: how thin the edge is, whether the walls flex when you press, the size range, and whether the listing tells you enough about the print to trust the fit.
Most polymer clay cutters today are 3D printed, often PLA-based, while others use resin or thin metal. The useful comparison is not one universal winner. It is whether the cutter stays stable under hand pressure, whether the edge feels clean at your usual slab thickness, and whether you know the size, wall support, and care details before you commit. Heat-sensitive printed cutters also need gentler storage and cleaning than metal ones. ClayBake makes its own cutter sets with documented thin-wall edges and exact millimetre sizing if you want a known-quantity baseline to compare against.
What Makes a "Good" Cutter?
- Thin cutting edge: Zoom into the listing's edge close-up. A crisp, knife-like line cuts cleaner than a rounded shoulder, and you can usually spot the difference in the photo. Once the cutter arrives, a fingernail run across the edge tells you the same thing by feel.
- Stable top and walls: Press the cutter against your thumb. If the walls flex or twist under light pressure, the cut will wander; a rigid cutter holds the shape true.
- Clear size and depth info: Look for the finished millimetre dimensions and an edge-profile shot, not just a styled hero photo, so you know the scale before it arrives.
- Clean release: A slight wall taper helps the clay drop out, but test it at your usual slab thickness, since a softer or thicker slab can stick even in a well-finished cutter.
Cutter Materials: PLA vs. Resin vs. Metal
| Material | Pros | Cons | Best For |
|---|---|---|---|
| PLA+ (3D Printed) | Wide shape variety, lightweight, often easier to replace | Heat-sensitive, and edge quality varies with the print | Common starter shapes and custom silhouettes |
| Resin (3D Printed) | Can hold finer detail than many softer printed cutters | Firmer, so handle gently and store padded to keep edges intact | Intricate shapes once you know the exact outline you want |
| Metal | Often very thin cutting edges and predictable basic shapes | Fewer shape options, and some metals can bend or rust if neglected | Repeat basic shapes and frequent use |
Our recommendation: if you are starting out, buy circles, arches, and organic pebbles first; those three families cover more early practice than any novelty silhouette. Once you know which shape family you keep reaching for, compare one simple metal set against one well-documented 3D-printed set in that family and keep whichever releases cleaner at your slab thickness.
Choosing Cutters Based on Your Style
- Minimalist makers: Buy organic shapes (pebbles, arches, ovals) in multiple sizes. Five versatile cutters beat fifty novelty shapes.
- Maximalist or statement makers: Go for bold geometrics, hollow shapes, and embossers. Variety is the point.
- Nature or organic style: Botanical embossers, leaf shapes, and organic pebbles. Look for texture-adding cutters.
- Trendy or Y2K style: Squiggles, wavy shapes, and retro geometrics. These styles change fast, so do not overbuy.
10 Common Cutter Types to Compare
Common shape families worth comparing include organic pebbles, micro-cutter slabs, modern arches, botanical embossers, squiggles, hollow frames, ruffled circles, geometrics, snake cutters, and custom logos.
These are shape families showing up often in current polymer clay listings and maker feeds. Use them as prompts for comparison, not as a shopping checklist you have to finish all at once.
Circles in multiple sizes, modern arches, and organic pebble shapes are a practical starting comparison set for many earring makers. A focused set of ClayBake cutters in those three families can cover a lot of first combinations through size changes, layering, and finish choices. Buying the same shape in a few graduated sizes is often more useful than buying many novelty outlines at once.
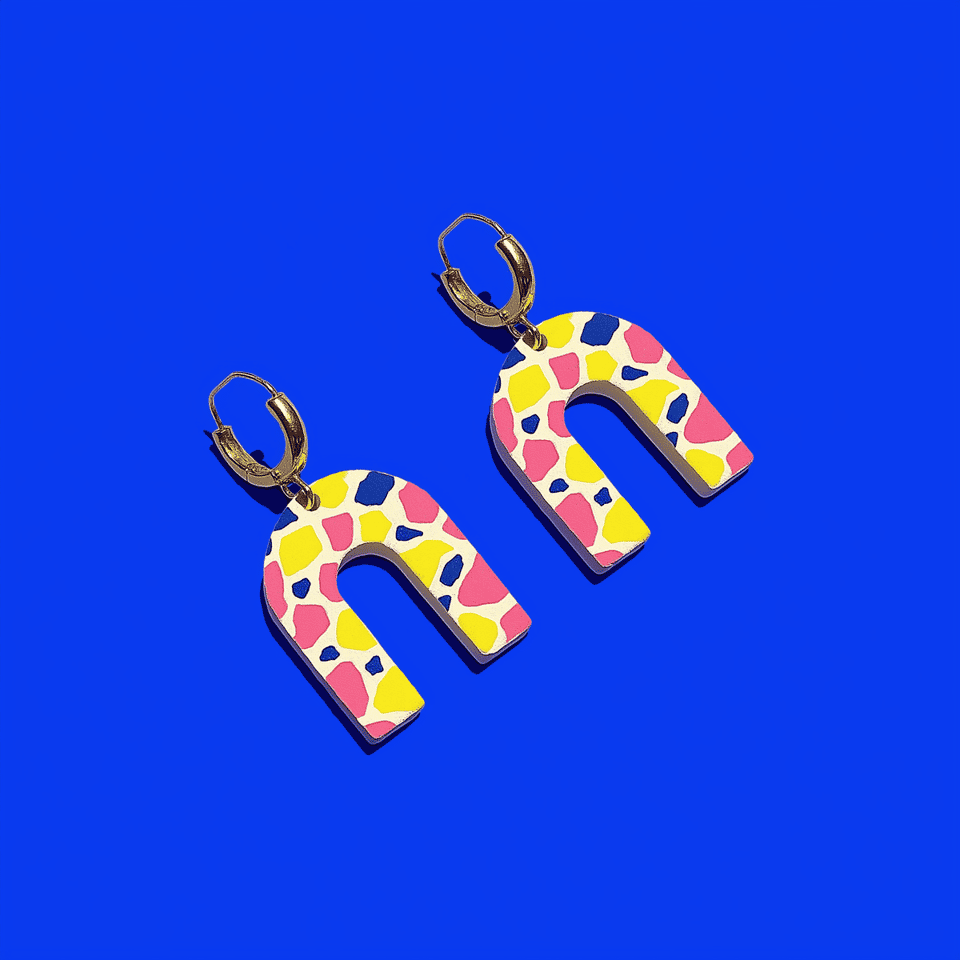
1. The Organic Pebble Set
Irregular circles and ovals are a common comparison point for minimalist and stone-effect earrings. They can read intentional when the edge stays clean and the size range is usable.
Best for: Minimalist style, beginners, everyday earrings
2. The Micro-Cutter Slab
A grid of tiny shapes all in one cutter. Useful when you want repeated chips or small inserts from one setup instead of hand-cutting every small piece.
Best for: Terrazzo technique, confetti effects, statement pieces
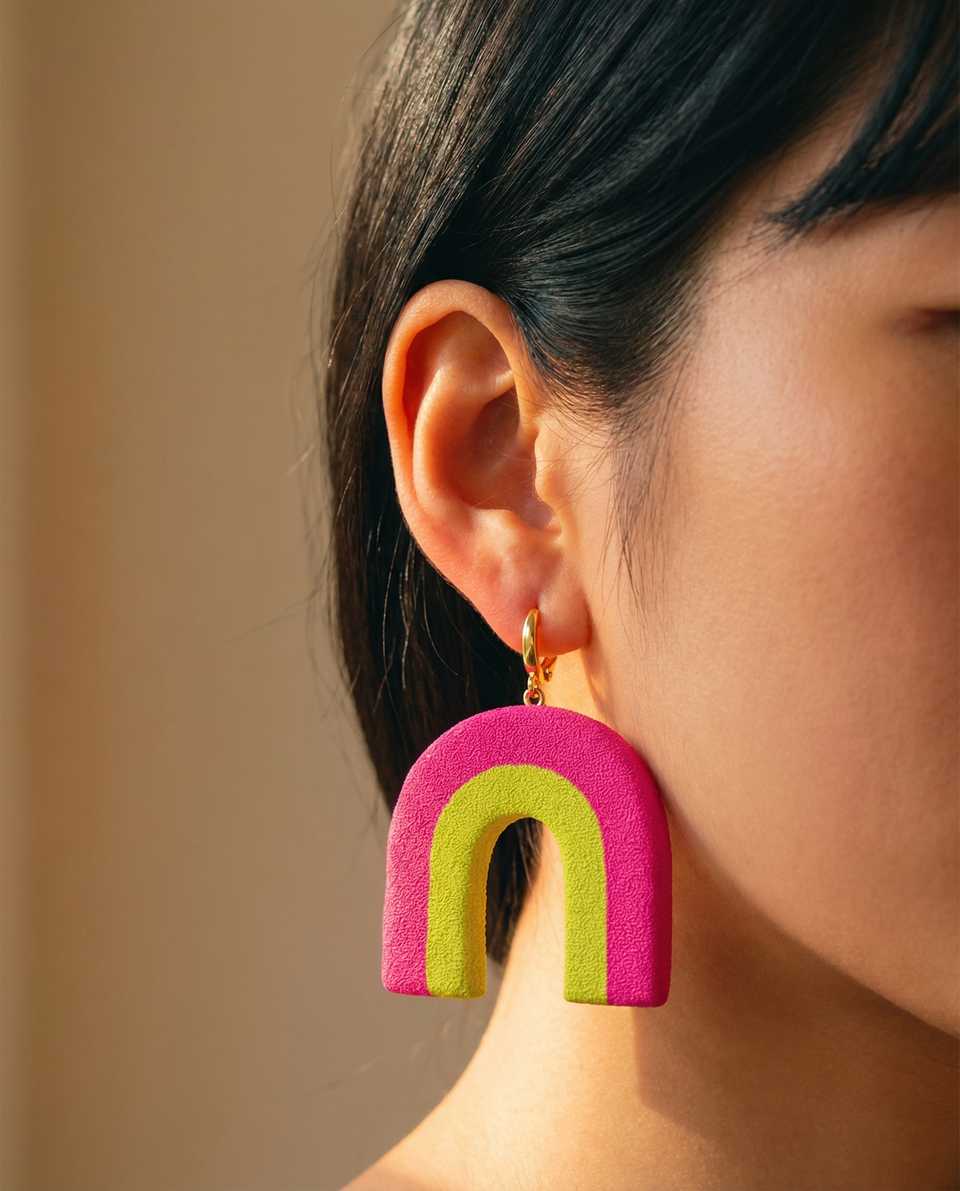
3. The Modern Arch
An elongated arch is one of the more repeatable shape families for studs, dangles, and layered earrings. It is a practical baseline when you want to test proportion and size shifts without changing the overall silhouette.
Best for: Makers who want a flexible arch baseline
4. Botanical Embossers
Cutters that also stamp a flower or leaf pattern inside the shape. Useful when you want built-in texture from one press instead of a separate texture slab or carving step.
Best for: Botanical style, time-saving production
5. The "Squiggle" or "Wiggle"
A curving retro outline that is awkward to hand-cut consistently. A dedicated cutter can help if you already know you want a Y2K-leaning or Memphis-style shape family.
Best for: Trendy collections, bold statement pieces
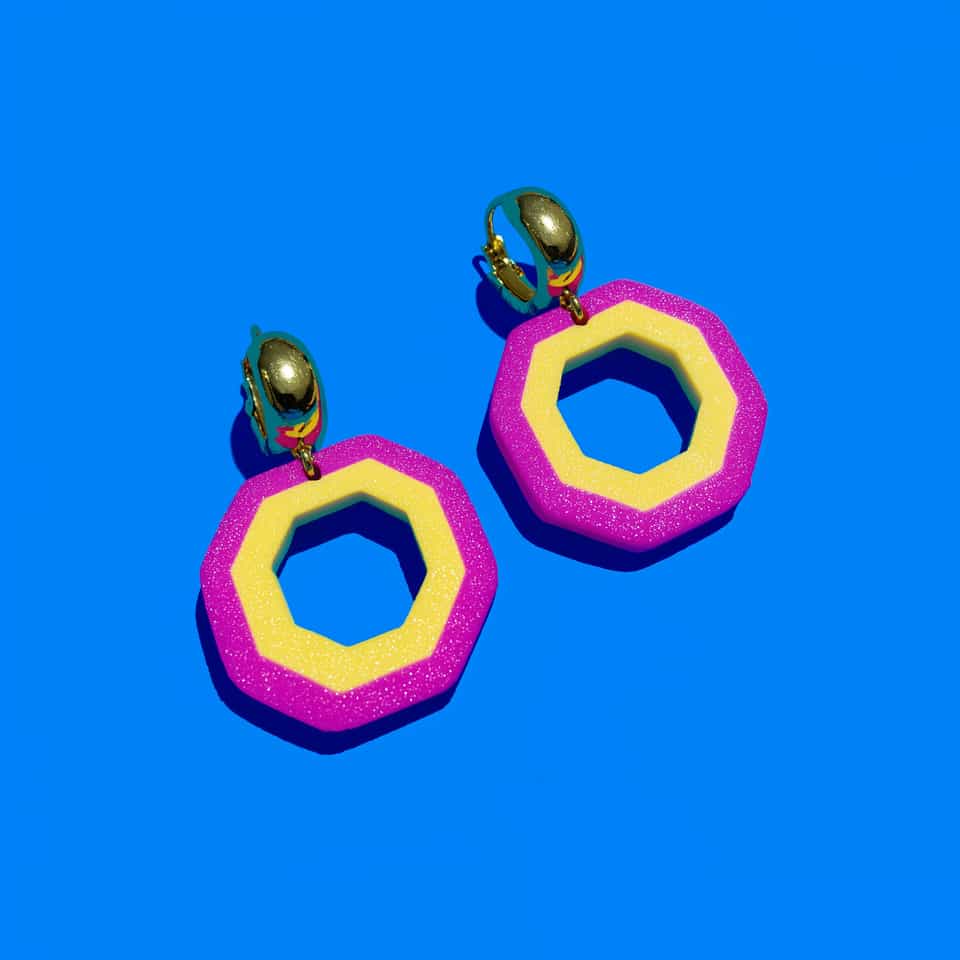
6. Hollow Shapes (Frame Cutters)
Cutters that cut the outline and center opening in one press. They can reduce alignment errors when you want donut shapes, open frames, or hoop-like blanks.
Best for: Production efficiency, hoop earrings, layered designs
7. The Ruffled Circle
A softer scalloped edge that changes a plain round blank without adding a second component. It is useful when you want a floral or frilled edge with a simple build.
Best for: Bridal, feminine styles, upgraded basics
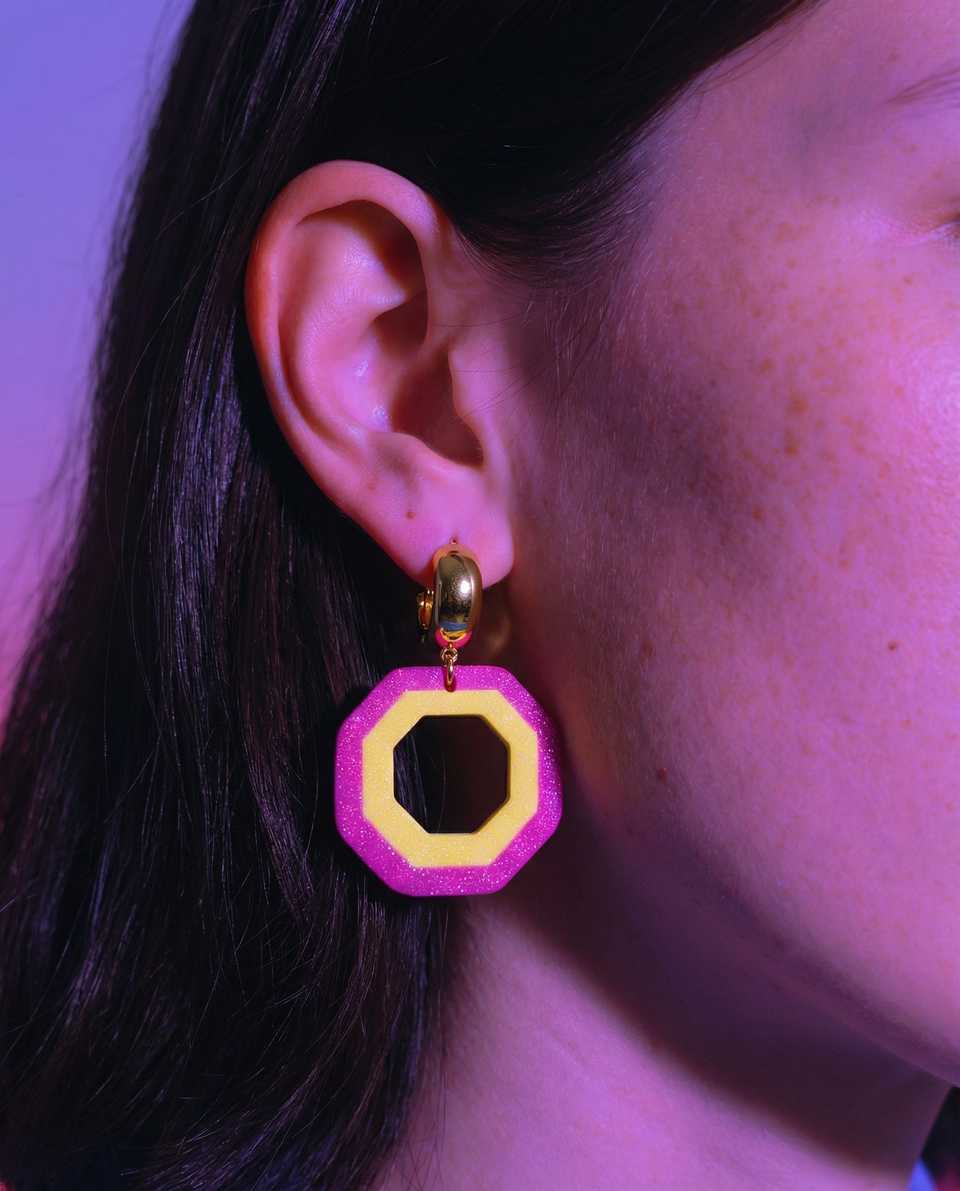
8. Statement Geometrics
Sharp, angular trapezoids and hexagons. Great for color-blocking techniques where you combine multiple geometric pieces in contrasting colors.
Best for: Modern/minimalist, color-blocking, architectural styles
9. The "Snake" Cutter
A winding S-shape that can create more movement in long dangles or linked builds. It is easier to compare as a cutter than to hand-cut repeatedly.
Best for: Statement dangles, movement-focused designs
10. Custom Logo Cutter
Okay, this one is specific to you. If you want a branded stamp, start by checking customizable logo stamp options on Amazon. Compare proof images, stamp dimensions, and review photos closely so the mark lands cleanly on the back of every piece. It can be worth testing once the rest of your line is already repeatable.
Best for: Established sellers building brand identity
Best Cutters for Beginners
Start with five cutters: circles in three sizes, a modern arch, organic pebbles, one embosser, and one fun shape.
If you are just starting, do not over-buy. The starter pack below is what most beginners actually need before they expand the cutter drawer.
The Essential 5-Cutter Starter Kit
- 1. Circle set in three sizes: the foundation of most jewelry shapes
- 2. Modern arch: versatile for studs and dangles
- 3. Organic pebble set: forgiving shapes that hide minor imperfections
- 4. One embosser: adds texture without a separate tool
- 5. One "fun" shape: whatever speaks to your style
This is enough to practice proportion, pairing, and cleaner cuts before you expand.
Common Beginner Mistakes (and the Easy Fixes)
- Buying too many shapes at once: Start with 5-10, master them, then expand.
- Ignoring size variety: The same shape in 3 sizes offers more design options than 10 different shapes.
- Buying thick-edged novelty mega-packs: They look like a bargain, but blunt edges and warped walls create messy cuts. Check edge thickness, taper, and wall rigidity before you buy.
- Trendy shapes only: Squiggles are fun, but they won't be in style forever. Build a foundation of classics first.
Cutter Maintenance: Make Them Last
Clean residue off after sessions, use warm not hot water on many 3D-printed cutters, dust lightly when clay sticks, and keep heat-sensitive cutters away from ovens and parked-car heat.
How long a cutter lasts depends on the material, print quality, wall support, storage, and how much twisting force it sees. A cutter that still sits flat and cuts cleanly can stay in rotation for a long time, but treat big longevity claims in product listings as estimates rather than guarantees.
Printed polymer clay cutters need gentler care than many metal ones. Clean them with warm, not hot, soapy water when residue builds up, keep them away from sustained heat, and replace them when the edge starts leaving more cleanup than it is worth. Signs of wear include rough-feeling cuts, visible edge damage, and a shape outline that no longer stays true.
Cleaning Your Cutters
- After each session: Wipe with a dry cloth or paper towel to remove clay residue.
- Deep clean (when buildup shows up): Soak briefly in warm (not hot) soapy water, then gently scrub with a soft toothbrush. Dry completely before storing.
- Never use: Hot water, a dishwasher, or solvent cleaners like acetone and alcohol on printed plastic; they soften or craze the material.
Preventing Sticking
- Cornstarch: Dust your cutter lightly with cornstarch before each use. Shake off excess.
- Release aids beyond cornstarch: If cornstarch is not enough, test a very light compatible release aid on scrap first rather than spraying heavily.
- Cool clay: If clay is too warm and sticky, refrigerate for 10 minutes before cutting.
Storage Tips
- Away from heat: Don't store near windows, heaters, ovens, or in parked cars. Many printed cutters can soften or warp with too much heat.
- Organized: Keep similar shapes together. Small tackle boxes or bead organizers work great.
- Flat: Do not stack heavy items on top of cutters. Prolonged pressure can warp delicate shapes.
Cutter Quality Levels, From Basic To Custom
Basic cutters often have thicker edges and thinner walls, reinforced cutters give you cleaner edges and steadier walls, specialty cutters focus on embossing or fine detail, and custom cutters are only as good as the proof image you approve.
Compare the four levels like this:
| Tier | What You Get | Recommendation |
|---|---|---|
| Entry-Level | Basic shapes, thicker edges, lighter support | Fine for trying a new shape family cheaply; expect more edge cleanup |
| Reinforced | Cleaner edge profile, better wall support, clearer sizing | A practical comparison point for repeat use |
| Specialty | More detailed shapes, embossers, or thinner-edge builds | Useful once you know the exact shapes you reach for |
| Custom | Your logo or unique design, made to order | Order one once you have approved the proof image and exact dimensions |
Maker note: Sets usually give you more usable size variation per order than buying singles one by one.
Once you know which shape families you reach for, the next guides in this set help with the rest: best clay cutters for beginners walks through a smaller starter shortlist with explicit pros and cons, the cling-wrap method is the most common fix when novelty cutters keep dragging the edge, and cutout arch and hoop earrings show how clean release plus a stable slab turns a basic cutter into a finished piece. For a target you can copy as practice, the negative-space hoops and nested arch hoop earrings both lean on repeatable cutter geometry rather than freehand cutting.
More guides in this path
Open these when the next decision is material choice, attachment, or finishing.

Best Polymer Clay Cutters for Beginners: Sharp Starter Shapes (2026)
Beginner clay cutters work best as a small repeatable starter set. Clean release and even slab thickness matter more than a long novelty list.

The Cling Wrap Trick for Smoother Polymer Clay Cutter Edges
If your cutters keep grabbing the clay or leaving rough edges, plastic wrap can help on the right shapes. Here is when to use it, which wraps tend to release more cleanly, when to skip it, and how to get a softer rounded edge when that suits the piece.
Best Polymer Clay Beginner Toolkit (2026): Core Tools To Start With
Start with one clay line, a flat tile, an acrylic roller, a tissue blade, a needle tool, and an oven thermometer. These basics help you roll cleaner slabs, cut neater shapes, and trust the bake before adding specialty tools.
Finished examples with related clay decisions
Each piece shows how a material, attachment, or surface choice changes the final form.