Start here
What to choose and check first
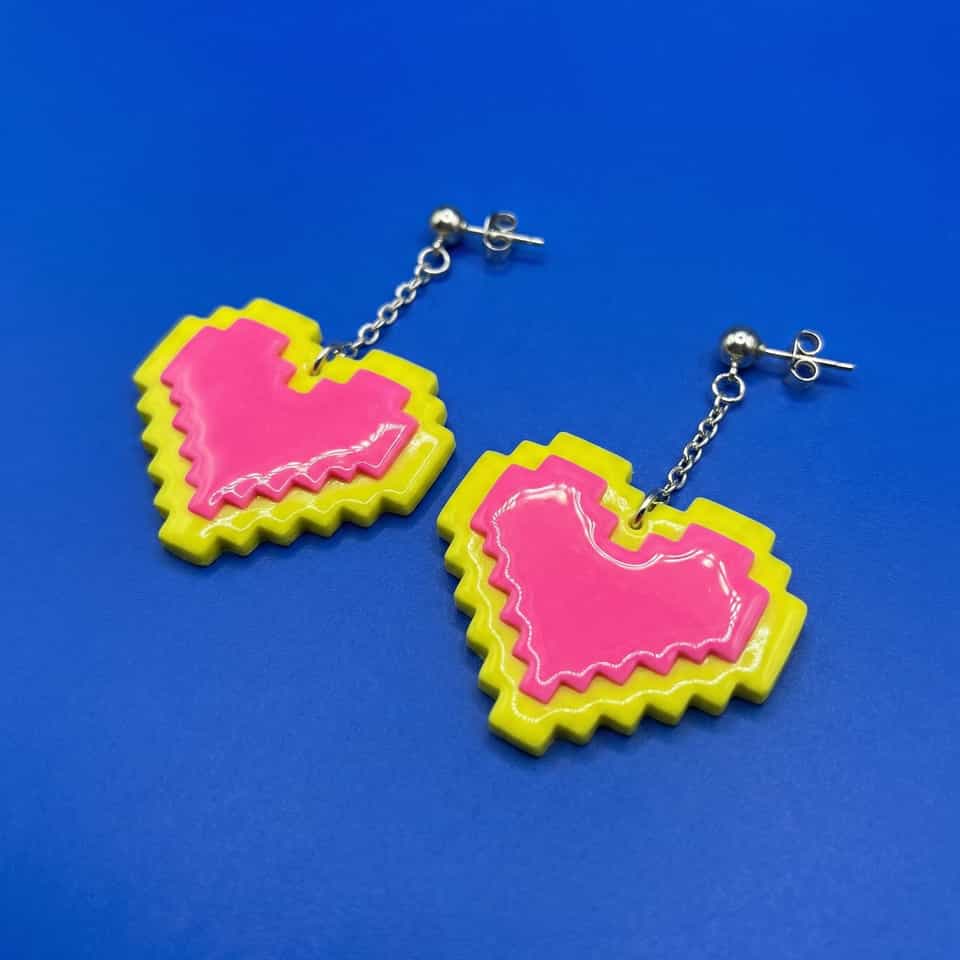
Choose earring findings from the front view, rear contact area, what each hardware part is made from, and finished weight. Flat pads, loop-top posts, hooks, jump rings, and eye pins can each be workable, but none is universal.
- 1. Choose findings from four angles: the front view, the rear contact area, what each hardware part is made from, and the finished weight on the ear
- 2. Use only the exact hardware maker, clay package, and adhesive instructions for the attachment path, then test one complete sample
- 3. Before using flat pads, loop-top posts, jump rings, or eye pins, check pad width, ring size, what each part is made from, the finish, and how the piece will balance
- 4. Describe hardware materials in plain words. Do not call findings hypoallergenic or sensitive-ear safe unless the supplier states that exact claim for that exact part
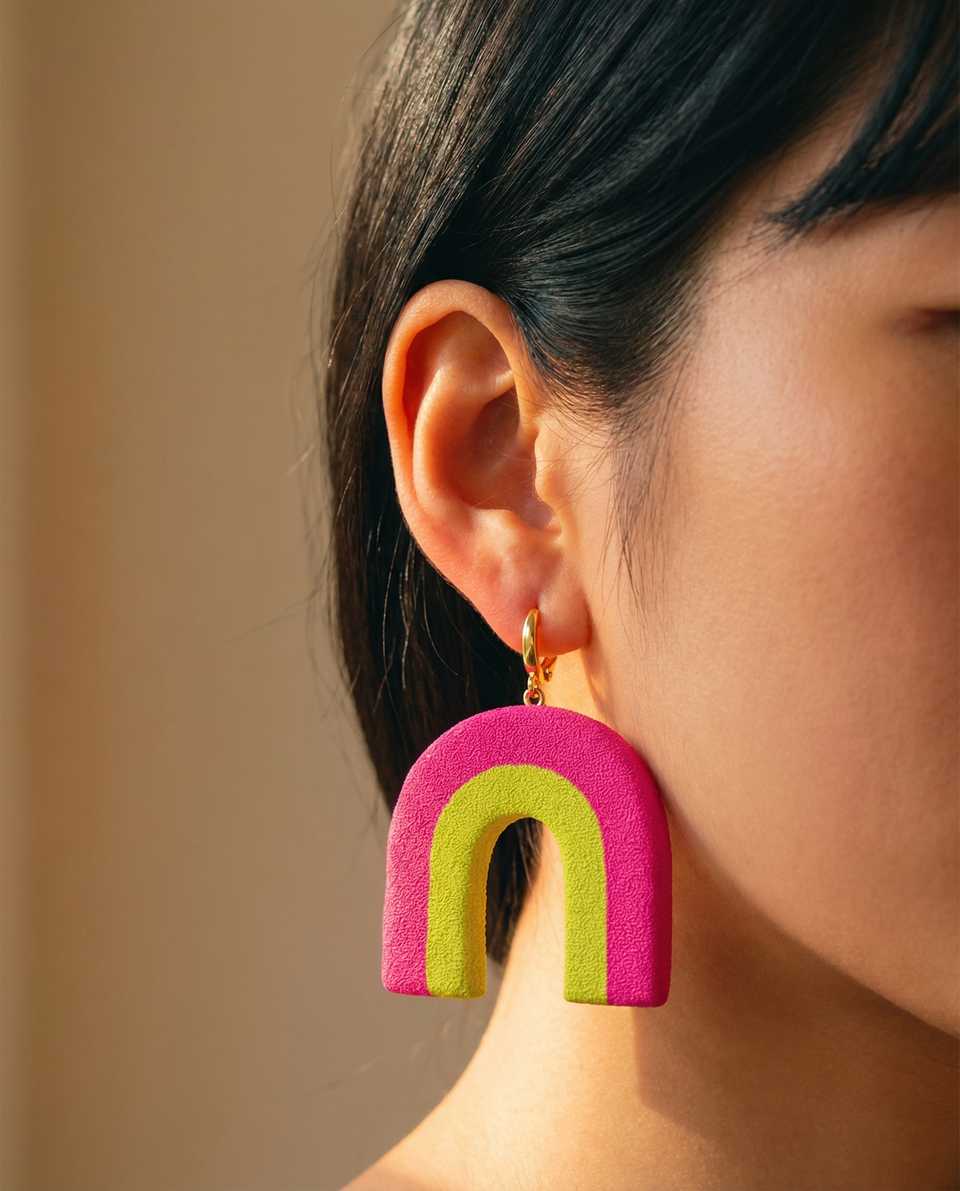
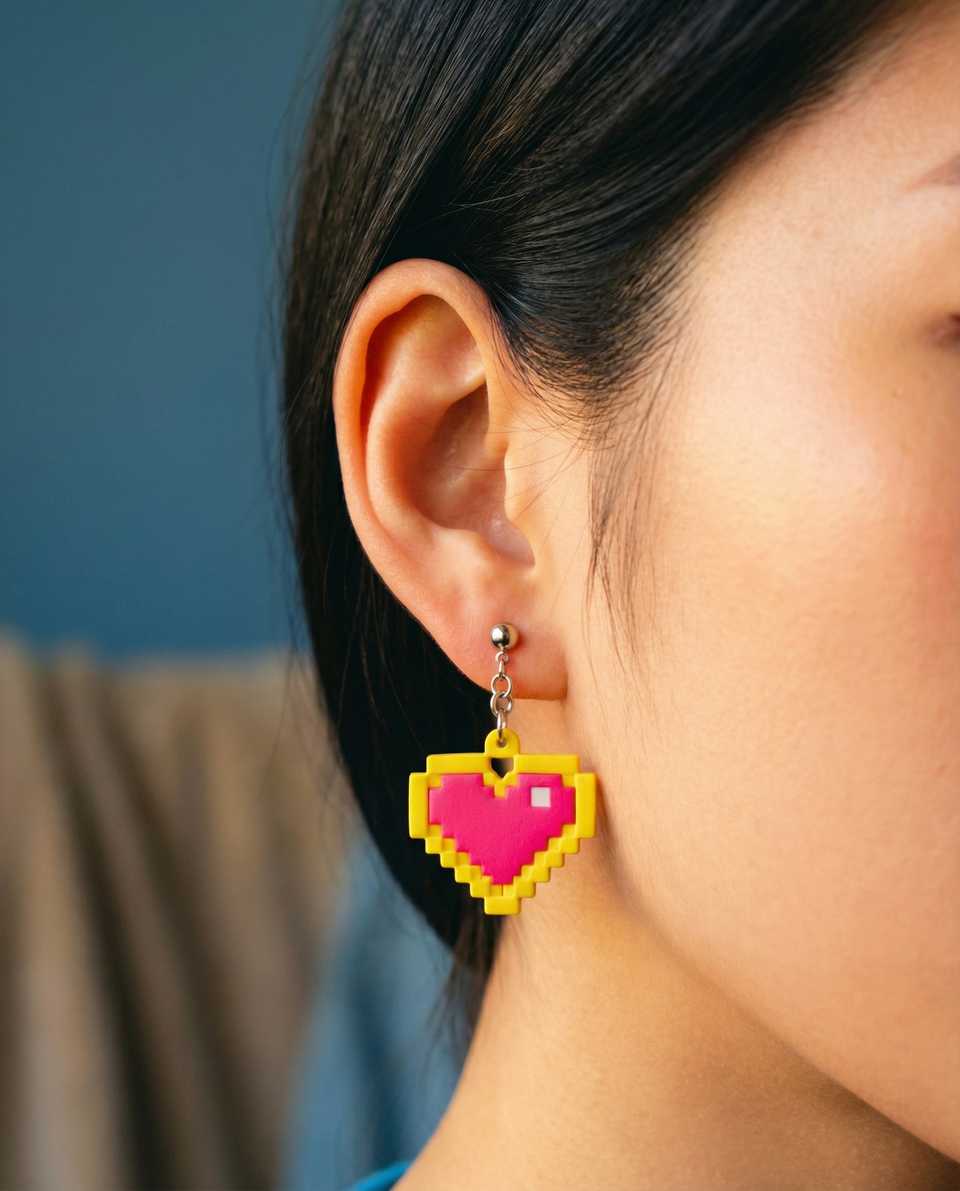
Start with the finished earring, then check the hardware details that make the assembly repeatable: visible front role, rear contact area, what each hardware part is made from, and connector dimensions that suit cured clay weight and thickness.
Choose a finding from exact specifications, not from a category promise. Record the material, finish, dimensions, included backs, and intended use for the hardware you are considering.
Route The Decision To The Right Guide
- Earring posts for pad and back-shape checks
- Adhesive selection for exact-label checks
- Brooch backs for a brooch-specific sample
- Pendant holes, bails, and rings for a pendant-specific layout
- Stud toppers and connector rings for visible-topper layouts
Verify The Exact Hardware
Do not transfer an oven, skin-contact, coating, or strength claim from one finding to another. If the listing does not identify the part material, finish, dimensions, and intended use you need, leave that claim out of the project notes.
This leverback listing and this brooch-back listing are candidates to verify, not evidence for every leverback or brooch back.
Keep Package Baking Separate
Follow the exact clay package and verify the baking area with an oven thermometer. Sculpey documents wire in some armature builds, but that does not establish oven compatibility for an earring post, plating, coating, or unknown finding. Use a bake-in path only when the exact finding maker documents it.
Keep Adhesive Instructions Product-Specific
Sculpey documents an earring project that glues findings on after baking. Treat that as one candidate sequence. Use the exact adhesive only when its current label supports the cured clay, hardware material, and any finish. Follow its own preparation, ventilation, application, and full-cure directions.
Make One Complete Pair
- Record the clay line, package bake, finish, hardware, dimensions, adhesive, and preparation.
- Build one pair with those exact materials.
- Wait for every package and label step to finish.
- Inspect alignment, closure, and the attachment without assigning an unseen cause from appearance alone.
- Change one recorded variable before the next sample.
A successful sample supports only that recorded material stack. It does not establish a universal wear life, skin-safety claim, metal ranking, or attachment guarantee.
More guides in this path
Open these when the next decision is material choice, attachment, or finishing.

Best Earring Posts for Polymer Clay Jewelry
Verify the exact post and pad specifications, compare them with the cured back, and test the complete material stack before making a batch.

How to Choose Glue for Polymer Clay Earring Posts
Choose adhesive by the exact cured clay, metal finding, and finish in the joint. Follow that product's preparation and cure instructions, then test one pair before a batch.

How to Attach Brooch Backs to Polymer Clay
Brooch fronts can tip or lose grip when the rear contact is curved, too small, or glued over a finish. Prepare a flat zone, match the finding size to the scale, and place it on the visual balance line before the adhesive cures.
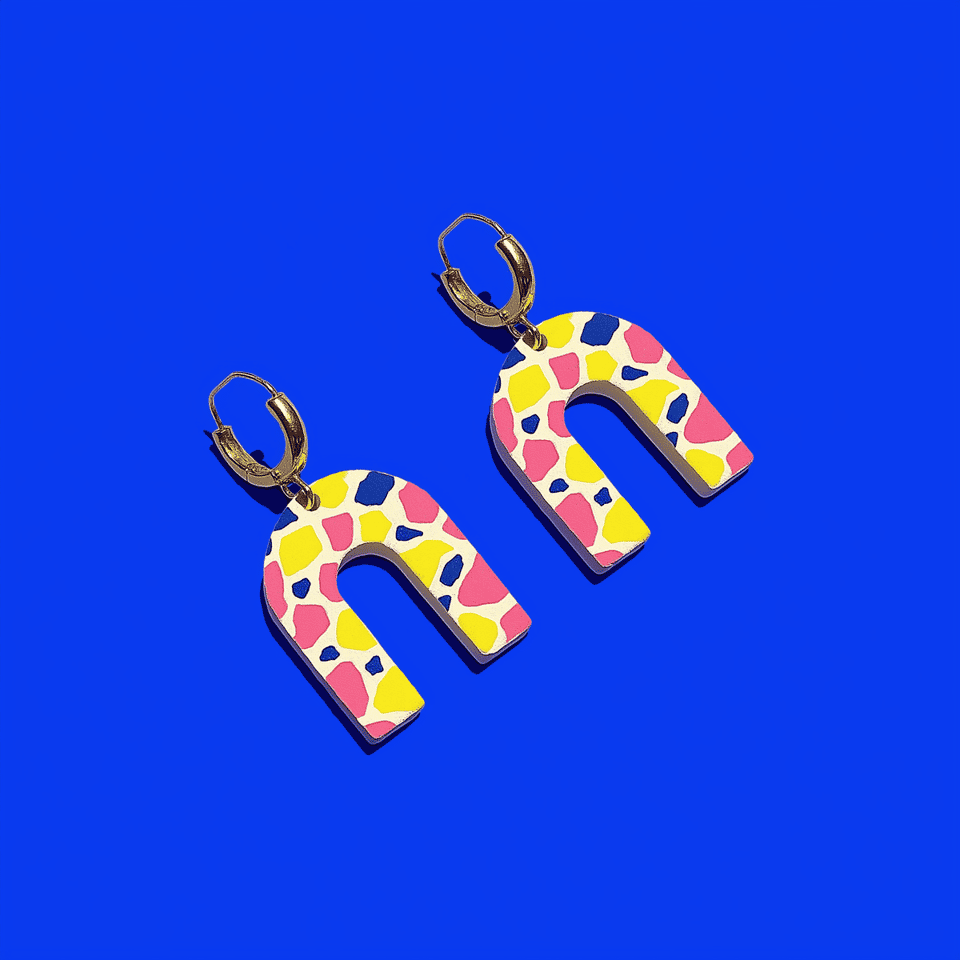
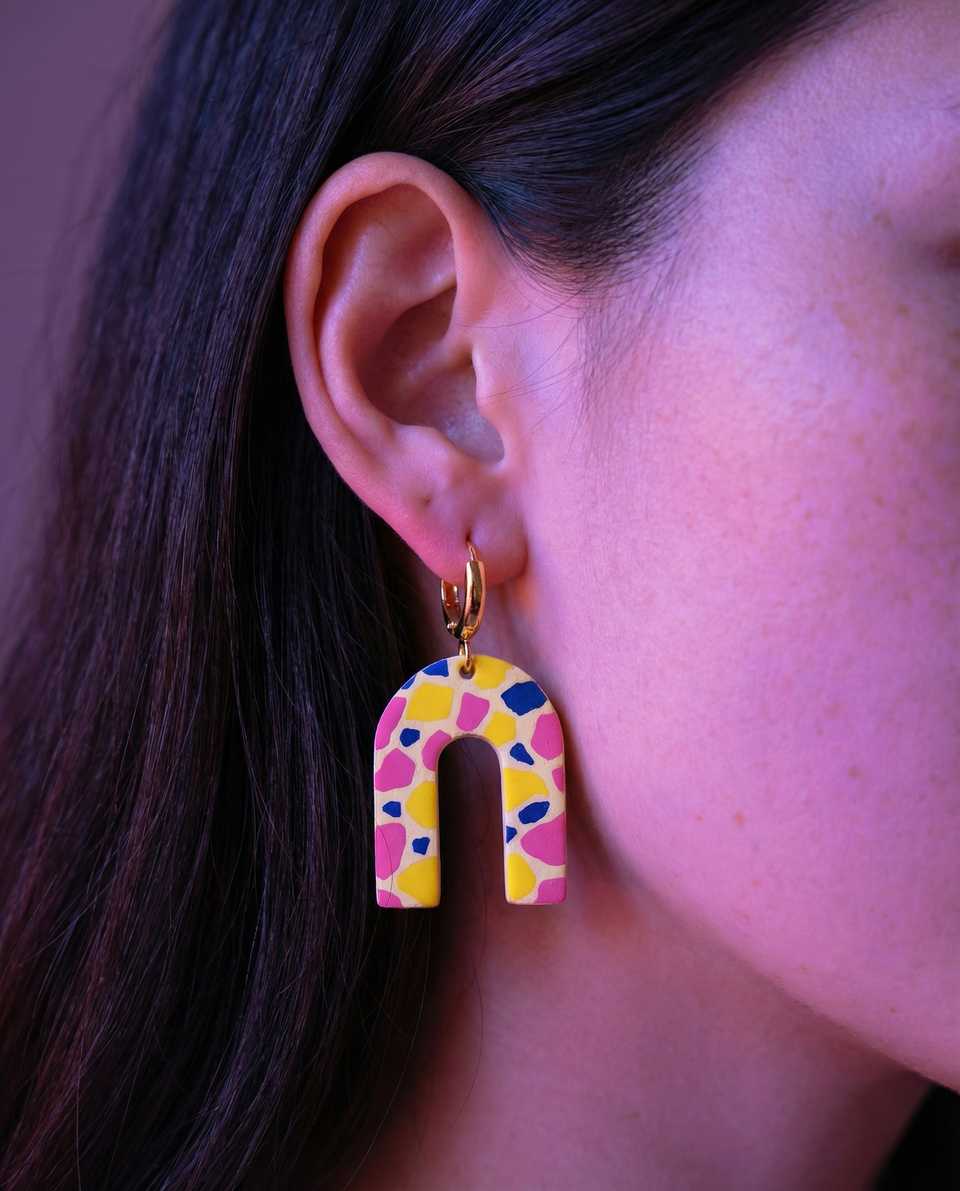
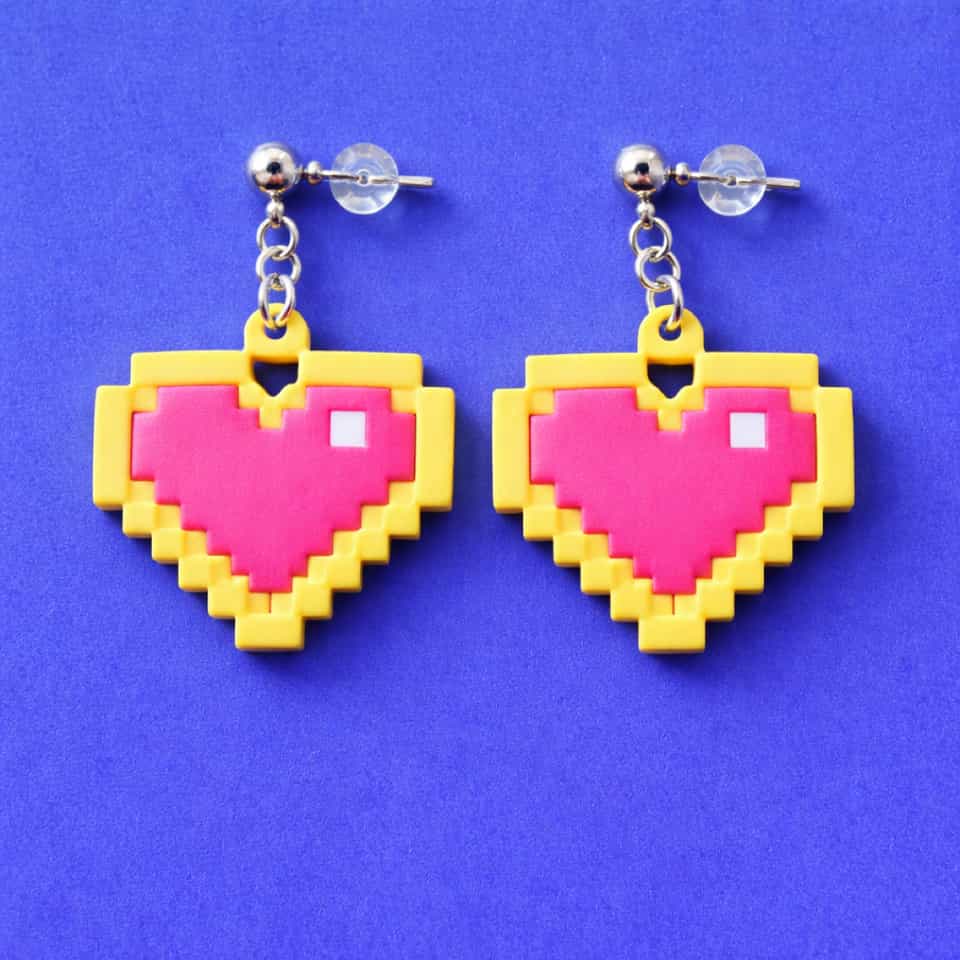
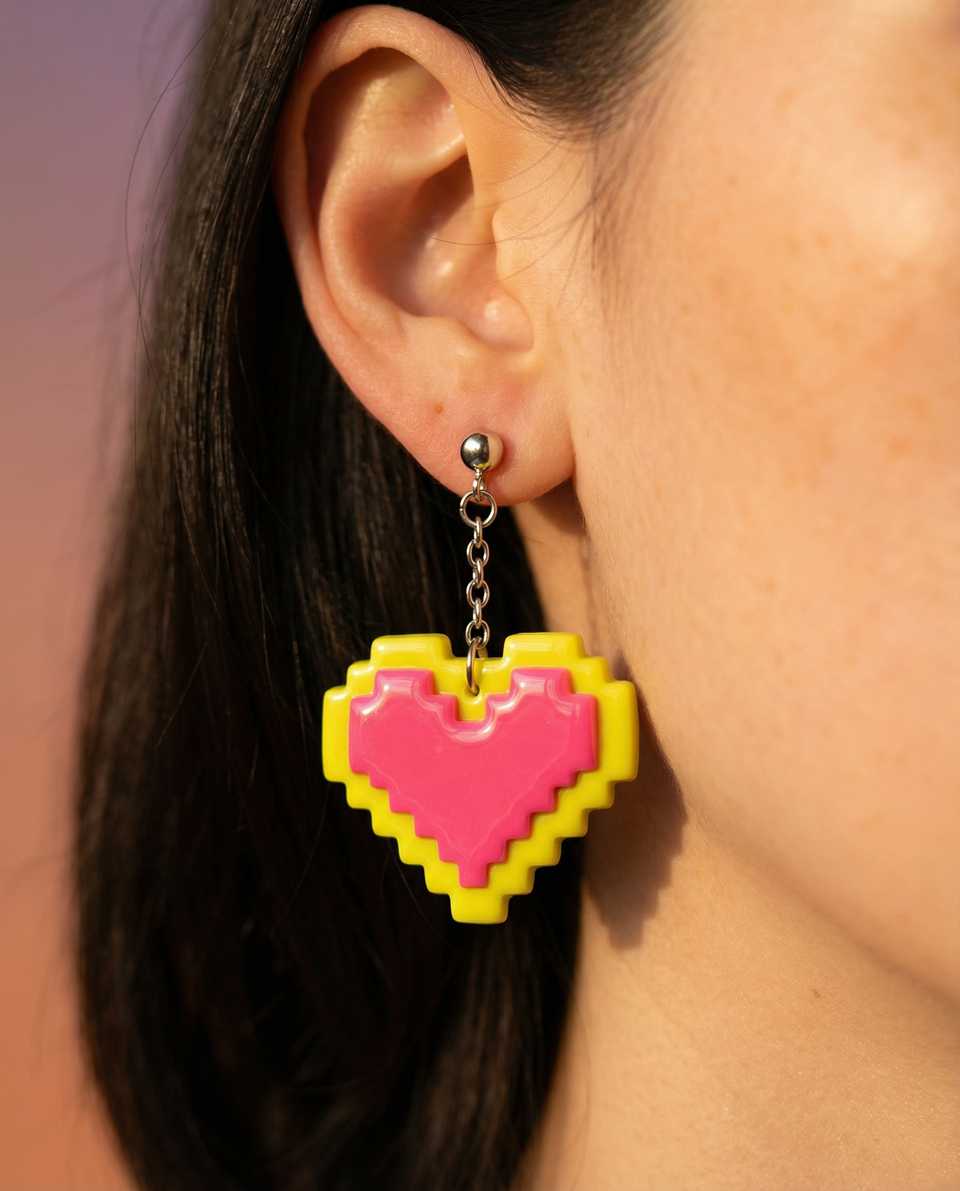
Finished examples with related clay decisions
Each piece shows how a material, attachment, or surface choice changes the final form.