1
Step
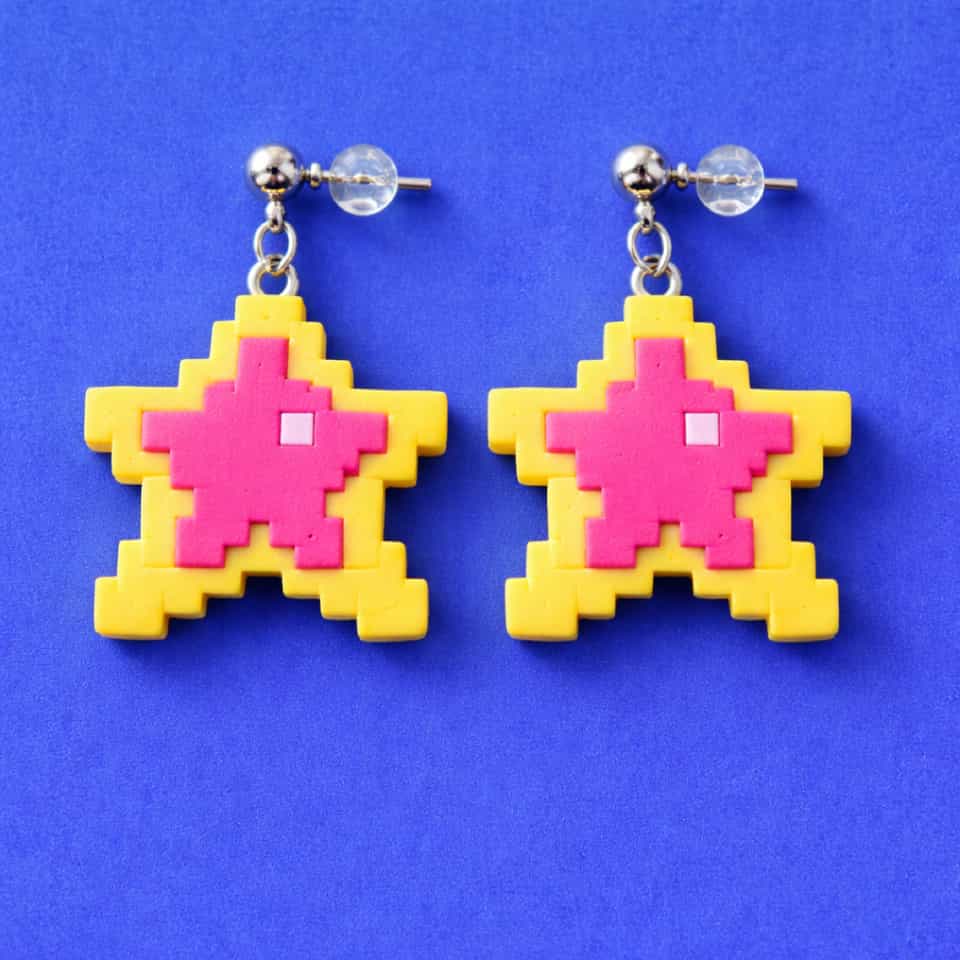
Condition your yellow and hot-pink polymer clay until it is completely pliable. FIMO Professional is the ideal choice for this design, as its firm consistency helps maintain the sharp, pixelated corners of the star shape.
2
Step
Roll the yellow clay to a consistent thickness of about 2mm. Lightly dust your template or cutter with cornstarch to act as a release agent, then cut out two matching stepped star shapes.
3
Step
Carefully cut out a square from the center of each yellow star. Cut matching squares from the hot-pink clay. Before inserting the pink squares, wipe the raw contact edges with a damp cotton swab to remove any release powder, ensuring a strong bond. Press the pink squares into the windows and burnish them flat.
4
Step
Use a needle tool to pierce a hole near the top point of each star. Make sure the hole is large enough for the silver bead chain to pass through directly, leaving a safe margin of clay around the edge so the chain remains secure.
5
Step
Bake the stars flat on a ceramic tile according to the clay package directions. Let them cool completely to room temperature to ensure they reach full strength before assembly.
6
Step
Seal the cured stars with Varathane water-based polyurethane or UV resin for a glossy, durable finish, avoiding sticky solvent-based or aerosol coatings. Clean your silver jump rings, bead chains, and ball-post studs with rubbing alcohol. Thread the bead chain directly through the star's hole, bring the ends together, and use a jump ring to attach the top of the loop to the ball-post stud.