Polymer Clay Assembly: Build Order and Join Planning
Your layered piece warped or the join cracked because you added fine detail before the big masses were stable. Solve large footprint and mass first, then features, then details. Decide the bake support before you start so nothing shifts in the oven.

In brief
Key takeaways
- 1Assembly is the order you put the clay parts together so the cured piece holds its shape. Build large to small, settle the structure before the decoration, and plan the bake before the build
- 2Stability is mostly geometry, not glue. Even thickness, a footprint wider than the weight on it, joins pressed firmly enough to bond, and a bake support that matches the shape are what carry pieces through cure intact
- 3The assembly cluster covers how the clay parts go together. The findings-hardware cluster covers how cured clay attaches to metal. They are sequential, so settle the clay shape first and pick hardware to suit the cured back
- 4Most assembly failures point at one upstream choice. A tilt is footprint, a sag is unsupported span, a delamination is press pressure, and a crooked topper is a back that was not flat enough before bake
- 5Mixed-media works when each material is added at the step its own chemistry expects: wire into raw clay, metal findings onto the cured back, resin domes onto the finished surface last
Assembly is the difference between a figurine that stands and one that tips, between a dish that holds its rim and one that warps, between a layered charm that reads clean and one that delaminates under fingernail pressure. The decisions all happen before the bake: build order, mass distribution, support, and how the joins are pressed. (We use "cured" below as shorthand for baked and cooled clay.)
Below is a table of guides, one per piece type. Each one helps with one decision: how to build a figurine that does not tip, how to layer a relief face that stays clean, how to seat a stud topper on a flat back, how to align a miniature food charm. Find the row that matches your piece and open that guide.
Pick Your Assembly Decision
Each row picks one common build problem and points at the deeper guide that walks through the build order, the join geometry, and the support plan. Each guide stays specific to a single piece type.
| If you are building... | Use this guide |
|---|---|
| A stud topper that seats cleanly on a flat back | Polymer Clay Stud Toppers, Flat Pads, and Connector Rings |
| A miniature food charm with bowls, fish, or tiny toppings | Polymer Clay Miniature Food Charms: Bowls, Fish, and Tiny Toppings |
| A relief face, portrait plaque, or cameo topper | Polymer Clay Relief Faces, Portrait Plaques, and Stud Toppers |
| A figurine that needs a stable base and clean features | Polymer Clay Figurines: Stable Bases and Clean Features |
| A trinket dish or shallow form with an even rim | Polymer Clay Trinket Dishes, Forms, and Rims |
| A collar necklace, bib, cuff, or curved-base front piece | Polymer Clay Collar Necklaces, Bibs, Cuffs, and Curved Bases |
| A snake bangle, coiled bracelet, or scale-textured wrist piece | Polymer Clay Snake Bangles, Coiled Bracelets, and Scale Texture |
| A cutout arch earring or hoop drop with consistent walls | Polymer Clay Cutout Arch Earrings and Hoop Drops |
| A pixel slab earring or brooch built from stacked layers in a mirrored pair | Polymer Clay Pixel Slabs, Stepped Layers, and Mirrored Pairs |
| A button blank with consistent thickness, hole spacing, and a flat bake | Polymer Clay Buttons: Hole Placement, Flat Baking, and Consistent Thickness |
| A striped, chevron, or drum-style patterned button | Polymer Clay Striped Buttons: Chevron Wraps and Drum Blanks |
| A bead-grid piece where matched beads sit in aligned rows on a base | Polymer Clay Bead Grid Tutorial: Cross-Stitch Pixel Patterns |
| A miniature broth and noodle charm built as layered components | How to Make Polymer Clay Ramen Charms (Broth and Noodle Tutorial) |
| A piece that needs the right oven support to keep its shape | Support Polymer Clay During Bake |
| A piece where cured clay needs to attach to metal hardware | Earring Findings for Polymer Clay (Findings Hub) |
| A cured surface that needs a resin dome over the assembly | Polymer Clay UV and Epoxy Resin Doming |
Assembly vs Findings: Two Different Decision Layers
These assembly guides cover how the clay parts go together. The findings guides cover how the cured clay attaches to metal hardware.
It helps to keep the two layers separate while you build. The assembly decisions are about the clay piece on its own: build order, footprint, mass balance, joins, support during bake. Those decisions get the cured shape right. The findings decisions pick up afterward: which post or hook fits the back, which adhesive or wrap holds the metal, how a jump ring run hangs straight. The findings hub walks through that second layer in detail.
The reason this split matters is that a lot of "the post fell off" failures are actually upstream assembly failures. A back that is curved, tiny, or texture-heavy never had enough flat contact area for the chosen pad, regardless of glue choice. Work out the clay shape first, then choose hardware that suits the cured back instead of fighting it.
Three Assembly Checks
1. Build large to small
Set the major masses first, then the medium structural features, then the small details. A figurine wants the body and footprint clear before the cap, ears, or eyes go on. A dish wants the slab and rim shaped before the surface decoration. A relief face wants the plaque and the brow line placed before the small features.
The reason is mechanical. Small features added before the body is stable get crushed, knocked off, or distorted while you are still adjusting the major mass. Working large to small also makes the proportion easier to read at each step, so a feature that looks wrong gets caught before it is buried under the next layer.
2. Get the piece standing or holding its shape before you add surface detail
Every piece has a structural problem (will it stand, will it hold, will it stay supported through the bake) and a decorative problem (does the surface read the way it should). Solve the structural one first.
For a collar necklace, that means the neckline arc is set on a curved support before any scallops or surface texture go on. For a figurine, that means the base footprint is wider than the body weight before the face is detailed. For a trinket dish, that means the rim shape and wall feel are checked before any inlay or pattern is pressed in. Decoration on an unsolved structure tends to need redoing once the structure is fixed.
3. Plan the bake before the build
Every piece in these assembly guides has to survive a flat-on-tile bake. If your build will not fit flat, you need a support strategy (foil nest, fiberfill, or curved support) or the design needs to change. The bake support guide covers picking support by shape.
The cleanest workflow is to think about the bake while the piece is still raw. Will the cap overhang? Then it needs a foil ring under it. Will the figure stand? Then it needs a flat zone to rest on, or a fiberfill nest to hold the pose. Will the dish rim sag? Then it needs a curved support sized to the curve. Solving the bake plan in raw clay is much easier than trying to rescue a sagged piece after cure.
Build Order by Project Type
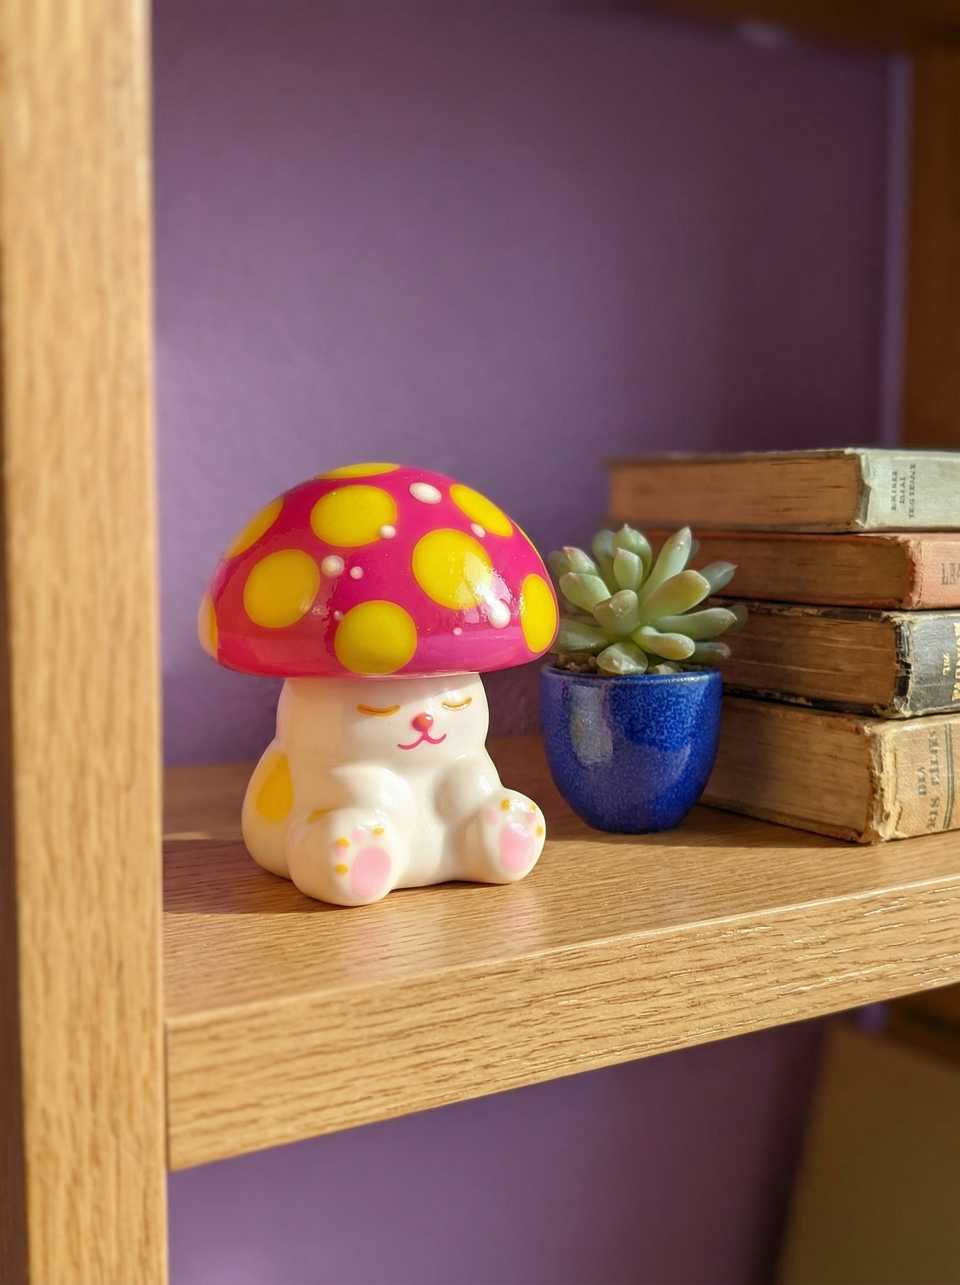
Figurines and small sculptures
Start with the body mass and the footprint. Press the base flat on the tile so the foot spreads slightly wider than the body, which is what stops a tipping figure. Add medium features (caps, ears, limbs) once the body is stable, then small surface features last. Bake on a flat tile, with fiberfill or a foil nest for any projecting feature that wants to lean during cure.
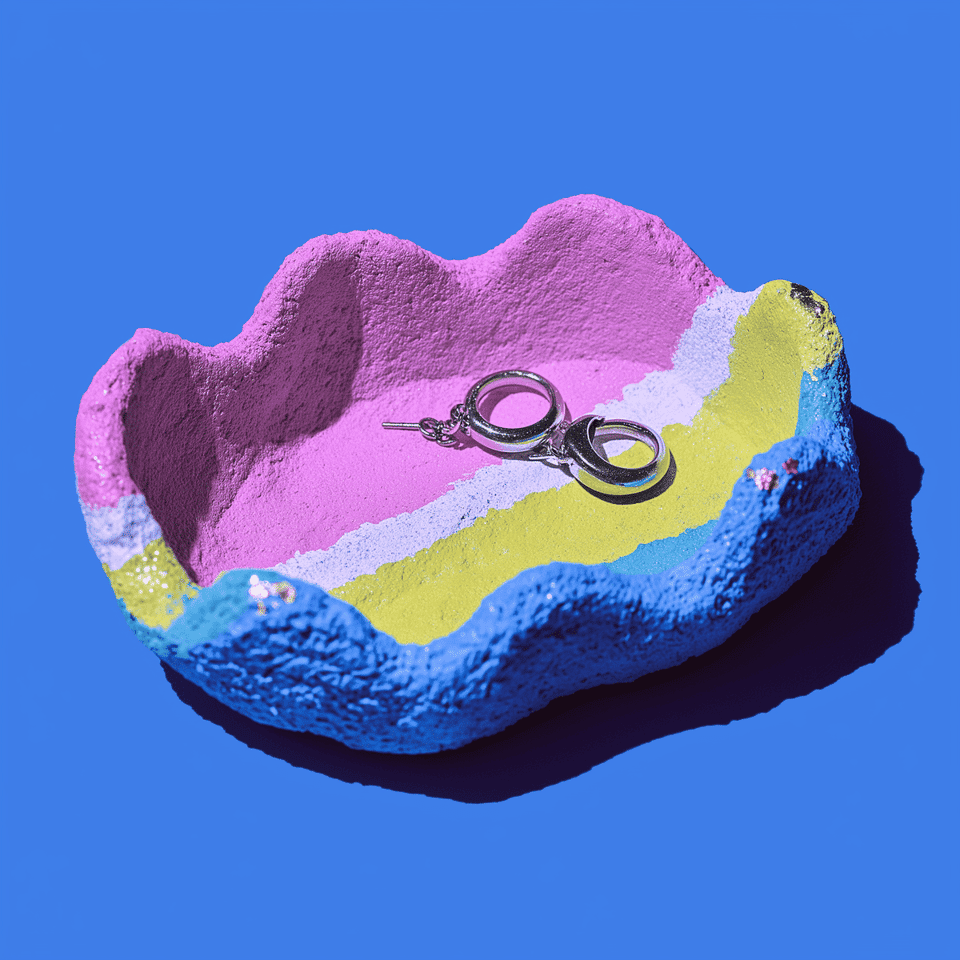
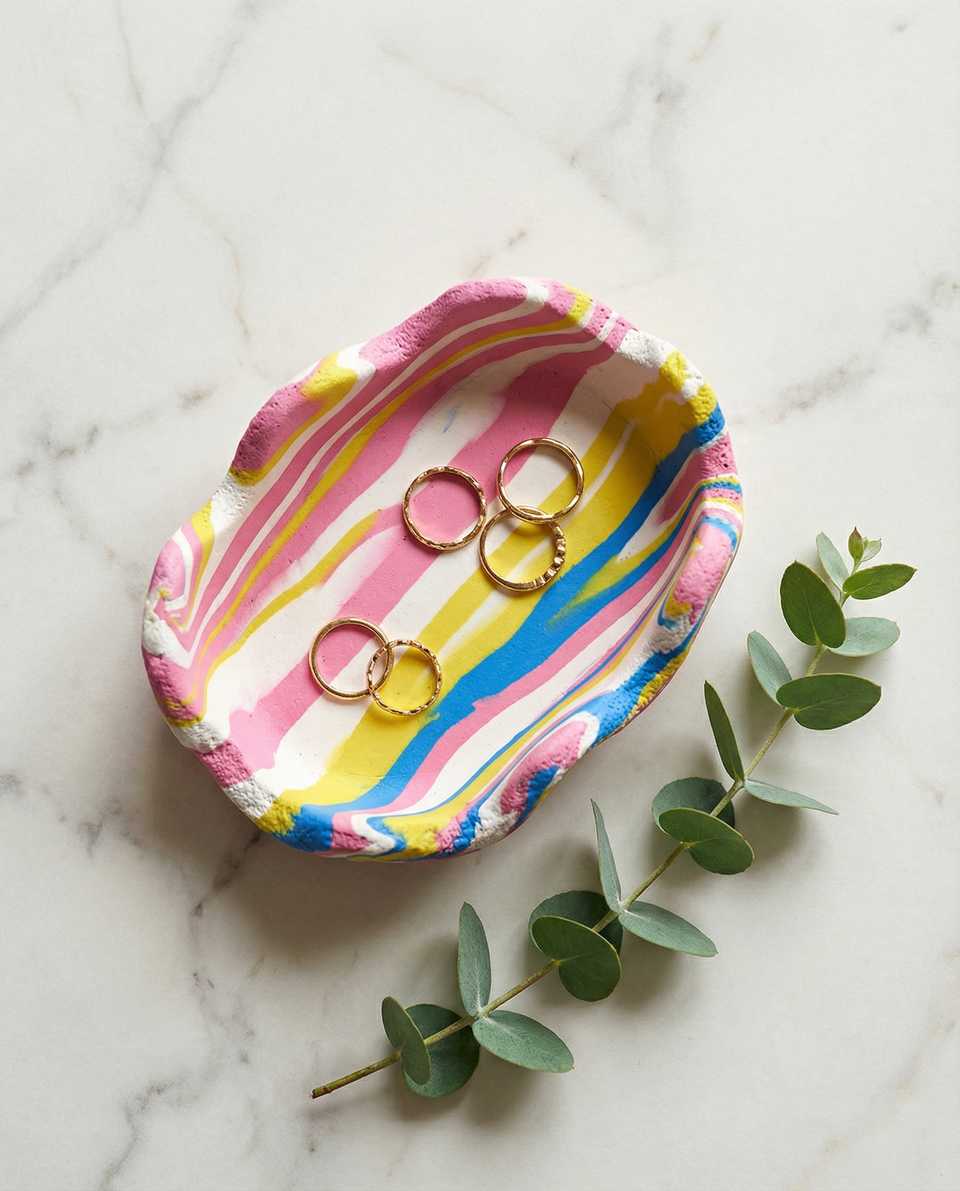
Trinket dishes and bowls
Roll an even slab for the rim and curve span you are testing. Drape over a form (a small bowl, a half-sphere, a draping mould) and shape the rim with even thumb pressure all the way around. Decorate within the bounds of the rim, not over it. Support the curve during bake so the rim does not sag.
Collar necklaces and curved pieces
Set the neckline arc first on a curved support so the inner curve fits the wearer's neck before any front shapes go on. Add the front silhouette next, then the scallops or surface decoration. Bake supported so the curve holds.
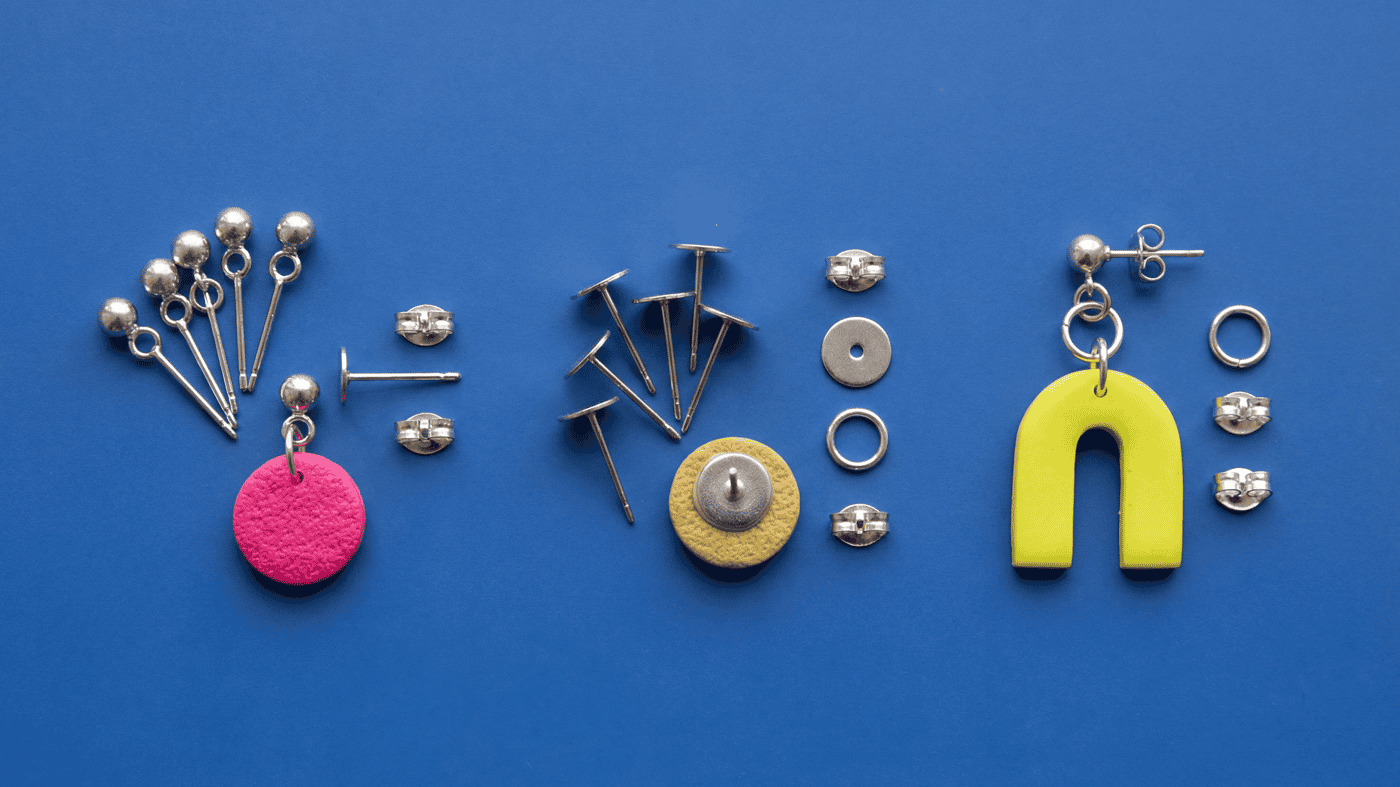
Layered slab earrings (cutout, arch, pixel)
Roll one even slab so the layers all share the same thickness. Cut every blank for the pair (or the batch) in one session before the clay warms, because warm clay drags under the cutter and pieces drift. Plan hardware holes before bake. Bake flat on a tile.
Buttons
Roll one even slab for the button you are testing. Cut all blanks before the clay warms. Pierce holes raw with a needle tool, sized for the thread you intend to use. Bake flat on a tile.
Miniature food charms
Set the base mass first (a bowl, a plate, a tray), then medium components (broth disc, base toppings, fish body), then the smallest details last (noodle squiggles, sesame, garnish). Match clay temperature across components so a warmer color does not blur into a cooler one when you press them together. The miniature food charms guide walks through the layering.
Relief faces and stud toppers
Build the plaque or topper base first to even thickness. Set the brow and centerline, then place hair or hat mass before small features. Add nose, mouth, and cheeks in low relief; save eye detail for last. Add small surface features after the big planes read from arm's length. The relief face guide covers the order in detail.
When Assembly Fails: How to Diagnose
Most assembly failures point at one specific upstream choice. Read the failure point and trace it back rather than re-gluing the symptom.
- Figurine tilts after bake: base footprint is too narrow for the body weight balanced on it. Widen the footprint, or support the figure during bake so it cures upright.
- Dish rim sags or warps during bake: wall thickness is too thin for the unsupported curve span, or the support under the curve was not sized to the shape. Thicker walls or a better-sized curved support solves it.
- Earring pair does not match: the blanks were not cut in the same session, or the clay warmed between cuts. Cut the full pair (or batch) in one cool session.
- Layered piece comes apart after bake: layers were placed but not pressed firmly enough into each other, or something sat between them (dust, cornstarch release, finger oils). Press each layer to bond and keep the mating faces clean.
- Stud topper sits crooked on the back: the back was not flat enough, or the topper is fighting a curved zone. Check the back before bake and fit the topper to the cured contact area.
- Charm topping falls off during cure: the topping was placed but not pressed into the base mass below it. Topping needs to be seated firmly into the base, not just resting on it.
For crack-specific failures (which run on a different decision tree around bake temperature, conditioning, and stress at thin edges) the cracking guide walks through diagnosis by crack location.
Mixed-Media Assembly Considerations
Mixed-media polymer clay pieces work when each material is added at the step its own chemistry expects. The order is roughly: wire armatures into raw clay before bake, metal findings onto the cured back after bake, and resin domes onto the finished surface last.
- Wire armatures embedded in raw clay work because the clay can wrap and trap the metal during bake. Test the bend and the bake compatibility on a scrap before committing to a real piece. A heavy wire that springs back or flexes after cure will stress the clay around it, so set the bends fully before the clay goes on.
- Cured clay attached to metal findings is the second layer. The findings hub covers selecting the post, hook, or back to suit the cured contact area, and which adhesive or wrap traps the metal reliably.
- Resin domes over the cured surface go on last, after any sanding, buffing, or sealing the design wants. The resin doming guide walks through working time, dome height, and bubble release.
The fastest way to make a mixed-media piece fail is to skip a cure step in between. Resin on raw clay, glue on un-prepped backs, or wire pressed into half-baked clay all collapse later. Sequence the materials by their cure step, not by what is closest to your hand on the worktable.
Not Sure Where To Start?
If you are not sure which guide to open, start from where you are. New to building dimensional pieces? Begin with the figurines guide or the trinket dishes guide, since stable bases and even rims teach the build-large-to-small habit on forgiving shapes. Batching for a shop? Start with the buttons guide or the cutout arch earrings guide, where the slab-cut-bake consistency across a run matters most. Then come back to the table above for the exact piece you are making.
More guides in this path
Open these when the next decision is material choice, attachment, or finishing.
Polymer Clay Stud Toppers, Flat Pads, and Connector Rings
Choose the top connection from the front view first, then keep the attachment short and balanced. Compare visible loop-tops, flat pads, short ring paths, and balance-line marks on a sample before you make the final pair.

Polymer Clay Miniature Food Charms: Bowls, Fish, and Tiny Toppings
Miniature food pieces usually look clearer when the base shape, topping scale, and hardware choice are planned before the details go on. This guide covers shallow bowls, flat fish charms, noodle coils, egg slices, and keeping small food builds lighter.
Polymer Clay Relief Faces, Portrait Plaques, and Stud Toppers
Face plaques, cameo-style shapes, and portrait drops stay cleaner when the silhouette is solved first, the facial planes stay low relief, and the topper or brooch hardware is planned as part of the front design rather than as an afterthought.
Finished examples with related clay decisions
Each piece shows how a material, attachment, or surface choice changes the final form.