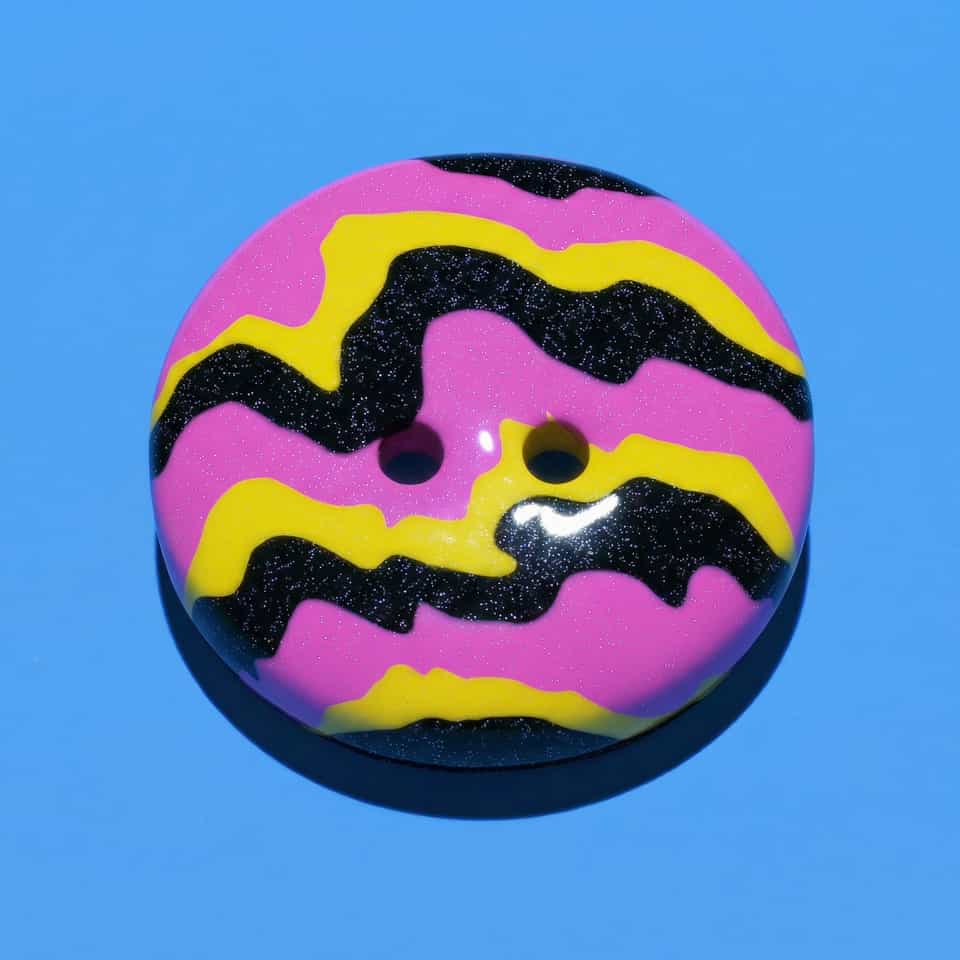
Polymer Clay Striped Buttons: Chevron Wraps and Drum Blanks
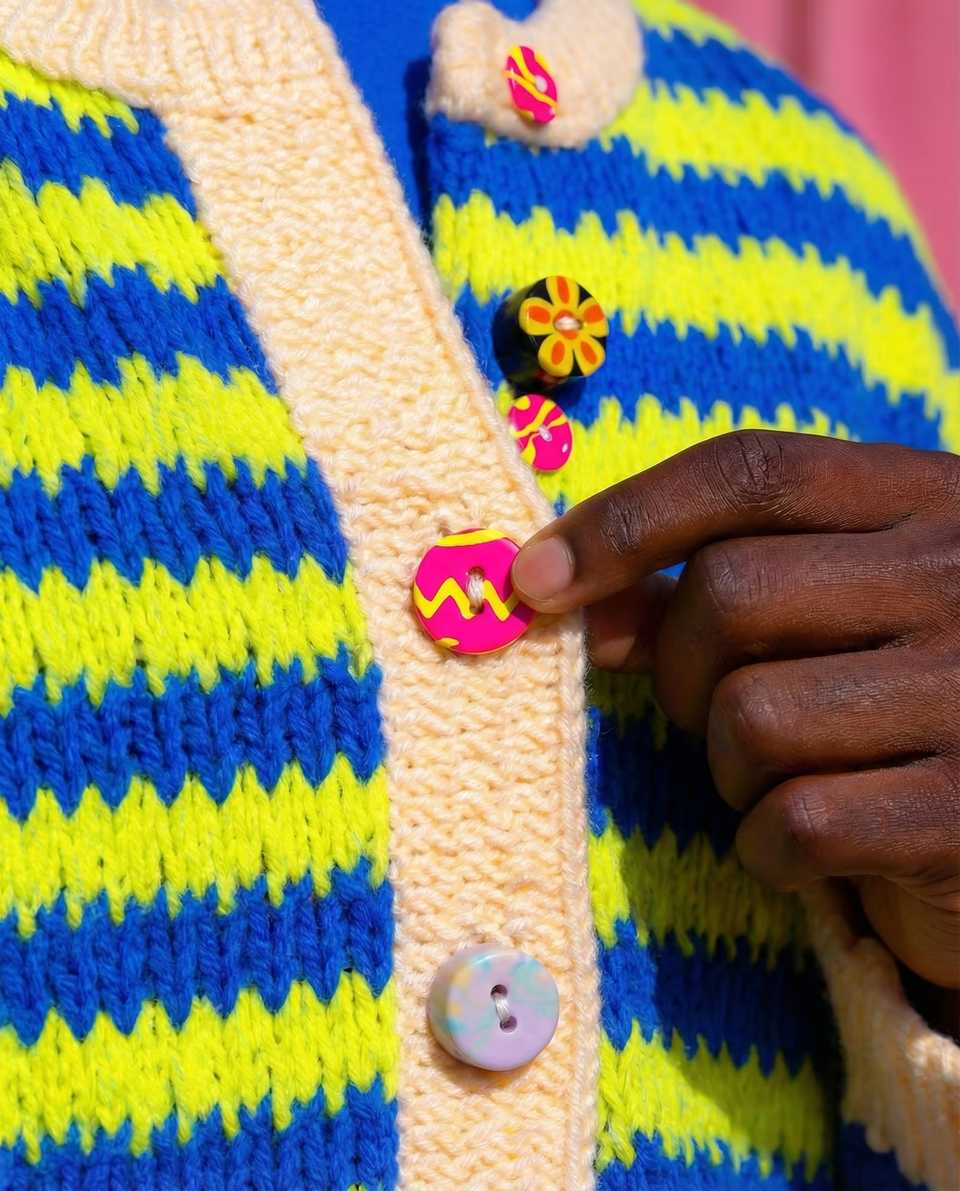
Patterned polymer clay buttons get much easier when you lock the blank size first, then build stripes, chevrons, or wrapped sidewalls around that structure. This guide covers a clean build order for flat sew-through buttons and short drum blanks.

In brief
Key takeaways
- 1Lock diameter, height, and hole spacing on the plain blanks first. Decorating before the blank is set is what makes a button set drift across a card
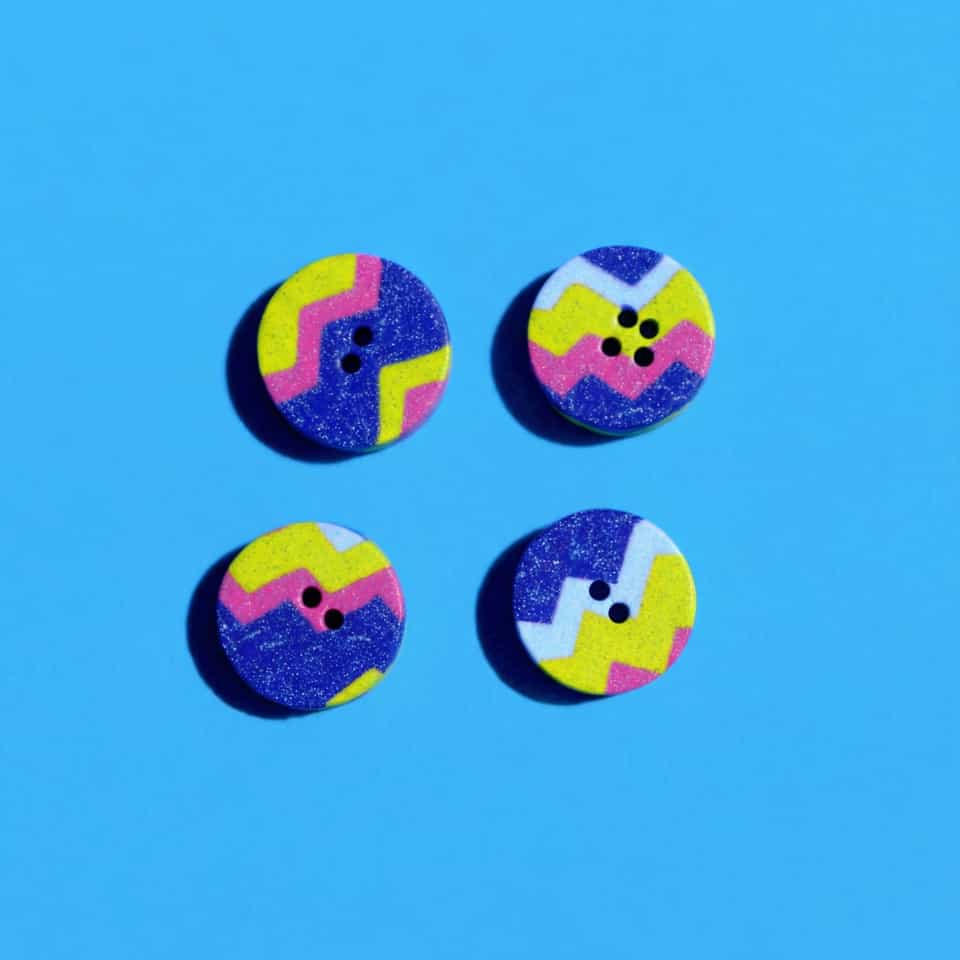
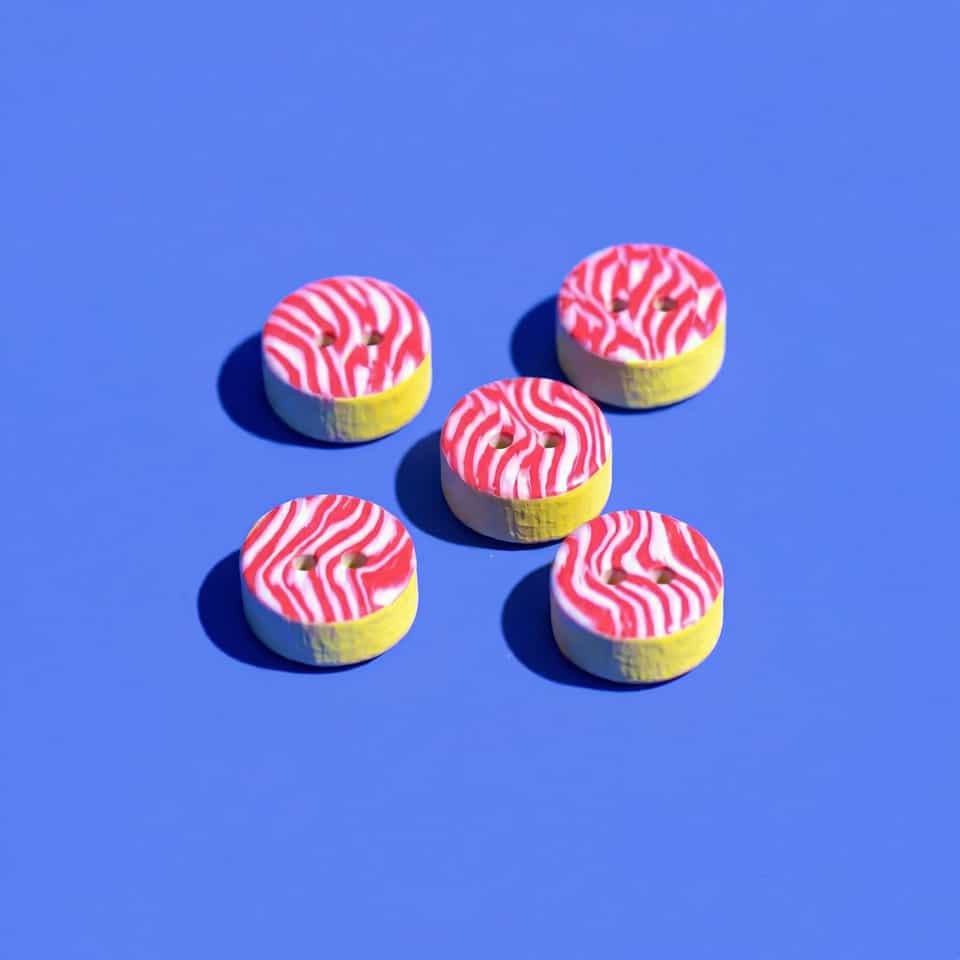
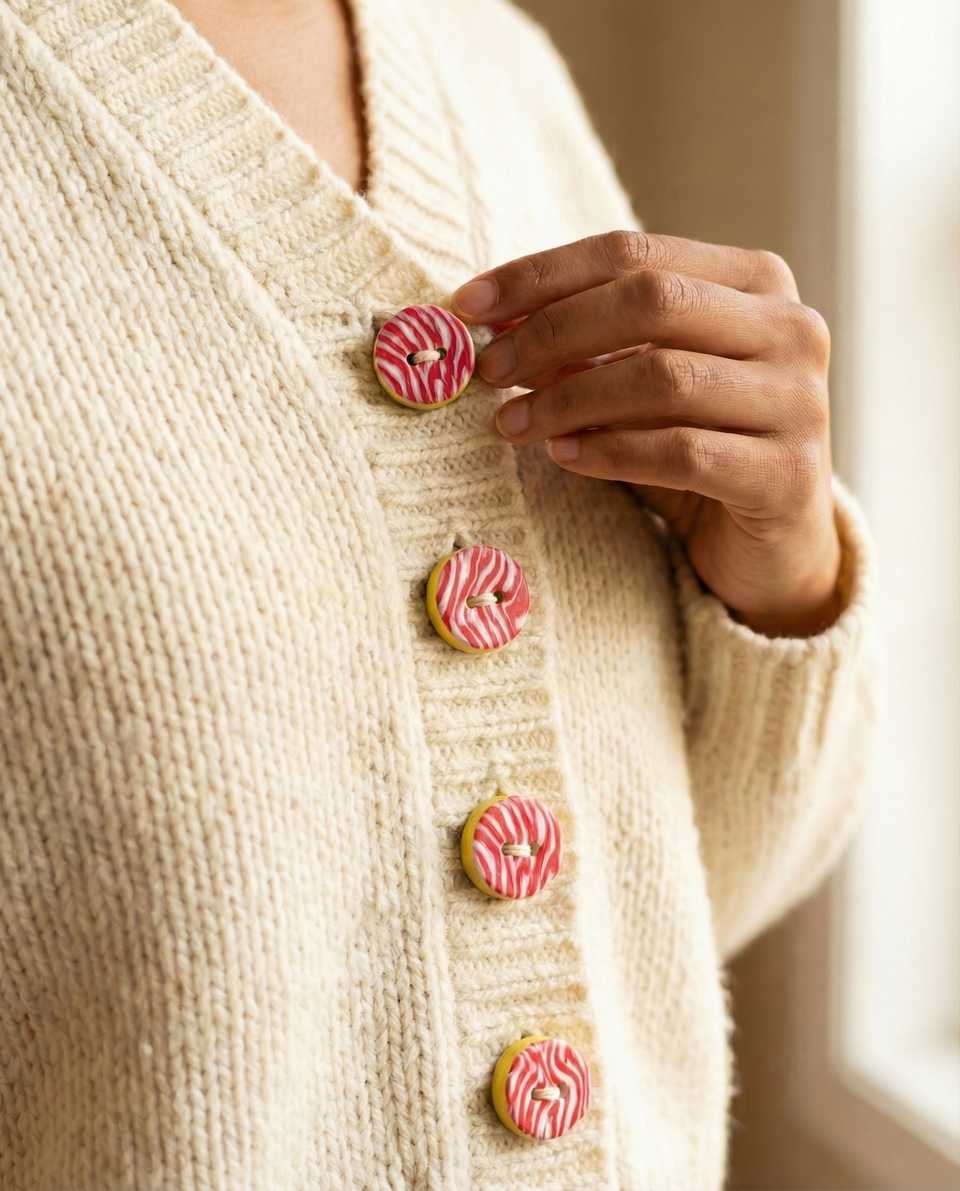
- 2For flat striped buttons, build one clean patterned sheet and cut the full set from it so the stripe alignment matches across pairs
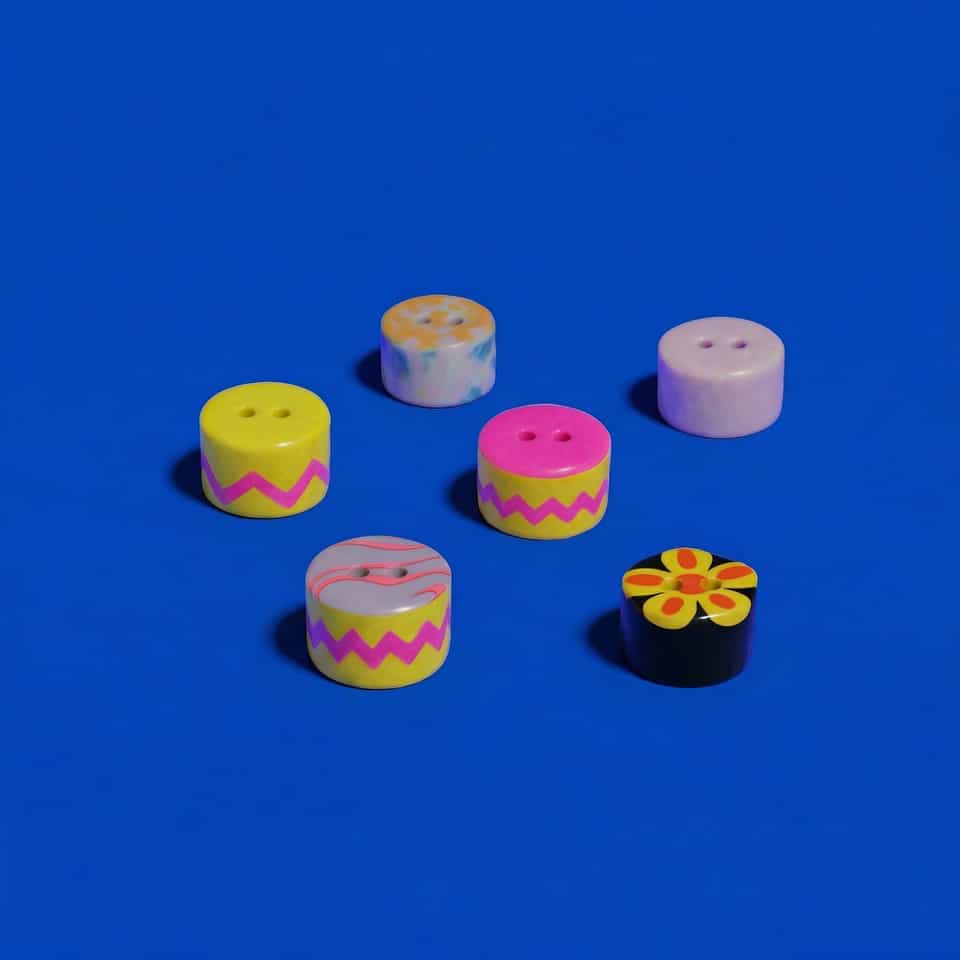
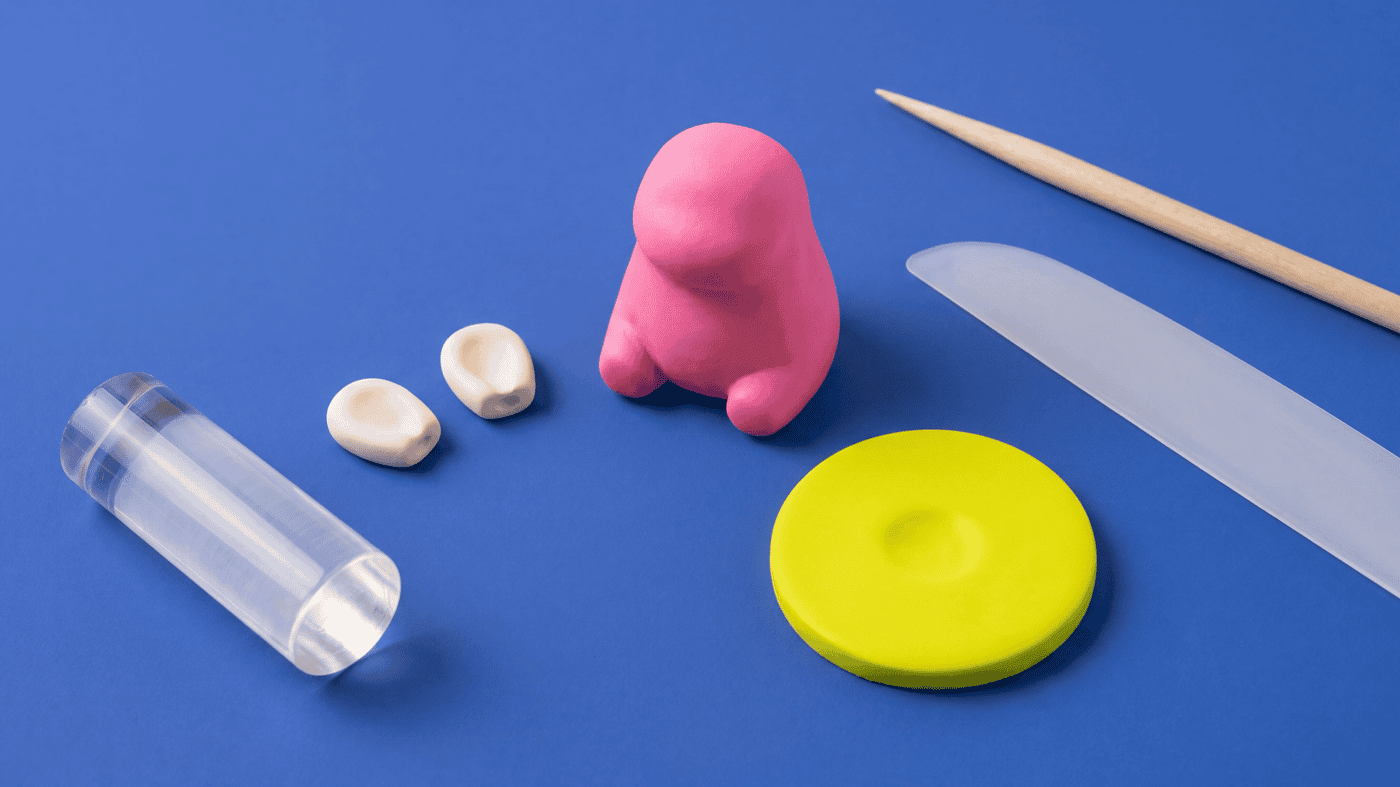
- 3Drum buttons assemble more cleanly when the cylinder is already sized and pierced, then the side wrap or top motif goes on last
- 4Cut chevron bands with a blade and press them on lightly. Stretching the bands into place is what makes them tear or gap at the seam
Follow an official Sculpey button source for one flat patterned sample. Record the shape, pattern placement, raw hole piercing, and package bake without adding unsupported fusion, wrap, or functional-performance claims.
Start From The Official Button Workflow
Sculpey's button guidance documents shaping, pattern placement, making holes while the clay is raw, and package-directed baking. Use that source as the boundary for this sample.
Record One Patterned Button
Write down the exact clay line, slab dimensions, visual stripe or chevron layout, cutter, hole tool, and package bake. The pattern is a design choice and does not prove a join mechanism or garment performance.
This acrylic roller and this blade set are candidates only after their exact instructions are checked.
Pierce And Bake As Documented
Place the holes while the clay is raw as the official source directs. Follow the exact package with an oven thermometer in the baking area, then let the sample cool.
Keep Unsupported Extensions Out
Do not claim raw-clay fusion, liquid-clay repair, drum or wrap mechanics, a hole-spacing formula, thread strength, laundering suitability, or finish preference without exact primary evidence and physical validation.
More guides in this path
Open these when the next decision is material choice, attachment, or finishing.
Polymer Clay Assembly: Build Order and Join Planning
Stabilize thickness and support before cure. Follow package directions, verify oven temperature, and support raised or extended portions during baking.

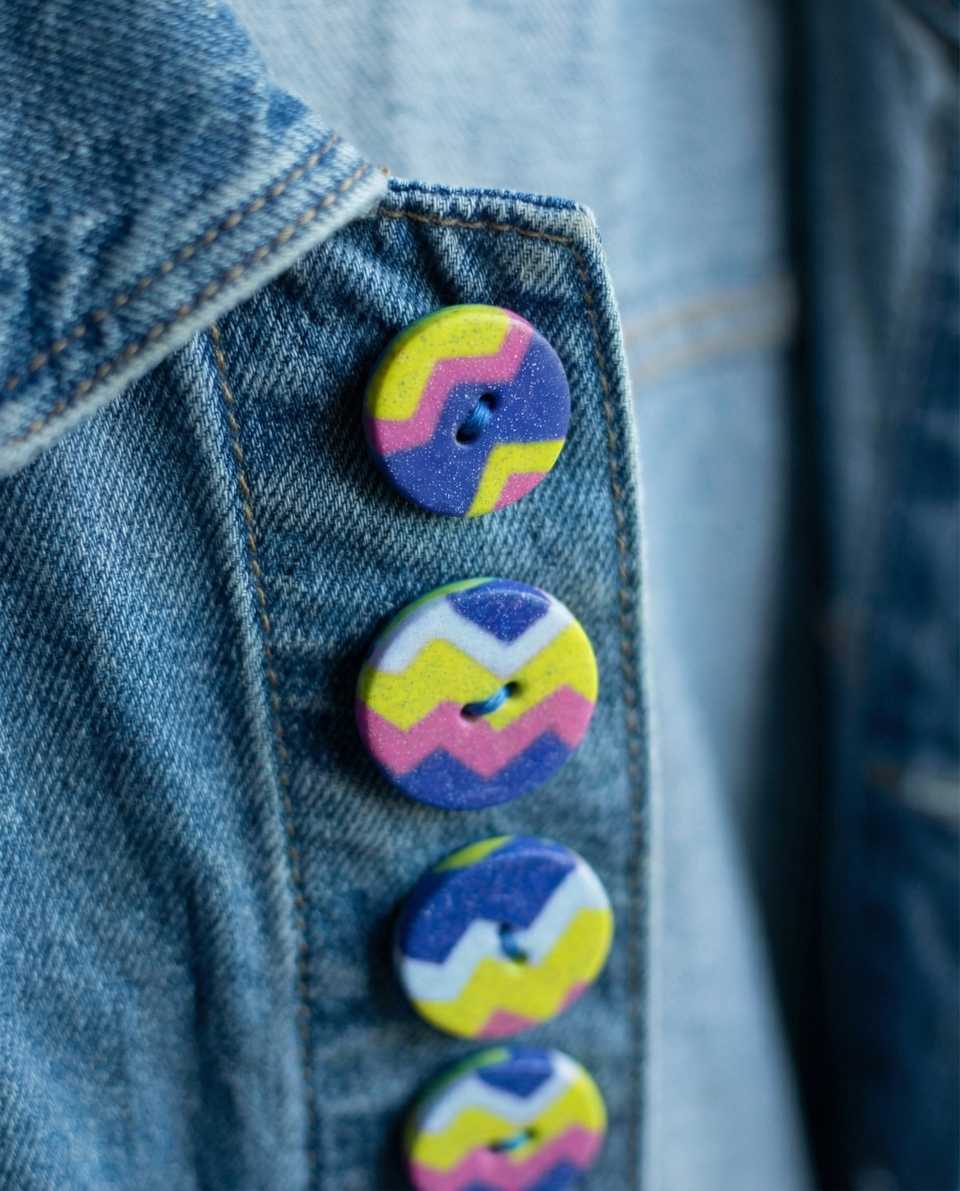
Polymer Clay Buttons: Holes, Flat Baking, and Thickness
Small button sets fail when the holes are too close to the edge, the blanks bake unevenly, or the thickness drifts from one button to the next. This guide shows the repeatable build path that keeps polymer clay buttons more consistent and easier to test on garments.

Conditioning Polymer Clay for Clean Cuts and Crack-Free Edges
Your slab cracked at the edge, your cutter dragged, or one color distorted more than the rest. Condition until every color folds the same way, then do the fold test before you cut.
Finished examples with related clay decisions
Each piece shows how a material, attachment, or surface choice changes the final form.