Polymer Clay Buttons: Holes, Flat Baking, and Thickness
Small button sets fail when the holes are too close to the edge, the blanks bake unevenly, or the thickness drifts from one button to the next. This guide shows the repeatable build path that keeps polymer clay buttons more consistent and easier to test on garments.

In brief
Key takeaways
- 1Roll one even sheet and cut the full button set before the clay warms up. Warm clay distorts under the cutter and the pair stops matching
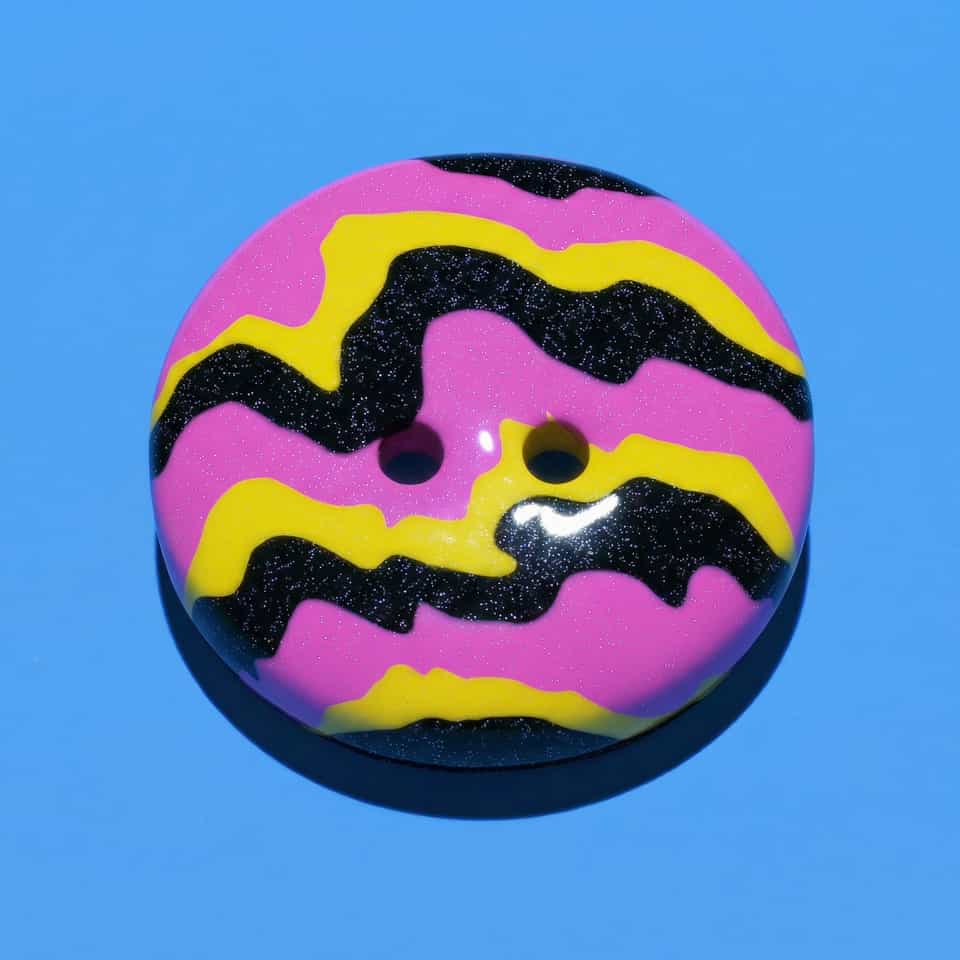
- 2Pierce the sew-through holes while the clay is still raw. Tidy them with a needle file once the buttons are baked and cooled
- 3Bake small buttons flat on a level surface such as a ceramic tile, and match the bake setup to your clay line's package directions
- 4Match thickness across the set rather than chasing one magic button depth. Consistent thickness is what makes a button card read like a pair
Roll one even sheet, cut the button blanks, pierce the holes while the clay is raw, and leave the set on a ceramic tile for the package-directed bake. Check the baking area with an oven thermometer and let the pieces cool on the tile before comparing them.
Make The Blanks In One Sequence
- Condition the clay and roll one even sheet with a roller or clay-conditioning machine.
- Cut the planned button shapes from the same sheet.
- Pierce the holes while the clay is still raw.
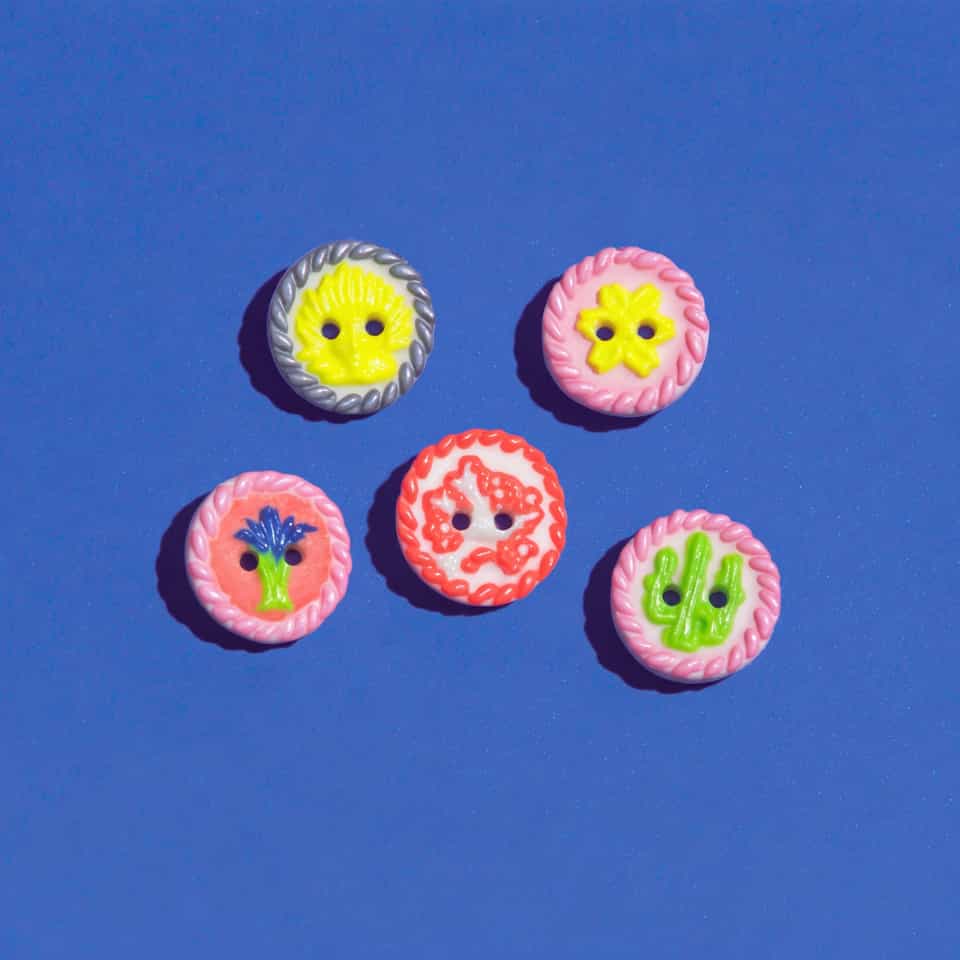
- Compare the blanks side by side before they go into the oven.
Bake The Set Flat
Keep the buttons on a ceramic tile, place an oven thermometer in the baking area, and follow the time and temperature on the exact clay package. Let the pieces cool before lifting them from the tile.
Try One Button Before Making The Rest
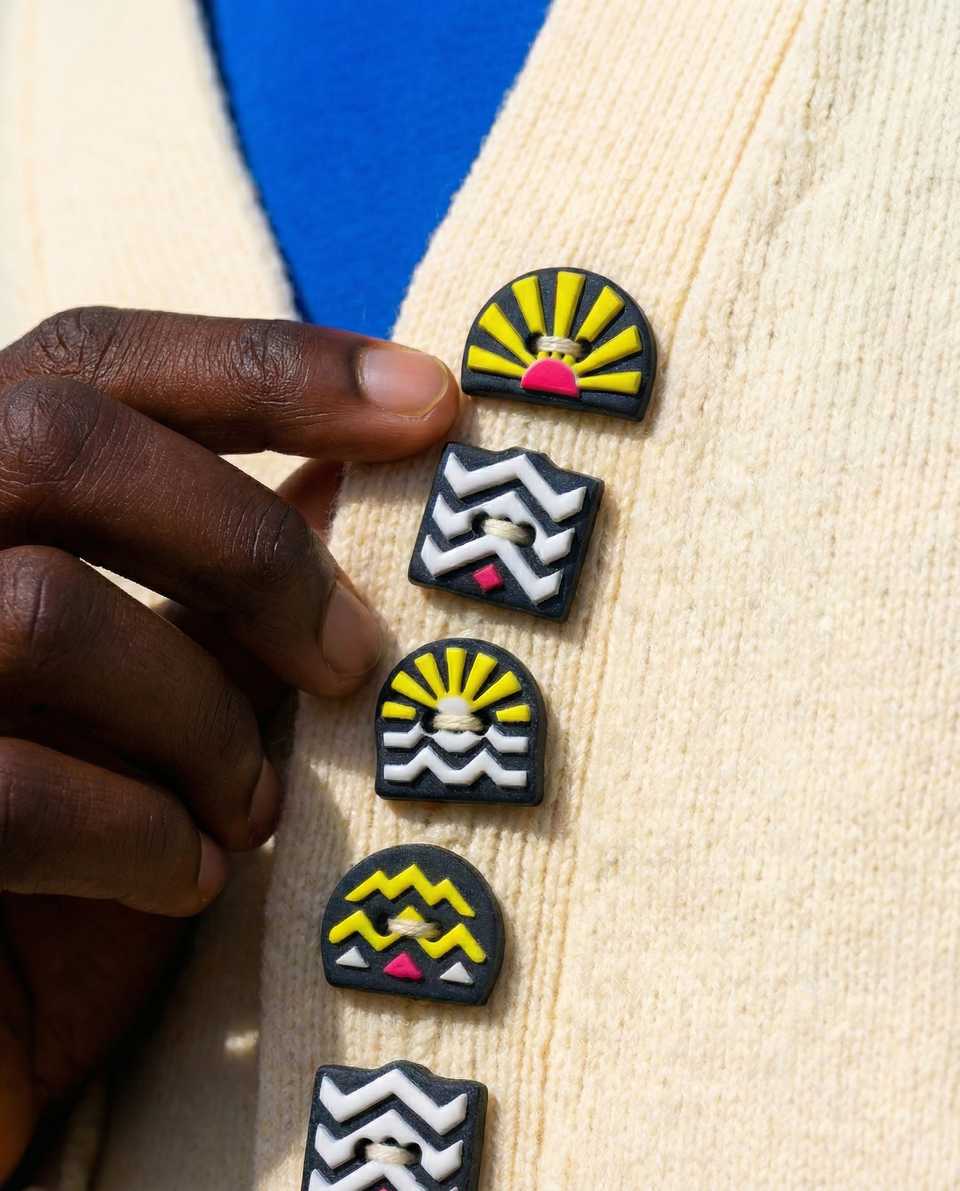
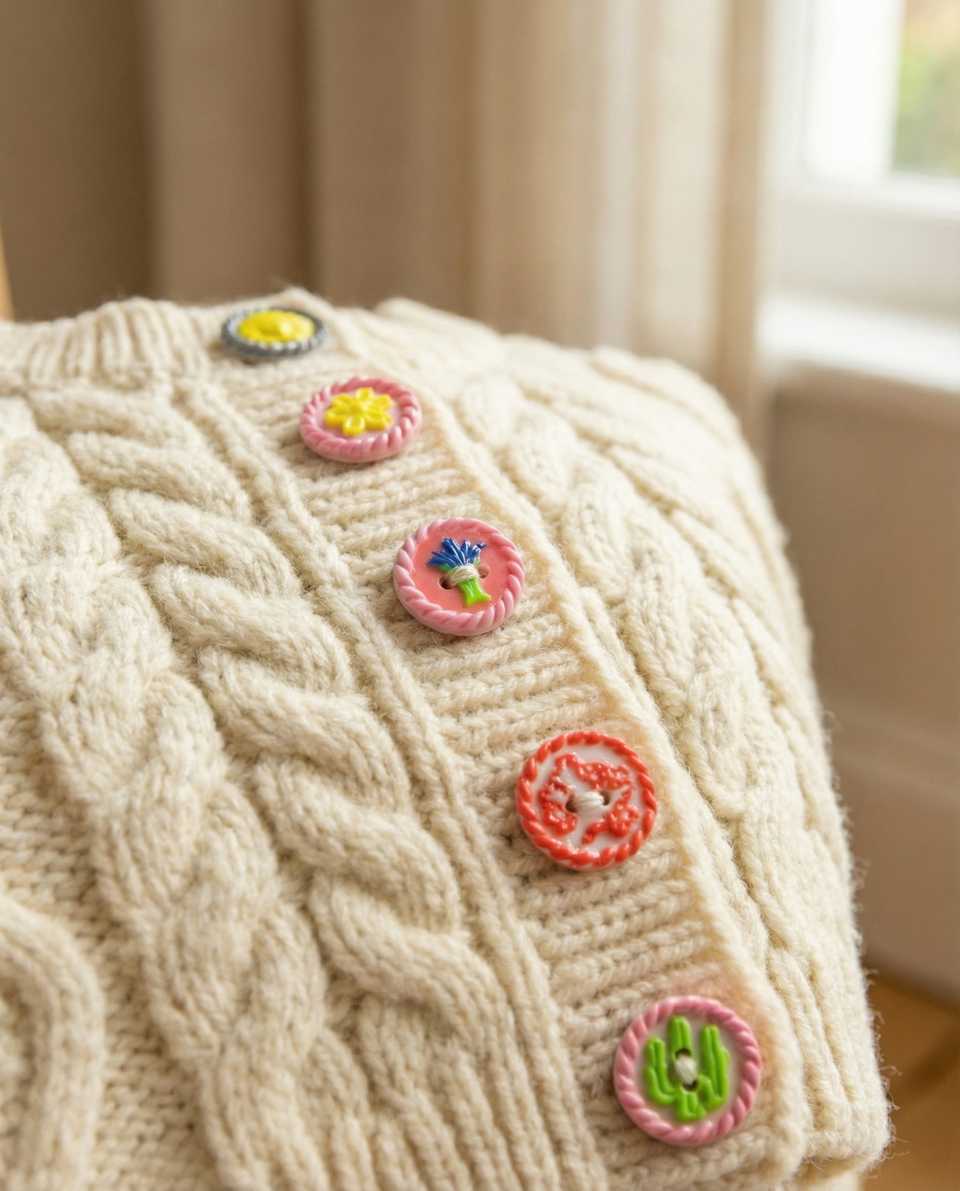
Check the cooled outline, thickness, and hole placement. If the buttons will be used on a garment, sew one finished sample to the intended fabric and follow the exact clay, finish, and garment-care instructions before making a full set.
More guides in this path
Open these when the next decision is material choice, attachment, or finishing.
Polymer Clay Assembly: Build Order and Join Planning
Stabilize thickness and support before cure. Follow package directions, verify oven temperature, and support raised or extended portions during baking.

Conditioning Polymer Clay for Clean Cuts and Crack-Free Edges
Your slab cracked at the edge, your cutter dragged, or one color distorted more than the rest. Condition until every color folds the same way, then do the fold test before you cut.

Best Polymer Clay Cutters for Beginners: Sharp Starter Shapes (2026)
Beginner clay cutters work best as a small repeatable starter set. Clean release and even slab thickness matter more than a long novelty list.
Finished examples with related clay decisions
Each piece shows how a material, attachment, or surface choice changes the final form.