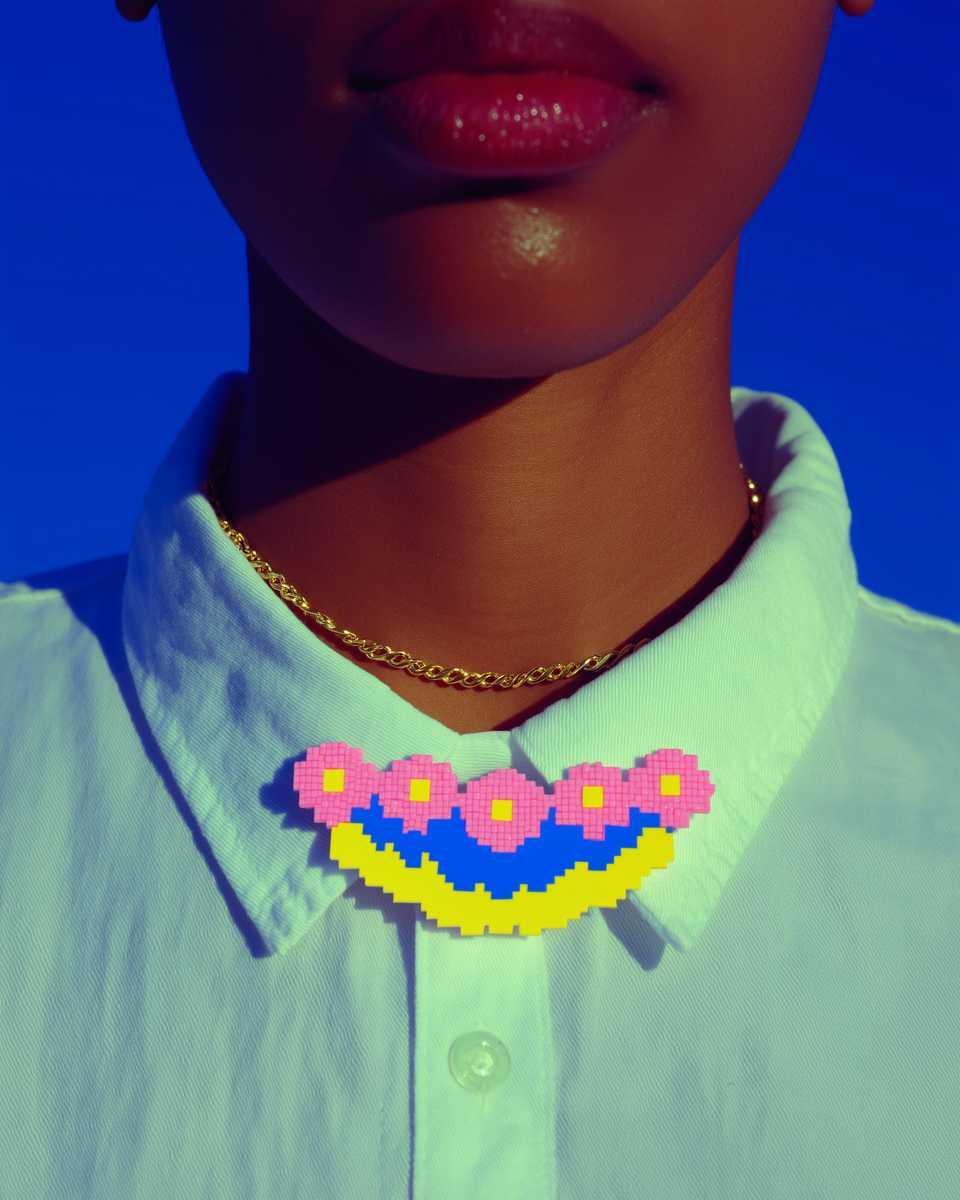
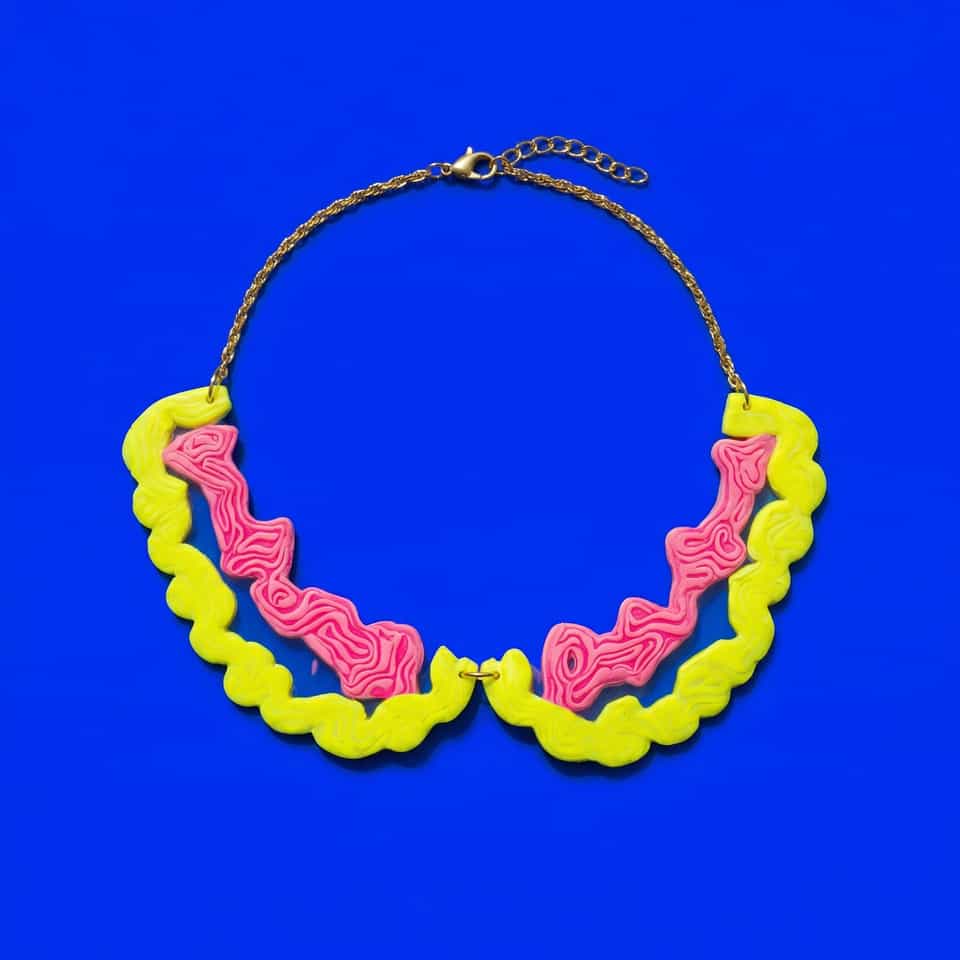
Polymer Clay Collar Necklaces, Bibs, and Curved Bases
Statement collars go wrong when you guess the neckline arc too late, build the front pieces as loose pendants, or let the collar flatten or relax in the oven. This guide gives the curved-base build order for rigid collar necklaces and layered bibs.

In brief
Key takeaways
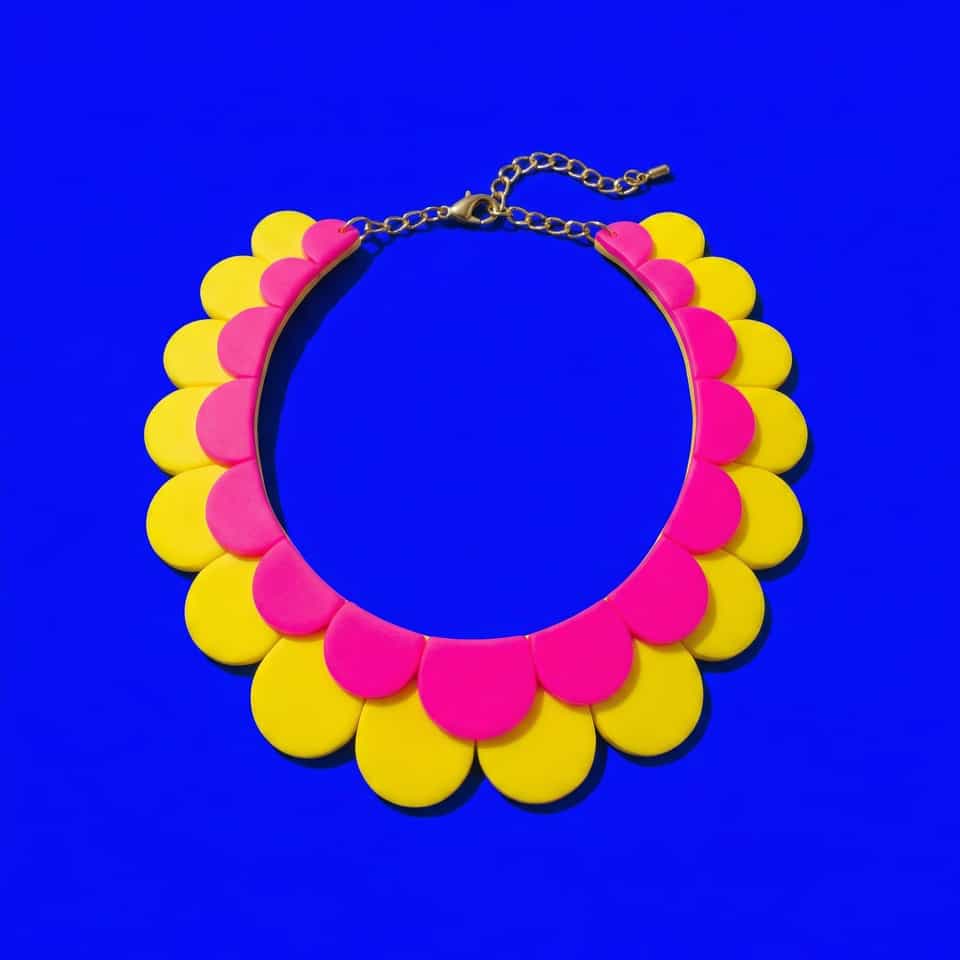
- 1Solve the neckline arc on a curved form before cutting the full set of front scallops or bib pieces. The arc is what makes the collar sit instead of gap
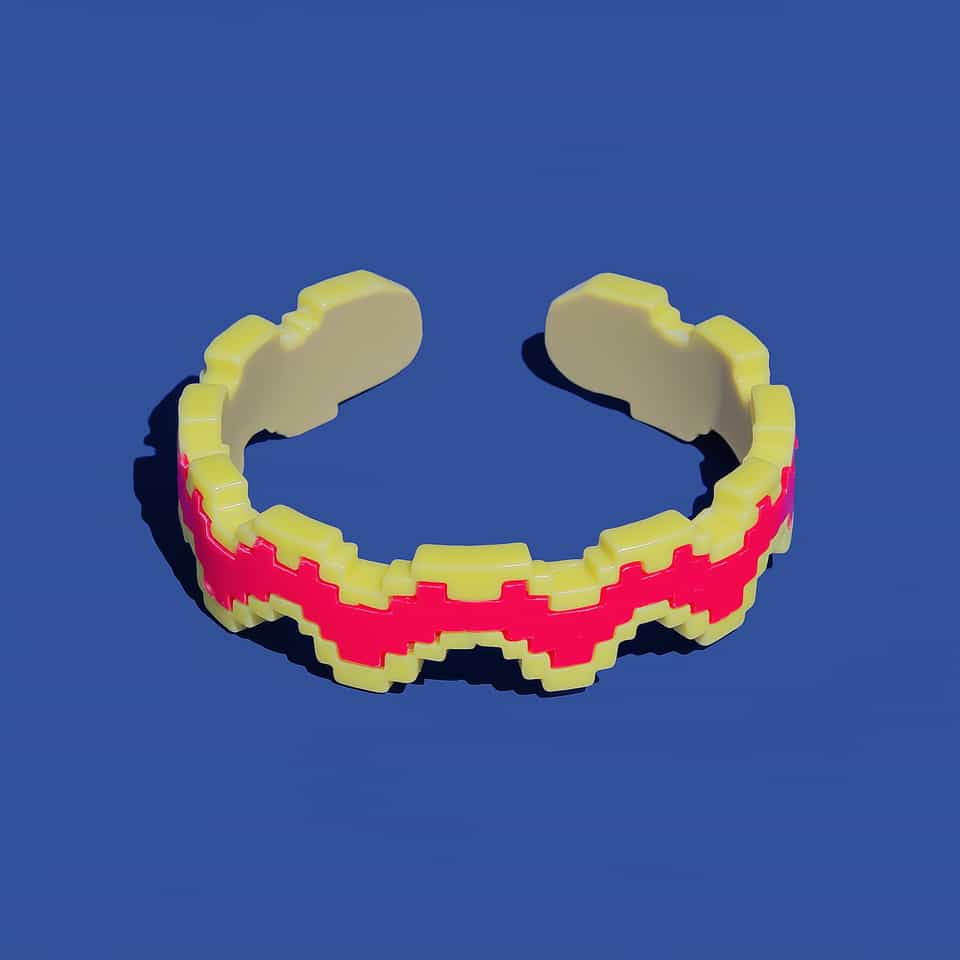
- 2Decide early whether the front is one rigid collar base or a set of loose hanging parts. The two builds want different connection plans
- 3Build layered fronts from the lower row upward so each row's reveal stays even across the neckline
- 4Choose the hardware path before baking. Add a clasp or jump ring after cooling only when the exact finding and attachment instructions support that sequence
Set the intended curve before you add decoration. Use a paper or scrap-clay layout, choose an oven-safe support that fits the form, and follow the exact clay package for cure.
Plan The Curve First
Trace the intended neckline, cuff, or front arc and place the main shapes on that guide. This layout is a project check, not a universal fit, weight, or flex rule.
Support The Form During Cure
Choose a support that matches the actual curve and is suitable for the package temperature. Verify the baking area with an oven thermometer, then follow the clay maker's time, temperature, thickness, and support directions.
Choose Hardware From Exact Specifications
Select clasps, rings, chains, bails, and adhesives from current supplier dimensions and instructions. Do not infer a load rating, adhesive cure, or skin-contact property from the category name.
Check One Cooled Assembly
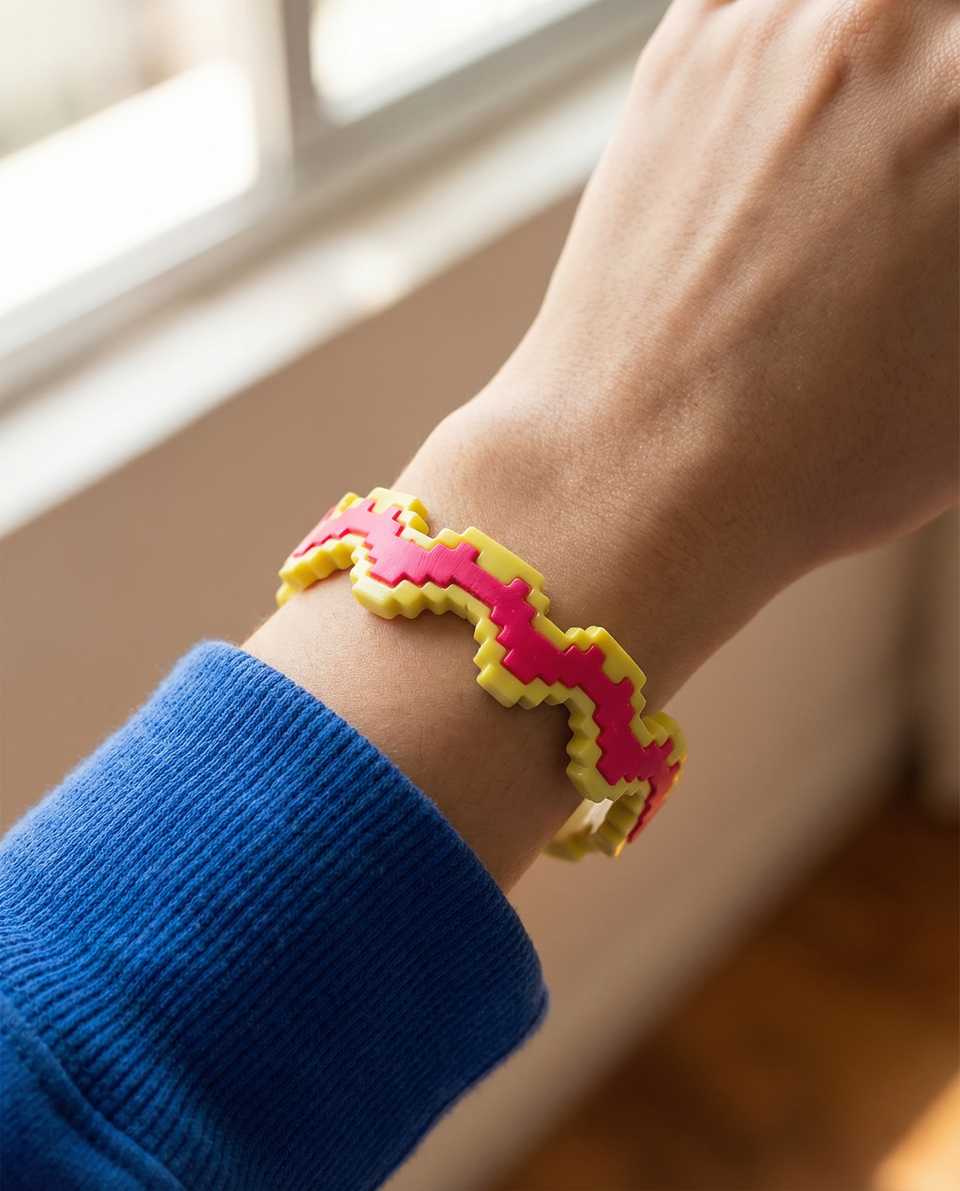
Assemble one sample and check the movement, curve, closure, edge comfort, and intended wear position before repeating it. The result belongs to that recorded clay, form, support, and hardware combination.
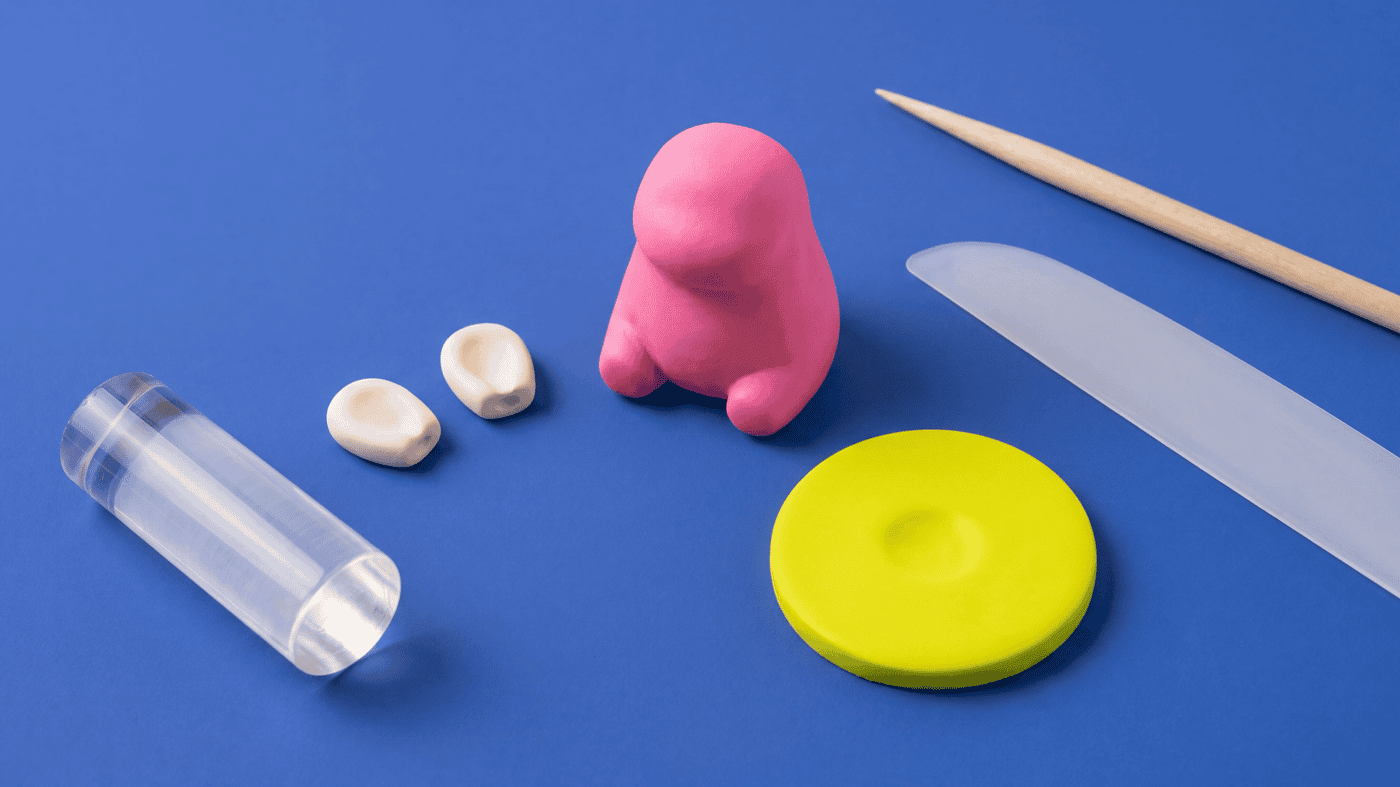
Supplies
Supplies mentioned here
Quick links to the materials and tools that fit this article. ClayBake tools stay on our own catalog.
ClayBake cutter pack
Good when the front depends on repeated scallops or discs that need to stay consistent across the neckline. ClayBake makes matched cutter packs sized to the build.
ClayBake slab height guides
Good for keeping the collar base and layered front pieces consistent enough to test against the intended neckline curve.
Lobster clasp and extender chain set
Good when the front arc is rigid but the back still needs an adjustable closure after the front arc has been checked.
More guides in this path
Open these when the next decision is material choice, attachment, or finishing.
Polymer Clay Assembly: Build Order and Join Planning
Stabilize thickness and support before cure. Follow package directions, verify oven temperature, and support raised or extended portions during baking.
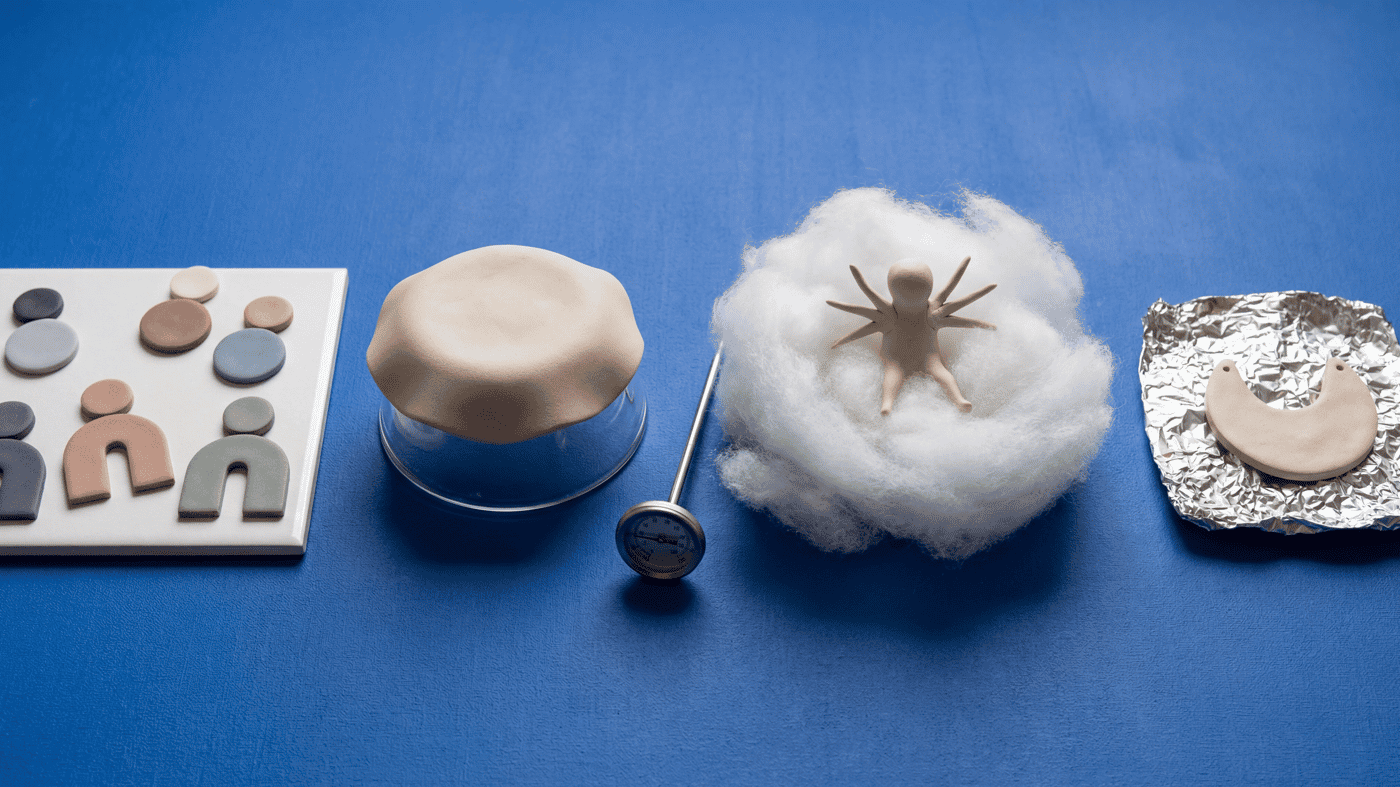
How to Support Polymer Clay During Bake by Shape
Match a documented tile, glass, shaped support, armature, or lightweight core to the part that must stay flat, curved, raised, or aligned.

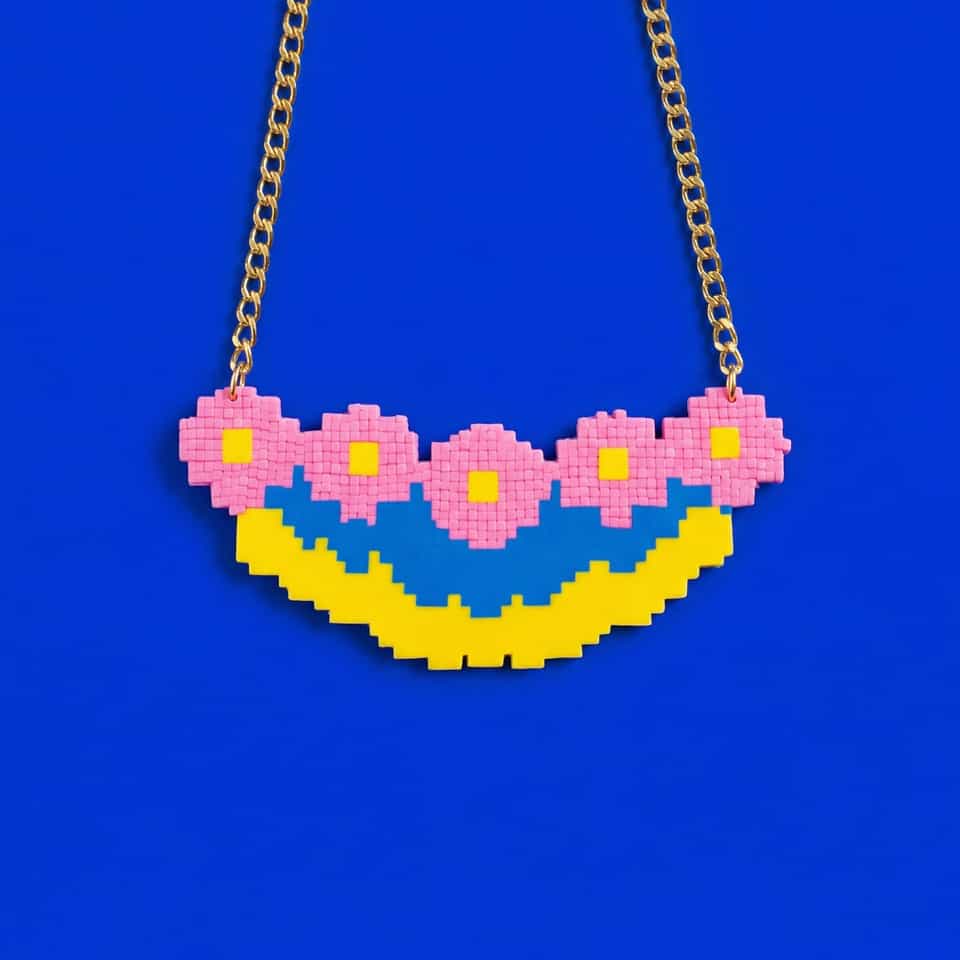
Polymer Clay Pendant Holes, Bails, and Jump Ring Placement
Pendants hang crooked or the hole tears through the top edge because the hardware was placed from the side instead of the visual center. Mark the real balance line, leave enough clay margin, and choose drilled hole, bail, or short jump ring from the finished front view.
Finished examples with related clay decisions
Each piece shows how a material, attachment, or surface choice changes the final form.