Polymer Clay Pixel Earrings: Slab Layering and Mirrored Pairs
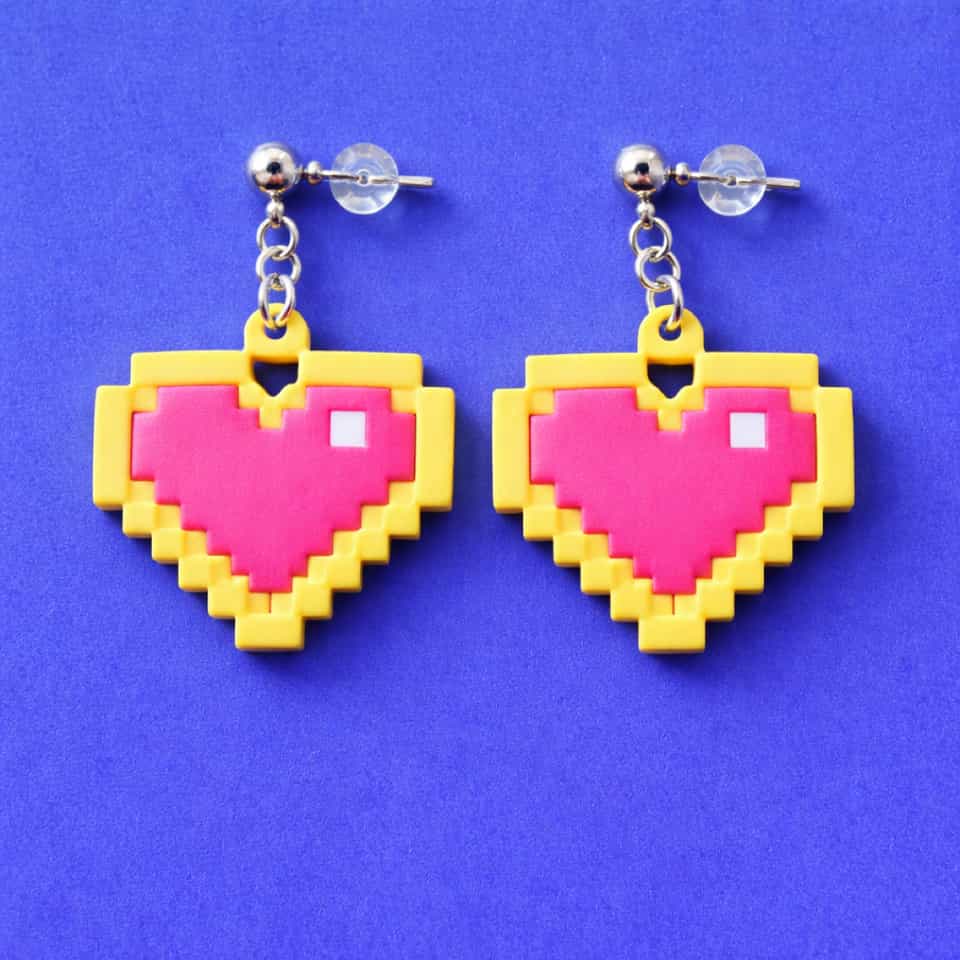
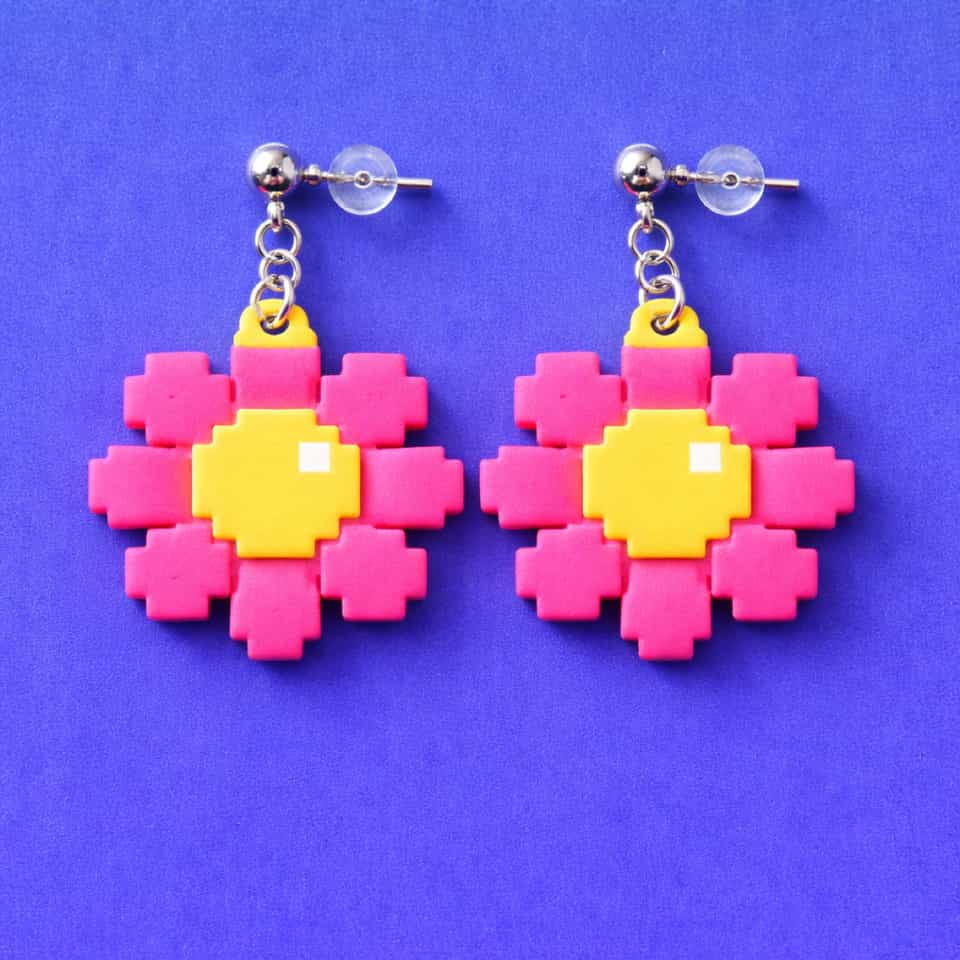
Graphic lips, eyes, mushrooms, and badge-like brooches are often easier to build as flat or gently domed pixel slabs. This guide covers crisp staircase edges, stacked layers, and ways to keep left and right pieces matched.

In brief
Key takeaways
- 1Cut both halves of a mirrored pair from one template in the same session so the staircase steps actually mirror
- 2Roll every layer to the same thickness before stacking. A 0.5 mm drift across layers reads as wonky pixel steps once cured
- 3Press layered pixel pieces just enough to bond. Any harder and the staircase corners round off and the 8-bit read disappears
- 4Plan holes, jump rings, or brooch placement against the balance of the finished pair, not the centerline of the raw blank
Use pixel slab as a project label for one recorded layered-shape sample. Matching a pair is the visual target, not a mechanical guarantee.
Prepare One Small Sheet
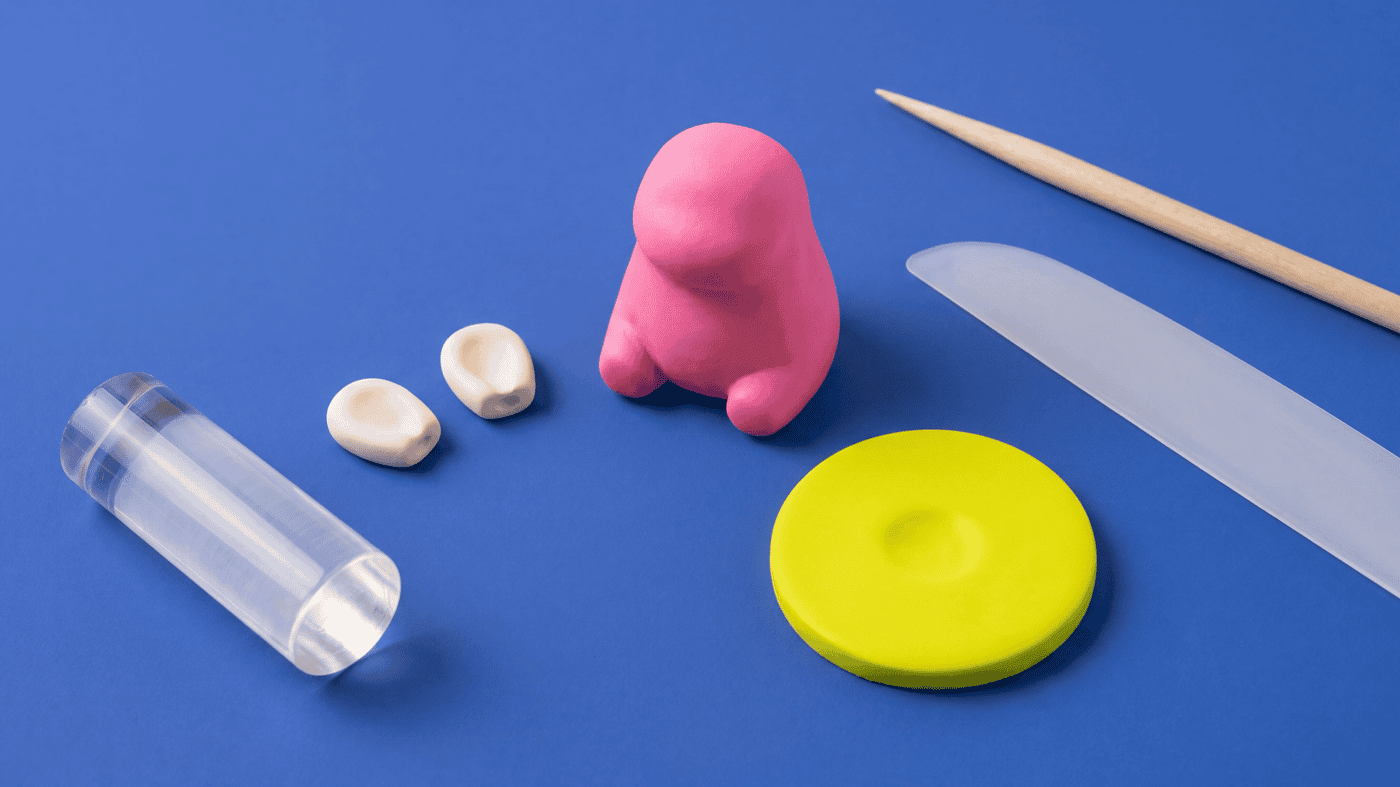
Condition the exact clay by its maker's directions and use a documented acrylic roller to prepare a small sheet. Record the clay line and dimensions.
Record The Template And Layer Order
Save one template, the intended left-and-right orientation, the layer order, and every visible dimension. Use the same target for both samples without claiming that a template guarantees matching pieces.
This acrylic roller and this clay blade are candidates only after their exact instructions are checked.
Keep Hardware And Finish Separate
Do not infer hole placement, balance, attachment, dome support, or topcoat behavior from the pixel layout. Verify the exact hardware, adhesive, and finish instructions separately.
Bake And Compare One Sample
Follow the exact clay package with an oven thermometer in the baking area. Let the sample cool, compare it with the recorded template, and change one variable before another test.
Supplies
Supplies mentioned here
Quick links to the materials and tools that fit this article. ClayBake tools stay on our own catalog.
Clay blade set
Good for cutting staircase edges cleanly and trimming stepped inserts without dragging the clay.
Polymer clay thickness guide strips
Use beside your roller so each layer stays even and the edge steps do not wobble from one side to the other.
Acrylic roller for polymer clay
Good for flattening color slabs evenly before you start stacking, trimming, or mirroring shapes.
More guides in this path
Open these when the next decision is material choice, attachment, or finishing.
Polymer Clay Assembly: Build Order and Join Planning
Stabilize thickness and support before cure. Follow package directions, verify oven temperature, and support raised or extended portions during baking.

Cut 8-Bit Pixel Polymer Clay Earrings: Staircase Guide
True 8-bit pixel earrings and brooches need stepped-edge silhouettes that look like deliberate pixels from a distance, not softened curves. This guide covers grid-based templates, blade-cut checks, and keeping the staircase crisp through cure.

Polymer Clay Bead Grid Tutorial: Cross-Stitch Pixel Patterns
A regular grid of small clay beads can look like cross-stitch when the bead size, spacing, and color placement stay disciplined. This guide covers bead rolling, grid jigs, and how to keep the inlay flat and aligned through cure.
Finished examples with related clay decisions
Each piece shows how a material, attachment, or surface choice changes the final form.