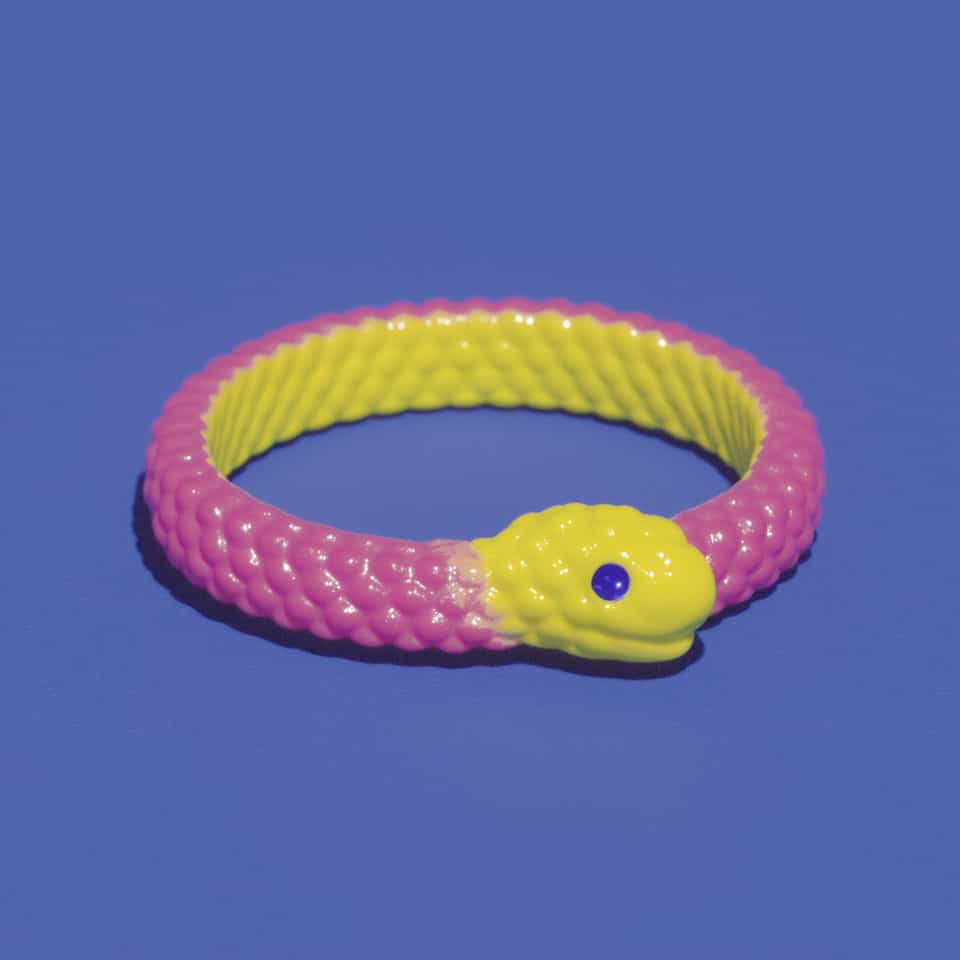
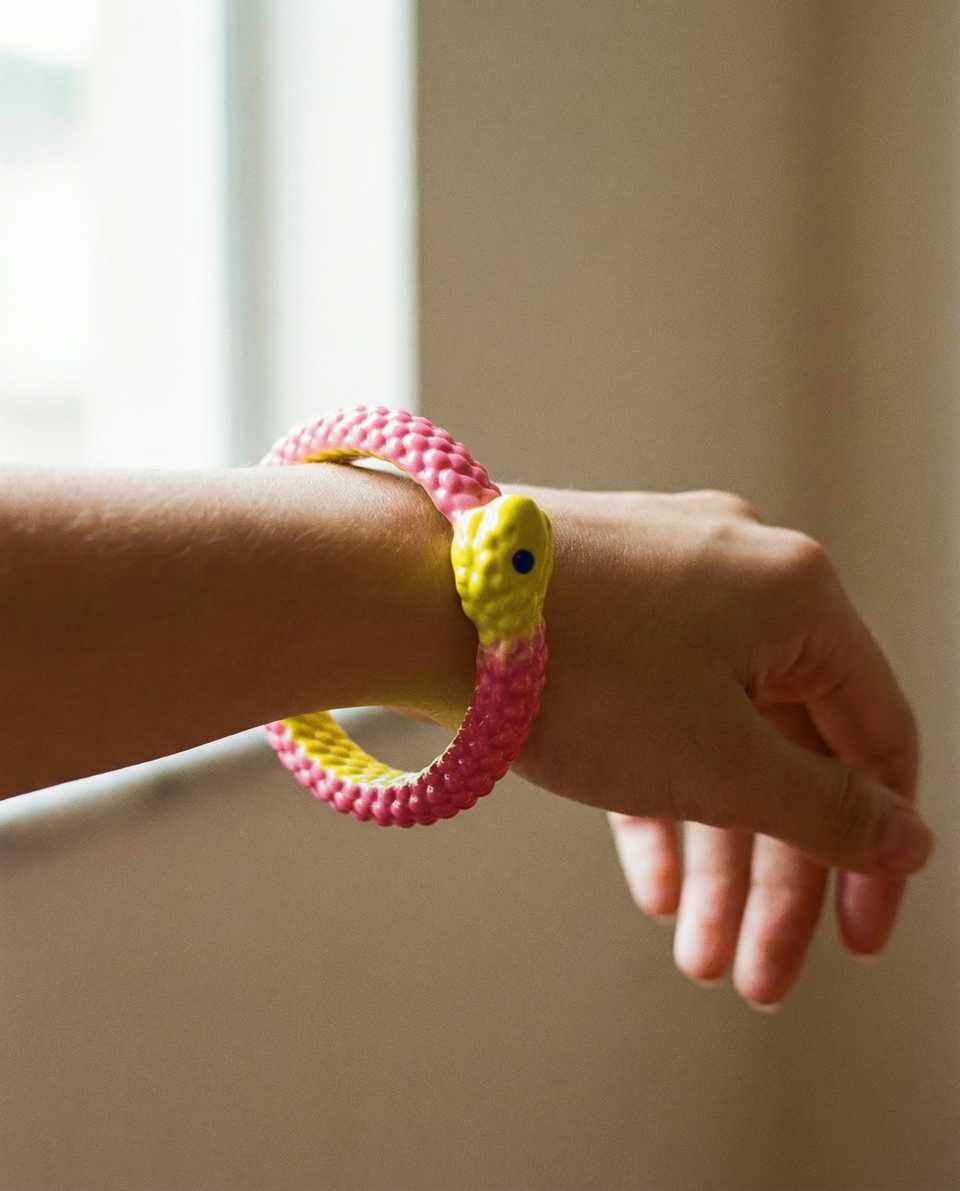
Polymer Clay Snake Bangles: Size, Sculpt, Texture
This kind of bracelet is easier to size and refine cleanly when the wrist curve is set before the snake detail goes on. This guide shows how to form the circle first, then sculpt the head, belly, and scale pattern with less chance of distorting the intended bracelet fit.

In brief
Key takeaways
- 1Size the bracelet on a curved support (a jar, a wrist mandrel) before you add scale texture. Working a soft coil free-hand is what makes the fit drift
- 2Keep the inner curve smoother than the outer detail zones. Let the outside carry the scales, belly line, and head detail
- 3Press scale texture only after the coil and head feel stable. Texturing a soft coil distorts the bangle ring
- 4Test any added gloss on a baked sample. A flooded scale pattern reads as a smooth tube, not a snake
Measure the actual wearer's hand in the position used to put on a closed bangle, then make a non-clay sizing loop and one clay sample before you add detailed texture.
Set The Intended Opening First
Use the wearer's measurement to make a paper or flexible sizing loop. It is a design aid, not proof of cured fit, comfort, or durability. Do not substitute one common adult circumference for the person who will wear the piece.
Build One Circle Sample
- Form the circle from the measured mockup.
- Add the head and tail after the opening is set.
- Check the raw silhouette before pressing texture.
- Keep the build order and proportions as notes for this sample.
Press Texture Consistently
Use firm, consistent force with a stamp or texture tool used according to its instructions. Test the mark on scrap before working around the curve. Mesh, carved lines, and individual scales are visual choices, not durability rankings.
Keep The Seam Product-Specific
Do not rely on a universal overlap, pressure, or liquid-clay formula. If you use a bakeable adhesive, follow its exact directions and test the seam separately before relying on the finished bangle.
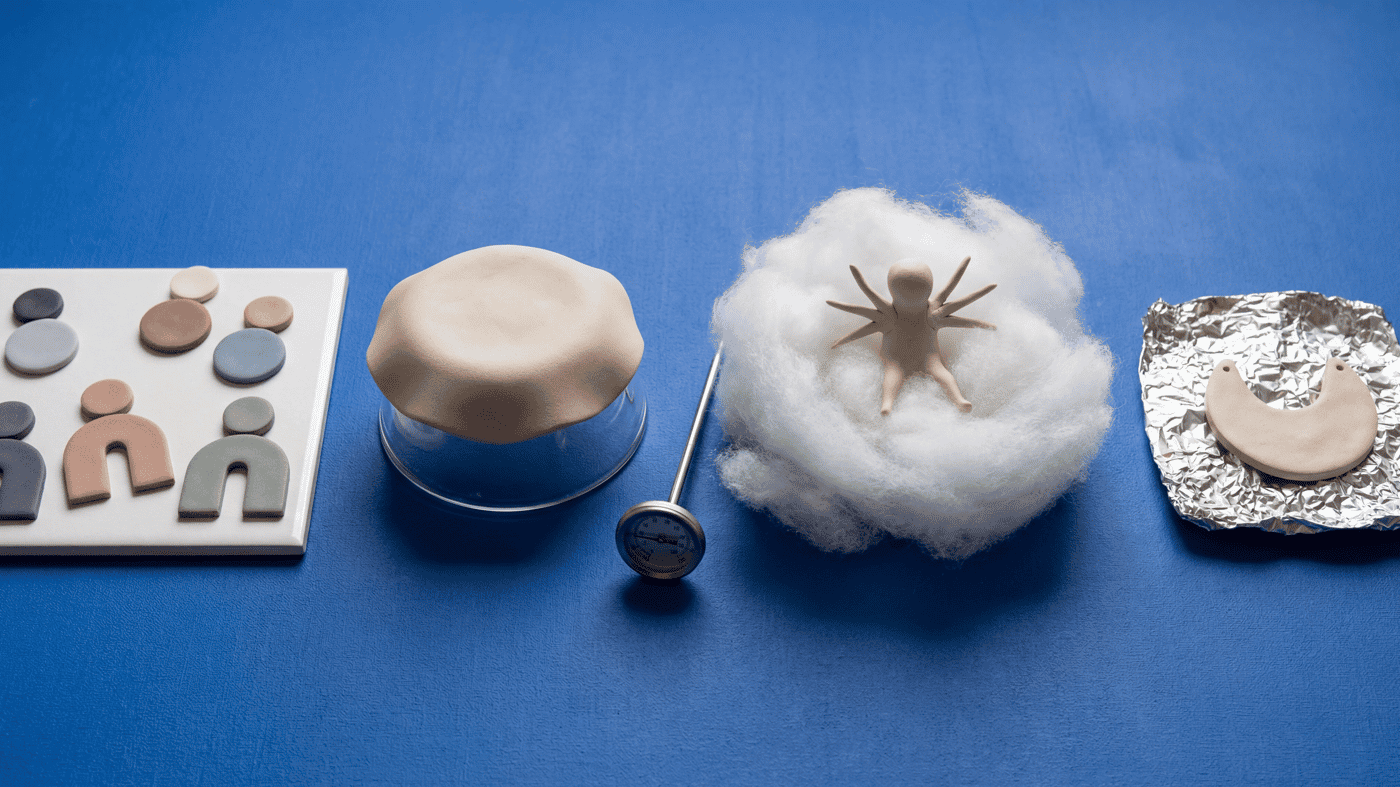
Support The Curve During Cure
Use an oven-safe material such as shaped foil when it fits the exact form and clay directions. Follow the package time and temperature, verify the baking area with an oven thermometer, and let the sample cool before removing the support.
Check The Whole Material Stack
Follow the exact product directions for any paint, glaze, or finish, and test it on cured textured scrap. Do not promise that a topcoat will preserve texture or make the bracelet durable.
Record the measurement method, clay line, support, texture tool, package directions, oven reading, and cooled observation before you repeat the setup.
Supplies
Supplies mentioned here
Quick links to the materials and tools that fit this article. ClayBake tools stay on our own catalog.
Sculpey dual-end detail tools (flexible tips + ball ends)
Good for refining the head, smoothing seam transitions, and nudging the belly line without flattening the bracelet.
ClayBake texture rollers
Good for repeating a surface impression cleanly once the intended bracelet fit has been checked.
More guides in this path
Open these when the next decision is material choice, attachment, or finishing.
Polymer Clay Assembly: Build Order and Join Planning
Stabilize thickness and support before cure. Follow package directions, verify oven temperature, and support raised or extended portions during baking.
How to Support Polymer Clay During Bake by Shape
Match a documented tile, glass, shaped support, armature, or lightweight core to the part that must stay flat, curved, raised, or aligned.

Polymer Clay Pendant Holes, Bails, and Jump Ring Placement
Pendants hang crooked or the hole tears through the top edge because the hardware was placed from the side instead of the visual center. Mark the real balance line, leave enough clay margin, and choose drilled hole, bail, or short jump ring from the finished front view.
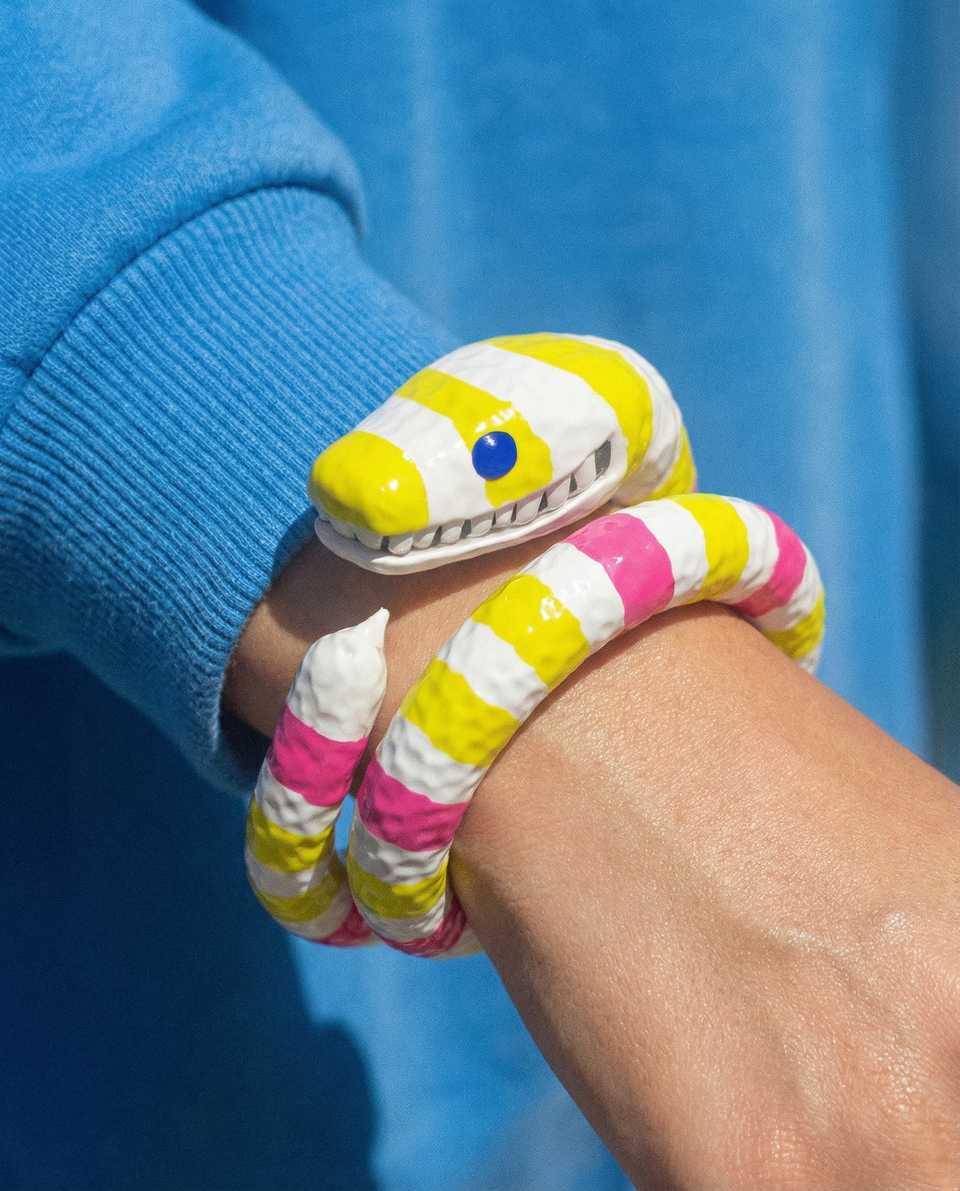
Finished examples with related clay decisions
Each piece shows how a material, attachment, or surface choice changes the final form.