Polymer Clay Miniature Food Charms: Bowls, Fish, and Tiny Toppings
Miniature food pieces usually look clearer when the base shape, topping scale, and hardware choice are planned before the details go on. This guide covers shallow bowls, flat fish charms, noodle coils, egg slices, and keeping small food builds lighter.

In brief
Key takeaways
- 1Build the base silhouette first. A clean bowl or fish shape carries the piece; toppings cannot rescue a wonky base
- 2Shallow bowls and flat charms stay lighter on the ear and read clearer at scale than deep, bulky miniature food builds
- 3Scale noodle coils, egg slices, fins, and other toppings to the front view, not the side view. What looks balanced from above can read crowded face-on
- 4Pick miniature-food studs or hooks based on front view, finished weight, and a hang test. Default earring posts often disappear on a charm-style design
Treat each miniature-food motif as a decorative visual study. Record one exact base silhouette, visible layer order, dimensions, intended hardware plan, and package bake.
Keep The Use Decorative
These clay pieces are not food. Follow Sculpey's stated food-contact boundary and do not imply that a miniature bowl, fish, topping, or charm is suitable for food or drink contact.
Record One Small Build
Write down the clay line, colors, silhouette, visible layers, dimensions, tools, and intended hardware. The order is a design plan for the sample, not a claim about realism, strength, or durability.
Keep Hardware Separate
Verify the exact finding, dimensions, material, finish, and attachment instructions. Do not infer hole strength, balance, or wearability from the clay shape alone.
Bake And Inspect
Follow the exact clay package with an oven thermometer in the baking area. Let the sample cool, photograph it, and change one recorded variable before another test.
Do not publish universal depth, weight, finish, hardware, or durability rules from one decorative miniature sample.
Supplies
Supplies mentioned here
Quick links to the materials and tools that fit this article. ClayBake tools stay on our own catalog.
Round clay cutter set
Good for decorative bowl-inspired bases, plate-like stud fronts, and small disc-based miniature food charms. Not for food-contact dishes or serving pieces.
Needle tool set
A small-point tool can score noodle paths, mark fish texture, and place tiny toppings with less fingertip pressure.
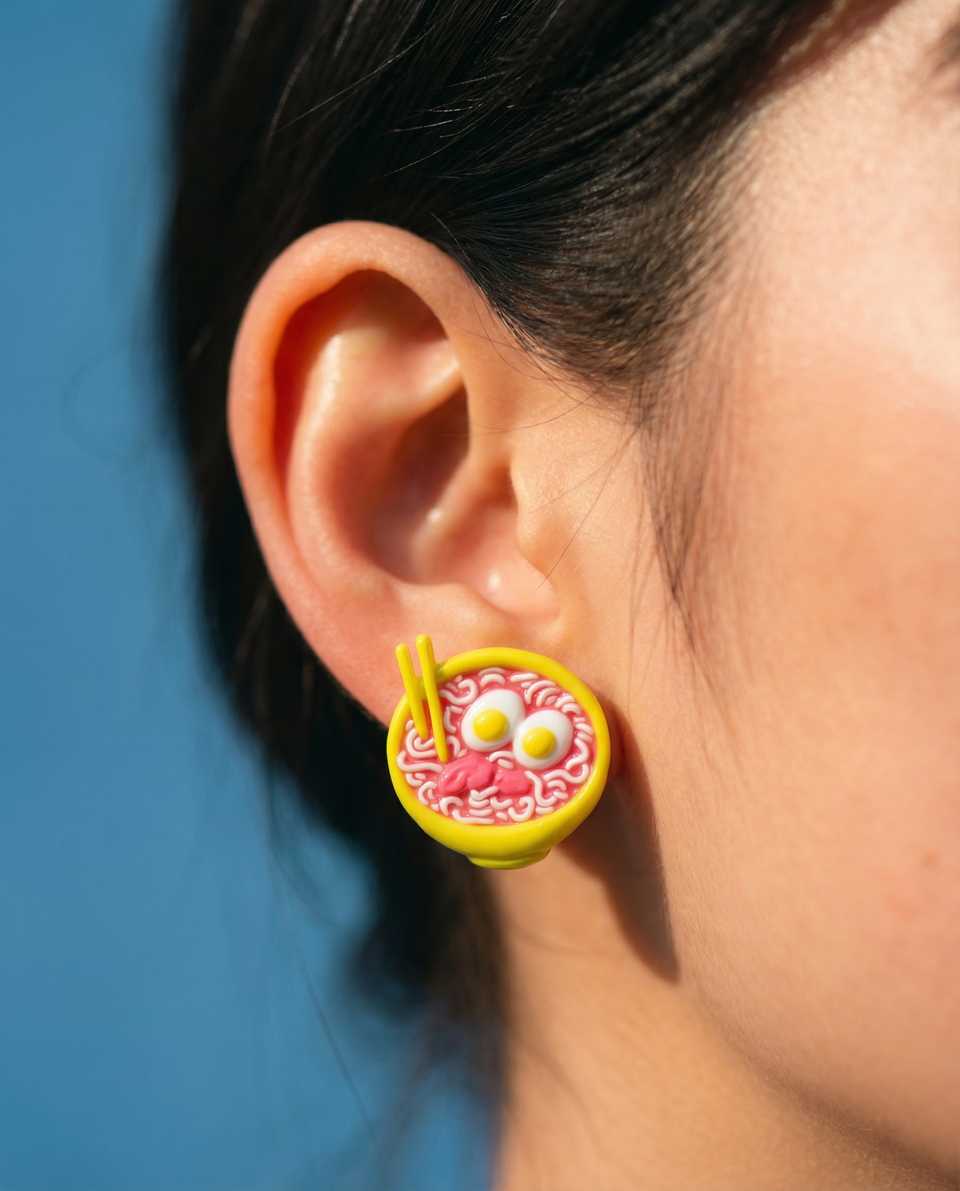
Flat pad stud posts
Use for stud versions only when the baked and cooled piece has a flat back area that fits the pad. Check pad width, what the post is made from, adhesive label, and backing tension.
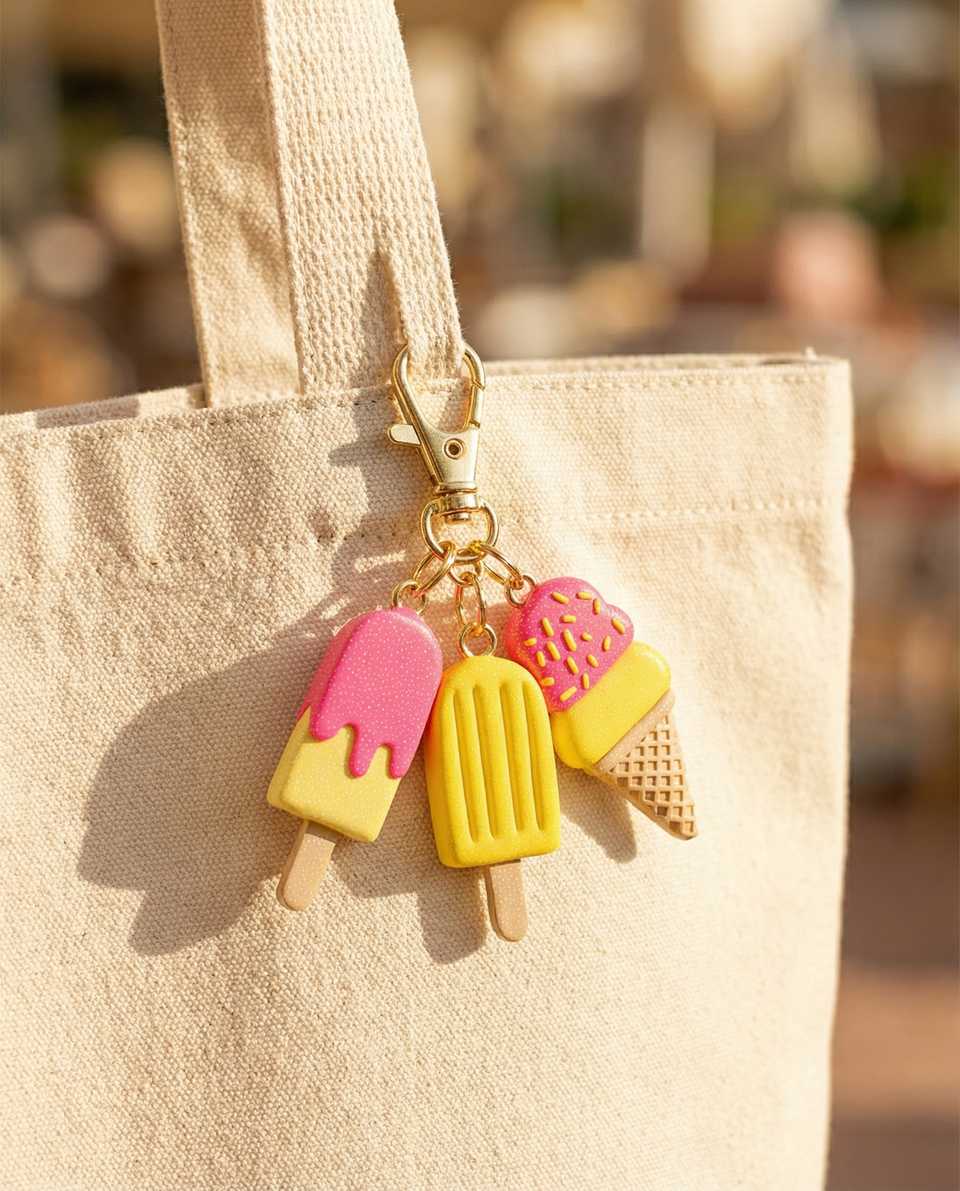
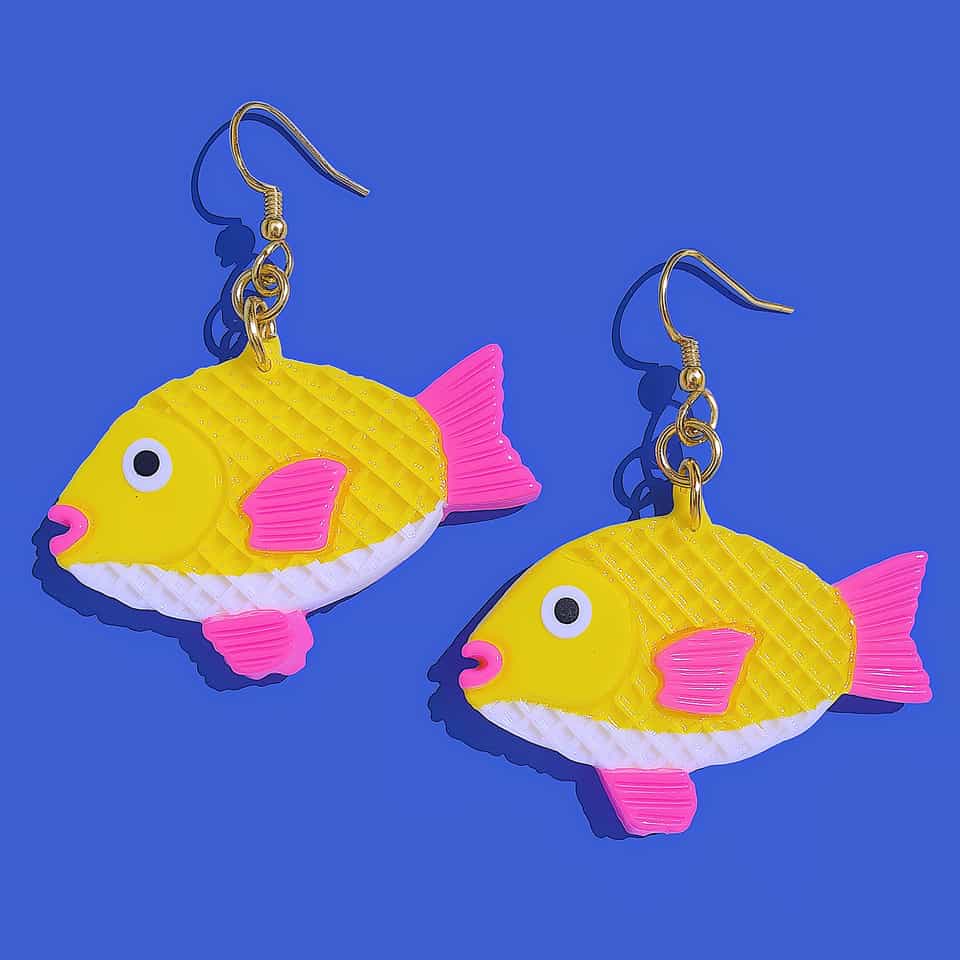
Stainless steel fish-hook findings
Use hooks only when the charm has a supported top hole or connector area and hangs cleanly. Check what the hook is made from, finish, size, and finished weight.
More guides in this path
Open these when the next decision is material choice, attachment, or finishing.
Polymer Clay Assembly: Build Order and Join Planning
Stabilize thickness and support before cure. Follow package directions, verify oven temperature, and support raised or extended portions during baking.

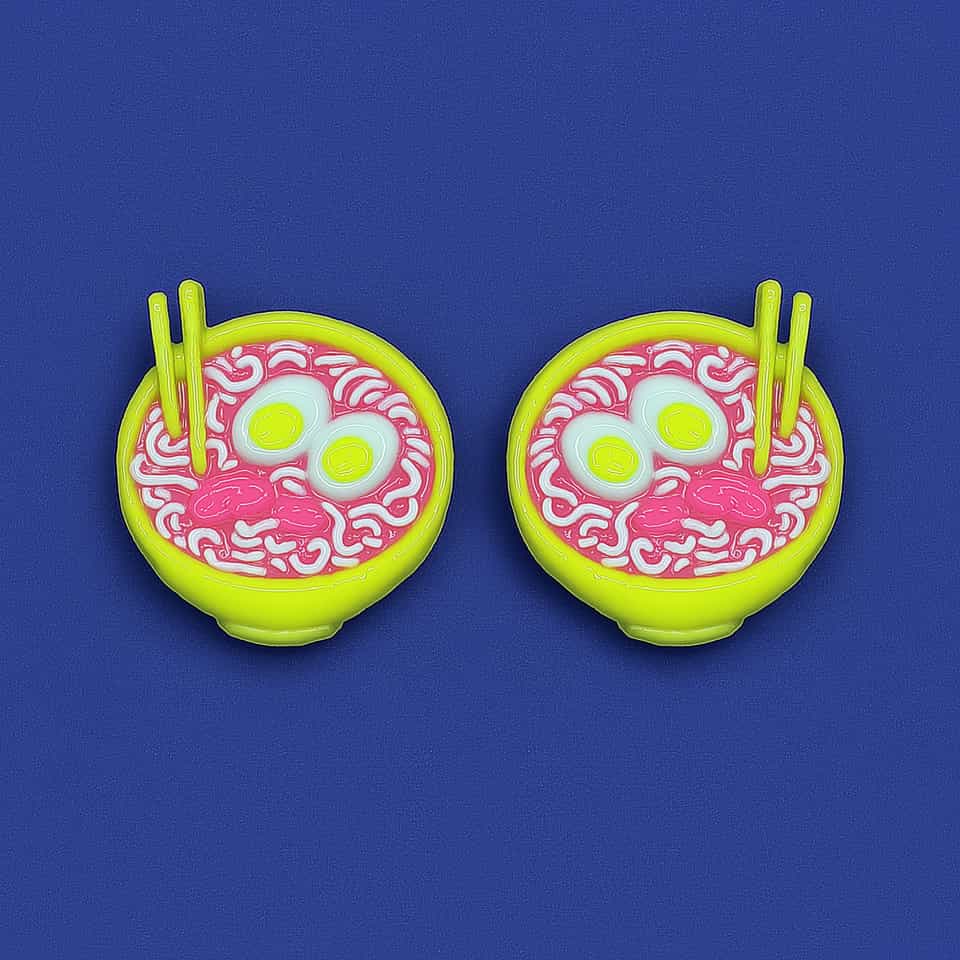
How to Make Polymer Clay Ramen Charms (Broth and Noodle Build)
Tiny ramen bowls, pho studs, and udon charms look cleaner when the bowl, broth disc, and noodles are built as three deliberate layers. This guide covers the build order, broth disc thickness, and how to seat noodles without cracking the rim.
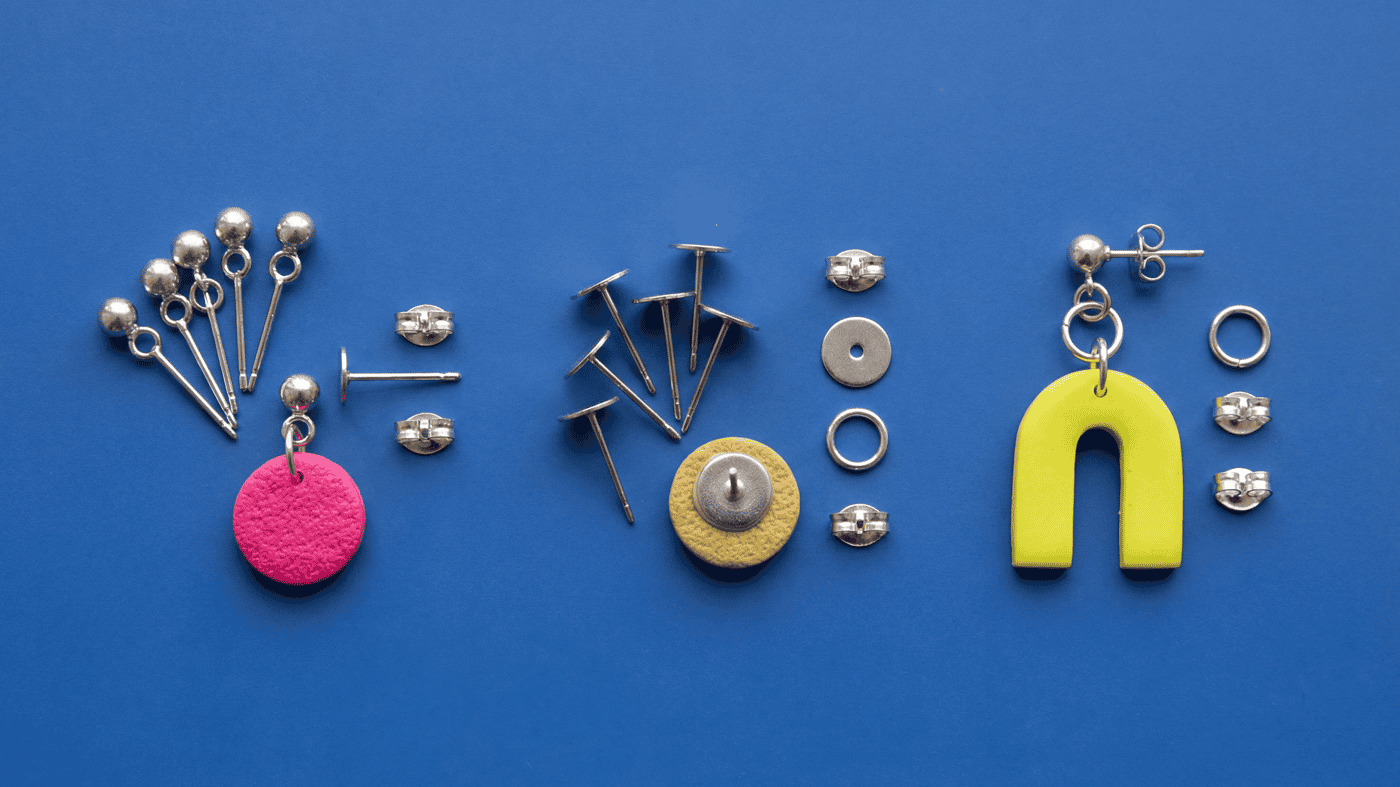
Polymer Clay Stud Toppers, Flat Pads, and Connector Rings
Choose the top connection from the front view first, then keep the attachment short and balanced. Compare visible loop-tops, flat pads, short ring paths, and balance-line marks on a sample before you make the final pair.
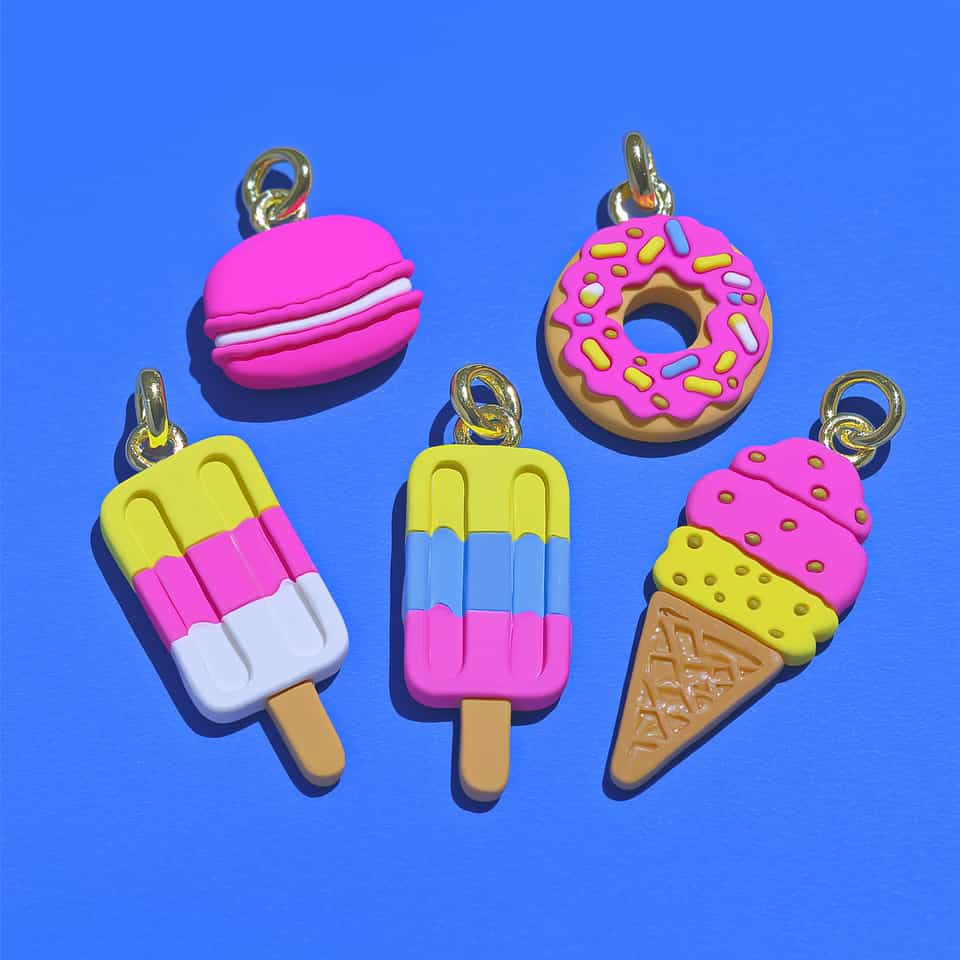
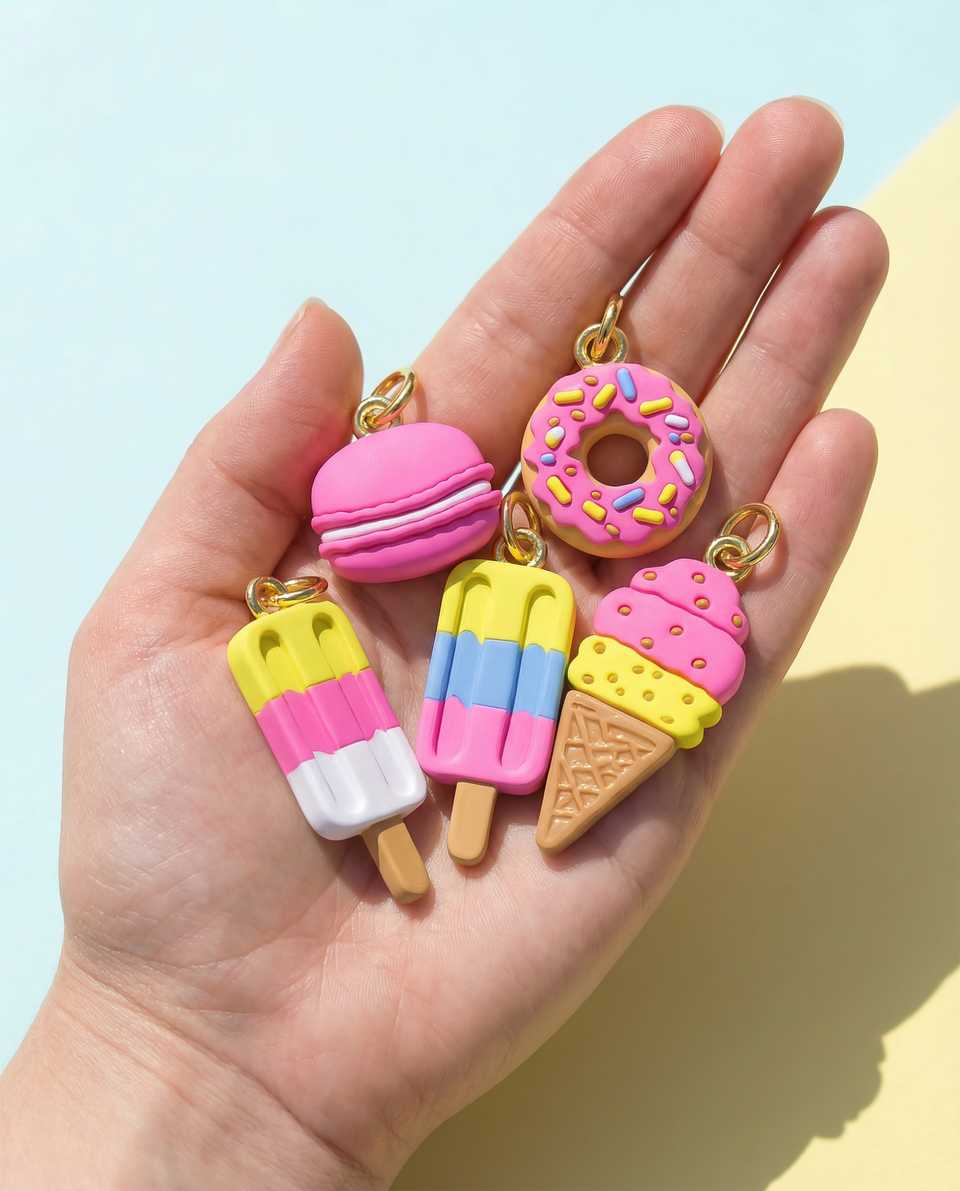
Finished examples with related clay decisions
Each piece shows how a material, attachment, or surface choice changes the final form.