1
Step
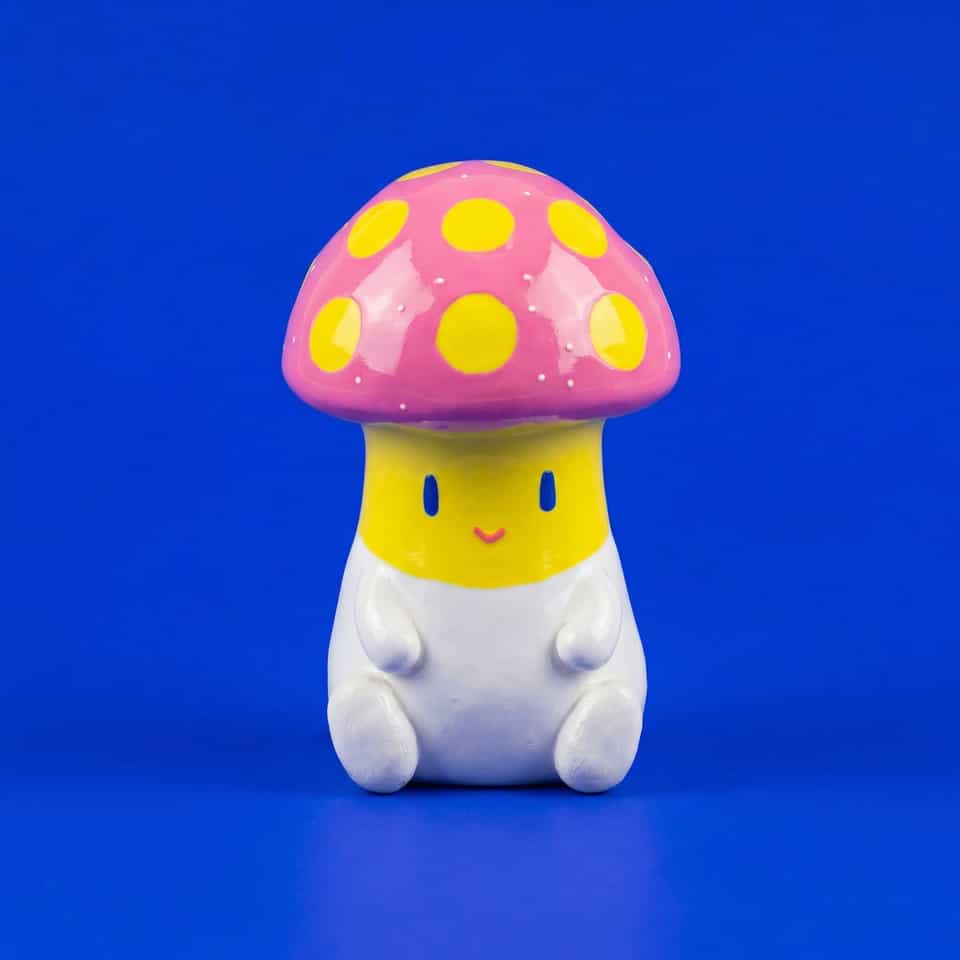
Condition pale blue clay for the stem and pink clay for the cap. Shape the stem into a thick cylinder with a flat bottom so it stands securely, and shape the pink clay into a smooth, rounded dome.
2
Step
Roll out thin sheets of yellow and black clay. Dust a grid template or blade with cornstarch to act as a release agent, then carefully cut out the pixelated stair-step shapes for the spots, cheek crosses, and mouth, along with two small oval eyes.
3
Step
Wipe the back of the yellow pixel spots with a damp cotton swab to remove any cornstarch residue. Position them onto the pink dome, pressing gently from the center outward to bond them to the curved surface without losing their sharp edges.
4
Step
Clean the face area on the stem with a damp cotton swab. Carefully arrange the black eyes, yellow cheek crosses, and pixelated mouth onto the front of the stem, pressing them flat to secure the raw clay bond.
5
Step
Join the cap to the stem by wiping the contact points with a damp swab and pressing them together. Bake the figurine on a ceramic tile, supporting any overhanging edges with crumpled foil or batting, and let it cool completely.
6
Step
Apply a glossy, protective coat of water-based polyurethane or UV resin to the cap to give it a high-shine finish, leaving the stem matte for a nice texture contrast. Avoid solvent-based varnishes or aerosol sprays, which will make the clay sticky.