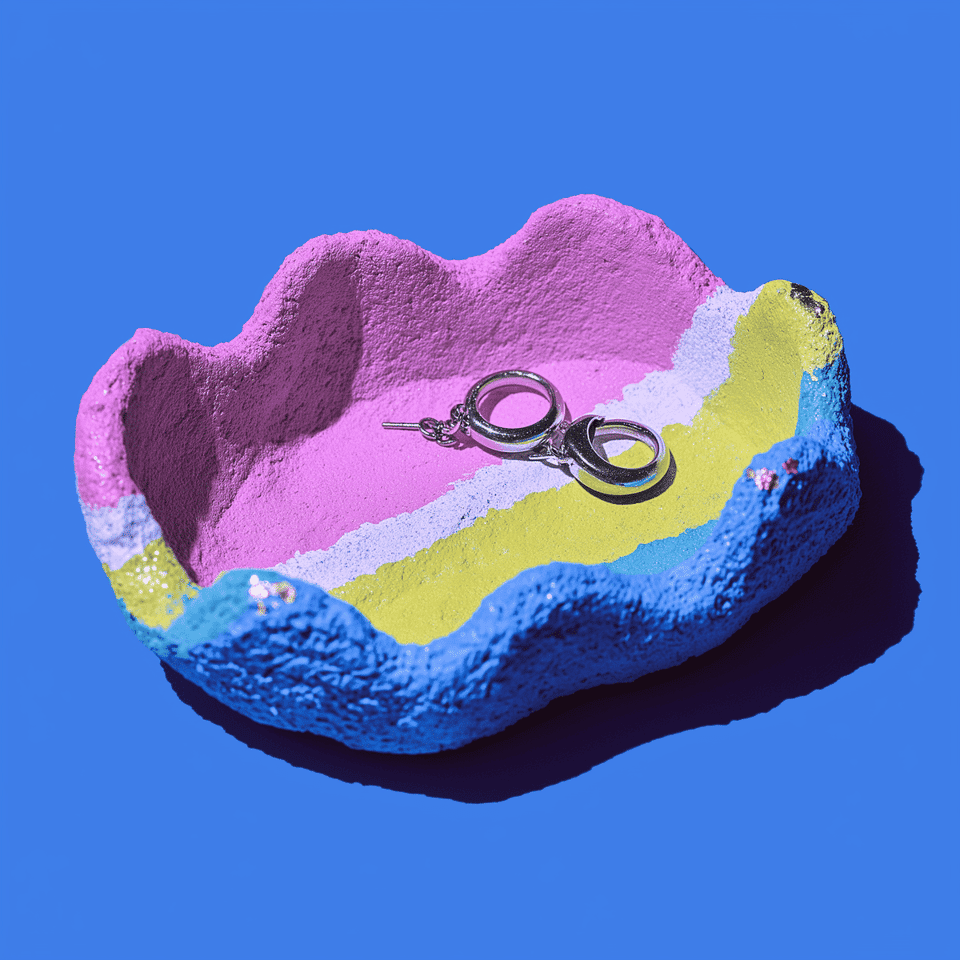
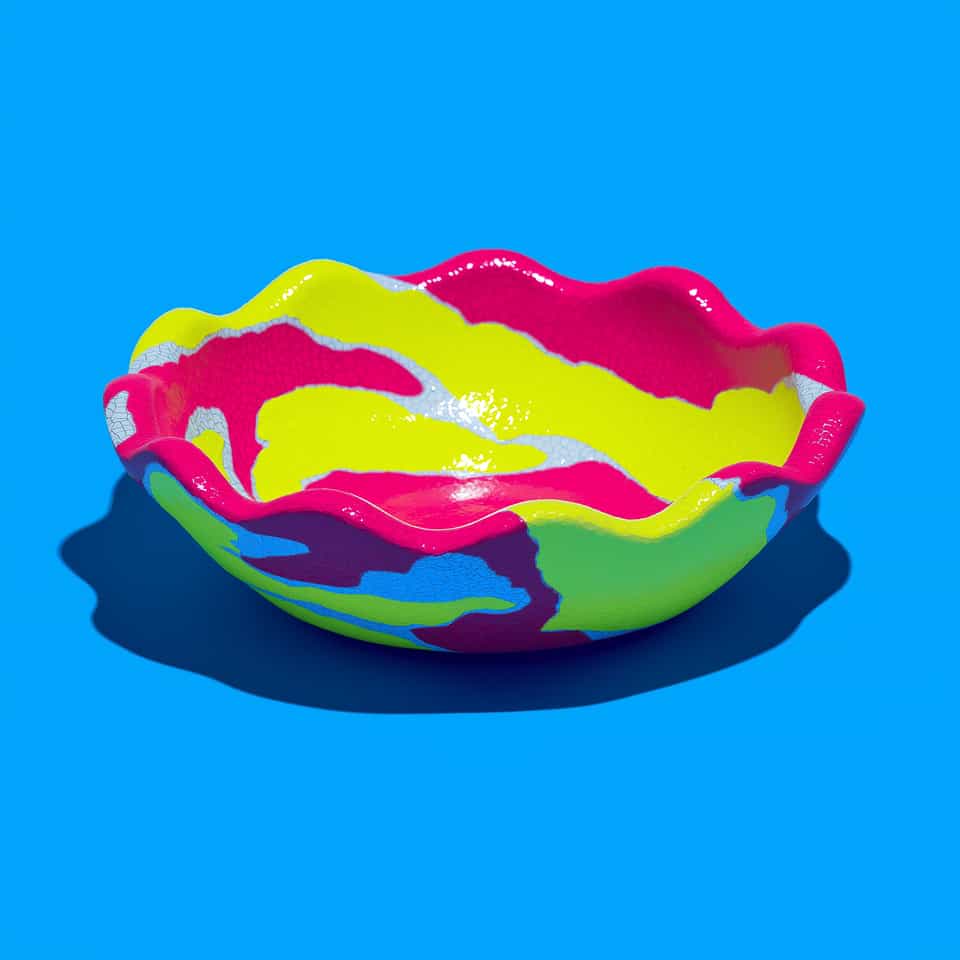
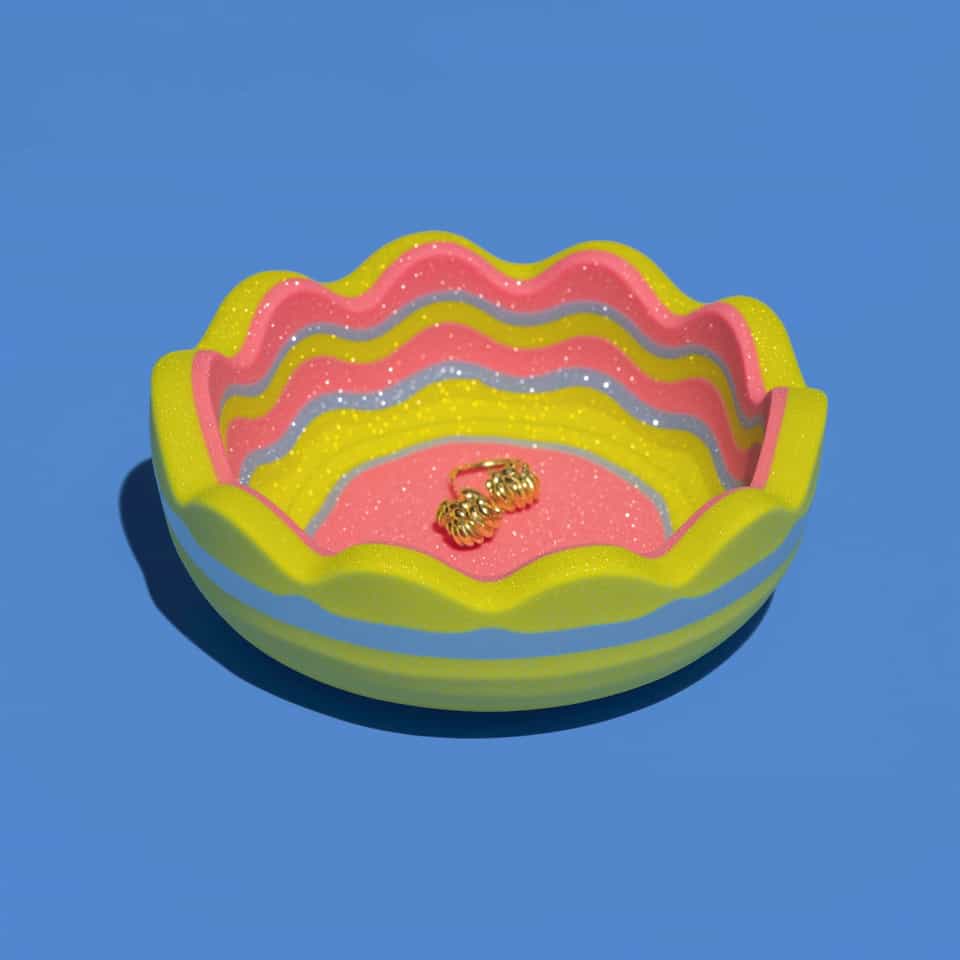
Polymer Clay Trinket Dishes, Forms, and Rims
Use a documented trinket-dish project as the starting point, verify the form and package bake, and keep the result decorative unless the maker supports another use.
Some links on this page are affiliate links. If you buy through them, we may earn a commission at no extra cost to you. As an Amazon Associate I earn from qualifying purchases. Disclosures

In brief
Key takeaways
- Roll an even slab first. Wall thickness problems start before the slab ever drapes onto the form, not after
- Drape over a shallow bowl or form for most decorative catchalls, then add scallops or rim details once the curve is set
- Keep the dish supported during the bake. Crumpled foil, tissue, glass bowls, fiberfill, wire supports, and dowels all work as under-clay supports that keep a piece in place while it cures
- Keep polymer clay dishes for rings, studs, keys, and small keepsakes. Treat them as non-food-contact unless your clay and finish manufacturer explicitly supports food use, and test any finish on a baked sample first
Article contentsOpenClose
Start from a documented trinket-dish project, then keep every change tied to one recorded sample. Sculpey documents an even slab, a shallow bowl form, and baking on the form in its cited project.
Prepare One Even Slab
Use the acrylic roller only within the maker's clay-sheet guidance. If you use printable height rails, measure both printed rails with calipers and test them on clay before using the result to compare samples.
Verify The Exact Form
Sculpey's cited project uses a shallow bowl form. Before baking on this small glass form, verify its current material, dimensions, and oven-safe instructions. Keep it dedicated to clay work when the clay maker calls for that boundary.
Follow The Exact Package
Use the time and temperature on the exact clay package and verify the baking area with an oven thermometer. Keep the sample on the form only when the project and form instructions support that use.
Test Rim And Finish Changes Separately
Record the form, slab measurement, rim sequence, package bake, and finish. Change one of those variables before another sample. Sculpey notes that glaze can accentuate imperfections, so compare bare and finished samples before repeating the finish.
Keep The Use Boundary Clear
Treat the result as a decorative trinket dish. Do not claim food, washing, or water suitability unless the exact clay and finish makers document that complete use.
Place the cooled dish on a flat surface and check whether it rocks. Compare the rim height and thickness around the edge, then keep the form and measurements if you want to make another dish the same size.
Supplies
Supplies mentioned here
Quick links to the materials and tools that fit this article. ClayBake tools stay on our own catalog.
Acrylic roller for polymer clay
Sculpey documents an acrylic roller for clay sheets. Verify the exact tool and record the sample thickness before shaping.
Slab height guide kit
Use only as an internal measurement aid until print scale and roller fit are validated. It does not promise a finished wall thickness.
Pyrex 6 oz glass custard cups (set of 4)
Supports a shallow curve while you shape and bake the dish; Sculpey confirms glass and metal baking surfaces work for clay. Verify the exact material is oven-safe for repeated clay use and keep it dedicated to clay work.
More guides in this path
Open these when the next decision is material choice, attachment, or finishing.
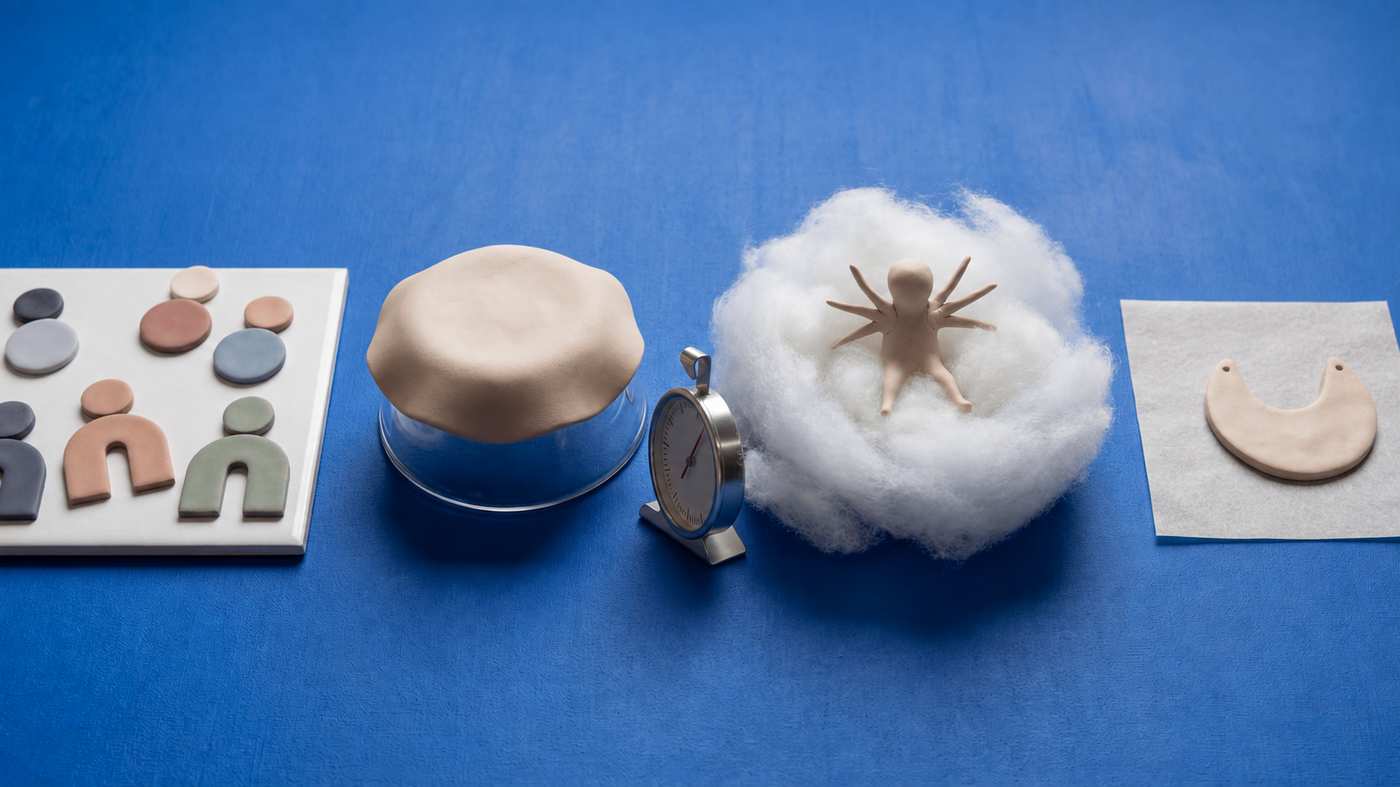
What to bake polymer clay on: tile, card and supports for flat, folded and large pieces
Bake flat pieces on a glossy tile and move them onto plain card only for a matte back. Hold curves, limbs and overhangs with fiberfill, crumpled foil or an oven-safe glass form, bake round beads on skewers, and leave everything on its support until it feels cool.
Polymer Clay for Beginners: Clay, Tools, and a First Test Piece
Choose one clay line, use three basic tools, and make a small package-directed test piece before adding more supplies.
Sanding and Buffing Polymer Clay: Pressure and When to Stop
Smooth rough edges on baked clay with wet/dry paper and water. Support small details, remove the scratches from each grit, then hand-buff for a soft sheen.
Finished examples with related clay decisions
Each piece shows how a material, attachment, or surface choice changes the final form.