In brief
Key takeaways
- 1Diagnose the crack pattern first: surface lines, structural breaks, or brittle whole-piece failure each point to different causes
- 2Under-baking is the most common cause. Verify oven temperature with a thermometer at tray height and follow package directions for the clay line
- 3Condition until a folded slab bends without surface cracking on the outside curve. Light conditioning leaves stress lines that crack later
- 4Match the clay line to the project. Firmer lines like Premo, FIMO Professional, or Kato hold thin earrings better than softer lines
You opened the oven and there was a hairline crack across the figurine's belly. Or the earring snapped at the post when you tried to add a jump ring. Cracking is one of the most common polymer clay problems, and it almost always traces to a short list of causes you can diagnose in a few minutes.
The fix depends on where the crack sits and when it appeared. A surface line on a fresh bake is a different problem than a clean break on a piece that survived a bake but failed during finishing. Diagnose first, then change the most likely variable deliberately instead of rebuilding the whole setup at once.
Quick diagnosis: where is the crack?
Three patterns cover most cracking. Identify which one you are looking at before you reach for a fix.
- Surface cracks: shallow lines on the outer face, often where the slab was folded or where a thin section meets a thick one. Usually a conditioning or thickness problem.
- Structural cracks: a clean break or split across an arm, neck, or thin connector. Usually under-baking, unsupported overhangs, or thermal shock.
- Brittle whole-piece failure: the cooled piece chips or crumbles when you press it. Usually under-baking or old or contaminated clay.
Once you know which pattern is in front of you, the most likely cause narrows quickly.
The most common causes (in order of likelihood)
1. Under-baked clay (low temp or short time)
This is one of the most common causes of cracking and brittleness. Home ovens often run hot or cold by 25 F or more, and a dial that reads 275 F can deliver something quite different at tray height. If the clay never reaches its proper cure temperature for long enough, the piece will feel finished on the outside but stay weak inside.
Always defer to package directions. Common published settings include 275 F for Sculpey Premo and Souffle, 230 F for FIMO Professional, and 300 F for Kato Polyclay, with bake times often tied to thickness (around 30 minutes per quarter inch is a common starting point for many Sculpey lines). The baking chart by brand lays out the per-line temperature and time so you are not guessing across clay lines. Use a tray-height oven thermometer to verify the actual temperature, and lean toward longer bake times rather than higher heat.
2. Insufficient conditioning
Conditioning is not just warming the clay. It works the plasticizer back through the clay and pushes out trapped air, so the clay bends instead of holding hidden stress lines that crack later. Lightly conditioned clay can shape fine on the worktable but cracks during cure or under finishing pressure because those internal stress lines never went away.
A practical conditioning check: roll a sheet, fold it once, and bend the outside curve. If the outer surface cracks, the clay is not conditioned enough. Keep working it through the pasta machine or by hand until that fold survives without surface cracking.
3. Wall thickness: too thin, uneven, or a thick solid mass
Polymer clay tolerates a wide range of thicknesses, but it does not tolerate sudden transitions well. A pendant with a thick center and a very thin rim can crack along the transition because the two zones cure at different rates and carry different stresses after cooling.
For thin earrings, test a consistent slab thickness across the piece and check how it behaves after a full bake and cool. For figurines, thicken or reinforce necks and ankles that connect to a heavy body, or add a wire support before cure. If the design needs a thin connector, reinforce it with wire or a structural insert before cure.
The opposite extreme cracks too: a thick solid mass, much over about a half inch (13 mm), cures from the outside in, so the surface can set or even scorch while the center stays under-cured and stressed, then cracks. Core out anything that thick rather than baking it solid. Crush heavy-duty aluminum foil hard and dense (loose, fluffy foil traps air that expands in the oven and splits the shell), then build a roughly even quarter-inch (6 mm) clay layer over it. Or shape a Super Sculpey UltraLight core, bake it and let it cool completely, and only then add the outer clay, because UltraLight expands slightly as it cures and will crack a layer pressed over a raw or warm core. A core keeps the clay you actually bake to one even, bakeable thickness on a piece that still looks large, which is the most reliable way to stop a thick figurine or bead from cracking.
4. Unsupported overhangs and projections during bake
Soft clay sags during the early phase of a bake before the matrix sets. An arm extended off a figurine, a raised cap on a mushroom, or the rim of a curved dish will all bend or crack if nothing is holding the shape during cure.
Match the support to the shape: a flat tile or glass for flat-backed pieces, a bowl form for curved dishes, polyester fiberfill for soft curves under projecting parts, and shaped heavy-duty aluminum foil or armature wire for taller forms. Match the choice to the part you are holding up rather than buying one support for everything. The full breakdown lives in the support-during-bake guide.
5. Sudden temperature shock (cold draft, water, refrigeration)
Pulling a piece straight from the oven and into a cold draft, running it under water to cool, or moving it into the fridge can shock the cooling matrix and produce hairline cracks. Thicker pieces and pieces with uneven walls are most vulnerable because the surface and interior cool at different rates.
Let baked pieces cool on the bake support at room temperature. Once the piece is cool to the touch, then handle it for finishing or assembly.
6. Wrong clay line for the project
Clay lines are formulated for different jobs. Softer lines are at their best in beads, bulk shapes, and kids' projects where the walls stay thick. For thin earrings and sharp-edged jewelry, reach for a firmer line: Sculpey Premo, FIMO Professional, and Kato Polyclay hold thin walls and sharp edges with fewer cracking issues at small scales.
This is not about one brand being good and another bad. It is about matching the clay line to the load the piece will carry. A statement bead can do well in a softer line, while a very thin dangle may need a firmer clay line, a different bake check, or a different design.
7. Over-stressed cured piece (drilling too aggressively, finishing too hard)
Some cracks appear after the bake during finishing. Drilling a jump ring hole with a high-speed bit can heat the clay and cause stress fractures. Sanding a thin area under heavy pressure can flex the piece past its limit. Buffing at high speed can do the same.
Use a pin vise or a low-speed drill for holes, work through grits at light pressure, and let the piece rest between aggressive steps. If a piece feels warm to the touch during finishing, stop and let it cool.
How to rescue a cracked piece
Not every cracked piece is lost. The best rescue depends on whether the crack is cosmetic or structural.
- Hairline surface crack: press a small amount of matching raw clay or a touch of liquid polymer clay into the crack, smooth it flush, and rebake at the package temperature. A second bake on baked and cooled clay is generally safe.
- Clean break on a thin connector: sand both edges flat, join with liquid polymer clay or a two-part epoxy rated for plastic, and accept that this is a repair rather than a rebuild.
- Brittle whole-piece failure: if the cooled piece chips under light pressure, the bake was too short or too cool. Rebake at the package temperature for the full recommended time. If it still chips after a complete second bake, the clay or the bake conditions need a deeper review.
Heavy paint or sealant can hide small repairs but does not strengthen a structurally weak piece. Fix the cause before you finish.
Preventing cracks on the next project
One pre-flight checklist solves most cracking before it starts.
- Verify oven temperature with a tray-height thermometer before the first bake of the day.
- Condition until a folded slab bends without surface cracking on the outside curve.
- Match the clay line to the project: firmer lines for thin earrings and detailed shapes, softer lines for bulk forms and kids' work.
- Hold wall thickness consistent across the piece, and ease any step between thick and thin zones into a gradual transition.
- Use the right support during bake for the shape: tile, bowl form, fiberfill, foil, or armature.
- Cool the piece fully on its bake support before handling, drilling, or finishing.
- Go gentle on finishing: light pressure on sanding and buffing, and pilot every drill hole.
When the clay itself is the problem
Sometimes the cracking is not a process issue. The clay block is the issue.
Polymer clay has a working life. A block that has been sitting in a hot car for a summer, or that has been opened and exposed to air for many months, can lose flexibility and crack during conditioning. Dry, crumbly clay that resists conditioning is past its best window. Small amounts can be revived with a clay softener or by blending with fresh clay, but for thin or load-bearing parts, fresh clay is the safer choice.
Contamination is another quiet cause. Lint, dust, or particles of cured clay mixed into raw clay create stress points. Condition on a clean surface, wipe hands and tools between colors, and discard small contaminated batches rather than baking them into a piece you care about.
Mixing brands inside one piece can also cause cracking if the cured bodies have different flexibility. A softer center inside a firmer shell can crack at the join because the two materials cool and flex differently. Test a small batch before committing to a full project that mixes lines.
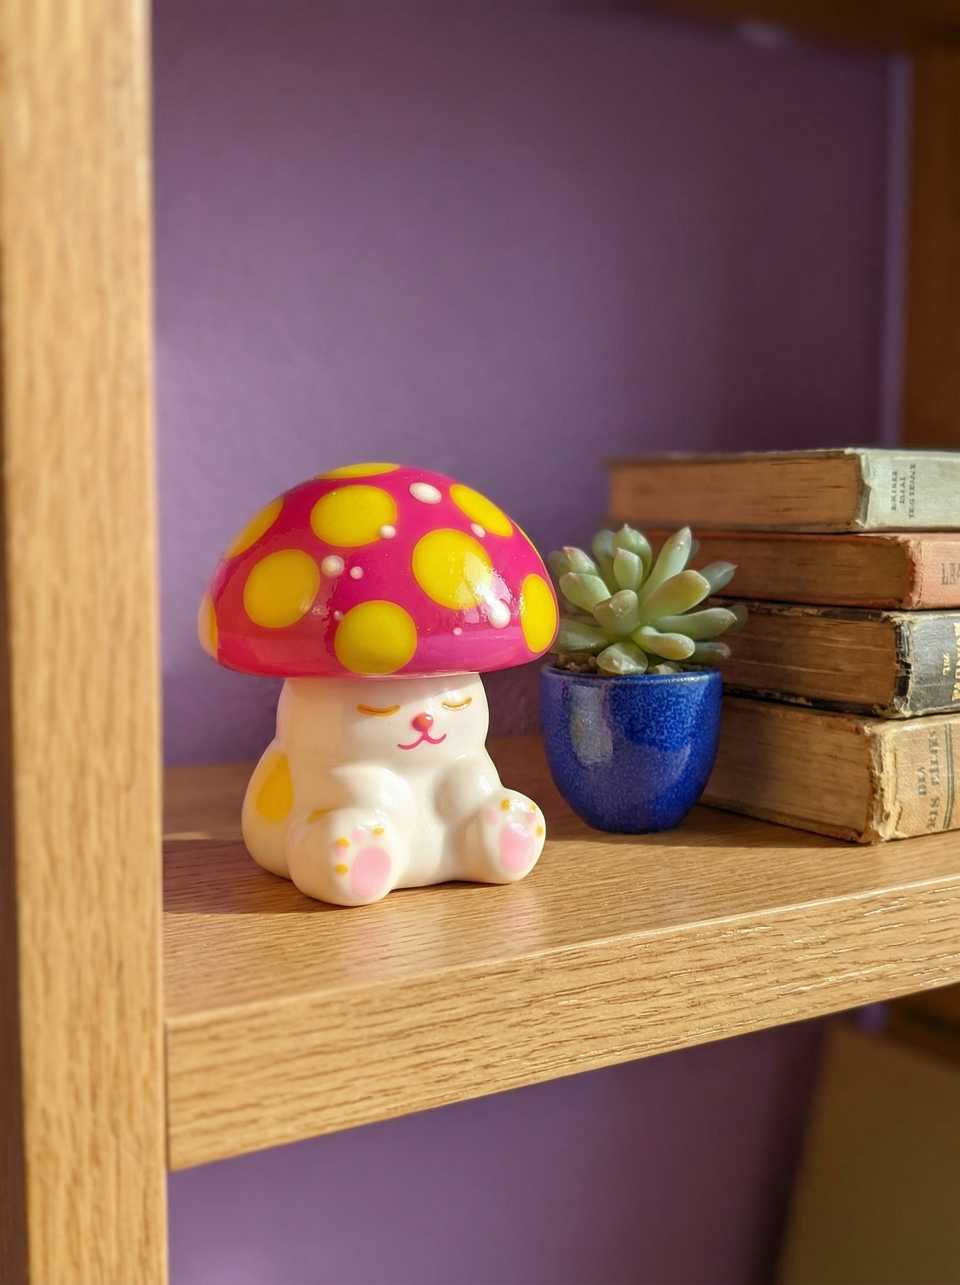
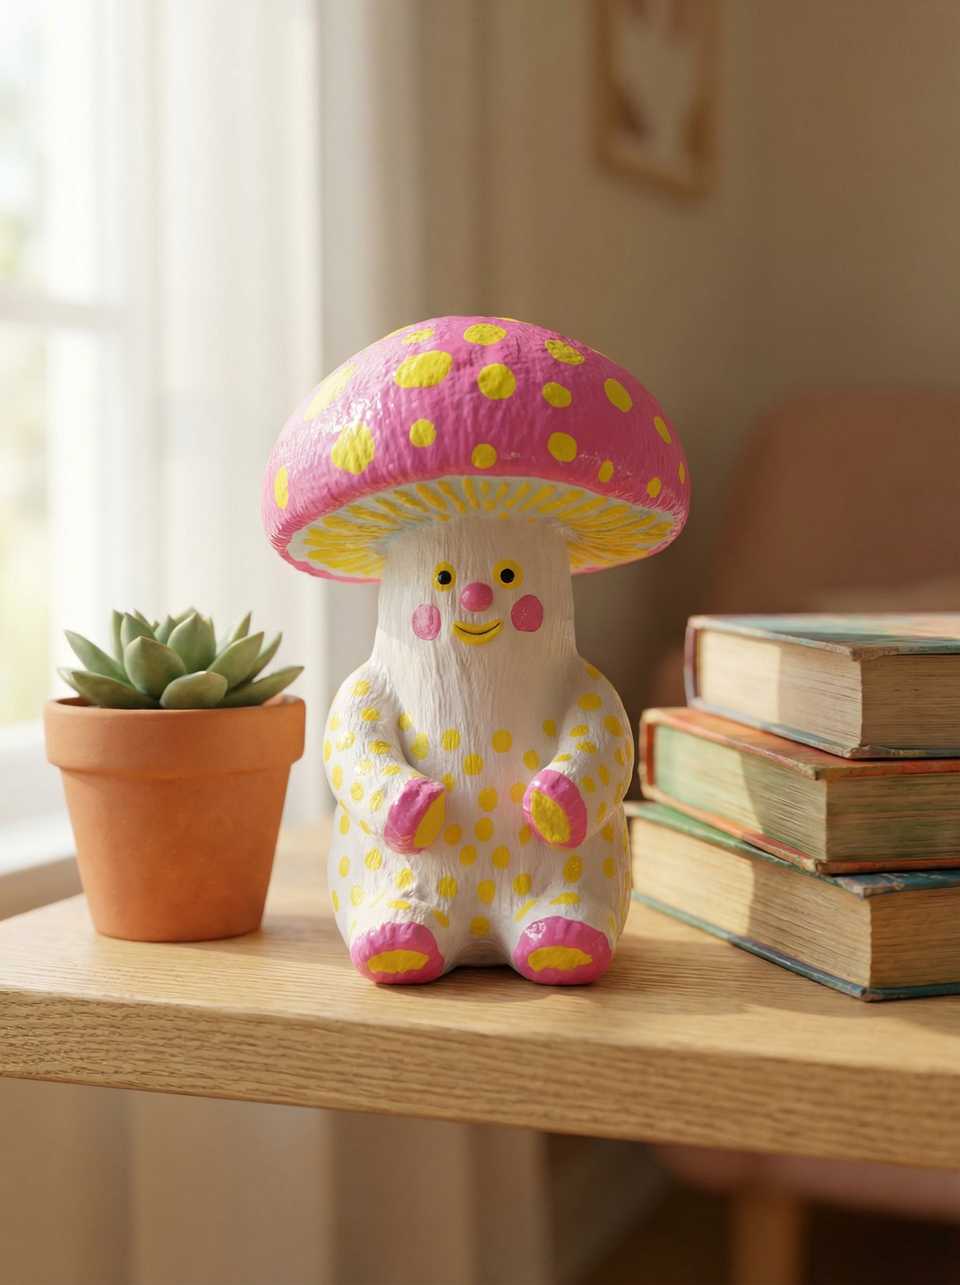
If you are still working out a baseline for tools, oven setup, and clay choice, the polymer clay beginner toolkit covers the core kit. For oven calibration specifically, the oven thermometer guide walks through what to verify. The conditioning guide goes deeper on getting clean slabs and stress-free fold tests, and the support-during-bake guide covers the support choices that prevent overhang cracks. For a figurine where cracking would be most visible, see the build notes on the signal mushroom figure.
More guides in this path
Open these when the next decision is material choice, attachment, or finishing.
Polymer Clay for Beginners: Brands, Tools, First Project (2026)
A beginner primer on clay choice, core tools, a first project, and the mistakes that most often cause early frustration.

Best Polymer Clay Beginner Toolkit (2026): Core Tools To Start With
Start with one clay line, a flat tile, an acrylic roller, a tissue blade, a needle tool, and an oven thermometer. These basics help you roll cleaner slabs, cut neater shapes, and trust the bake before adding specialty tools.
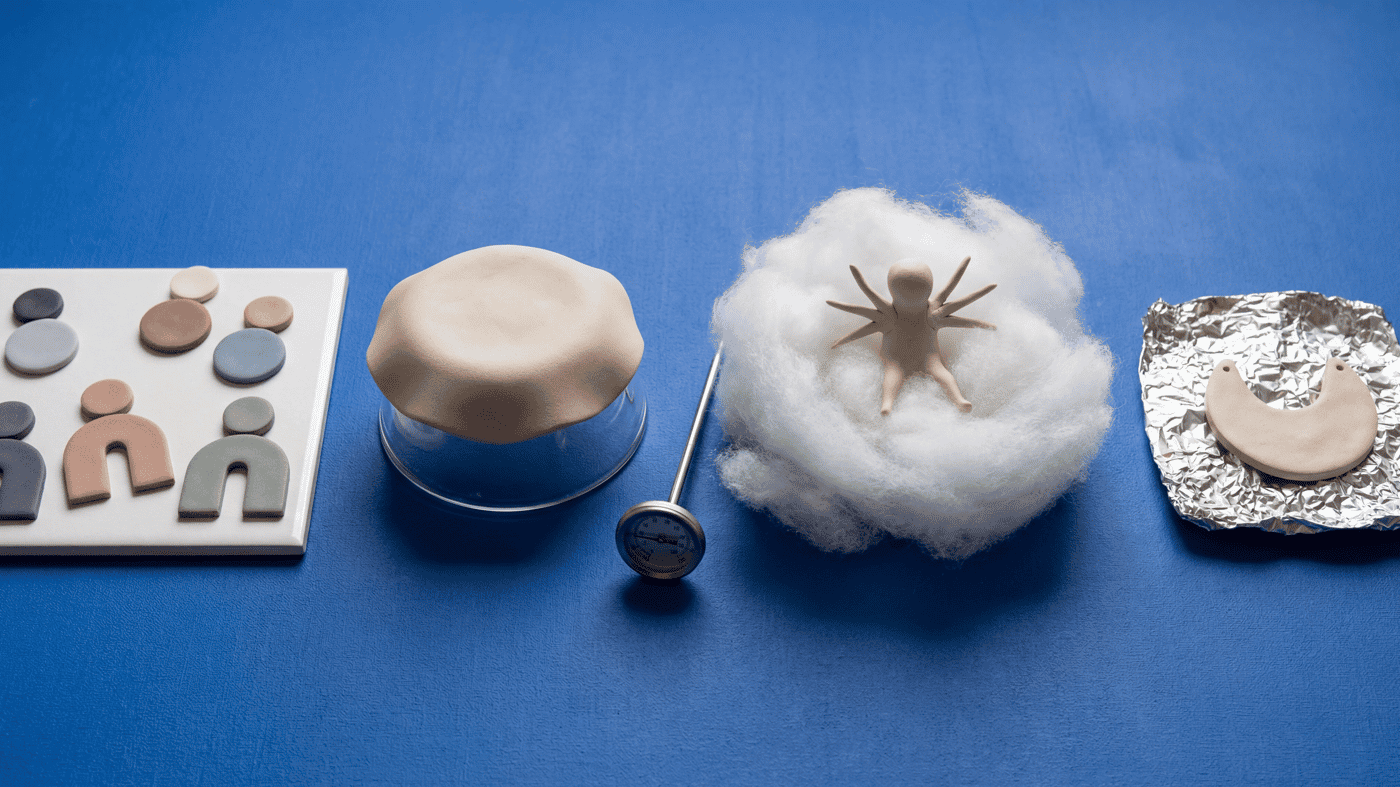
How to Support Polymer Clay During Bake by Shape
Your thin overhang drooped or the hollow body caved because it had no support inside the oven. Compare flat tiles, fiberfill, foil, and armatures by shape before you build another version.
Finished examples with related clay decisions
Each piece shows how a material, attachment, or surface choice changes the final form.