In brief
Key takeaways
- 1Cut the outer arch and the inner opening in the same session while the slab is still plain. Decoration first, holes second is what makes mirrored pairs disagree
- 2Keep wall thickness even all the way around the opening. An uneven ring reads as wonky rather than intentional, even at small scales
- 3Choose between stud toppers and huggies based on the front view of the design, not by default habit
- 4Place the top hole near the intended balance line and hang-test on a real ear wire before locking the hardware setup
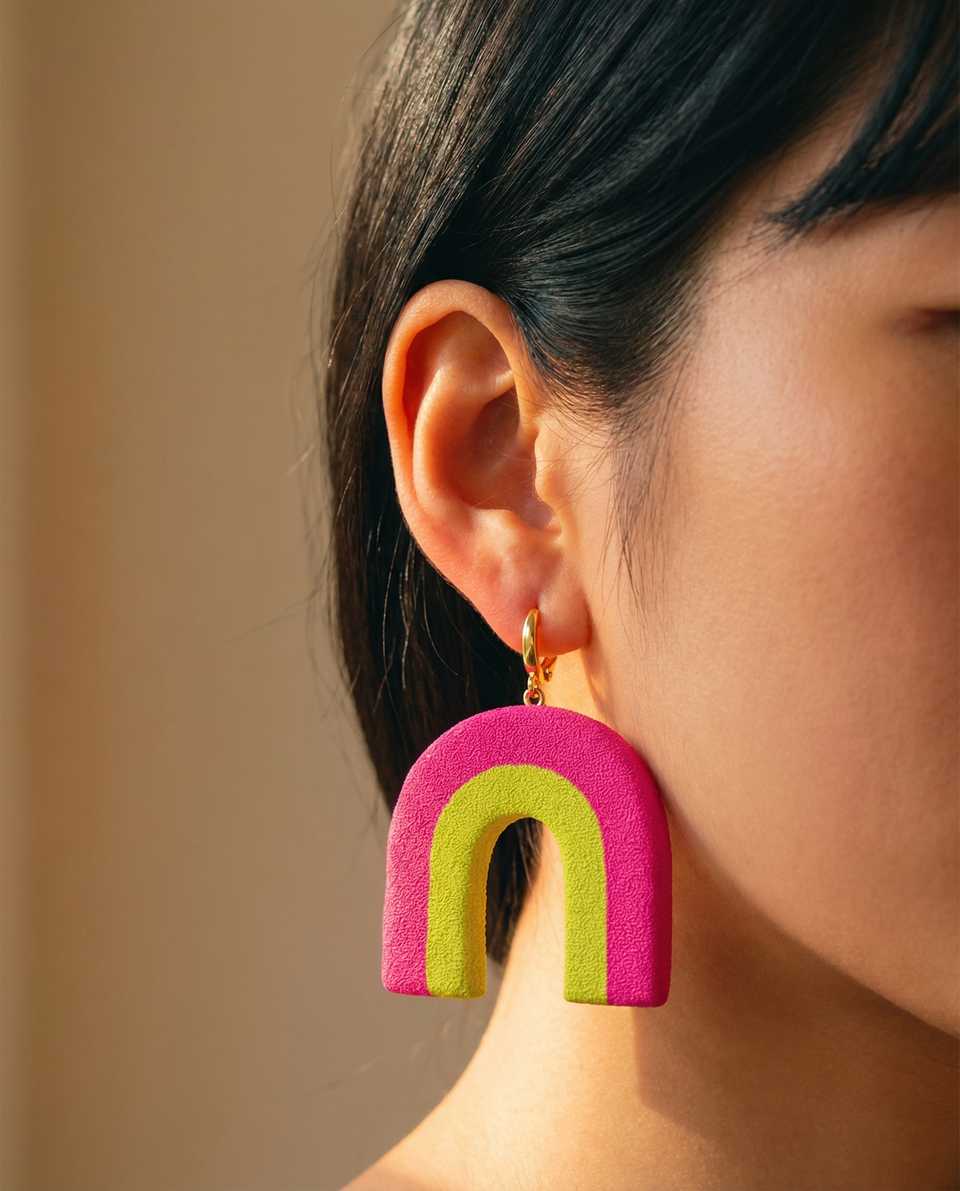
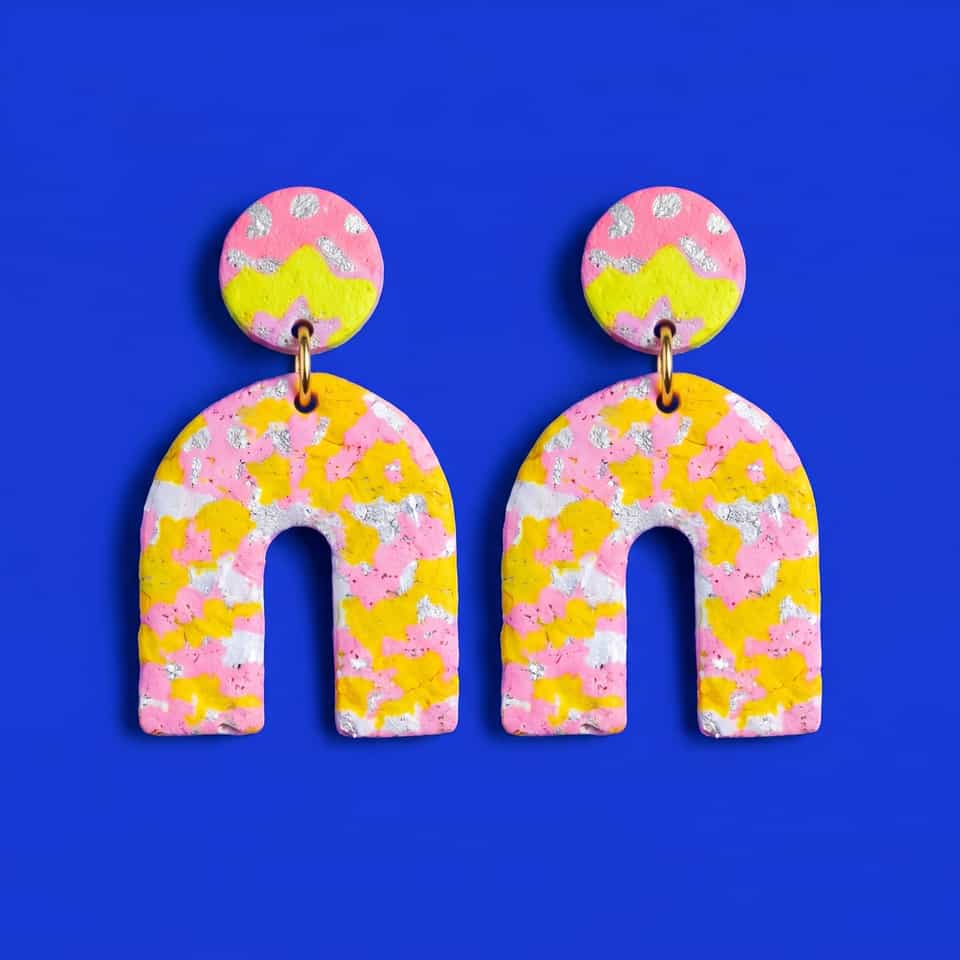
Open-center arches look crisp when the wall around the hole stays the same width the whole way around. When that wall drifts, or the opening sits off-center, or the top hole is pierced where it was easy instead of where the piece should hang, the pair ends up looking a little off even though every step felt right.
More decoration rarely rescues this. A cleaner build order does: even slab first, repeated cutout second, surface detail third, and hardware decisions made from the front view before you bake.
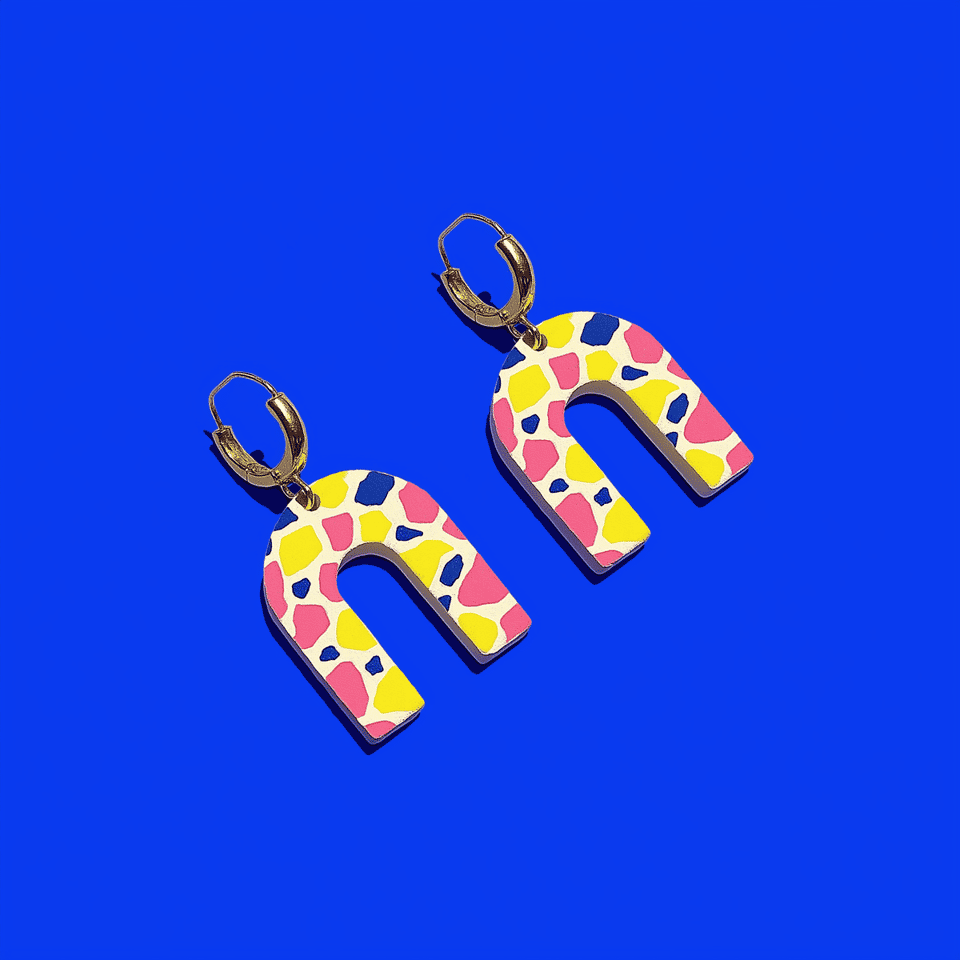
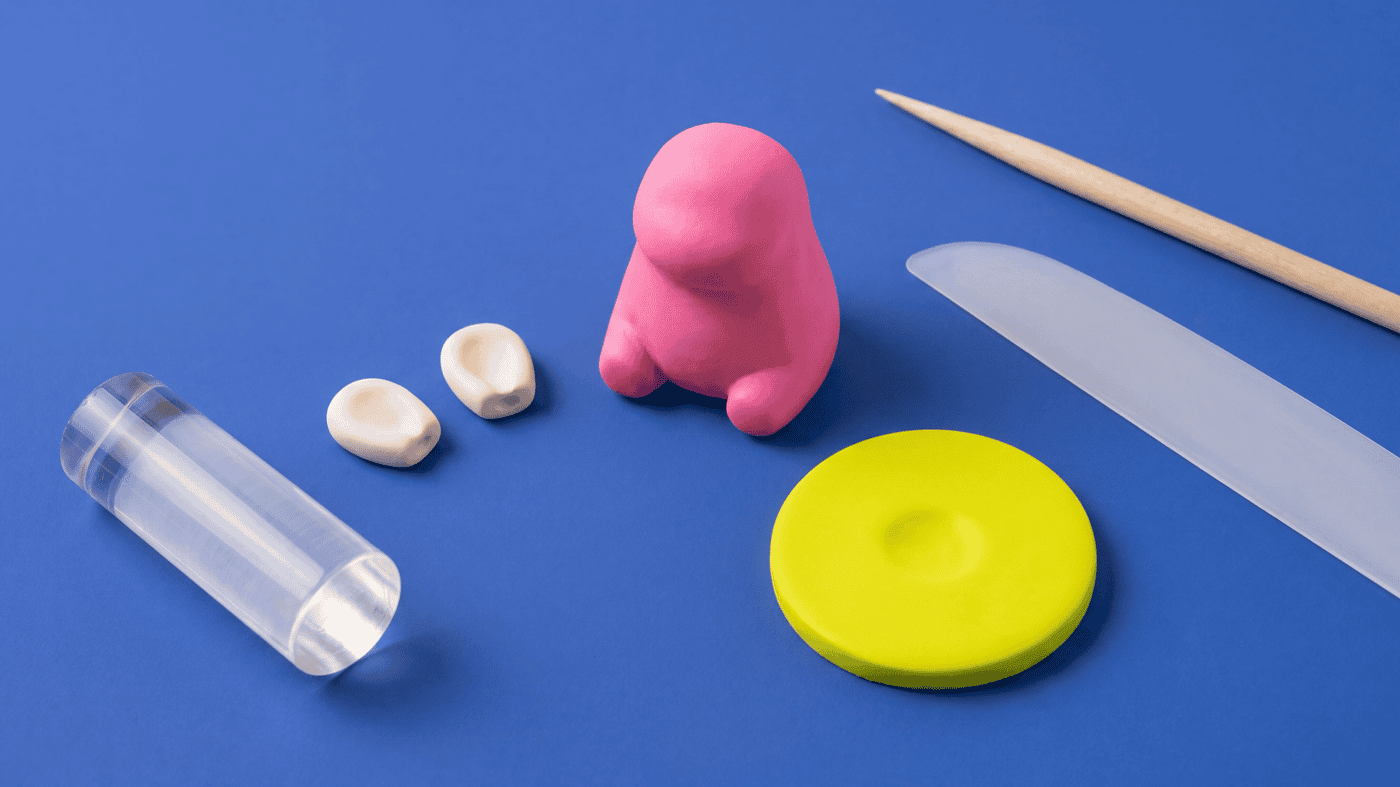
Cut The Outer Arch And The Inner Opening From One Setup
A reliable starting path for open arches is to cut both the outside and the center opening while the slab is still plain.
Once dots, scallops, stripes, or chip patterns go on the face, it becomes much harder to judge whether the opening is truly centered. Get the silhouette right first, then move on to the surface work.
Cut the pair in one session from the same slab. Clay softness changes as you handle it, and a second earring cut later from warmer clay can release differently even with the same cutter. If you are making mirrored drops, place both blanks next to each other before lifting them so you can compare the inner opening, crown height, and bottom curve while everything is still adjustable.
Arch clay cutters help you repeat the outer curve and the inner opening cleanly.
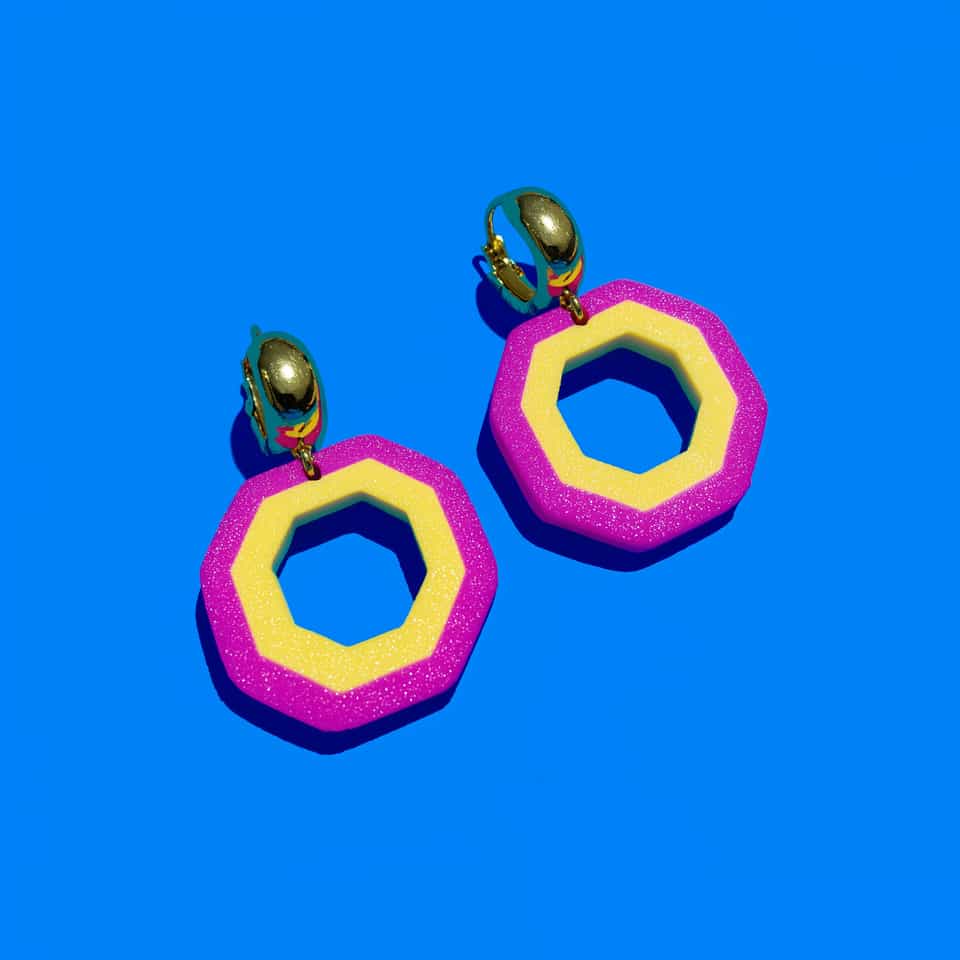
Keep The Wall Thickness Even
Arch earrings stop looking intentional when one side of the opening is visibly heavier than the other.
That is why slab thickness matters so much on cutout earrings. The slab has to stay even before you cut it, and the remaining arch wall has to stay even after you remove the center.
Use the inner opening as the checkpoint, not just the outside edge. A pair can have matching outer arches and still look wrong if the negative space leans left on one earring and right on the other. Before baking, rotate both blanks upside down and sideways. That quick view change makes uneven walls easier to see.
Thickness guide strips make it much easier to keep the arch walls repeatable from side to side.
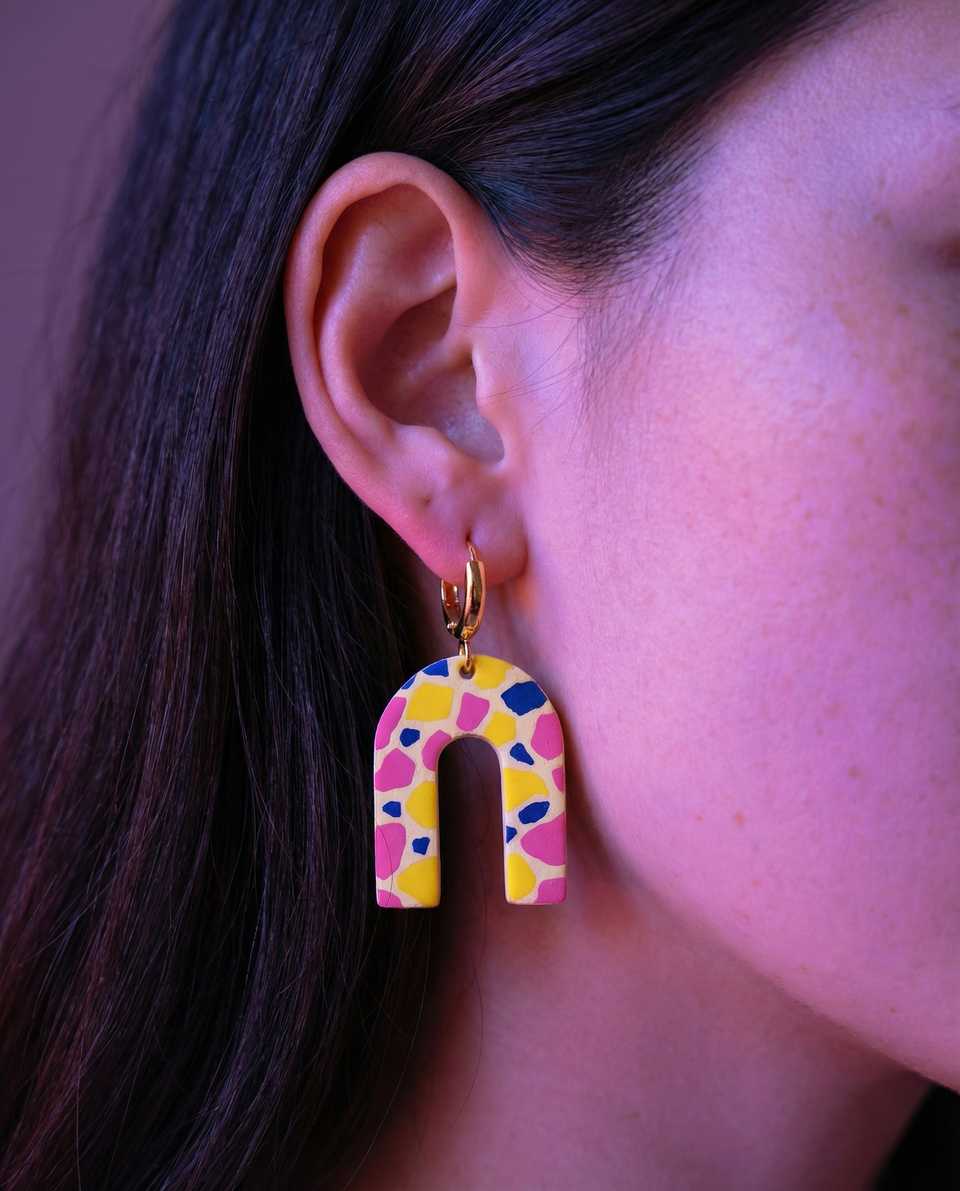
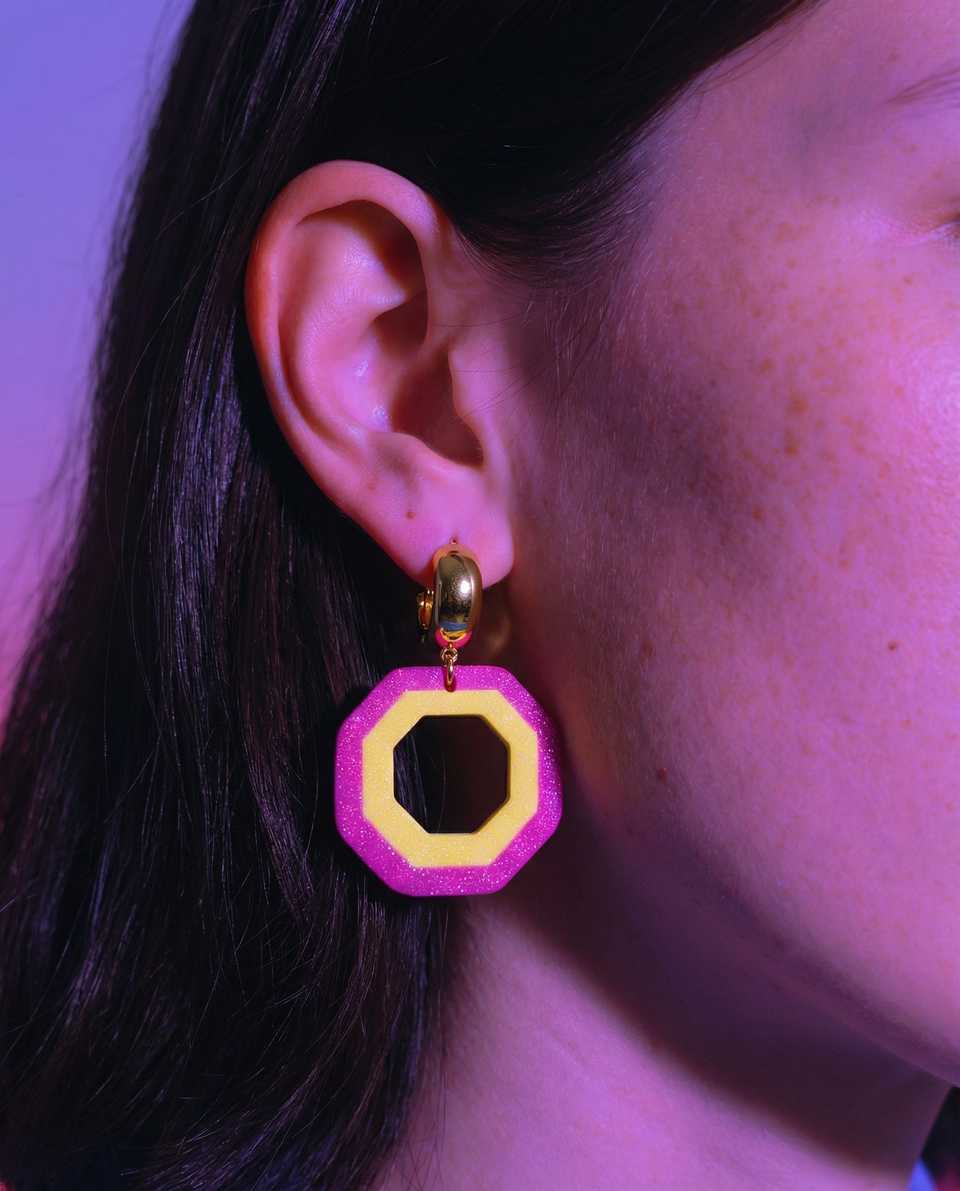
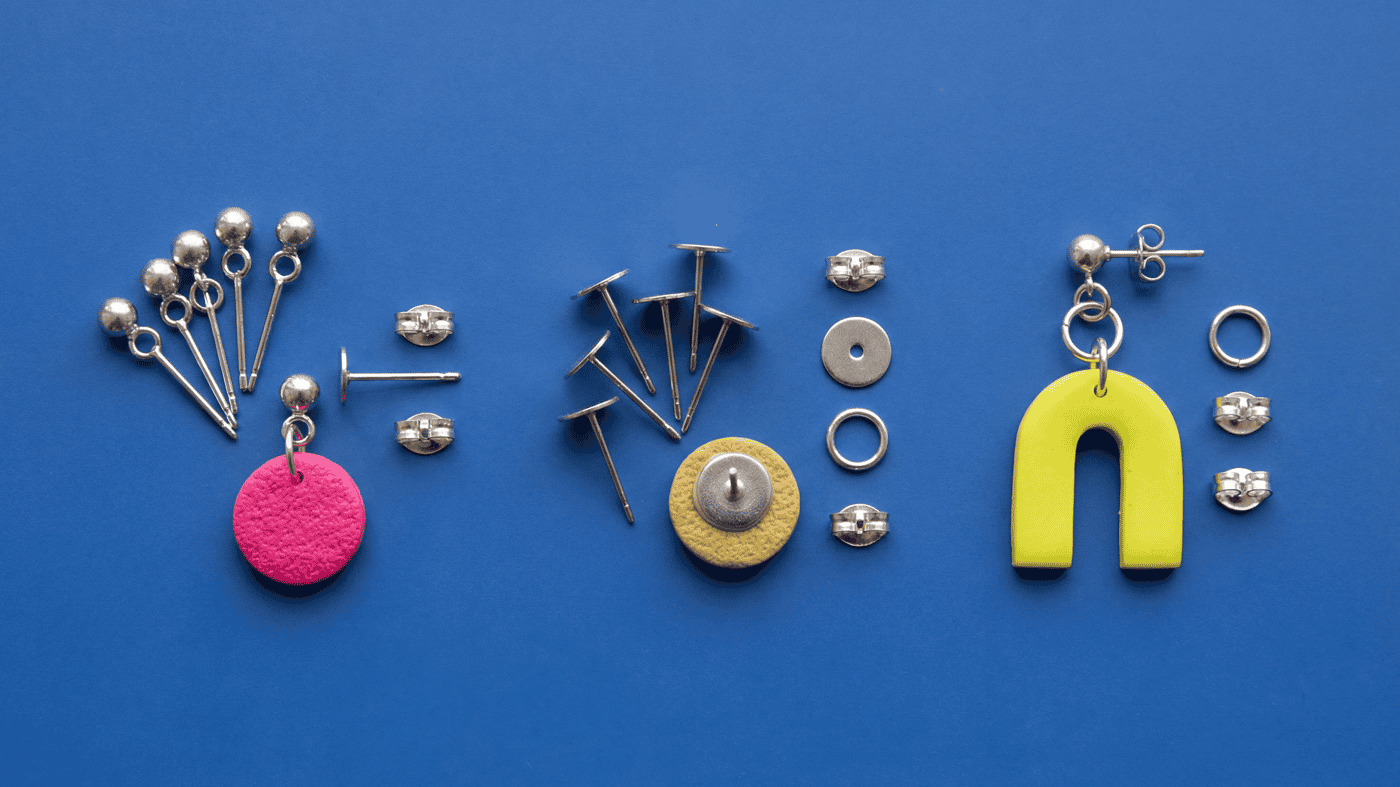
Choose The Hardware From The Front View
Stud toppers and huggies solve different problems, and the image should decide which one you use.
If the top is visible and decorative, like a round ball stud or cluster topper, treat it as part of the design. If the arch hangs directly from a hoop, let the hoop stay simple and keep the clay drop close to the crown.
Gold huggie hoops can be a practical first option when the arch should hang directly from a hoop without a separate top slab, but confirm loop direction, inner diameter, and what the hoop is made from before you buy.
If the huggie attaches to the clay through a jump ring rather than directly through a pierced hole, twist the two ends past each other sideways at the gap rather than pulling them straight apart, so the ring keeps its round shape against the hoop loop. Two flat-nose pliers work, or a flat-nose plus a round-nose pair if you have them.
If the build glues a topper or cap to cured clay rather than threading through a loop, choose an adhesive whose label supports the material pair. Apply a thin film, align before the label's working time runs out, and let the joint reach its full cure time before any wear test. Different glues behave differently on different clay backs and findings, so try that pairing on a sacrificial cured scrap first.
Place The Top Hole Near The Intended Balance Line
The top hole or connector point should sit close to where the finished arch is meant to hang, not just where the raw blank makes it easy to pierce.
On many arches, that means keeping the top hole close to the crown and centered from the finished front view. If the hole is too low or slightly off center, the drop can tip forward, so it is worth testing the hang from a scrap blank before you commit.
If the arch will connect to a stud topper, test the blank with a temporary jump ring or thread before final assembly. The goal is to see whether the arch faces forward, twists, or leans toward the heavier side. It is much easier to adjust a raw hole location or choose a shorter connector than to fix a cured earring that hangs sideways.
Bake Arches Flat On A Tile And Support The Blank For Its Size
A tile is often a practical cure surface for flat cutout arches, but follow your clay line package instructions first and support the blank as needed for its size and thickness.
The more open the center is, the more obvious every little twist becomes after cure. A flat tile keeps the face more even and gives you a straighter baseline for later sanding, buffing, or hardware attachment.
Check Wall Width, Hole Placement, And Edges Before Baking
Cutout arches, huggie arches, and open-center slab earrings need three things solved before final cure: the bridge width, the hole placement, and the edge cleanup.
When the inner arch and outer edge stay parallel after cure, the cutout is reading the way it should on the ear.
More guides in this path
Open these when the next decision is material choice, attachment, or finishing.
Polymer Clay Assembly: Build Order and Join Planning
Your layered piece warped or the join cracked because you added fine detail before the big masses were stable. Solve large footprint and mass first, then features, then details. Decide the bake support before you start so nothing shifts in the oven.

Polymer Clay Skinner Blends, Gradients, and Ombre Slabs
Skinner blends turn muddy when the two colors are different softness, the slab keeps getting re-rolled after the fade looks good, or the final shape is cut too early. The fix is matched conditioning and stopping at the right moment.
Polymer Clay Stud Toppers, Flat Pads, and Connector Rings
Choose the top connection from the front view first, then keep the attachment short and balanced. Compare visible loop-tops, flat pads, short ring paths, and balance-line marks on a sample before you make the final pair.
Finished examples with related clay decisions
Each piece shows how a material, attachment, or surface choice changes the final form.