How to Make Polymer Clay Ramen Charms (Broth and Noodle Build)
Tiny ramen bowls, pho studs, and udon charms look cleaner when the bowl, broth disc, and noodles are built as three deliberate layers. This guide covers the build order, broth disc thickness, and how to seat noodles without cracking the rim.

In brief
Key takeaways
- 1Build the bowl mass first with a clean even rim. Without that, the broth disc has nowhere to feather into and the rim cracks or bulges
- 2Match clay temperatures across the bowl and broth disc so they shrink at similar rates during cure and the rim joint stays intact
- 3Keep the broth disc roughly 1 to 2 millimeters thick. Any thicker and it stops reading as liquid and looks like a second slab
- 4Place noodles as loose curls and add toppings last, largest to smallest. Big-to-small keeps each layer visible at miniature scale
Miniature broth-and-noodle charms only read as food when the layers stay separate. The moment the bowl, broth, and noodles blur into one lump, you stop seeing ramen and start seeing a beige disc with texture.
That separation is not about sculpting skill. It is about build order, layer thickness, and clay temperature. A stud-size ramen bowl is a three-layer build: bowl mass on the bottom, broth disc in the middle, noodle squiggles and toppings on top. Treat each layer as its own decision and the whole charm gets easier.
Build The Bowl Mass First
Shape the bowl and set its rim and depth first. Everything else sits inside it, so finish the bowl before you add any broth or noodle clay.
For a stud-size bowl, condition firmer clay like Sculpey Premo until it rolls smoothly, then form a small low dome. Press a fingertip or a rounded silicone shaper into the center to make a shallow well. The well needs to hold a broth disc and noodles without overflowing, but it should not be so deep that the food disappears below the rim from the front view.
The rim itself matters more than the outside curve. A clean, even rim gives the broth disc a place to feather into. A wobbly rim makes every later layer look careless because the eye reads the bowl edge first.
Sculpey Premo white polymer clay is a good first clay to test for the bowl because its firmer feel holds the rim shape better than softer lines while you press the broth disc into the well.
Bond The Broth Disc And Keep It Even So The Rim Does Not Crack
A broth disc that cracks at the rim during or after cure usually traces back to an unbonded layer, an uneven or too-thin disc, trapped air, or an incomplete cure, not to one piece feeling slightly warmer in the hand.
Brush a very thin film of liquid polymer clay into the bowl well before you seat the broth disc. The film cures into the join and locks the disc to the bowl, which matters most with firmer lines like Premo that do not always bond reliably raw-to-raw on their own. Use only a small amount so the raw disc does not slide, keep the disc an even thickness, press out trapped air at the rim, and cure to the full package time so the joint sets.
Condition both colors fully and assemble the bowl plus broth disc in the same working session so neither layer dries out or stiffens before they meet. Then feather the broth disc edge into the rim with a silicone shaper or a damp fingertip. Do not butt the disc against the rim wall like a tile against grout. The disc should melt into the rim, not collide with it.
Keep The Broth Disc Thin Enough To Read As Liquid
Roll the broth disc thin so it reads as soup, not as a second clay slab. If it is too thick, the bowl stops looking like food.
Roll the broth color into a thin, even slab for a stud-size bowl. A pasta machine near the thinner end of its settings can help, but compare the slab with a ruler or thickness guide because settings vary across machines.
Cut the disc slightly smaller than the inside diameter of the bowl well. That gap gives you room to press the disc down and let it spread into the rim without overflowing. If the disc fills the well too tightly, it pushes up and bulges over the rim the moment you seat it.
Color choice matters here. A broth disc in a low-saturation cream, peach, or warm tan reads as soup. The same disc in a flat saturated yellow can start looking like cheese, which fights the food story. Test the broth color against the bowl wall on a scrap before mixing the full batch.
Place Noodles As Loose Curls, Not Tight Spirals
Real noodles in broth never lie in geometric spirals. They drift, overlap, and leave gaps where the broth shows through.
Extrude pale noodle clay through a small round disc, lay the strands on a ceramic tile to firm up for two to three minutes, then place them on the broth disc in three or four loose curls. Leave at least one or two visible patches of broth between the curls so the bowl still reads as soup, not as a noodle nest.
Polymer clay extruder with a small round disc gives you matched noodle strands across a pair of studs. Hand-rolled snakes work too, but they tend to read thicker and less even at miniature scale.
Press each noodle down just enough to bond with the broth disc. Heavy pressure flattens the strand and erases the round noodle profile. A needle tool nudge is usually enough.
Add Toppings Last, Largest To Smallest
Toppings sit on top of the noodles, not under them, so they go on after every noodle is placed.
Build the toppings as small canes or hand-formed pieces before assembly so you can grab them in order: largest visual element first, smallest accents last. A common ramen sequence is a halved egg cane slice, then a narutomaki fish cake disc, then chopped scallion bits or a few sesame dots.
Add chopsticks after cure, not before. If chopsticks rest across the rim, glue or attach them after cure with an adhesive whose label supports the exact materials rather than baking them as a bridge across the bowl, because thin clay sticks bridging an open well crack easily. Test the same clay, finish, adhesive, and placement on scrap before committing the batch.
Build The Charm In Layers So The Details Stay Clear
It is tempting to roll one slab, press in noodles, and call it a bowl. The result almost never reads as broth and noodles. It reads as a textured disc.
Roll one slab and press noodles into it and you get a textured disc, not broth. The separate bowl, broth, and noodle layers give the eye three depth cues at miniature scale. Skip a layer and the charm collapses into one plane, which is why so many first-attempt ramen studs end up looking like cookies with squiggles on top.
Cure The Charm Flat, Then Match Sheen To The Food
Cure the assembled charm flat on a tile, follow your clay line package instructions, and check the real tray temperature with an oven thermometer.
Most miniature food charms benefit from a finish split: matte or satin on the bowl exterior, light gloss on the broth and noodles. The mismatch in finish is what sells the food story, because real broth reflects light differently than a ceramic bowl.
Test any sealer on a baked scrap of the same clay before applying it across a batch. Some glazes can soften certain lines or fight inclusions, so wait through the label's dry or cure time after the test coat and check for tackiness, yellowing, or bond failure.
The Sign A Mini Noodle Bowl Is Ready
On ramen studs, pho charms, udon bowls, and other broth-and-noodle minis, keep the bowl, broth, noodles, and toppings as separate stages until the very last press.
Once the broth layer sits flat between the bowl and the toppings without flooding the rim, the charm is ready to seal.
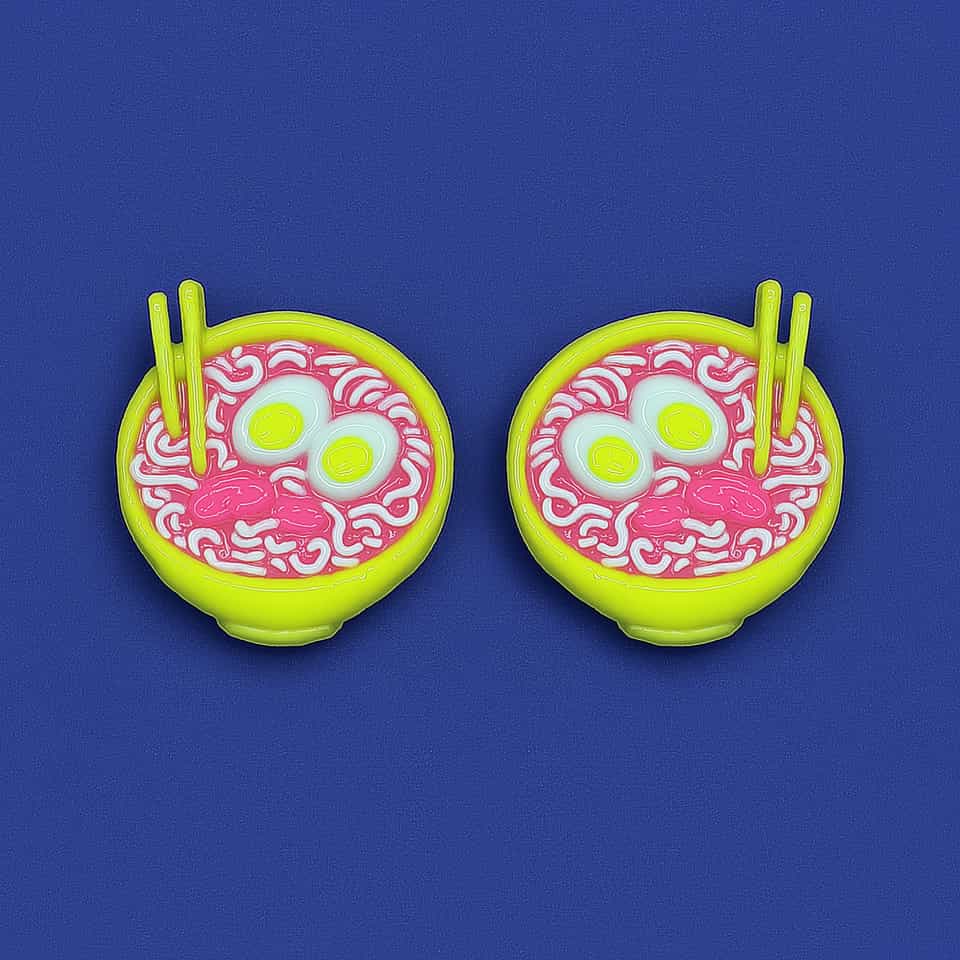
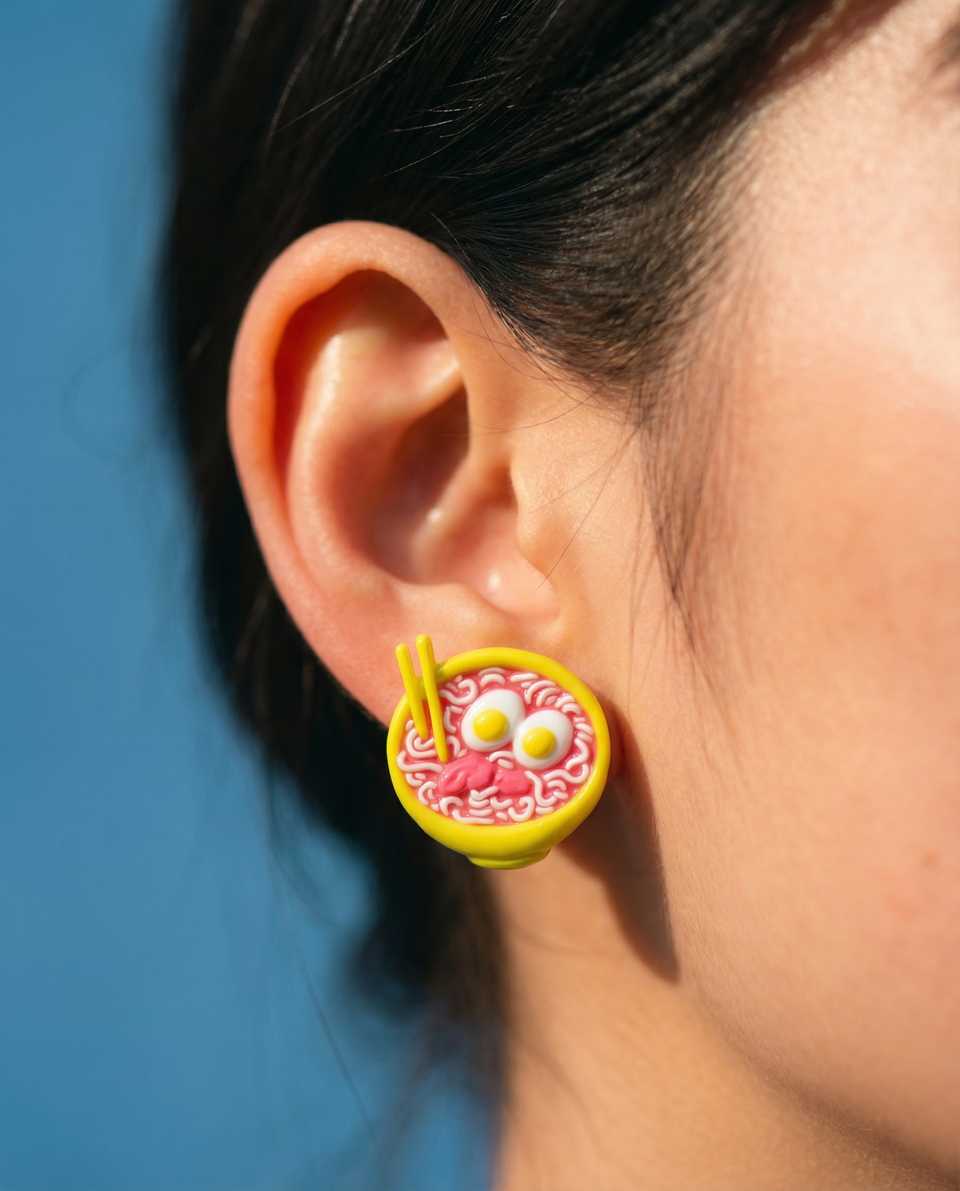
See the ramen bowl studs in the lookbook for a finished example, then build your own version. Next, read the broader miniature food charms guide for vessel shape variations beyond bowls, and the stud toppers guide for hardware decisions that keep small food charms hanging straight.
More guides in this path
Open these when the next decision is material choice, attachment, or finishing.
Polymer Clay Assembly: Build Order and Join Planning
Your layered piece warped or the join cracked because you added fine detail before the big masses were stable. Solve large footprint and mass first, then features, then details. Decide the bake support before you start so nothing shifts in the oven.

Polymer Clay Miniature Food Charms: Bowls, Fish, and Tiny Toppings
Miniature food pieces usually look clearer when the base shape, topping scale, and hardware choice are planned before the details go on. This guide covers shallow bowls, flat fish charms, noodle coils, egg slices, and keeping small food builds lighter.
Polymer Clay Stud Toppers, Flat Pads, and Connector Rings
Choose the top connection from the front view first, then keep the attachment short and balanced. Compare visible loop-tops, flat pads, short ring paths, and balance-line marks on a sample before you make the final pair.
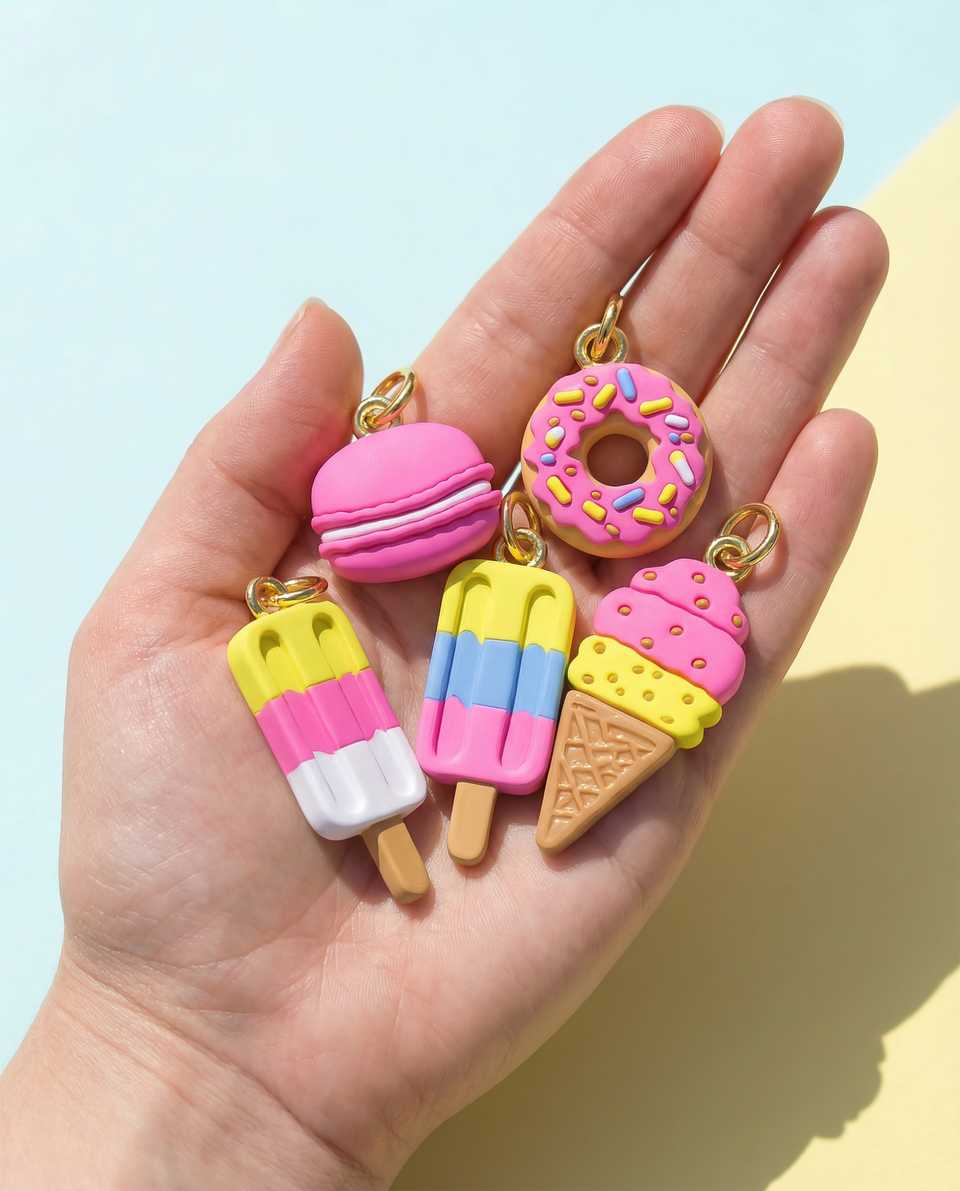
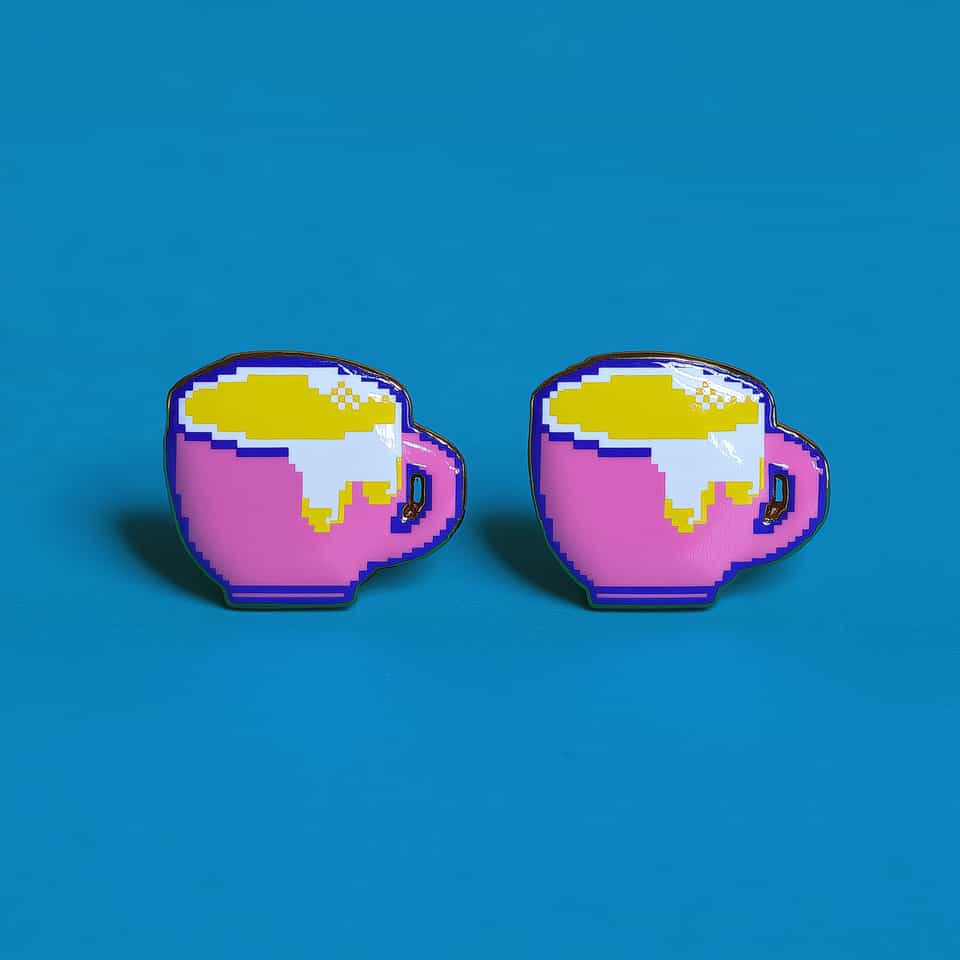
Finished examples with related clay decisions
Each piece shows how a material, attachment, or surface choice changes the final form.