Polymer Clay Stud Toppers, Flat Pads, and Connector Rings
Choose the top connection from the front view first, then keep the attachment short and balanced. Compare visible loop-tops, flat pads, short ring paths, and balance-line marks on a sample before you make the final pair.

In brief
Key takeaways
- 1Pick the top attachment by looking at the front of the design, not by habit. The same shape may want a loop-top in one palette and a flat pad in another
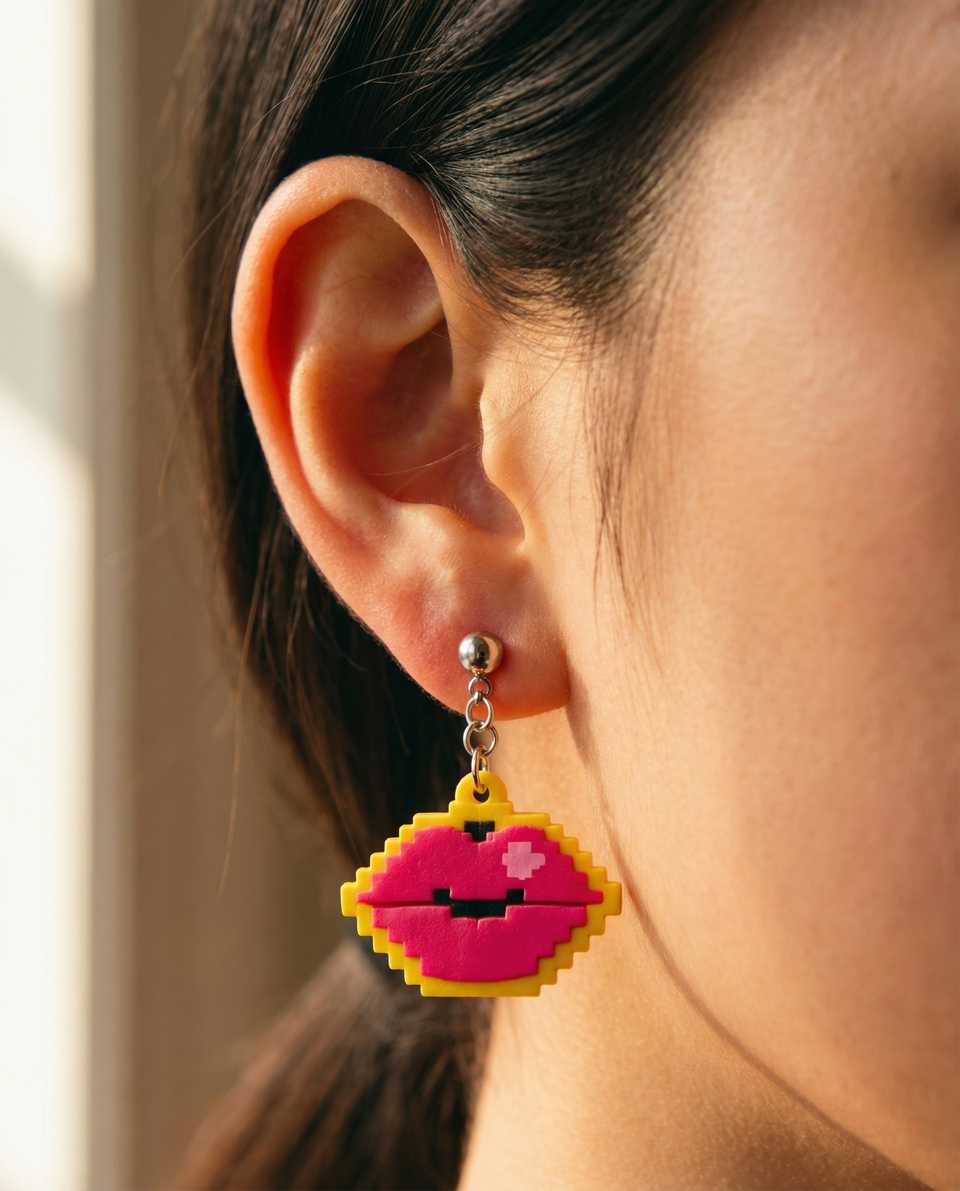
- 2Loop-top studs work well when the topper is meant to read visible. Flat pads only work when the cured back has enough clean, flat contact area
- 3Keep the connector run as short as the design allows. Each extra link adds twist and lets the drop misalign on the ear
- 4Test stud, jump ring, and drop together as a sample pair before any final glue-up or fully closed ring
Treat posts, pads, and rings as exact hardware products, not as a universal attachment taxonomy. Record the listing specifications and test one complete pair.
Verify The Exact Listing
Record the post, pad, loop, and ring materials, finishes, dimensions, included backs, and intended uses. If the listing does not identify a needed specification, leave that claim out.
This loop-top listing, this flat-pad listing, and this ring listing are candidates to verify, not universal recommendations.
Compare With The Cured Piece
Measure the cured rear zone and intended hole or connection area. Dry-fit the exact hardware and record what the sample looks like without claiming that one pad, loop, or ring run is best.
Keep Bake And Adhesive Instructions Separate
Follow the exact clay package. Sculpey documents an earring project that attaches findings after baking, but that example does not prove every adhesive or hardware combination. Use an adhesive only when its current label supports the cured clay, exact hardware, and any finish.
Make One Complete Pair
Record the clay line, package bake, finish, hardware, dimensions, adhesive, preparation, and full cure. Inspect one pair before repeating it. Do not turn the result into a universal hang, balance, wear-life, skin-safety, or attachment-reliability claim.
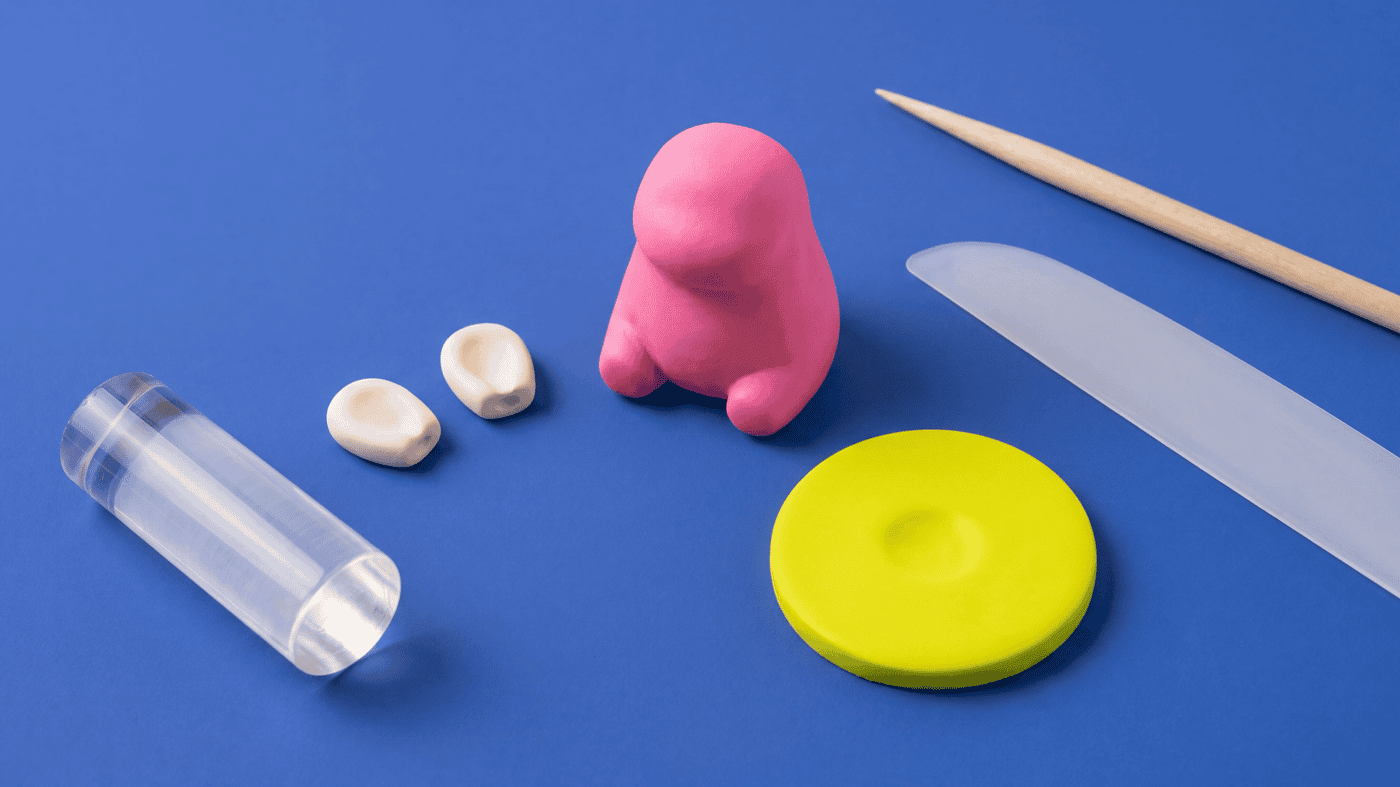
Supplies
Supplies mentioned here
Quick links to the materials and tools that fit this article. ClayBake tools stay on our own catalog.
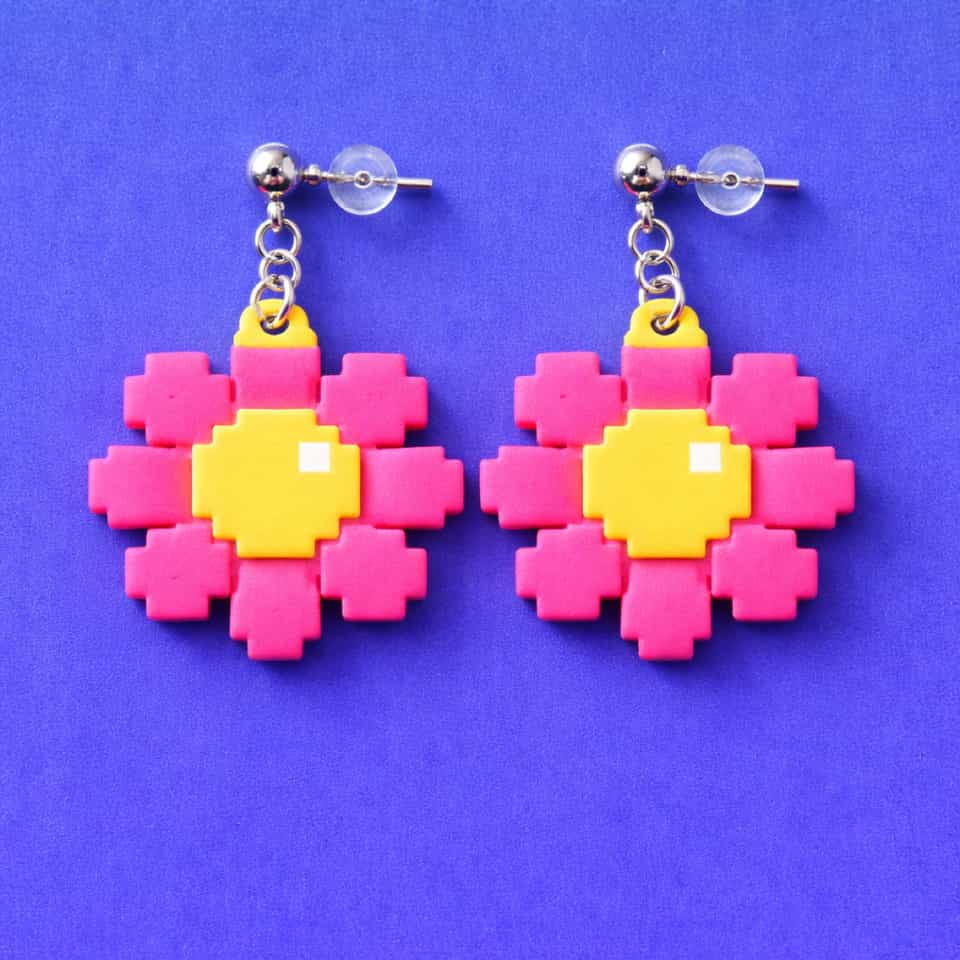
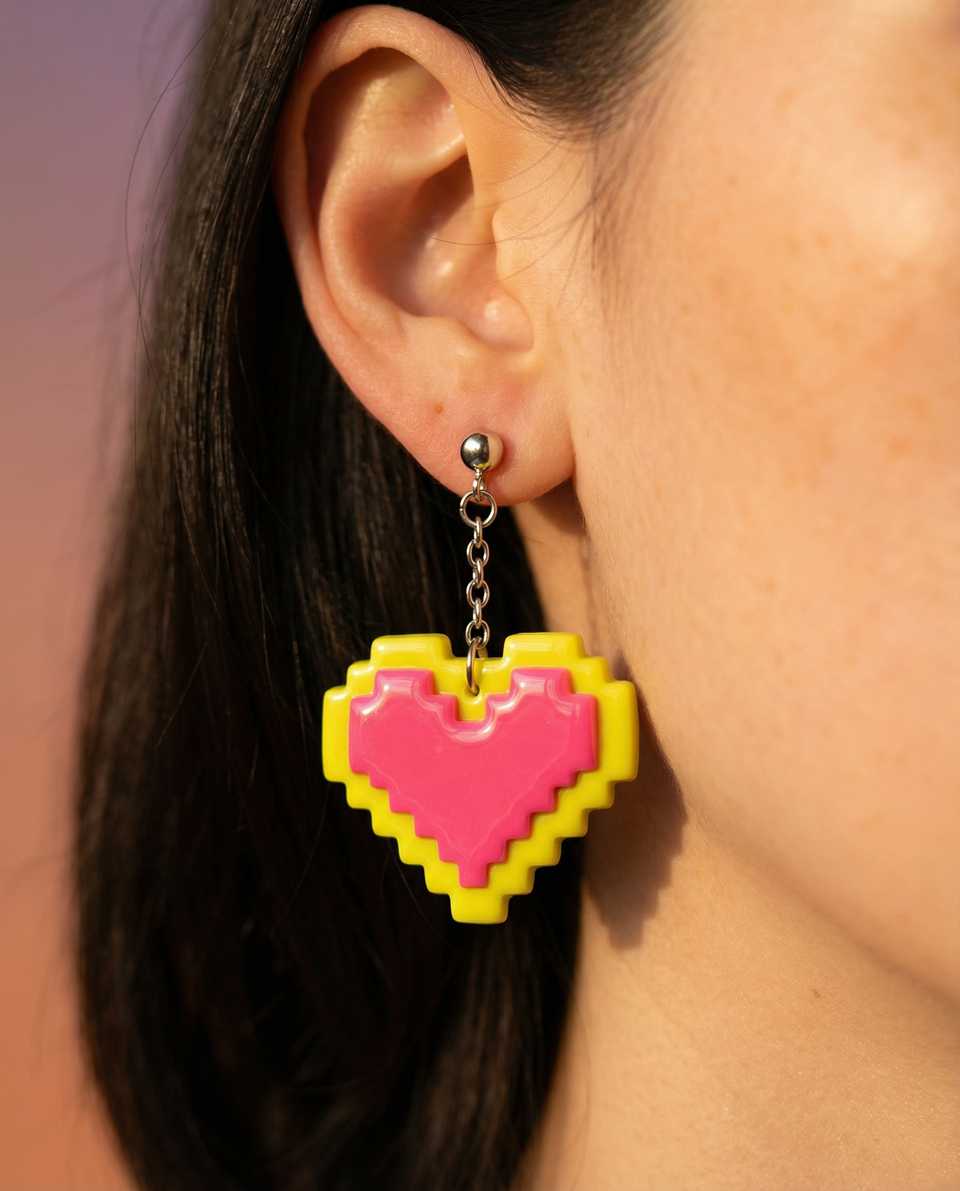
Silver ball-stud earring posts with loop
Use when the topper is part of the design and the drop needs one short ring below it. Check loop direction, loop size, what the post and loop are made from, finish, and finished weight.
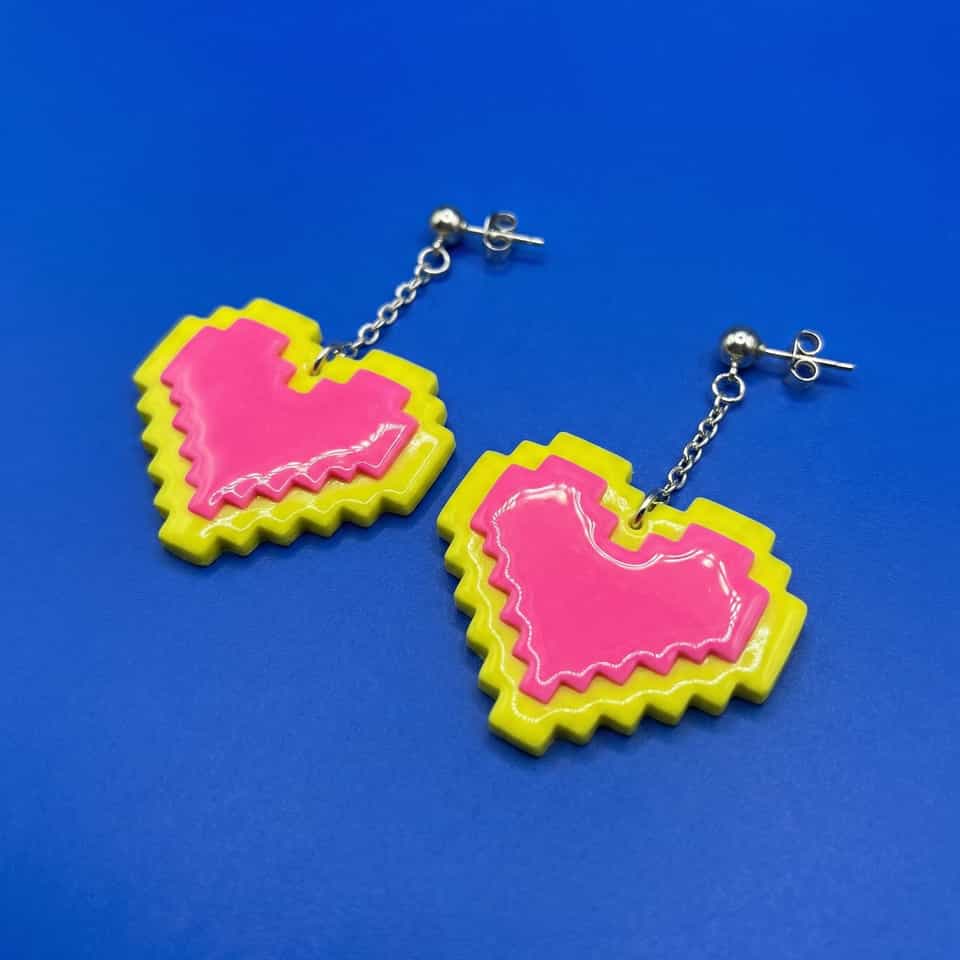
Craftdady stainless flat-pad earring posts
Use when the clay front has no separate topper and the back has enough flat contact area for the pad. Check pad width, what the post and pad are made from, finish, and included backs.
Silver jump rings for jewelry
Good for testing one-ring versus short-run connections without forcing every drop into the same hardware size.
More guides in this path
Open these when the next decision is material choice, attachment, or finishing.
Polymer Clay Assembly: Build Order and Join Planning
Stabilize thickness and support before cure. Follow package directions, verify oven temperature, and support raised or extended portions during baking.

Best Earring Posts for Polymer Clay Jewelry
Verify the exact post and pad specifications, compare them with the cured back, and test the complete material stack before making a batch.
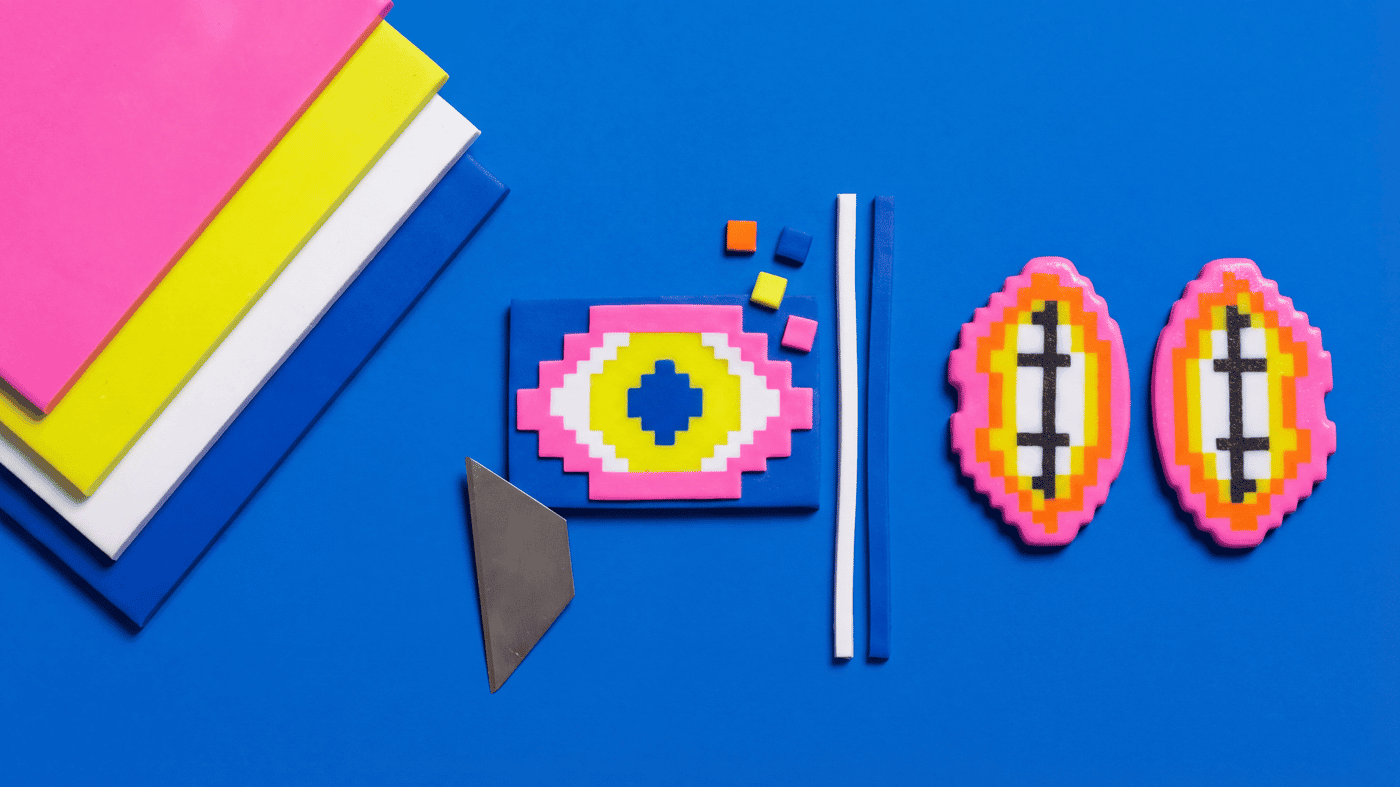
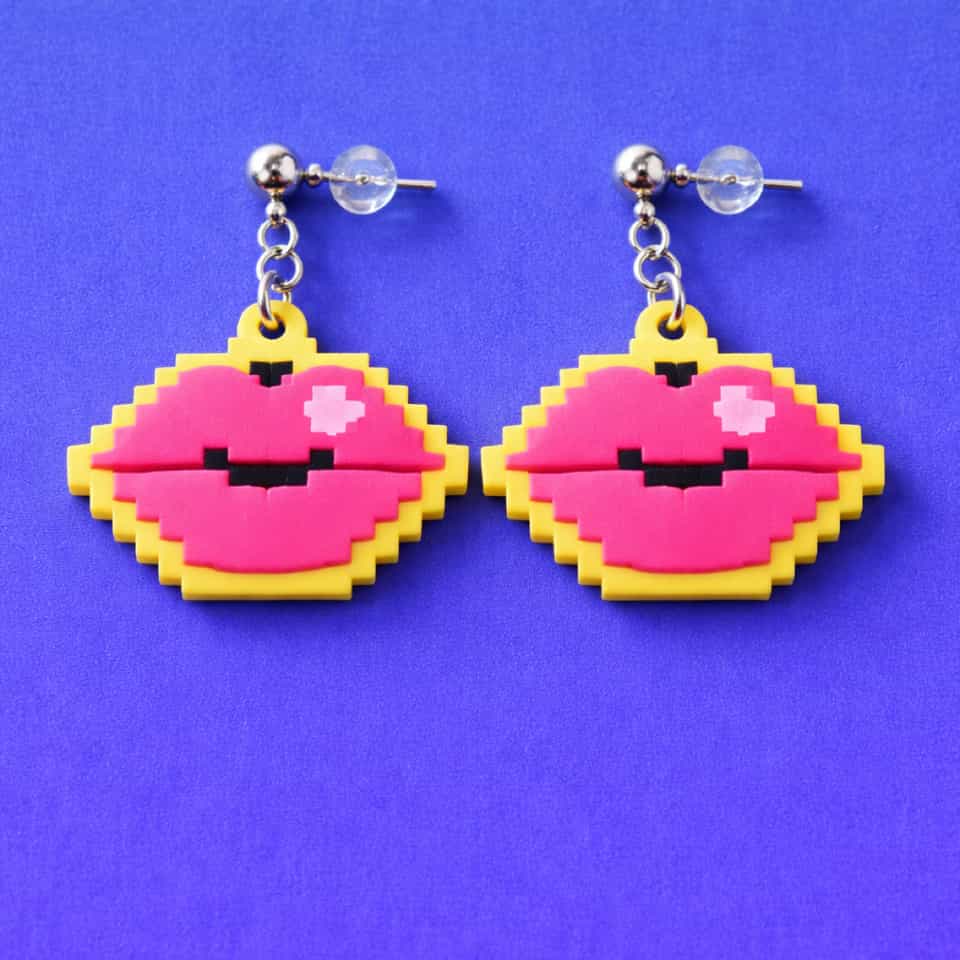
Polymer Clay Pixel Earrings: Slab Layering and Mirrored Pairs
Graphic lips, eyes, mushrooms, and badge-like brooches are often easier to build as flat or gently domed pixel slabs. This guide covers crisp staircase edges, stacked layers, and ways to keep left and right pieces matched.
Finished examples with related clay decisions
Each piece shows how a material, attachment, or surface choice changes the final form.