Polymer Clay Relief Faces, Portrait Plaques, and Stud Toppers
Face plaques, cameo-style shapes, and portrait drops stay cleaner when the silhouette is solved first, the facial planes stay low relief, and the topper or brooch hardware is planned as part of the front design rather than as an afterthought.

- Cut the plaque silhouette
- Mark eye, nose and mouth lines
- Place the hair mass
- Add face planes, large to small
- Bake flat, then bond the post
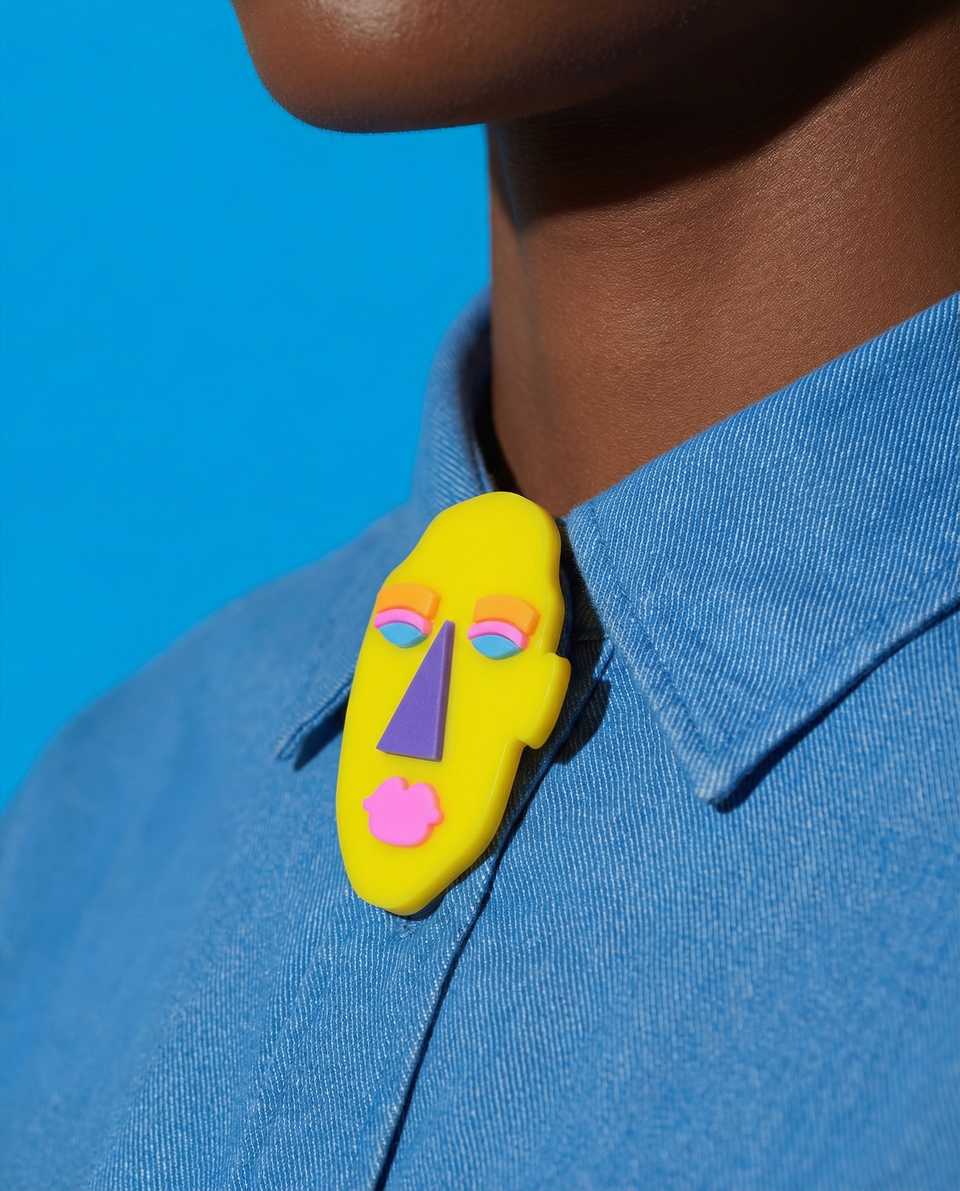
Face plaques fail two ways: makers build them like tiny full heads, or they rush into eyes and lips before the head shape is settled. This guide breaks down the universal proportions of low-relief face plaques, with the White Neon Theatre Face Brooch design as the worked example.
00 · Prep
Before you start
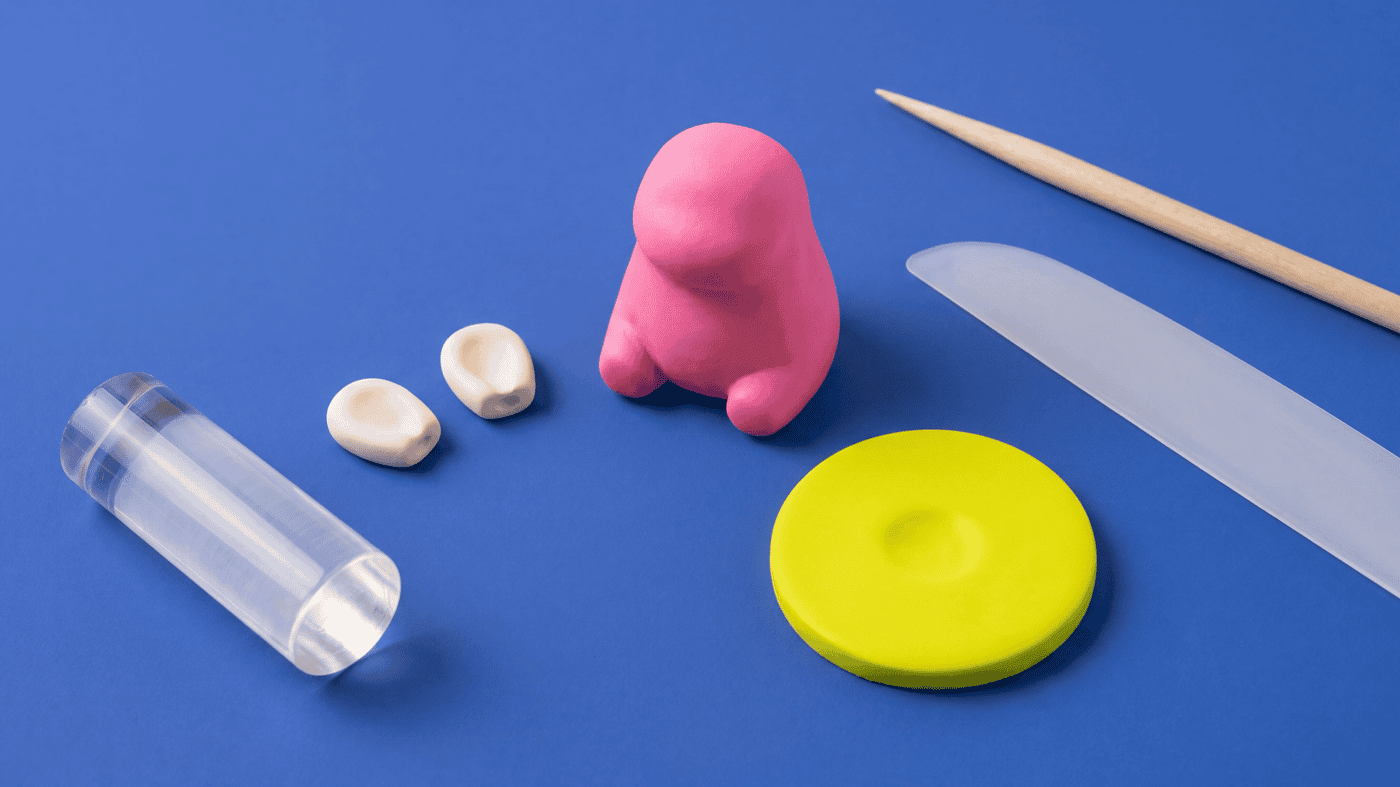
- Confirm bake time and temperature on your clay package. The cure notes in this guide are starting points for common Premo and FIMO Professional lines. Your tin is the authority for temperature, time, and thickness.
- Condition the clay. Run it through the pasta machine five to seven passes until it folds without a single crack at the bend. If it is soft or sticky, leach the slab between paper for ten minutes.
- Pre-heat the oven 15 minutes before you cure. Tape an oven thermometer to the rack so you are working from the real tray temperature rather than the dial.
- Keep a chilled clay block at hand. If the slab gets warm while you sculpt, swap to the chilled block and keep going. Warm clay smudges crisp planes.
- Stage the tile and parchment. Cure flat on a ceramic tile with parchment between the clay and the tile. That is the single biggest defense against warp.
01 · The build
Cut the plaque silhouette first.
Roll a base slab to your desired plaque thickness (typically 4 mm for drops and brooches, the spec used in the White Theatre Face Brooch design). Cut the oval, cameo arch or bust with a sharp cutter or a clean knife. If the outline feels wrong, fix it now. Every feature you add later inherits its proportion.
Mark eye, nose and mouth lines.
Trace lightly with a needle tool, or press a paper overlay onto the slab. Mark the hairline in the upper third of the head (crown to chin), then the eye-line roughly halfway between crown and chin, not at the top third. Nose-line is halfway between eye and chin. Mouth-line a third of the way down from the nose.
Beginners place the eyes too high on the head. The face ends up looking surprised, or the chin balloons. The actual eye-line is the middle. Trust the measurement before your instinct.
Place the hair mass before any face features.
Roll the hair, hat or fringe block to 1.5 mm and lay it onto the plaque. Step back to arm's length and squint. If the head shape still feels right, continue. If the hair is fighting the silhouette, fix it now. Moving features later cannot save a bad hairline.
Hair changes the visible eye spacing, cheek room and lip position. Builders who place eyes first end up cramming hair around them, and the eyes drift down as the build progresses.
Add face planes, large to small.
Cheek and brow planes at 1 mm. Lips and nose at 0.5 mm. Eye detail last. A silicone shaper nudges soft planes without smashing them. Save metal tools for cutting and pressing crisp edges.
Bake flat on a tile, then assemble.
Cure face-up on a ceramic tile so the back stays true. Premo: 275F or 130C for 30 minutes. Fimo Pro: 230F or 110C for 30 minutes. Check the package on your tin. Cool completely on the tile. Position the post (or brooch finding) with removable tape, check front orientation, then bond with 2-part epoxy. (For wet-sanding and glazing steps toward a porcelain-like finish, see the matching Theatre Face Brooch recipe page.)
Do not glue a post directly onto a curve. Use a flat pad larger than the curve's contact patch, or sand a small flat zone with 400-grit before bonding. A pad that rocks on a dome will pop off in a pocket.
02 · Do and Don't
Do
- Roll a small test slab and bake it with your chosen finish before committing.
- Use matte or satin sealer, or no sealer if the cure is clean.
- Size visible toppers from the front view, not the side.
- Keep portrait-drop connectors short so the face does not twist away.
- Cure face-up on a flat ceramic tile.
Don't
- Use a thick gloss varnish. It floods the cheek hollows.
- Glue posts to a curved back without a flat pad larger than the curve.
- Sculpt eyes before the hair mass is on. The proportion will lie to you.
- Sculpt a full 3D head for an earring. Flat back, low relief reads cleaner.
- Rely on hot glue alone for a portrait stud. A 2-part epoxy on a prepped flat back is the usual starting point; test on scrap if you try another adhesive.
03 · Variations
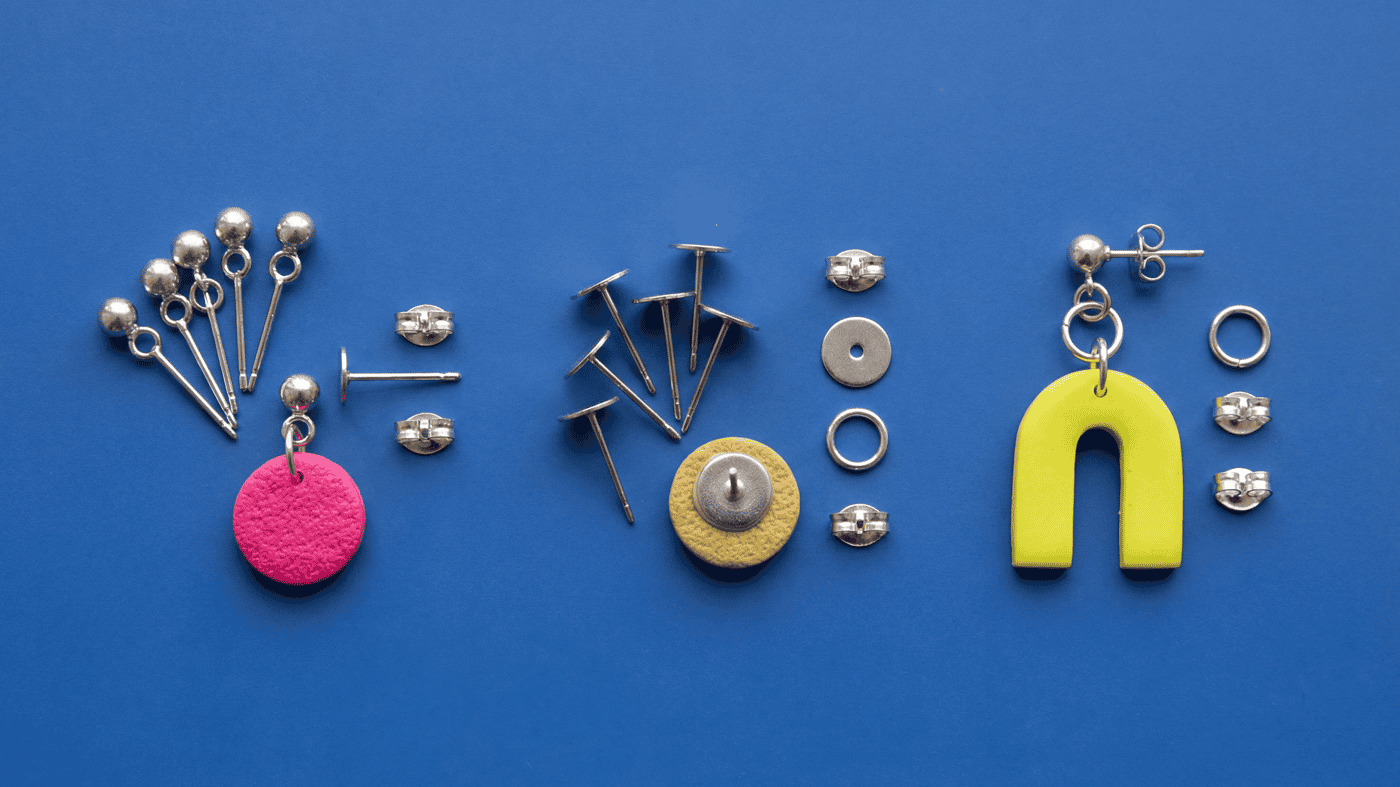
| Piece type | Plaque size | Slab thickness | Hardware |
|---|---|---|---|
| Stud earring | 16 by 22 mm oval | 3 mm | 10 mm flat pad, 316L |
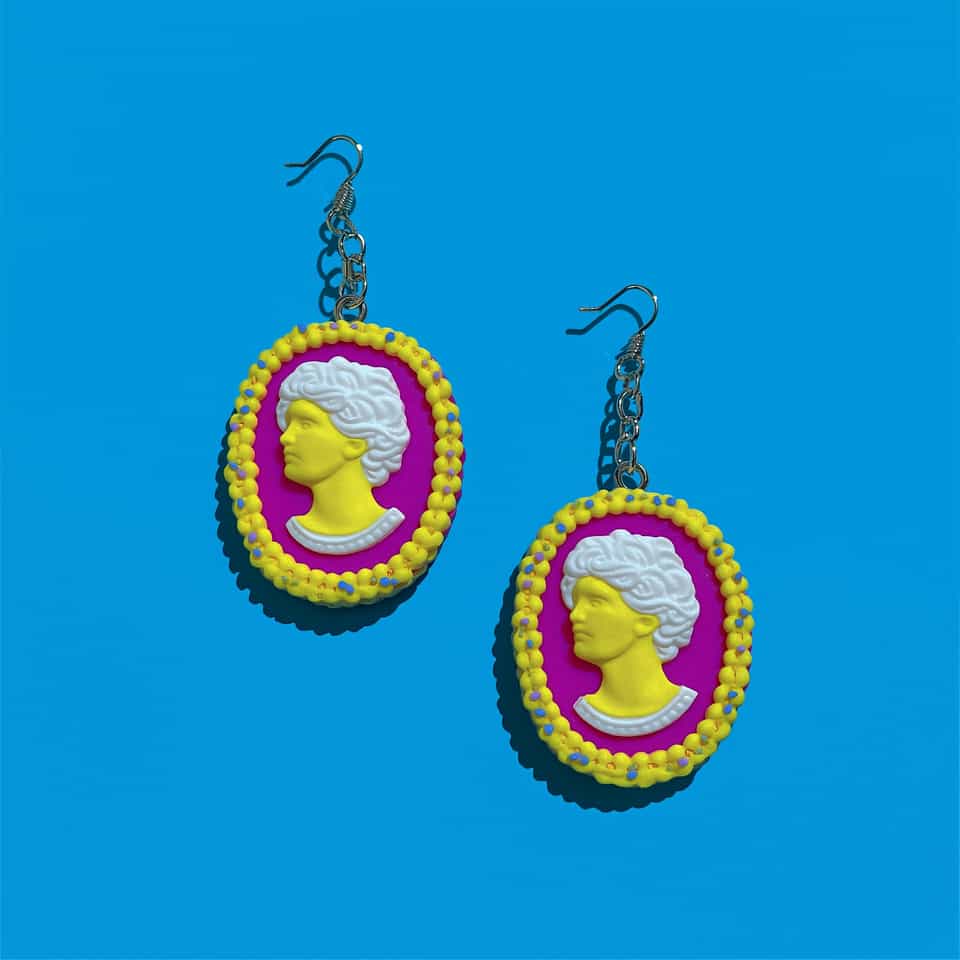
| Drop earring | 20 by 28 mm oval | 4 mm | Jump-ring and ear wire |
| Statement drop | 26 by 36 mm oval | 4 mm | Jump-ring and lever back |
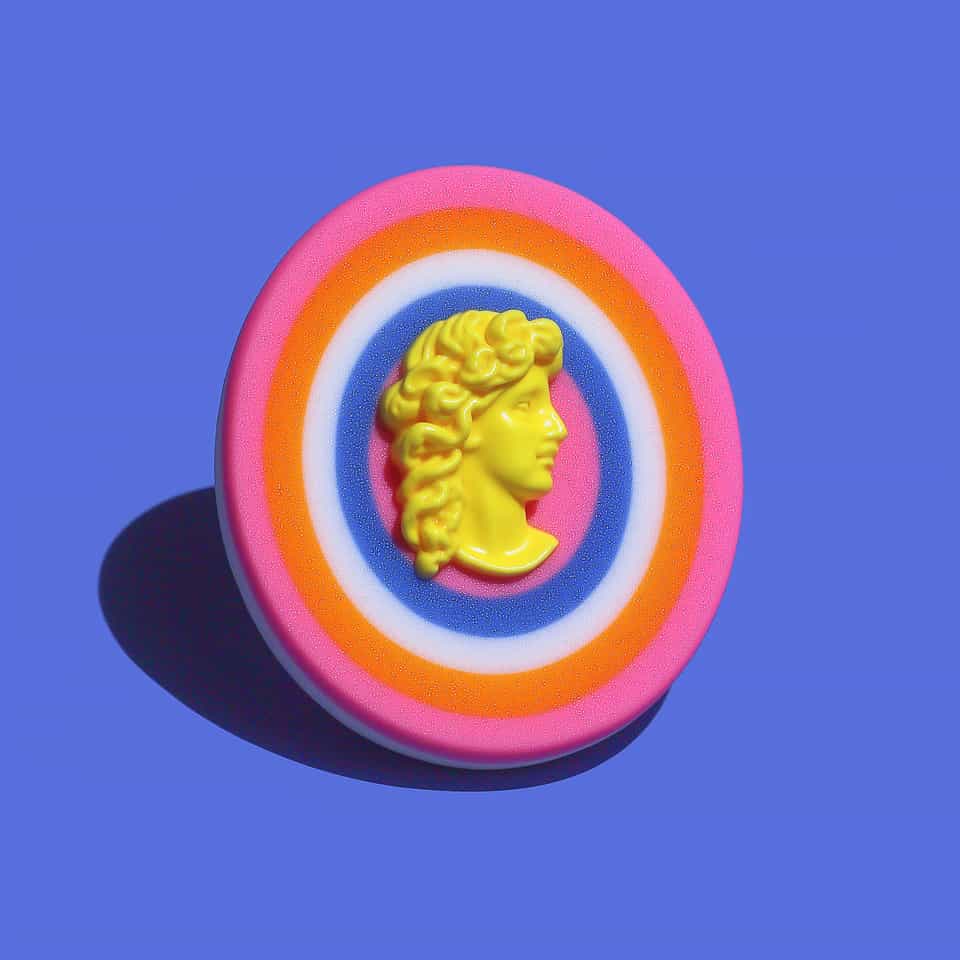
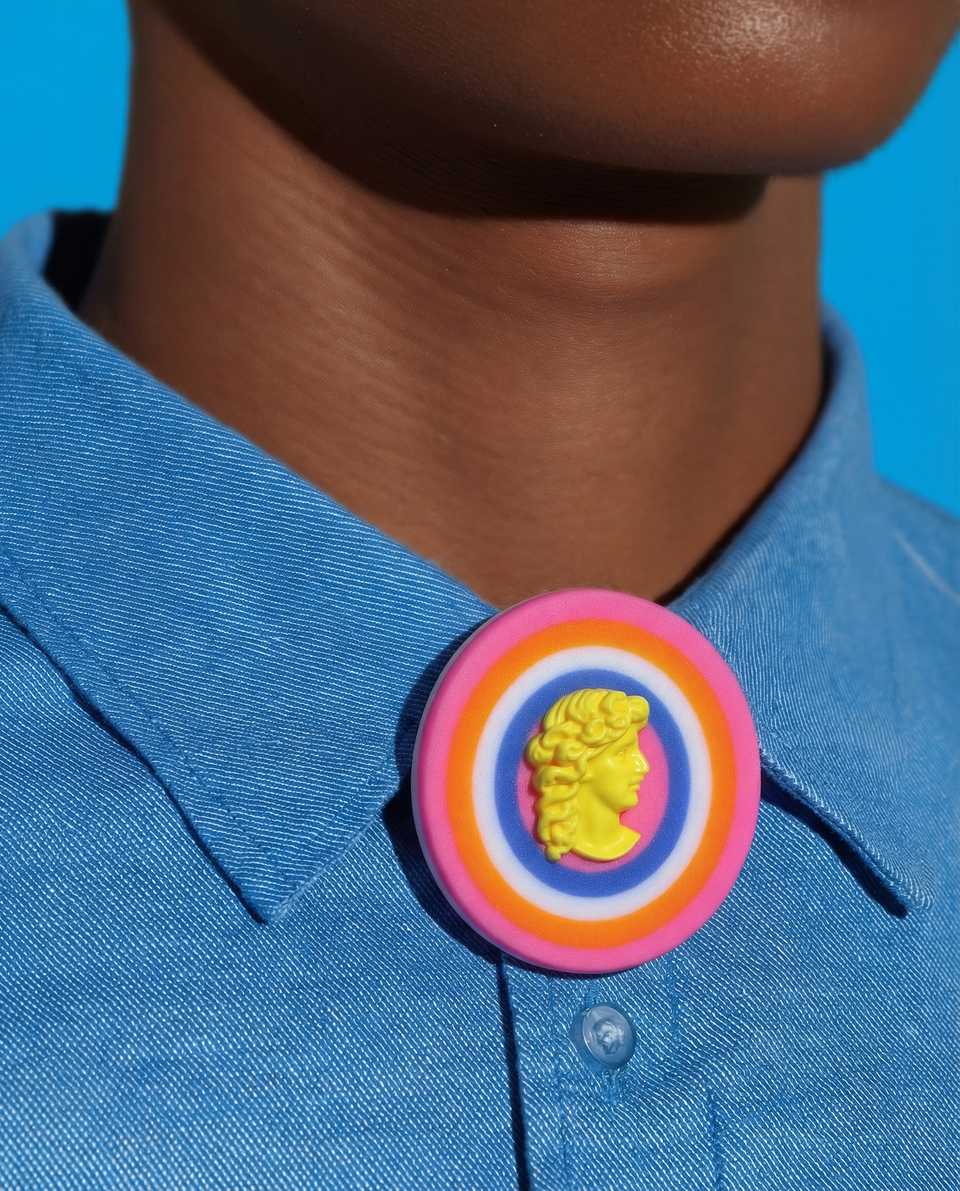
| Brooch or pin | 32 by 44 mm oval | 5 mm | Bar pin back, 30 mm or wider |
| Pendant | 30 by 42 mm oval | 4-5 mm | Bail or threaded loop |
The 4 mm plaque spec is the default for drops and medium ovals. Scale stud blanks down to 3 mm if you want lighter wear.
Cameo-style brooch
Add 1 mm to the plaque (5 mm slab) for weight. Use a brooch-pin pad on the cured back. Build the relief 0.5 mm deeper. The larger size handles it.
Portrait drop earring with visible topper
Build the topper and the plaque as separate elements. Bake flat. Connect with a short jump-ring run so the drop hangs straight instead of twisting.
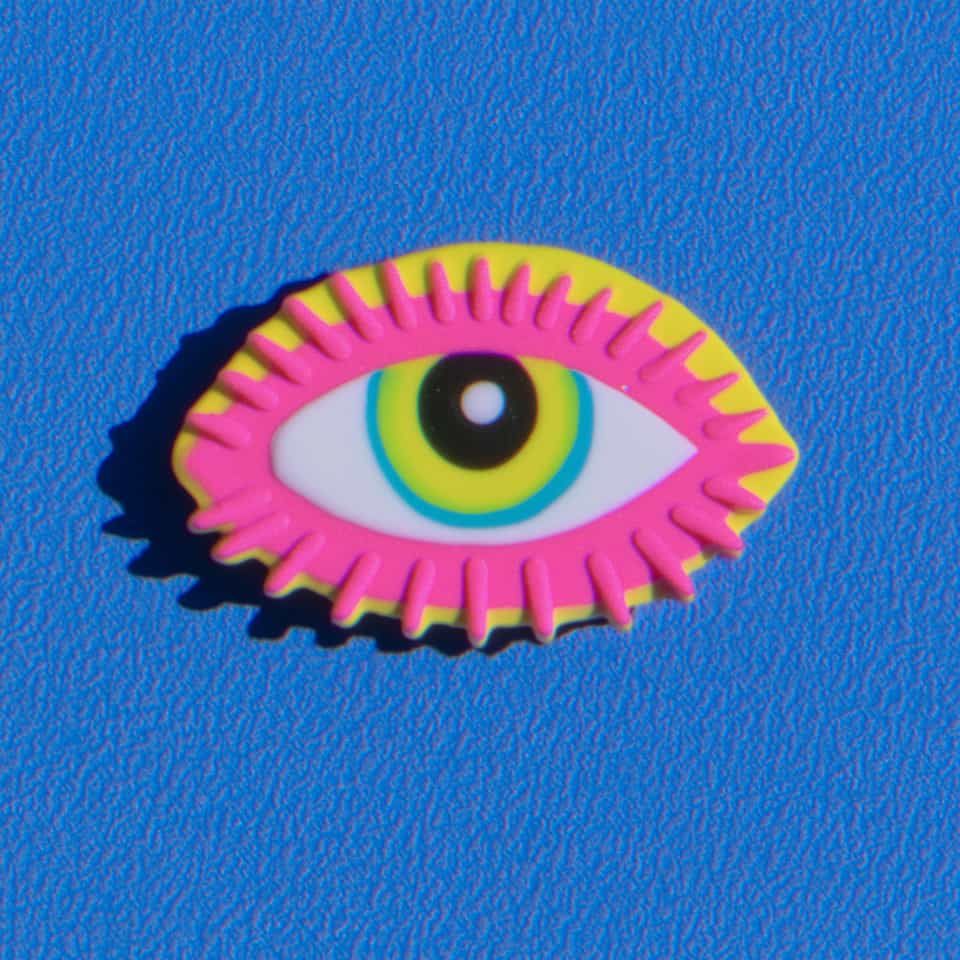
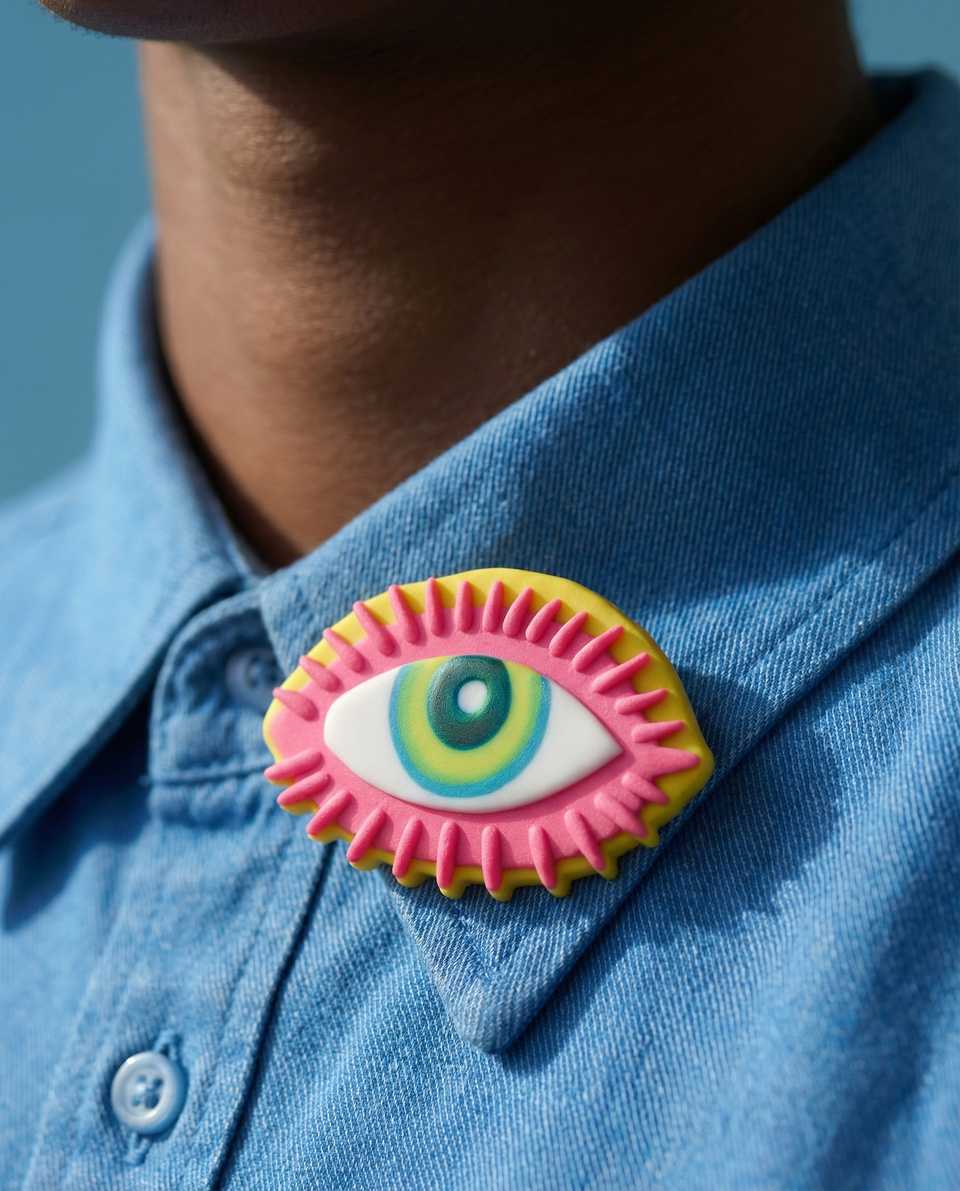
Pop-art portrait stud
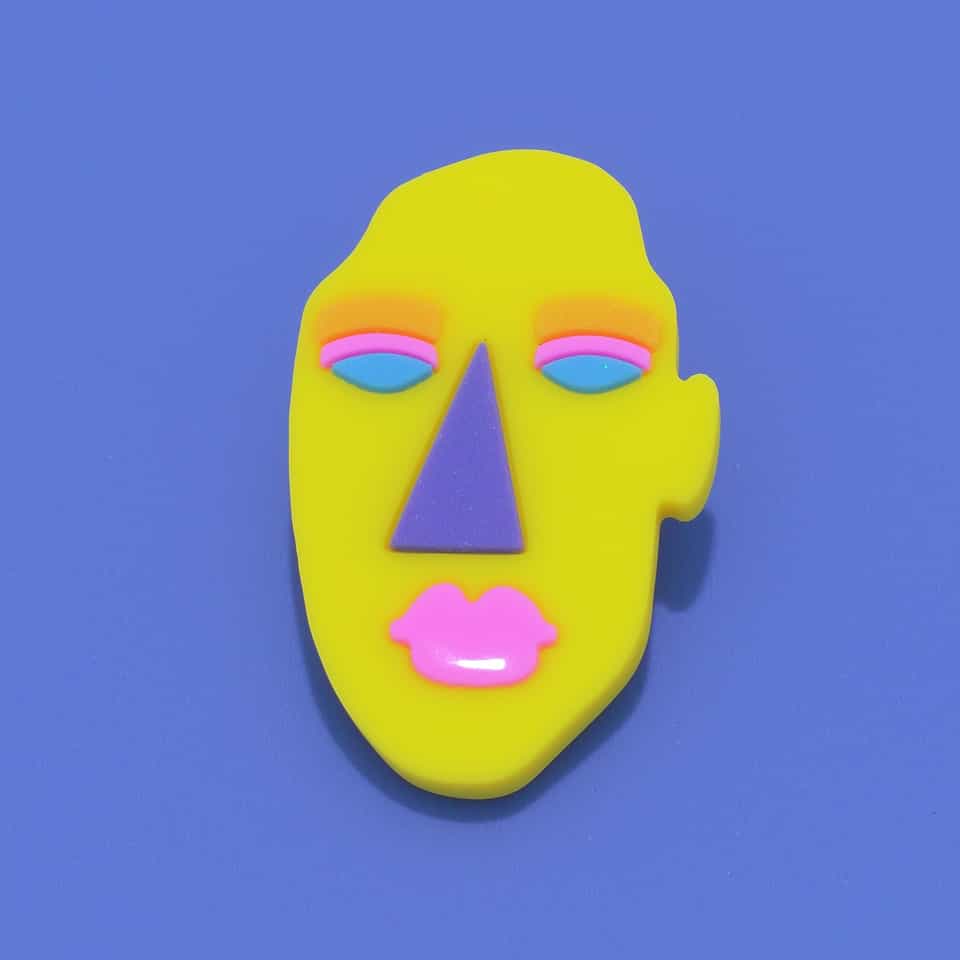
Use bright color blocking instead of subtle face planes. Relief depth can drop to 0.7 mm. The color carries the read. Matte sealer is essential here. Gloss kills the flat-color graphic.
Skin tones and face palettes. Starting mixes
Premo-style ratios by volume; test on scrap before a portrait runLight, cool
8 White, 1 Cadmium Red, 0.5 Yellow Ochre, pinch Black
Medium, warm
6 White, 2 Burnt Umber, 1 Cadmium Red, 0.5 Yellow Ochre
Deep, warm
3 Burnt Umber, 1 Cadmium Red, 1 White, pinch Yellow Ochre
Pop, graphic
Solid Fluo Pink face, Cadmium Red lips, Black brows, White highlights
04 · If it goes wrong
The five things that go wrong most often after cure, with the actual fix.
The plaque cracked across the back during cure.
Under-conditioned clay was forced flat, or the oven ran hotter than the dial. Both expand the clay unevenly and split it on cool-down.
Re-condition through the pasta machine 8 or more passes until it folds without a single crack at the bend. Tape an oven thermometer to the rack and check before the next bake. Cure at the brand temperature plus or minus 5F, never higher.
Hair or face planes detached after cure.
The plane was not pressed onto the slab firmly enough before bake, or the clay was too cold where the layers met. Polymer clay fuses when warm and pressed. It does not bond after the fact.
Re-attach with a thin smear of liquid clay (Bake & Bond, or Sculpey Translucent Liquid) on the contact face. Press firmly, then re-cure for the time your clay and liquid-clay labels recommend for the repair thickness (often the same as a full bake unless the label says otherwise). If it pops again, the original layer is too thin. Rebuild it at 1 mm minimum.
The face looks blurry or the planes washed out.
Either the relief is too shallow (under 0.5 mm), the sealer is too thick, or the photo lighting is flat. Often all three.
Test with a matte sealer first; check the label says it suits polymer clay and brush it on a baked and cooled scrap from your clay line before the real piece (Liquitex matte varnish is one water-based option to try this way). Rebuild with planes at the 1 mm and 0.5 mm spec. Photograph in side light, not overhead. The cheek shadow is what makes the face read.
The stud post popped off in a pocket or on first wear.
One of three causes: the back was not sanded smooth before bonding, the pad was smaller than the curve, or the adhesive was hot glue or superglue (both fail under shear).
Sand the bond area lightly with 400-grit. Wipe with isopropyl alcohol, let dry. Use a 10 mm flat pad with 2-part epoxy. Some makers test flexible jewelry adhesives on cured scrap first; follow the label and stress-test before wear. Clamp or weight for the full cure time on the package. Usually 24 hours, not 5 minutes.
The piece warped during cure.
Cured on a curved surface, on a mesh rack, or on aluminium foil that flexed. Polymer clay sets to the shape it is on.
Always cure on a flat ceramic tile, face up, with a sheet of parchment between clay and tile. If a piece has already warped, you can sometimes re-warm it briefly at package temperature, press flat on a tile, then re-cure. Only attempt this on a piece you would be okay losing; thin earrings scorch fast.
05 · Questions
Should portrait earrings be full 3D heads or flat plaques?
Portrait earrings often read more clearly as low-relief plaques. A flat or gently curved back can help keep the piece lighter, while thin raised layers for hair, cheeks, lips, and facial planes still give enough depth from the front.
When do I add the facial features on a face plaque?
Solve the plaque outline and big color fields first, then add features once the portrait already reads from a distance. That order keeps the face from drifting while you are still adjusting the head shape.
Should the stud topper be built into the portrait drop?
If the design includes a visible topper, treat it as its own design element. A common starting path is to build the topper and the plaque separately, bake them flat, then assemble with a short connector that still lets the drop hang cleanly.
Do portrait plaques want heavy gloss?
A thick all-over gloss can flood the shallow facial planes and make the piece look more plastic than clay. Many face plaques look better with a softer finish and only selective shine where the design really needs it, so test any clay-compatible finish on a baked sample first.
One pin, the whole build.
Polymer-clay makers live on Pinterest. This card has every spec and the build order on one shareable image.
Relief Faces & Portrait Plaques
- Cut plaque silhouette
- Mark eye, nose, mouth lines
- Place hair mass first
- Add planes, large to small
- Bake flat, then glue post