In brief
Key takeaways
- 1Use nerikomi-inspired for this small layered polymer-clay exercise, and keep the pattern notes tied to the sample
- 2Condition the exact clay by its maker's directions, record one small layered arrangement, and inspect one test face before changing the block
- 3Use the clay maker's conditioning and temperature guidance, then test one small patterned block before choosing any rest time or slicing method
- 4Bake a labeled sample by the exact package and inspect it after cooling before repeating the setup
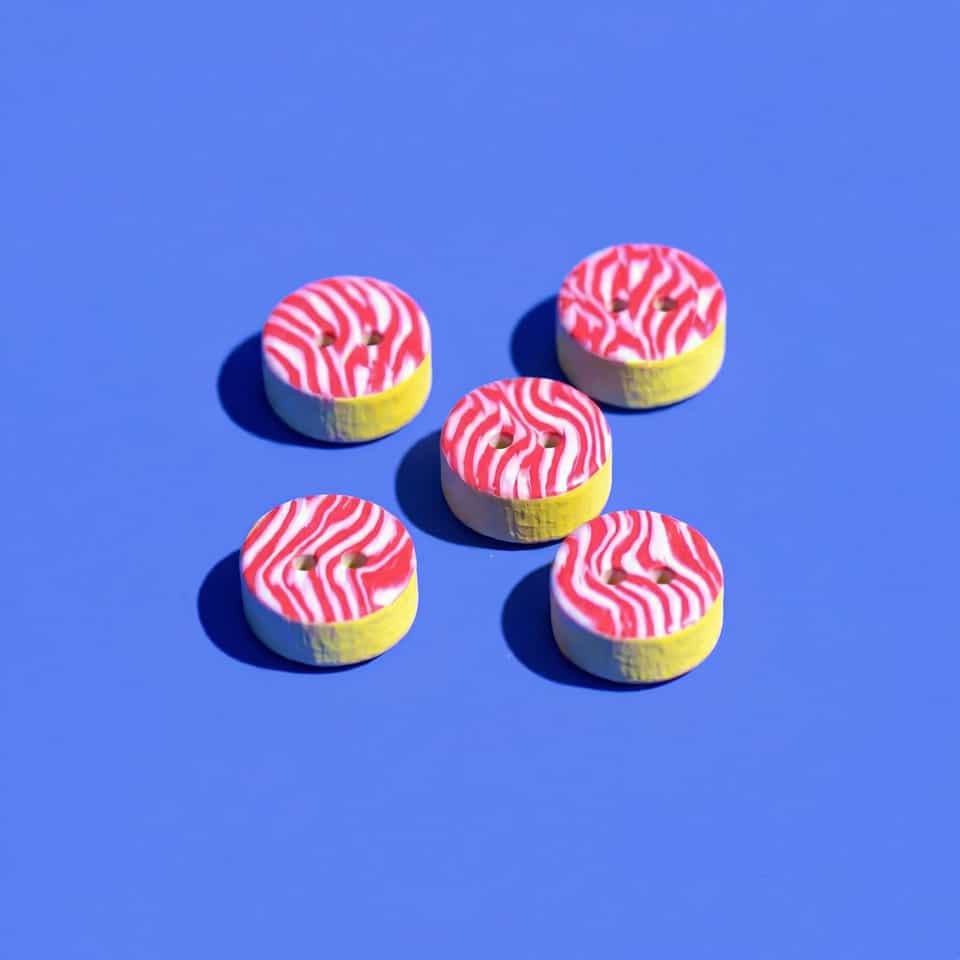
Use nerikomi-inspired as a project label for a polymer-clay pattern made from layered color and a visible cut face. Build one small block first so the pattern, clay feel, and cure stay easy to read.
Choose One Clay Line
Condition the exact clay by its maker's directions, record the colors, and keep the package cure beside the sample. Premo is documented for caning, mica shift, and mokume gane. Sculpey III is documented as soft and easy to use. Those product descriptions do not rank every line for this exercise.
Pick One Pattern Route
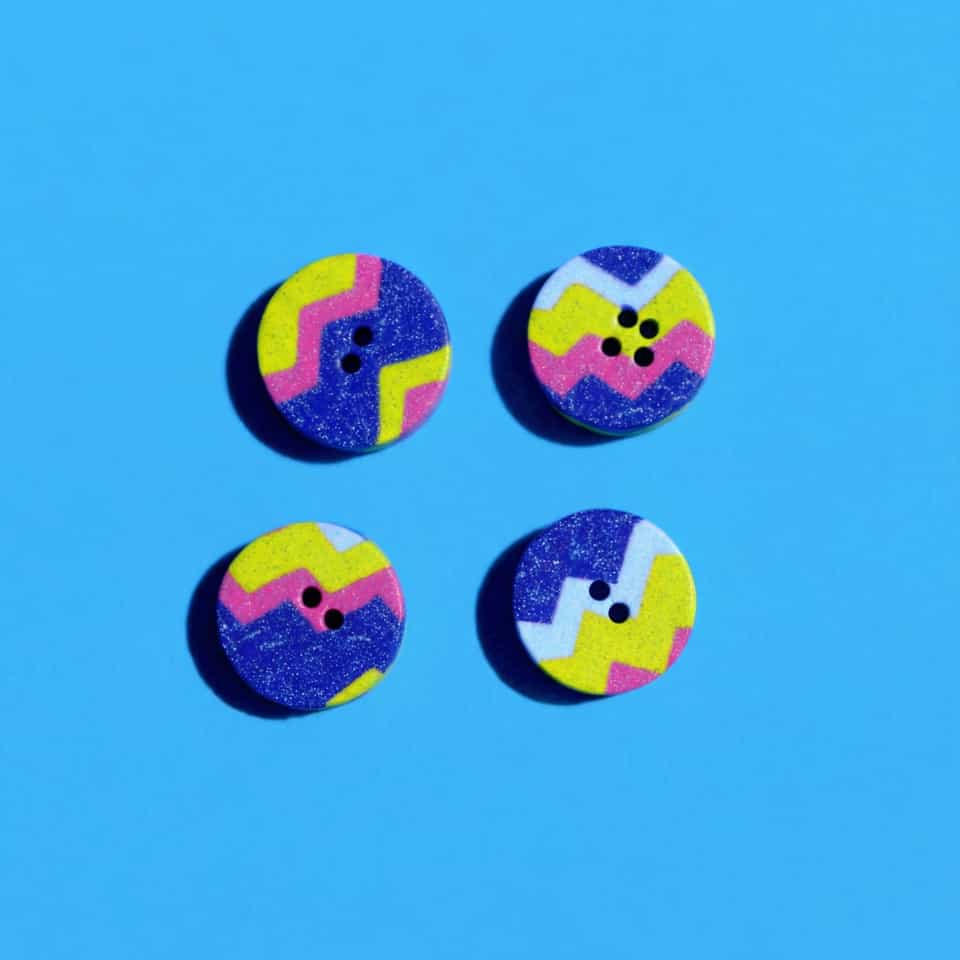
Choose a stripe, spiral, concentric stack, or checkerboard for the first block. These are studio exercises, not a complete nerikomi taxonomy or a claim about the ceramic process. Keep the shapes large enough to see after one test slice.
Build And Cut A Small Sample
- Condition each color and compare the working feel before stacking.
- Assemble one small layered block and record the order.
- Make one controlled size change at a time if you reduce the block.
- Cut one test face with a suitable clay blade used according to its instructions.
- Photograph or label the raw result before cure.
Rest time, reduction pressure, slicing angle, and pattern distortion belong to that recorded sample. Do not publish one universal rest time or reduction sequence until a cane-specific primary source or physical test supports it.
Bake And Finish The Exact Sample
Verify the baking area with an oven thermometer and follow the exact package. Let the sample cool before comparing the pattern. If you add a finish, choose a water-based product whose label supports polymer clay and test it on cured scrap first.
More guides in this path
Open these when the next decision is material choice, attachment, or finishing.

Polymer Clay Surface Effects: Cane, Inlay, Texture, or Print
You added inlay or a cane slice and the surface cracked or the pattern dragged because you chose the wrong technique for the shape. Match the effect to the result you need: repeating pattern (cane), precise placement (inlay), raised detail (applique), or loose texture (marbling/print). Then go to the right deeper guide.

Polymer Clay Cane: A Small Recorded Pattern Exercise
Use a simple patterned-log exercise to test one clay, arrangement, cut face, and package-directed bake without turning it into a universal cane method.

Sanding and Buffing Polymer Clay: Pressure and When to Stop
Start with Sculpey's documented wet-sanding range, use progressively finer paper with water, and test pressure and sheen on cured scrap before finishing a batch.
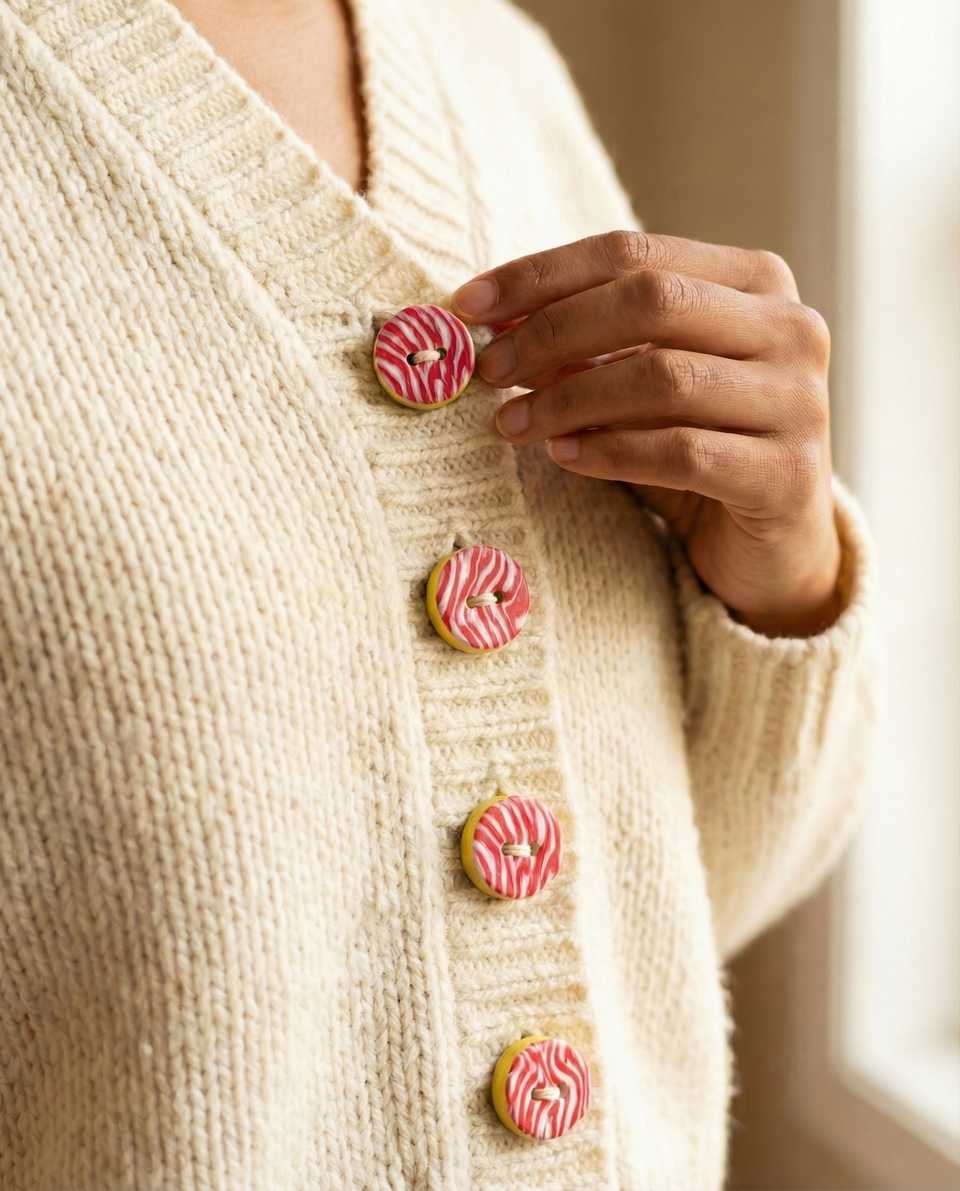
Finished examples with related clay decisions
Each piece shows how a material, attachment, or surface choice changes the final form.