Polymer Clay Surface Applique and Confetti Inlay Guide
If an inspiration piece looks like it was built from placed petals, dots, lips, stars, or tiny cut motifs, this is usually the technique family you need. Learn when to applique, when to press pieces flush, and how to keep flat builds crisp instead of lumpy.

In brief
Key takeaways
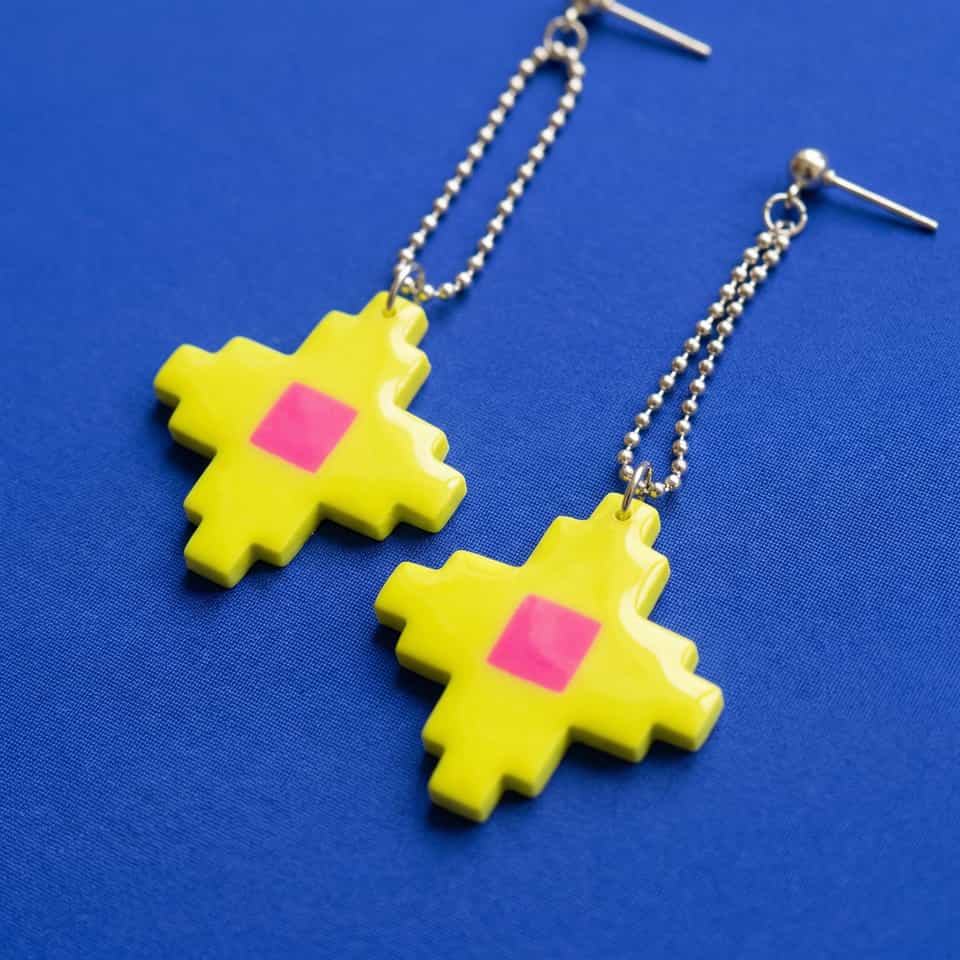
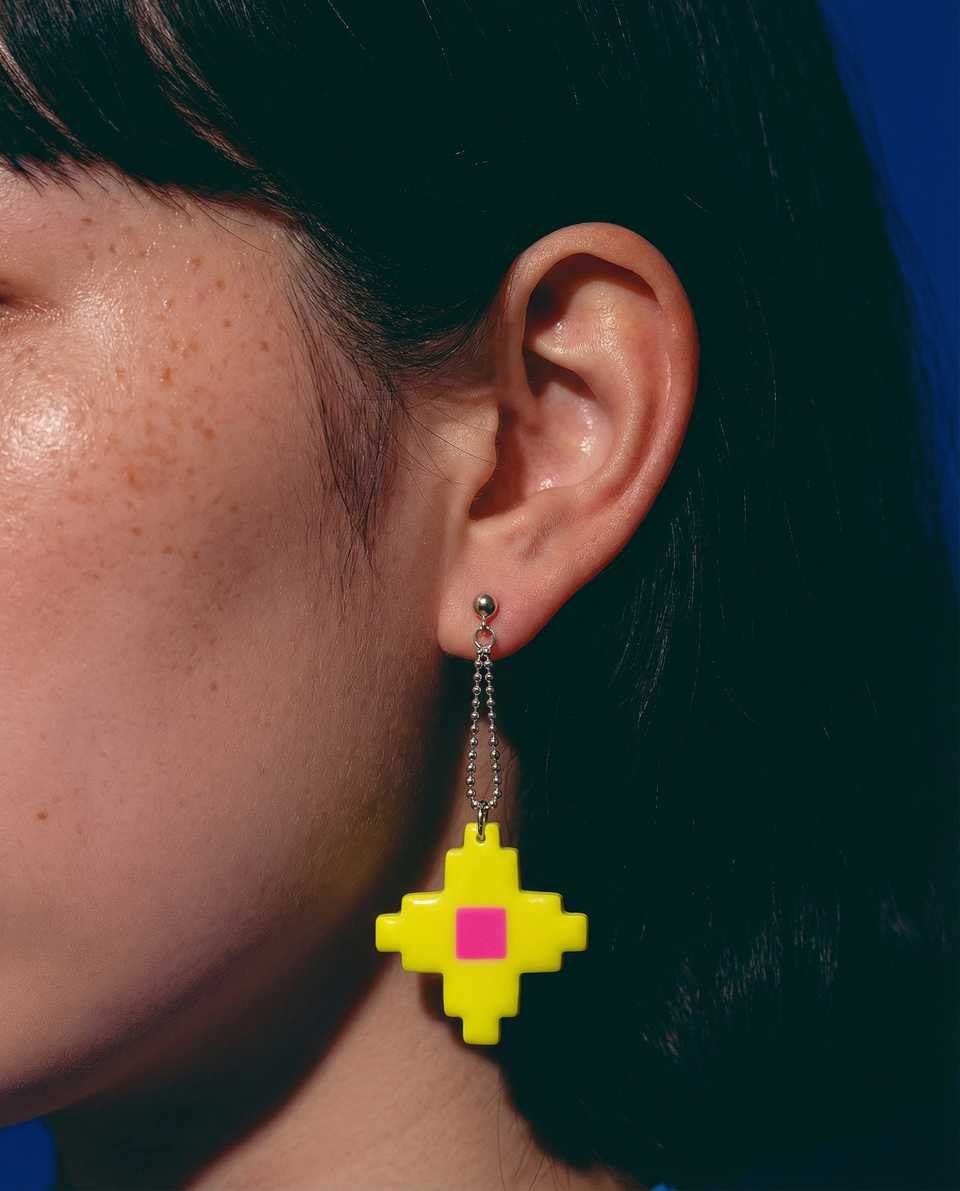
- 1Applique keeps the motif raised; inlay presses the design flat into the base. Pick which read you want before you cut the pieces
- 2Build the base slab first, then cut your repeated petals, dots, or graphic pieces in batches before attaching anything
- 3Press only hard enough to seat the motif. Pressing harder blurs the edges and bows the base out of true
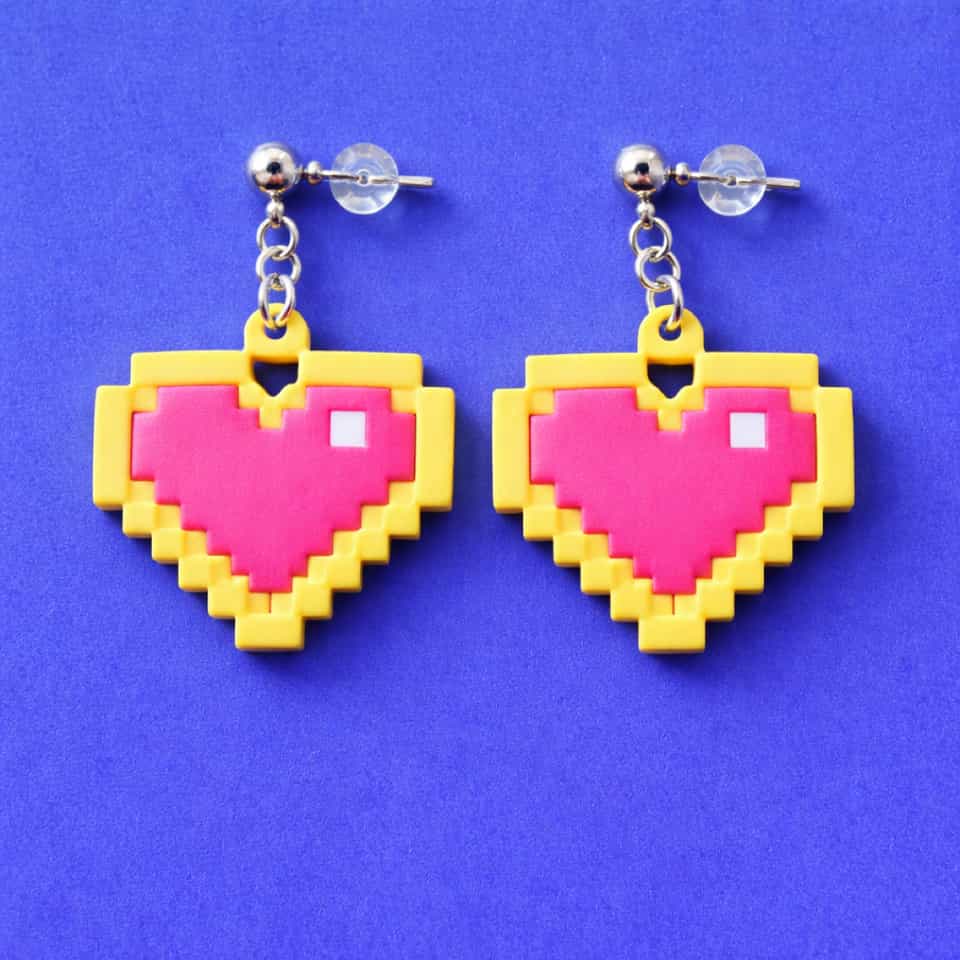
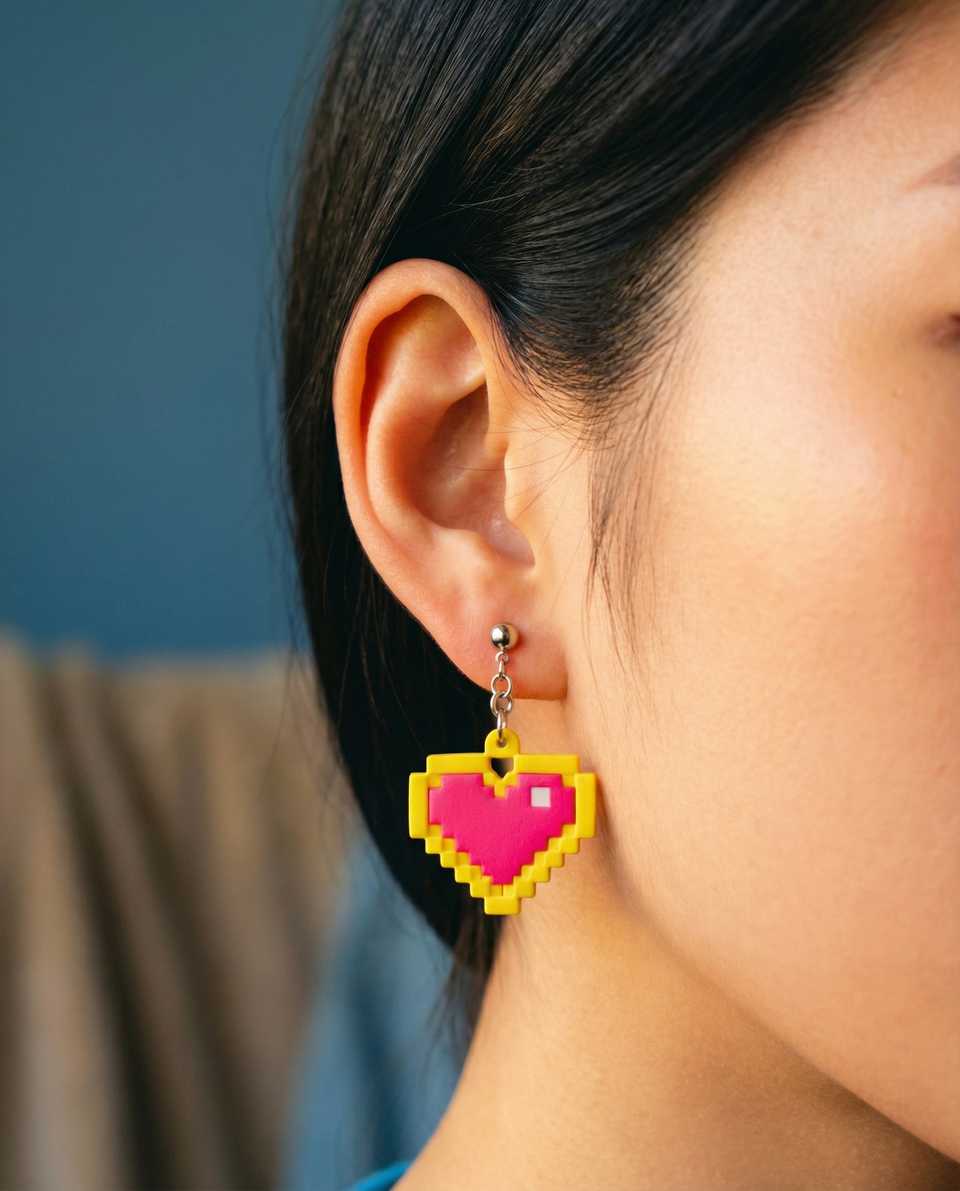
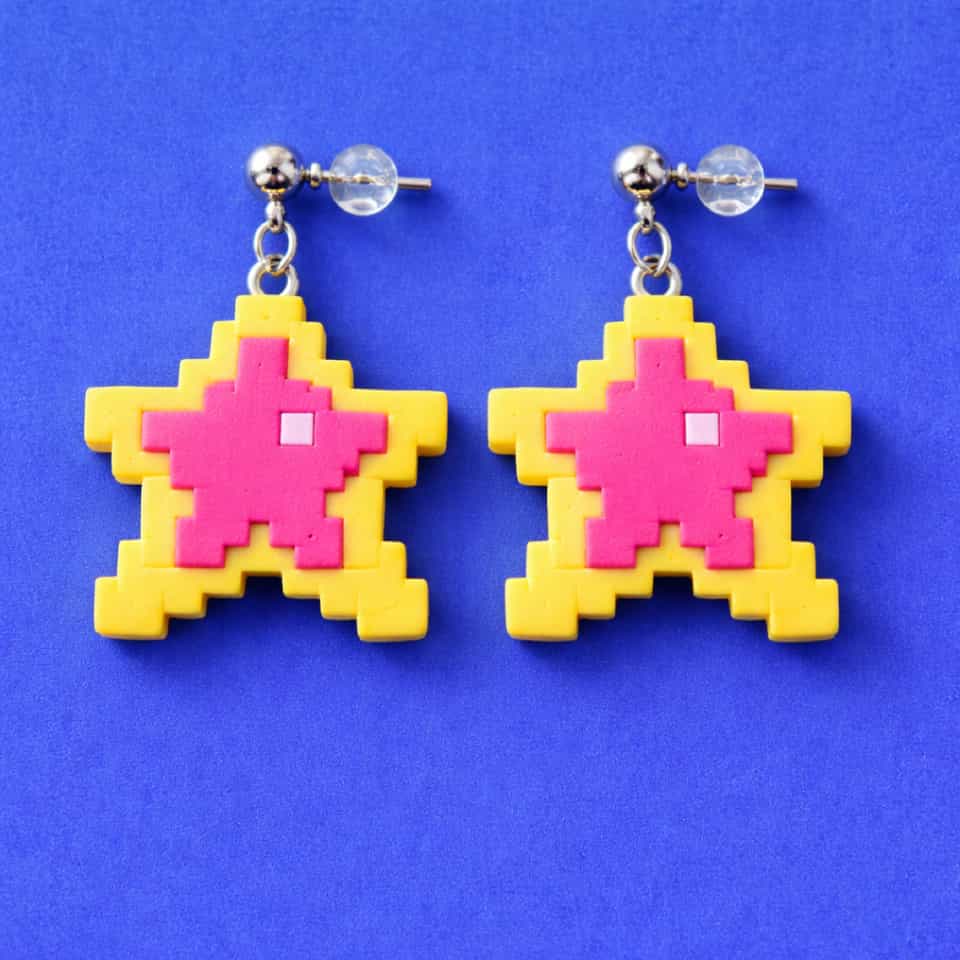
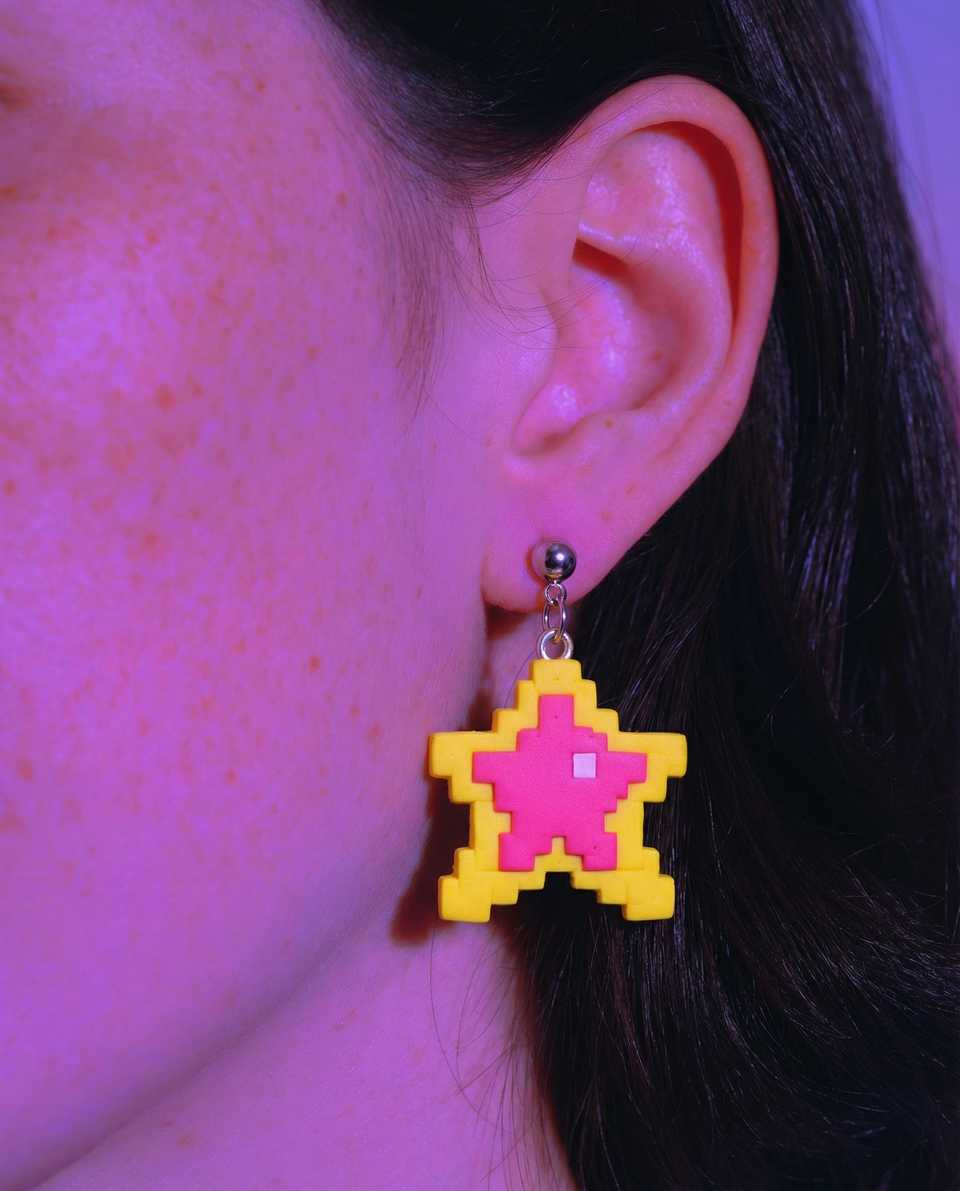
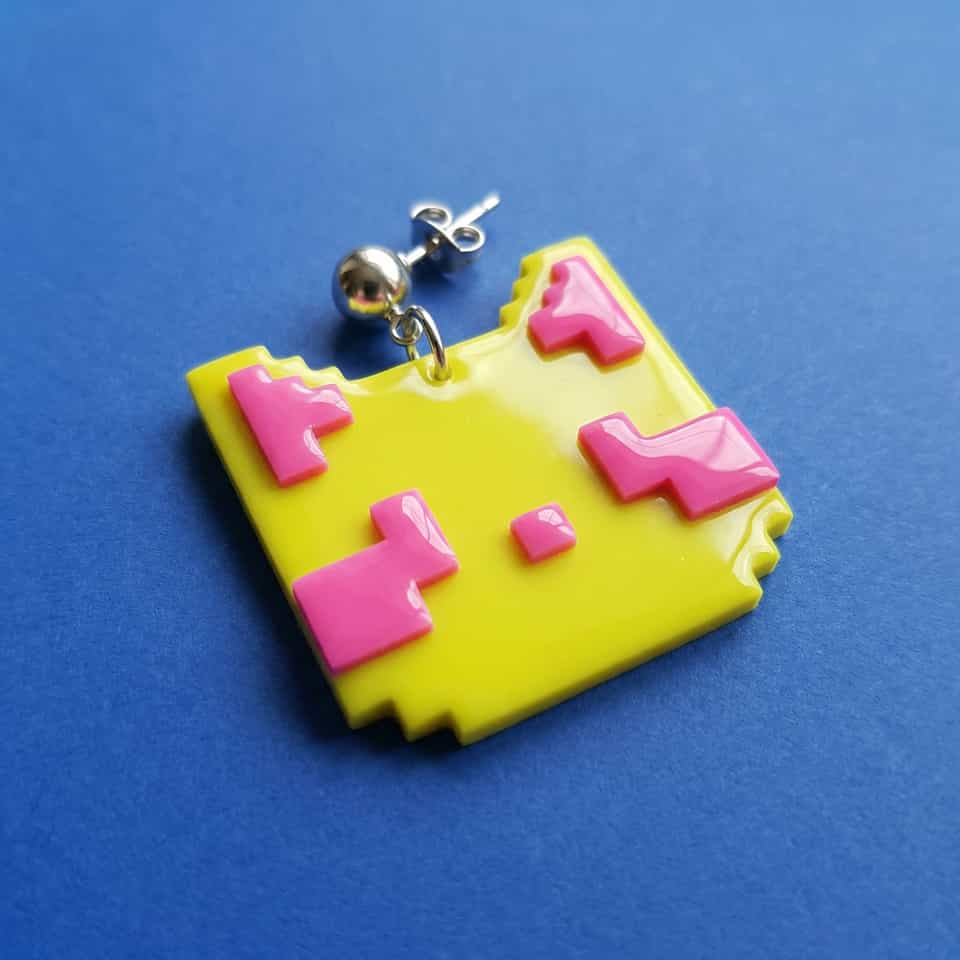
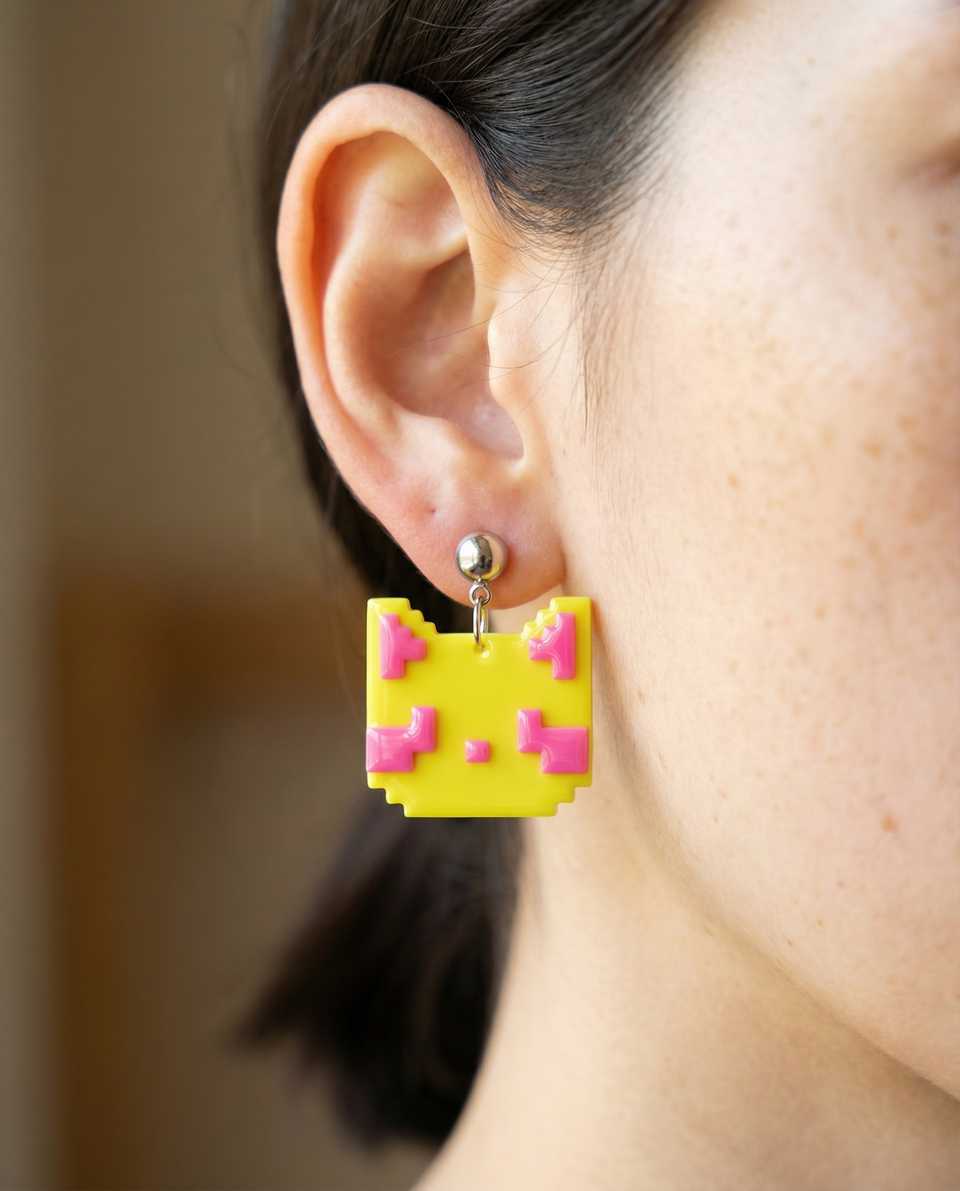
- 4Flat buttons, brooches, and pendants usually read cleaner with shallow relief than with thick stacked layers
Use applique and inlay as project labels for one recorded base-plus-motif sample. This page does not promise a bond, wear life, or finish result.
Record One Base And Motif Layout
Choose one exact clay line, base shape, small motif arrangement, and set of dimensions. Record placement as a visual decision rather than a universal pressure or attachment rule.
Use Adhesive Only Within Its Instructions
If the sample needs Sculpey Oven-Bake Clay Adhesive, use only its documented raw-to-raw or raw-to-baked workflow and exact bake directions. Do not transfer that guidance to another liquid clay, FIMO product, Cernit product, or generic adhesive category.
Keep Product Claims Exact
Do not claim that a named clay is better for tiny motifs or that sanding, partial curing, liquid clay, or a finish improves grip unless the exact maker documents that complete setup.
Bake One Labeled Sample
Follow the exact clay and adhesive instructions, verify the baking area with an oven thermometer, and let the piece cool. Inspect and photograph the sample, then change one recorded variable before another test.
More guides in this path
Open these when the next decision is material choice, attachment, or finishing.

Polymer Clay Surface Effects: Cane, Inlay, Texture, or Print
You added inlay or a cane slice and the surface cracked or the pattern dragged because you chose the wrong technique for the shape. Match the effect to the result you need: repeating pattern (cane), precise placement (inlay), raised detail (applique), or loose texture (marbling/print). Then go to the right deeper guide.

Polymer Clay Terrazzo Slabs, Chips, and Clean Cuts
Terrazzo slabs turn muddy when chips drag, sink unevenly, or blur into the base color during rolling. The fix starts with chip size and density decisions before you ever press them in.

Two-Color Flower Applique: Buttons, Pendants, Earrings
Hand-built two-color flower applique for buttons, pendants, and earrings looks deliberate when the petal layer, contrasting center disc, and tiny accent dot are built in scale relationships. This guide covers petal cutter sizing, center disc proportions, and how to seat the parts without flattening the petals.
Finished examples with related clay decisions
Each piece shows how a material, attachment, or surface choice changes the final form.