How to Make Faux Bakelite in Polymer Clay (Cherry-Amber Swirl Tutorial)
The cherry-amber faux bakelite look depends on a twisted swirl, not an over-blended marble. This guide covers the color mix, how to stop before the vein muddies, and how to slice the cane so the pattern stays distinct on buttons or drops.

In brief
Key takeaways
- 1Build a warm translucent base with red and a touch of brown so the swirl glows like aged bakelite instead of reading as flat plastic
- 2Drop the contrast color in as a separate log inside the base, then twist and fold four to six times. Stop while the veining still reads distinct
- 3Slice perpendicular to the twist axis. Slicing parallel turns the swirl into stripes
- 4Press the slices onto the backing slab without re-rolling. Re-rolling smears the cherry-amber veining and the bakelite read disappears
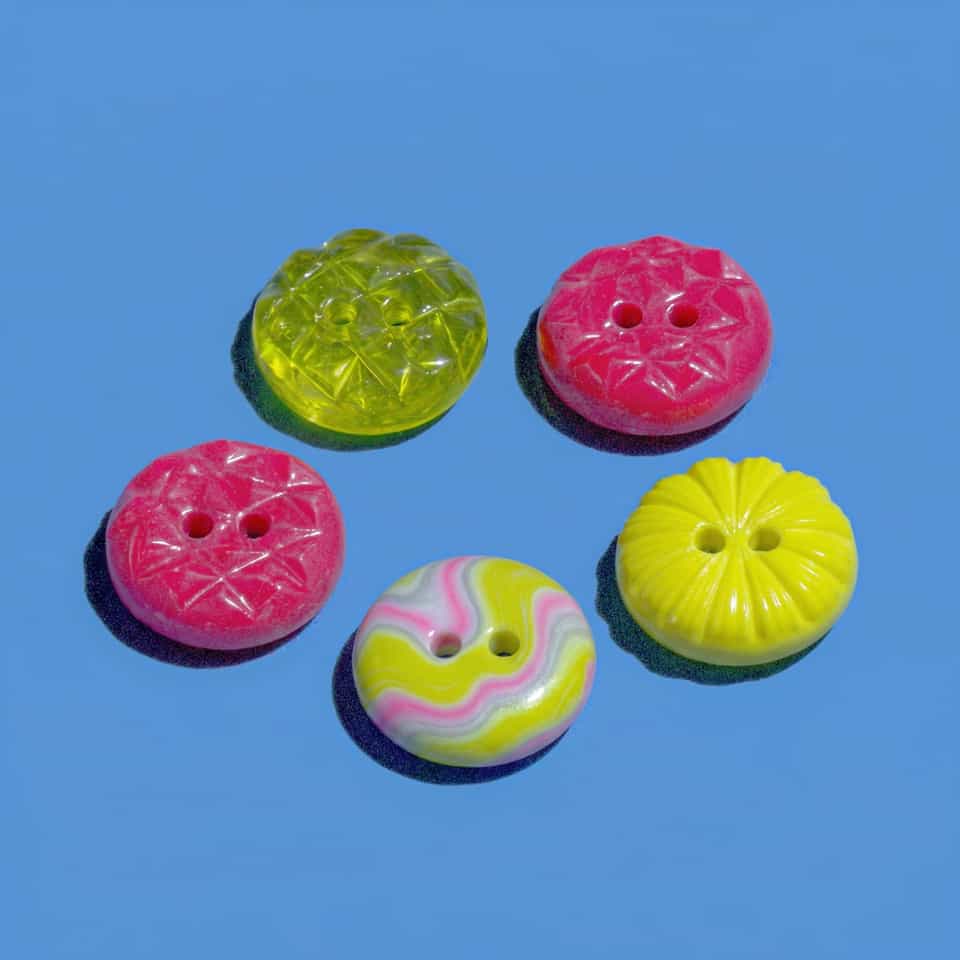
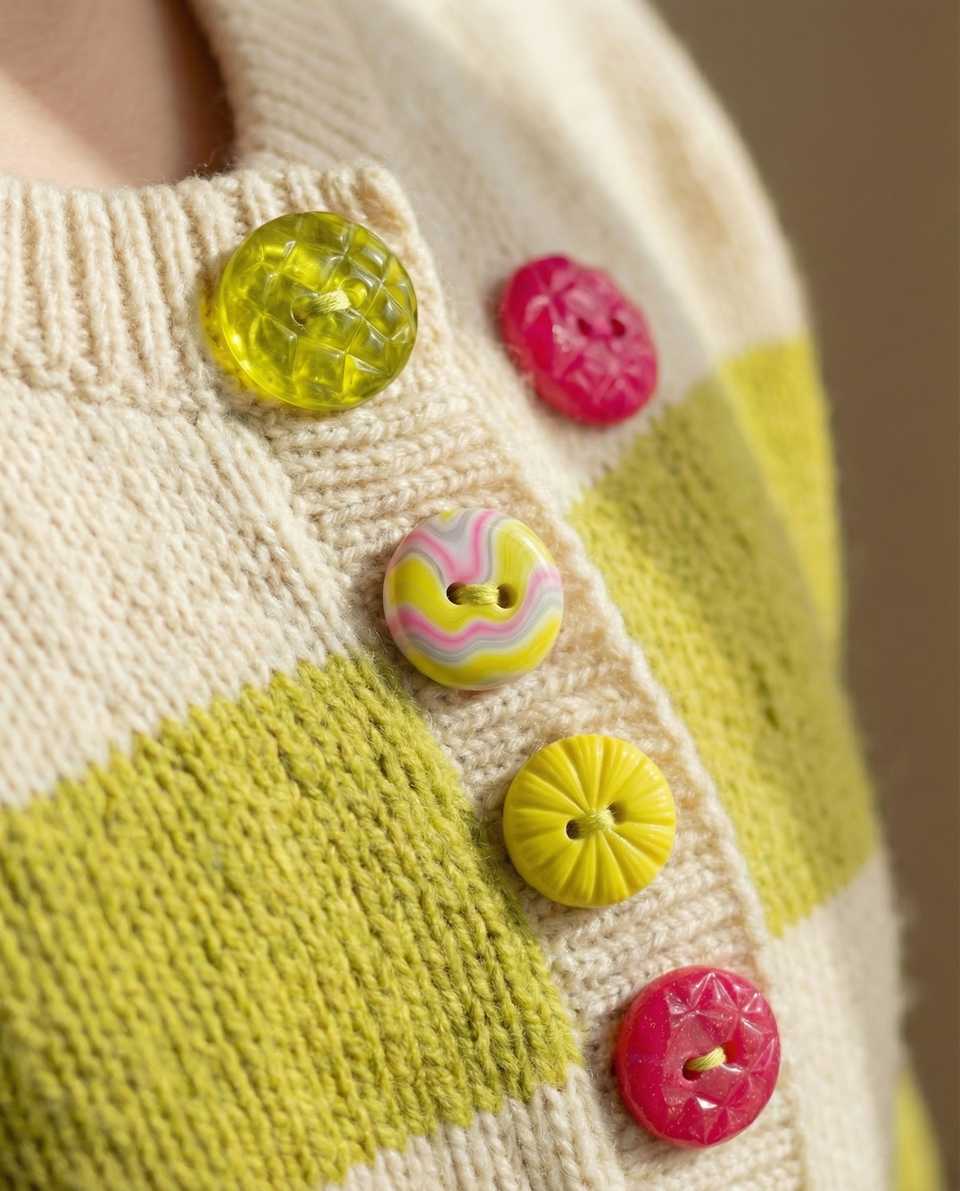
A good faux bakelite button glows. Hold it up to a window and the cherry-amber base catches a little light through the surface, with darker veins running through it that look hand-cut rather than printed on. The veins curve and break the way real 1930s and 40s bakelite jewelry does, never quite mixing into the base color. That glow plus those distinct veins are what you are aiming for, and once you have seen one in clay you stop confusing it with a marble.
The difference between bakelite and a marble is the twist. A marble is folded and pressed; a bakelite swirl is twisted along its length, then sliced across the twist so the veins stay distinct. Three things have to land to make that work: a warm translucent base, a restrained contrast color kept as its own log until the twist, and a slice that runs perpendicular to the spiral. Get those three right and the look holds up across a full set of buttons or drops.
Build A Warm Translucent Base, Not A Solid Red
Faux bakelite glows because the base clay is partly translucent. Solid red clay alone reads flat and plastic, not like aged bakelite.
A common starting recipe for the base is one part translucent clay, one part warm red, and a small pea of burnt umber or dark brown for warmth. Translucent clay carries light through the cured surface, which is what gives bakelite its characteristic depth. Without it, the swirl will look like a saturated red marble, not a vintage button.
Condition each color separately first. The translucent and the red need to be at the same softness before mixing, or the swirl ends up uneven from the start. If one feels stiffer than the other, give the harder block a few extra passes through the pasta machine before combining anything.
Mix the base by rolling the colors together until they are fully blended into one uniform warm amber. This is the only fully blended step in the whole build. Everything that comes after stays partially separated on purpose.
Translucent batches vary. Some Sculpey Premo Translucent blocks read more amber, others read more milky. Cernit Number One Translucent is often warmer in tone. FIMO Effect Translucent can read cooler. Test a small pea-sized cured sample before you commit a whole batch, since the same recipe can shift across boxes.
Add The Contrast Color As A Separate Log, Not A Mix-In
The contrast color stays its own piece of clay until the twist. Do not pre-mix it into the base.
Roll the contrast color into a thin log roughly half the diameter of the base log. A darker red or red-brown works well; pure black usually reads too harsh and does not match the bakelite character. If you want a more dramatic vein, try Sculpey Premo Burnt Umber or a deep cranberry mix.
Lay the contrast log along the length of the base log, then gently fold the base around it so the contrast color sits inside without touching itself. This sets up the swirl properly. If the contrast color crosses itself early, the twist later will create thick clumps rather than veining.
Twist And Fold Until The Vein Reads Cleanly
The twist is the technique. Twist the combined log along its length, fold it in half, and twist again until the contrast color reads as veining instead of chunky bands.
Hold the log at both ends and rotate one hand forward while the other hand stays still. The clay log spirals along its axis. Once it looks ropy, fold it in half end to end, press the two halves together gently, and roll it back into a single log. Then twist again.
Each twist-and-fold pass thickens the swirl by halving the spacing of the contrast color. Early passes leave obvious bands. Too many passes blend the contrast into the base and you lose the swirl entirely.
Stop watching pass counts and start watching the slab. As soon as the contrast color reads as veining rather than blocky bands, stop. If you pushed too far and the swirl is fading, add a fresh thin contrast log along the side and re-twist once more. You cannot un-blend, but you can refresh.
Slice Perpendicular To The Twist
Slice across the twist axis, not along it. This is what exposes the swirl pattern instead of long lines.
Stand the twisted log upright or hold it horizontally and run a thin clay blade through it at a roughly 90 degree angle to the long axis. Slice a little heavier for a button face and a little thinner for drops or stacked layers, then compare the result on a sample build.
If you slice parallel to the twist, you get long stripes instead of swirls. That is the muddy striped look people complain about. Stay perpendicular and the swirl reads cleanly on every slice.
For buttons, plan the slice with the backing slab in mind so the front still feels sturdy after layering. For drops or studs, keep the slice lighter and let the plain or matched backing carry the structure.
Press The Slice Onto The Backing By Hand
Press the bakelite slice gently onto its base layer or into a button mold. Skip the rollers from here on, because another pass smears the swirl back into stripes.
If you need to thin the slice slightly to fit a build, press it with a flat acrylic block or with light fingertip pressure rather than running it back through the pasta machine. Each pass through the rollers stretches the swirl into stripes again, undoing the twist work.
For buttons cast in a silicone mold, lay the bakelite slice face-down into the mold cavity and back it with a quieter color of conditioned clay. Press the back of the mold flat with a tile and pop the button out. The face shows the swirl, the back is clean, and the slice never had to be re-rolled.
For drops and slab earrings, lay the slice on a thicker backing slab of solid color, press the seam closed at the edges, then trim the final shape with a cutter. Cut once and lift cleanly so the surface stays untouched after the cut.
Bake Flat, Then Finish So The Amber Reads Warm
Bake the bakelite pieces flat per your clay line's package directions. Finish for warmth, not just shine.
Bake on a ceramic tile at the temperature printed on your clay package. Sculpey Premo packaging lists 275°F (130°C) for 30 minutes per 1/4 inch (6 mm) of thickness, but verify your oven with a separate oven thermometer before baking a full batch. Translucent clay can darken if the oven runs hot, which can either deepen the bakelite glow nicely or push it past the cherry-amber tone you wanted.
After cure and full cooling, sand the back with 400 then 600 then 800 grit wet sandpaper. Buff the front gently. A satin or low-gloss water-based polymer clay glaze will deepen the amber tone the way a vintage bakelite finish reads. Heavy gloss can flatten the veining read, especially on small buttons or drops where the swirl scale is already small.
The Four Choices That Make The Cherry-Amber Swirl Work
Faux bakelite, cherry-amber swirl, and vintage button swirl all hinge on a small set of choices: a warm base log, a restrained contrast vein, the twist count, and the slice direction. Plan all four before you start flattening the surface.
Once the swirl reads warm under daylight without muddying at the joins, the batch is ready for buttons or drops.
For the resin-domed finish that often pairs with bakelite buttons, see the UV and epoxy resin doming guide next.
More guides in this path
Open these when the next decision is material choice, attachment, or finishing.

Polymer Clay Surface Effects: Cane, Inlay, Texture, or Print
You added inlay or a cane slice and the surface cracked or the pattern dragged because you chose the wrong technique for the shape. Match the effect to the result you need: repeating pattern (cane), precise placement (inlay), raised detail (applique), or loose texture (marbling/print). Then go to the right deeper guide.

How to Resin Dome Polymer Clay: Label-First UV and Epoxy Workflow
A clean resin dome on polymer clay needs a fully cured clay base, controlled drop volume, protected holes, and the exact resin label for lamp, layer, PPE, ventilation, and cure timing.

How to Marble Polymer Clay: Beginner Tutorial (Step by Step)
Learn how to marble polymer clay with three colors, a roller, and a blade. A beginner tutorial with pulled, stacked, and tile-cut variations, plus the fix for muddy slabs.
Finished examples with related clay decisions
Each piece shows how a material, attachment, or surface choice changes the final form.