Start here
What to choose and check first
Most makers choose between water-based polyurethane (Varathane-style), a brand-matched water-based glaze (Sculpey or Premo), or a wax finish. Match the sealer to the clay line and the finish you want, then test on a baked and cooled scrap before committing.
- 1Pick by clay-line compatibility first, sheen second. The same sealer can dry hard on one clay line and stay tacky on another, so test on the exact line you bake
- 2Water-based polyurethane (Varathane-style) is a forgiving all-rounder with lower yellowing risk than oil-based
- 3Brand-matched glazes from Sculpey or Premo are a safer first test than generic glazes when sealing the matching clay line
- 4Wax (Renaissance, microcrystalline, carnauba blend) gives a soft buffed sheen without a film. Not for high-gloss, not for water exposure
- 5Test the exact product on a baked and cooled scrap from the same clay line, and skip sealer entirely on well-cured matte pieces that do not need it
The shortlist is judged by the real finishing tradeoffs: clay-line compatibility, sheen control, yellowing tendency, application method, and how reliably the cured surface holds up under handling and sanding pressure.
Water-based polyurethane (gloss or satin)
Water-based polyurethane is one of the more forgiving categories on cured polymer clay. Yellowing risk runs lower than oil-based polyurethane. Follow the product label for surface prep, coat thickness, and full cure window.
Brand-matched water-based glaze
Sculpey and Premo glazes are formulated to be compatible with their own clay lines. Brand-matched is often a safer first test than a generic glaze, but a sample on scrap from the same line is still the rule.
Wax finish (Renaissance or carnauba blend)
Renaissance wax and similar microcrystalline or carnauba blends give a soft buffed sheen without a visible film. Not for high-gloss looks, not for high-wear water exposure. Apply thin, buff to a low sheen.
Three sealers later and the surface still looks wrong. The fix is usually not "a different brand"; it is matching the sealer to the clay line, the finish you want, and what the piece will actually do.
Sealer shopping is really compatibility shopping. Blue Bottle Tree dominates this conversation with a 41-product polymer clay sealer test page, and the lesson from that authority work is the same lesson most working makers eventually learn: products that look identical on the shelf can behave very differently on a baked and cooled scrap from your specific clay line.
Quick Comparison: Three Sealer Categories Worth Testing
Most polymer clay sealing decisions come down to three categories. Pick by the finish you want and the clay line you are sealing, then try the product on a baked and cooled scrap before scaling to a real piece.
| Sealer Type | What It Does | Best For | Sample-Test Before Use |
|---|---|---|---|
| Water-based polyurethane (gloss or satin) | Builds a clear protective film. Lower yellowing tendency than oil-based. | All-rounder when a protective film is the goal | Confirm the formula is water-based, check for tack on the exact clay line |
| Brand-matched water-based glaze (Sculpey, Premo) | Designed to be compatible with the same brand of clay. | Sealing pieces from the matching clay line | Test on scrap from the same line, in gloss or matte as needed |
| Wax finish (Renaissance, microcrystalline, carnauba blend) | Soft buffed sheen without a visible film. No glossy plastic look. | Sanded matte pieces where film coatings feel wrong | Apply thin, buff back, check sheen evenness |
Maker note on clay-line compatibility: the same finish can behave differently from one clay line or surface texture to the next. A sealer that dries clean on one line can stay tacky on another, and a glaze that beads up on a soft matte surface can lay flat on a smoother one. Try the product on a baked and cooled scrap from the exact clay line you used for the real piece, with the same surface treatment, before committing to a batch. The Blue Bottle Tree sealer test page is a useful authority list for which specific products have been put through long-term testing on cured clay.
Water-Based Polyurethane: The Most Forgiving All-Rounder
Water-based polyurethane is one of the more forgiving sealer categories on cured polymer clay. Varathane-style products give a clear film that comes in gloss, satin, and matte sheens, and the yellowing tendency runs lower than traditional oil-based polyurethane. Brushing thin coats with a soft synthetic brush is usually the most controlled application for small pieces. Spraying is faster across a batch but adds frosting risk at the wrong distance or in cold or humid air.
One important note: do not confuse water-based polyurethane sealer with floor finish products. Pledge floor finish (acrylic, discontinued by SC Johnson in 2022, listed here for context only since it is still cited in older polymer clay tutorials) is a different polymer family from polyurethane and is no longer produced. If you want a polyurethane finish, buy one that is sold as a clear water-based polyurethane and follow its label directions for surface prep, coat thickness, drying time between coats, and full cure window.
Practical brushing notes from working makers: a soft synthetic brush, around a half-inch flat, holds enough product for a single earring without dragging. Load the brush, tap off the excess on the side of the jar, and lay one continuous coat in one direction. Resist the urge to back-brush over a half-set film, since that is what creates streaky drag marks. Let the first coat reach the label's recoat time before the second pass.
Polymer-Clay-Compatible Water-Based Glazes
Sculpey and Premo both sell water-based glazes formulated to be compatible with their own clay lines, in gloss and matte versions. Brand-matched glazes are often a safer first test than a generic craft glaze for one simple reason: the clay maker designed the glaze to work with the same chemistry. That does not make them universally safer than every alternative, but it is a reasonable starting point if you are sealing a Sculpey or Premo piece and you do not want to chase compatibility surprises.
The test-on-scrap rule still applies. Brand-matched does not equal guaranteed-compatible across every surface treatment, finish stack, or clay color. Apply a thin coat to a baked and cooled scrap from the same line and let it reach the product's full cure window before judging the result.
Wax for a Soft Buffed Sheen
Renaissance wax and similar microcrystalline or carnauba-blend waxes give a soft buffed sheen without a visible film coat. The hand-feel is closer to bare polished clay than to a sealed piece. Wax is a good choice when you have already sanded a piece to a clean matte and you want a low-sheen surface finish that does not change the look much. Apply a thin layer with a clean cloth, let it haze briefly, and buff back to the sheen you want.
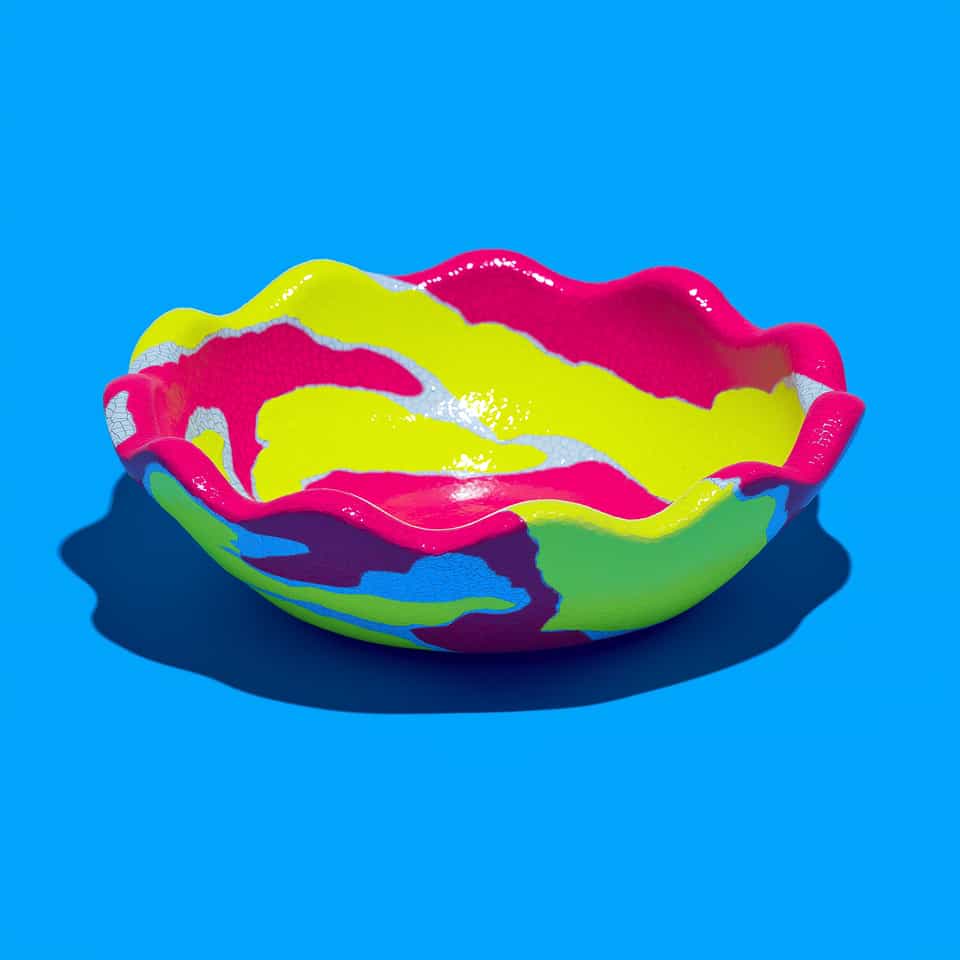
Wax is not the right pick for high-gloss looks or for high-durability water exposure. The film is thin and will need re-application over time on a piece that gets handled often. For trinket dishes and decorative cabochons that live indoors, a wax pass is often all the finish a sanded matte piece needs.
Wax also works well as a final pass on top of a fully cured sealer. A piece sealed with water-based polyurethane and then given a thin wax buff reads softer than the polyurethane alone, while keeping more of the protective film underneath. Sand the polyurethane lightly with a high grit (around 1500 to 2000) before the wax pass if you want a more even sheen. As always, the full-cure window of the polyurethane has to come first.
How to Read a Sheen Choice in Light
The sheen choice is harder to undo than the brand choice. A gloss sealer is hard to convert to satin or matte without sanding it back. A matte piece can usually be lifted to satin with a wax buff or a thin gloss top coat, but going the other direction means starting over.
Decide the sheen by holding the unsealed cured piece next to a window in indirect light. If the piece already reads how you want, wax or no sealer may be enough. If the colors look washed out or the surface details disappear, gloss or satin will deepen the read. If the surface looks too plastic or too shiny under direct light, matte will calm it down. Decide piece by piece, since the same color can want different sheens depending on whether it is a flat slab earring, a curved cabochon, or a textured pendant.
Finishes That Can Stay Tacky (and What to Reach For Instead)
A few finishes behave unpredictably on cured polymer clay. For each one, here is the more reliable choice and the material reason behind it.
- Solvent-based polyurethane: water-based polyurethane ambers less and is gentler on the cured surface, so reach for the water-based version when a film finish is the goal. Certain solvents can attack or soften the cured clay surface.
- Nail polish: nail polish is reported to stay tacky on cured polymer clay long after it would set on a nail, so a water-based glaze or polyurethane is the more reliable clear coat here.
- Acrylic spray sealer: follow the can directions for distance, temperature, and humidity, and test on scrap first, since sprays can frost when applied too close, in cold air, or in high humidity.
- Water-based decoupage and craft glues: finishes from outside the polymer clay aisle can behave differently on cured clay than on paper or wood, and the same product can dry clean on one clay line yet stay tacky on another, so test the exact product on a baked and cooled scrap from your line before a real piece; a sealer made for polymer clay, such as a water-based glaze, is the lower-surprise route. The Blue Bottle Tree sealer testing page has documented these clay-and-finish combinations in detail.
How to Test a Sealer Before You Commit
One controlled test routine prevents most sealer disasters. Run this on every new sealer or every new clay line, even when you have used the sealer before on a different line.
- Bake a scrap from the same clay line. Same brand, same color family, same thickness, same finish work as the real piece. Cure at the package directions for that line.
- Cool fully and clean the surface. Let the scrap return to room temperature. Wipe off any sanding dust or residue using a method the sealer label supports.
- Apply one to two thin coats per the product label. Use the application method (brush or spray) you plan to use on the real piece. Respect the drying time between coats.
- Wait for the label's full cure. Drying is not full cure. Some sealers need 24 to 72 hours to reach their real hardness.
- Stress-test the cured sample. Press a fingernail in lightly. Check for tack, dimpling, or soft spots. For wearables, do a one-day wear test on a sample pair before committing to a batch.
If the sample fails, change one variable at a time. Different sealer, different clay line, different application method. Do not change the entire setup at once or you will not know what fixed it.
When to Skip Sealer Entirely
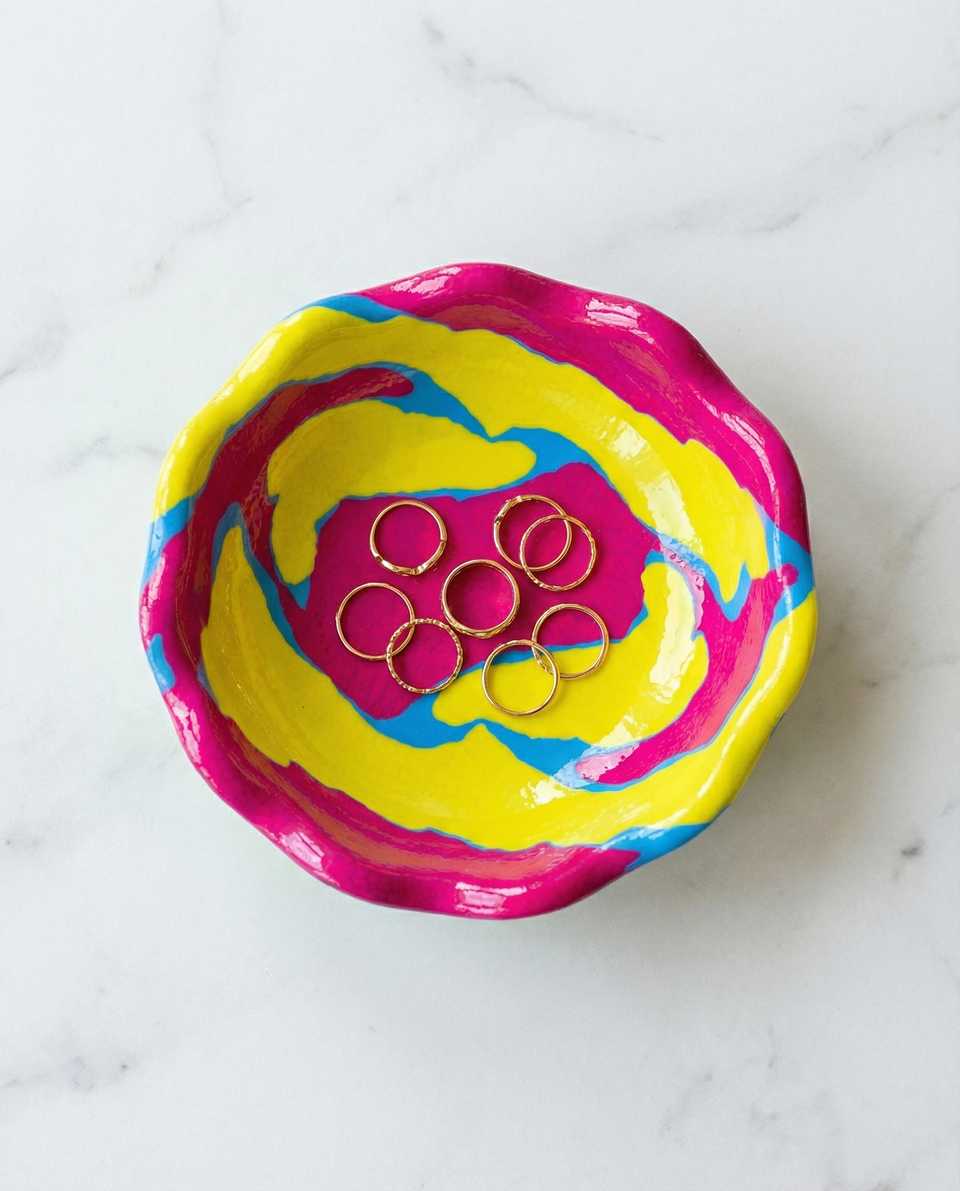
Many polymer clay pieces are fine without sealer. A well-cured matte piece, a sanded and buffed cabochon, or a piece that is never going to face water can often skip the sealing step entirely. Sealing adds a film that can scratch, peel, dull over time, or shift the color read in ways you did not intend.
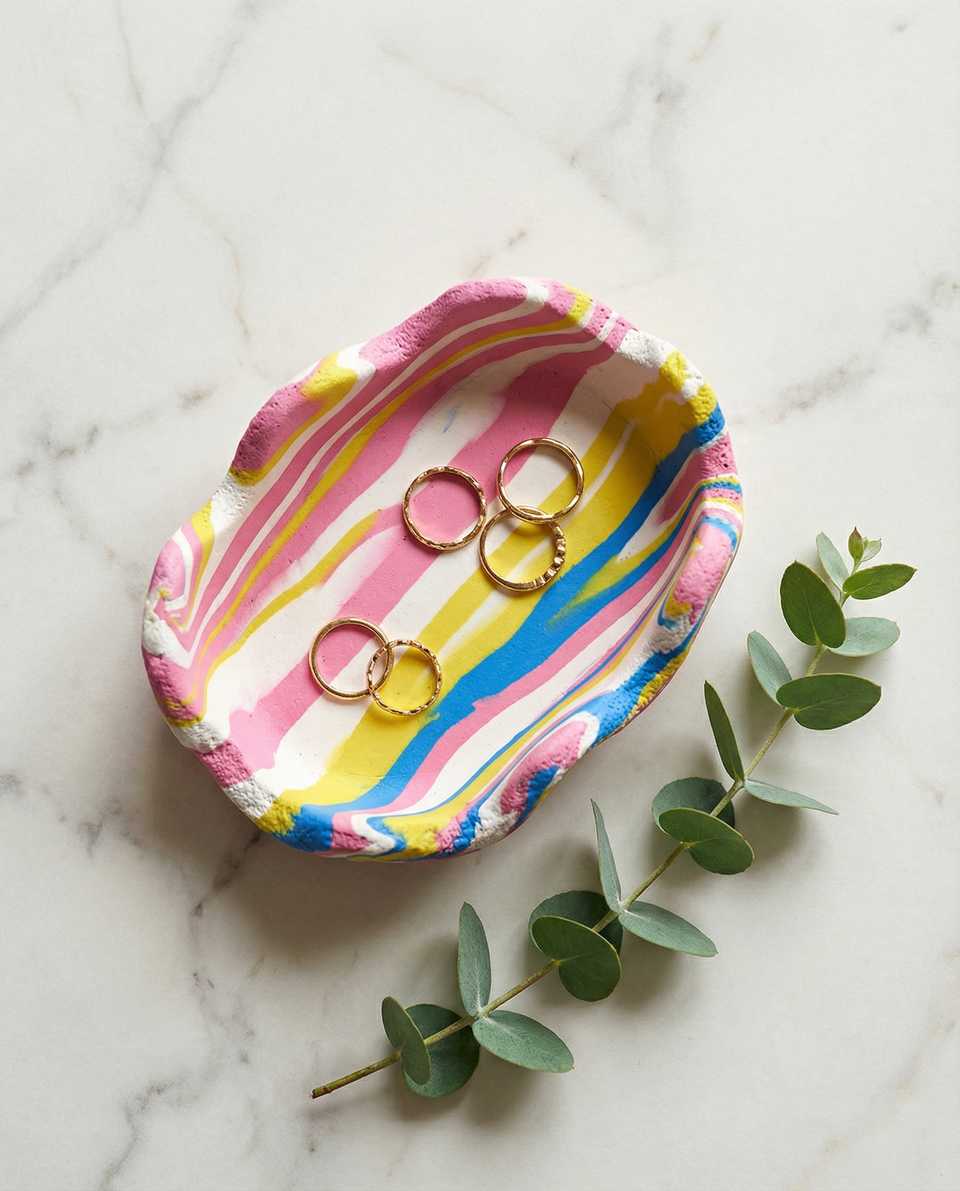
Skip sealer when the baked and cooled surface already reads how you want it, when the piece is not headed for water or heavy abrasion, and when you are not trying to deepen color or unify a mixed-sheen finish. For trinket dishes that live indoors, brooches that sit on a coat lapel, and statement studs that get light wear, no-sealer is a valid finish choice. Decide piece by piece, not as a default.
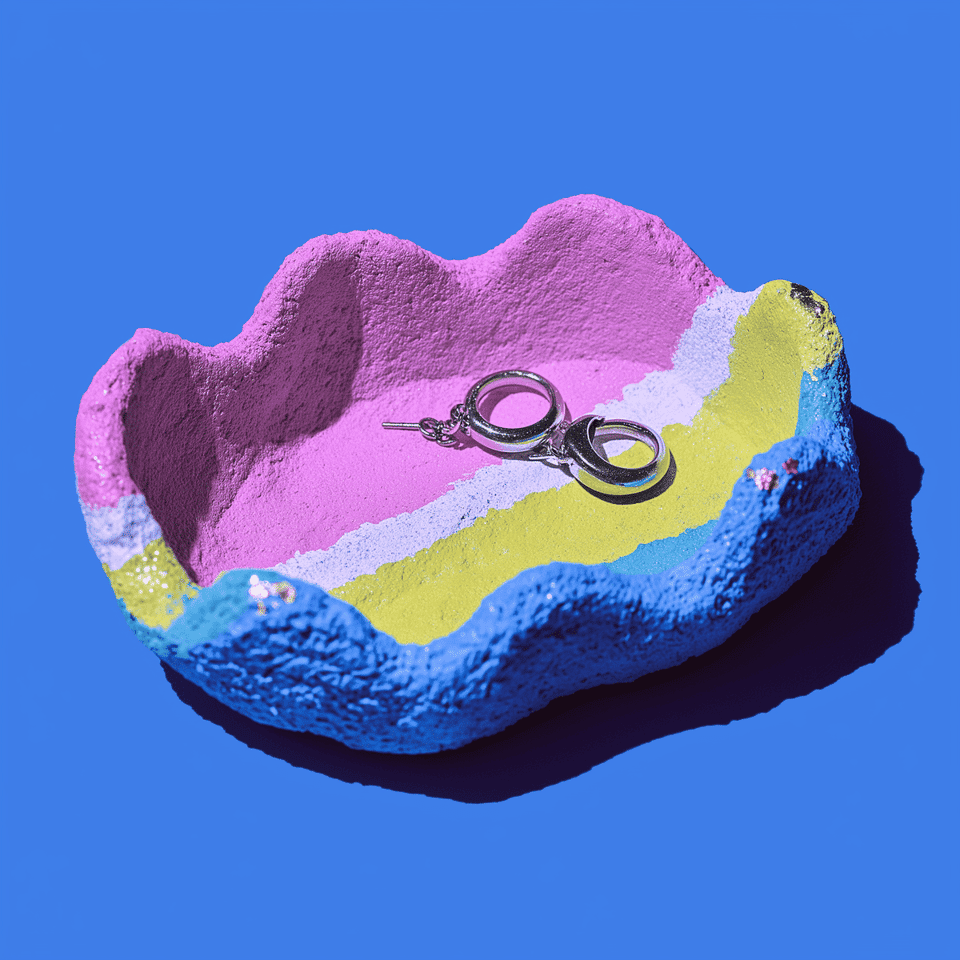
If you want the deeper compatibility breakdown across sealers, waxes, and paints, the finish compatibility hub is the next read. The sanding and buffing guide covers what to do before any sealer goes on, and the cracking guide and soft and sticky clay guide cover the cure and conditioning issues that no sealer can fix. For a piece where the sealer choice changes the whole read, see the build notes on the blob statement studs.
More guides in this path
Open these when the next decision is material choice, attachment, or finishing.

Sanding and Buffing Polymer Clay: Pressure and When to Stop
Your finish looked streaky or the edges rounded because you used the same pressure on curves as on flat backs. Sand curved surfaces with light pressure and flat areas more firmly. Stop the moment the next grit stops improving the test chip. Always test the finish on a scrap of the exact clay line.

Polymer Clay Sealers, Wax, and Glaze: Compatibility Tests
Sealers, wax, resin, and glaze can behave differently by clay line, surface prep, color, and coat thickness. Test the full finish stack on a baked scrap before you coat the real piece.

How to Resin Dome Polymer Clay: Label-First UV and Epoxy Workflow
A clean resin dome on polymer clay needs a fully cured clay base, controlled drop volume, protected holes, and the exact resin label for lamp, layer, PPE, ventilation, and cure timing.
Finished examples with related clay decisions
Each piece shows how a material, attachment, or surface choice changes the final form.