In brief
Key takeaways
- 1Roll the slab to a consistent thickness before printing. Uneven slab equals uneven graphic from one piece to the next
- 2Seat the screen or stencil flat and use a single thin pass of tested paint or medium. Heavy passes flood the halftone dots together
- 3Let the printed surface dry before cutting the silhouette. Cutting wet paint drags the graphic at the edge
- 4Graphic slab earrings usually stay sharper under matte or satin finish than under a thick gloss coat
Compare one exact screen or stencil with one maker-approved paint or medium on a small clay sample. Do not transfer compatibility, drying, cleanup, or finish claims between products.
Keep Each Product Instruction Separate
Follow the screen or stencil maker for application and cleanup, the paint or medium maker for supported surfaces and drying, and the exact clay package for baking. One source does not replace another.
This silkscreen set is one candidate to verify. Check the exact screen, compatible medium, and instructions before use.
Record One Small Sample
Write down the clay line, screen or stencil product, paint or medium, application tool, preparation, cleanup, package bake, and cooled result. Use acrylic paint only within the exact paint and Sculpey guidance.
Wait For The Exact Instructions
Cut, handle, bake, or finish the sample only after the named product instructions permit that step. Do not invent a universal dry-to-touch time or print sequence.
Keep Unsupported Categories Out
This guide does not claim compatibility for mica powder, generic liquid clay, silkscreen ink, fabric ink, or another medium. It also does not prescribe mesh pressure, flooding, hook balance, or a matte-versus-gloss ranking.
Bake And Compare
Follow the exact clay package with an oven thermometer in the baking area. Let the sample cool, photograph it, and change one recorded variable before another test.
Supplies
Supplies mentioned here
Quick links to the materials and tools that fit this article. ClayBake tools stay on our own catalog.
Silk screen stencils for polymer clay
Good for graphic repeat marks and halftone-style surfaces without painting every tiny dot by hand.
Acrylic roller for polymer clay
Starts the graphic on an even slab before you print the surface layer.
Clay blade set
Good for trimming the final skull or plaque outline after the surface layer dries.
Stainless steel fish-hook ear wires
Use hook wires when the printed slab stays light enough to hang cleanly. Check what the wire is made from, finish, wire thickness, size, and the finished earring weight.
More guides in this path
Open these when the next decision is material choice, attachment, or finishing.

Polymer Clay Surface Effects: Cane, Inlay, Texture, or Print
You added inlay or a cane slice and the surface cracked or the pattern dragged because you chose the wrong technique for the shape. Match the effect to the result you need: repeating pattern (cane), precise placement (inlay), raised detail (applique), or loose texture (marbling/print). Then go to the right deeper guide.

Conditioning Polymer Clay for Clean Cuts and Crack-Free Edges
Your slab cracked at the edge, your cutter dragged, or one color distorted more than the rest. Condition until every color folds the same way, then do the fold test before you cut.

Polymer Clay Terrazzo Slabs, Chips, and Clean Cuts
Terrazzo slabs turn muddy when chips drag, sink unevenly, or blur into the base color during rolling. The fix starts with chip size and density decisions before you ever press them in.
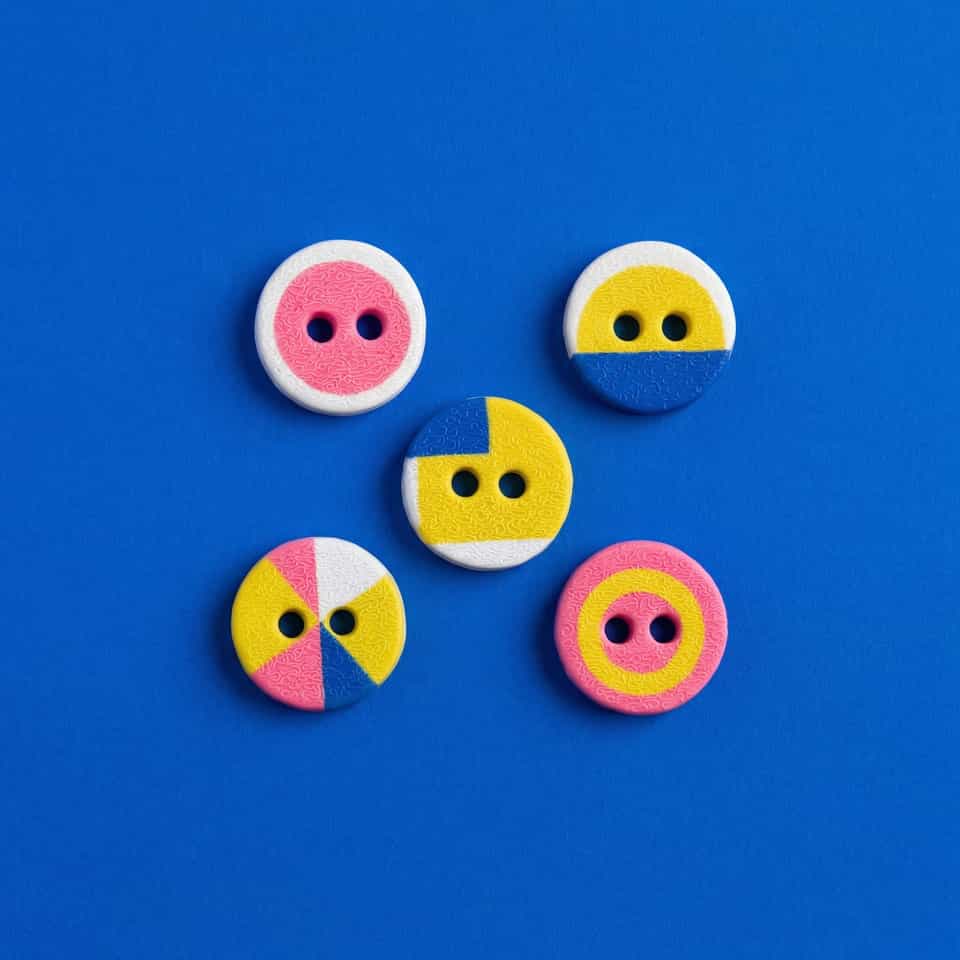
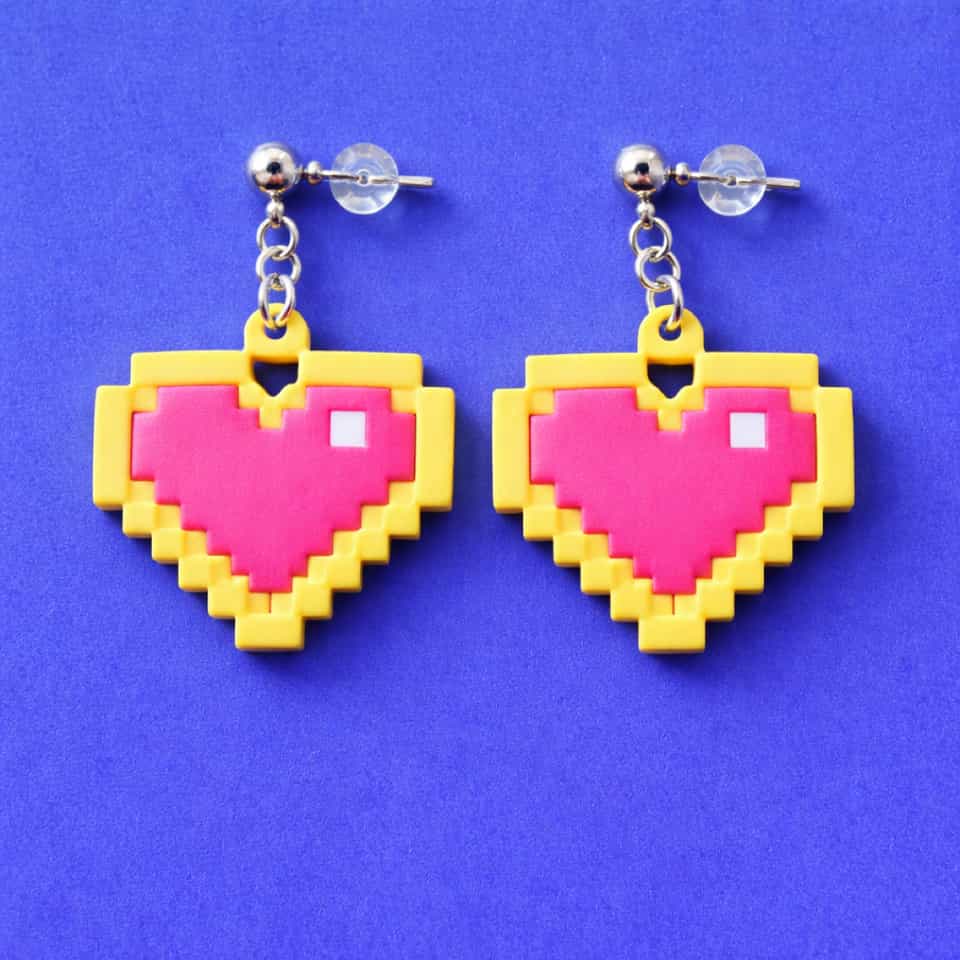
Finished examples with related clay decisions
Each piece shows how a material, attachment, or surface choice changes the final form.