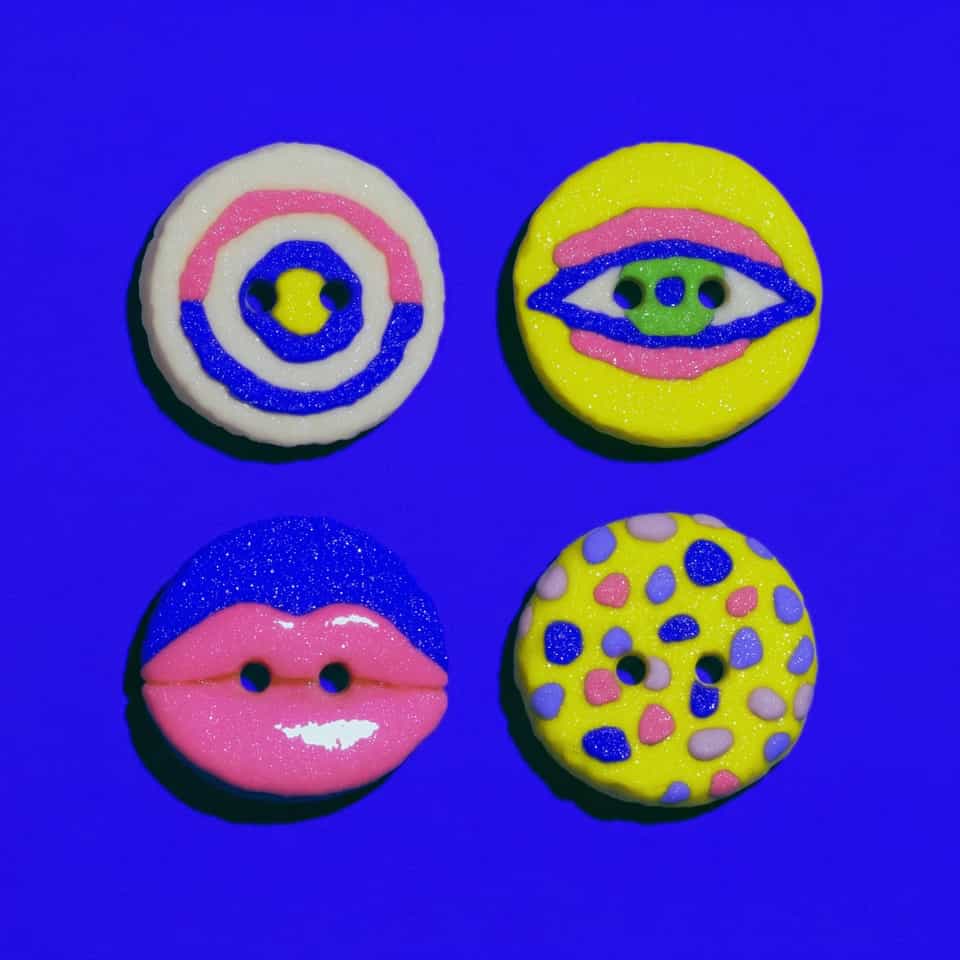
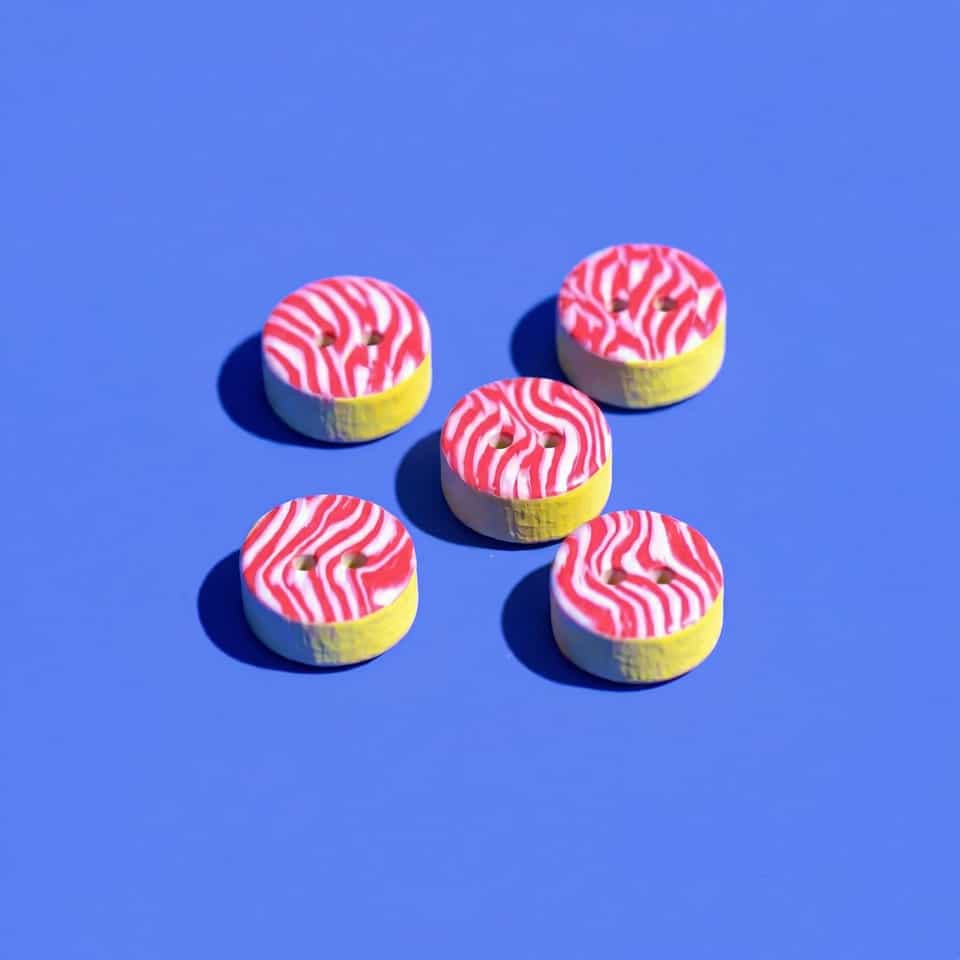
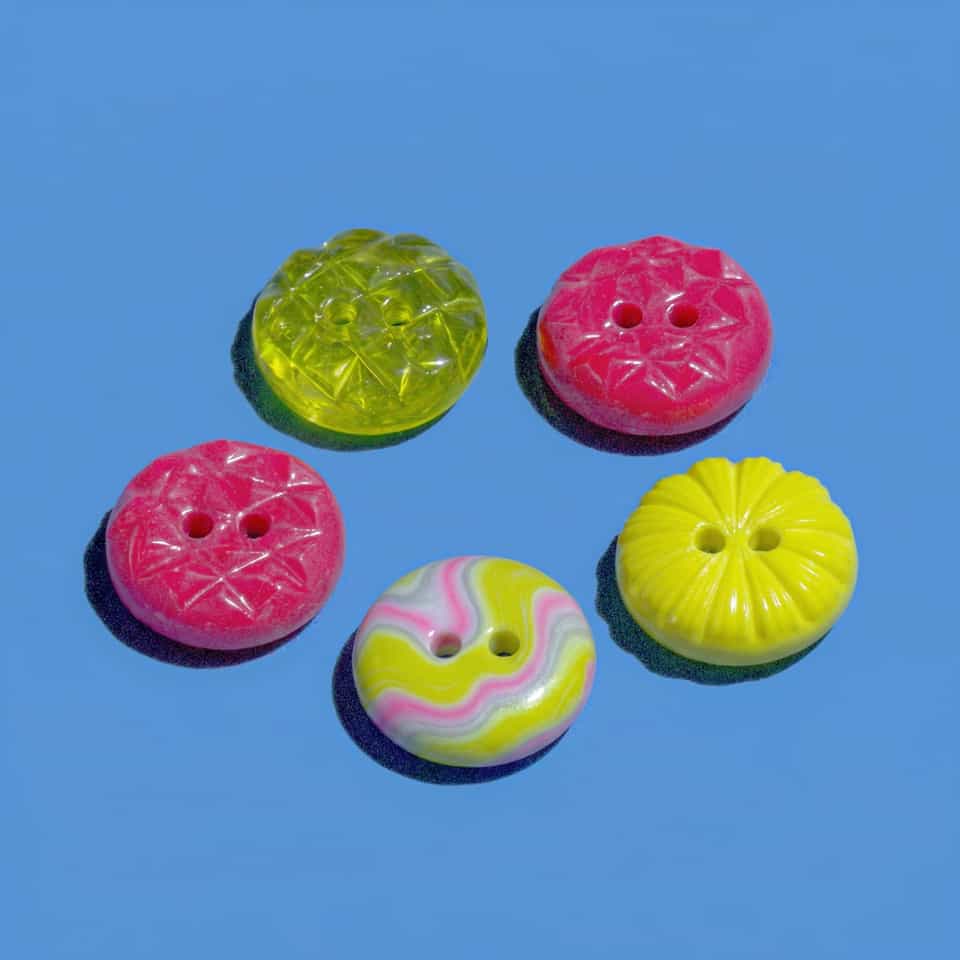
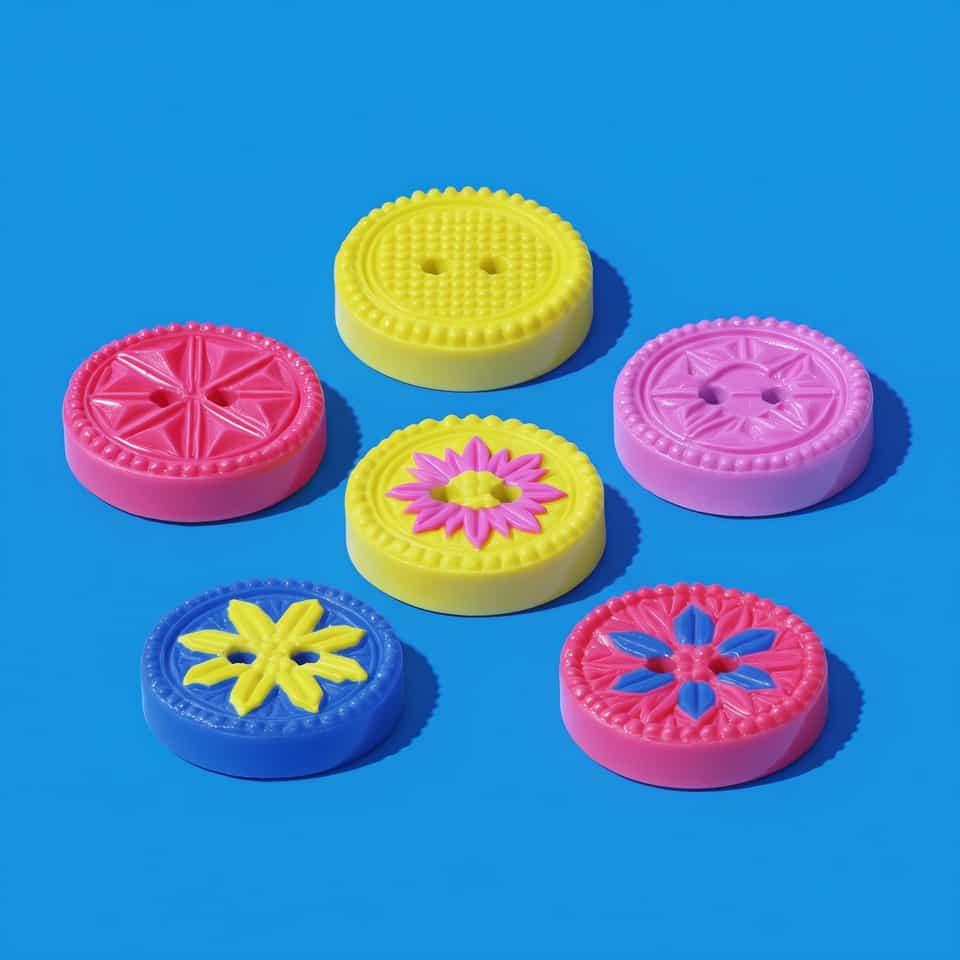
1
Condition your black polymer clay and roll it to a 3 mm to 4 mm slab. FIMO Professional is ideal for maintaining the crisp edges of these geometric shapes, while Sculpey Soufflé offers a velvety matte, suede-like finish. Lightly dust your cutters or templates with cornstarch as a release agent, then cut out the base shapes
two arches, one rounded dome, one square, and two scalloped palmettes.
2
Step
Roll thin sheets of neon yellow, white, and hot-pink clay to 1 mm. Use a sharp tissue blade to cut precise geometric strips, chevrons, and small accent shapes. For the palmettes, cut out the leaf shapes using a template. Lightly mist your blade with water or dust with cornstarch to prevent sticking during cutting.
3
Step
Prepare the surfaces for assembly by wiping the contact areas of the black bases and the backs of the colored appliques with a damp cotton swab to remove any release powder. Carefully position the colored appliques, such as the sun rays, chevrons, and palmette leaves, pressing gently to ensure a secure raw bond.
4
Step
Mark two horizontal sew-through holes on each button. Lightly dust a 2 mm needle tool or brass tube with cornstarch, then pierce the holes through the clay. Twist the tool gently as you push it through to keep the holes perfectly round and clean, ensuring they align neatly between the applique elements.
5
Step
Lay the buttons flat on a ceramic tile lined with parchment paper or cardstock. Bake them in a dedicated craft oven according to the clay manufacturer's packaging instructions. Use an external oven thermometer to ensure temperature accuracy and prevent scorching.
6
Step
Allow the buttons to cool completely before handling. Use a small drill bit or bead reamer to clear any excess clay from the holes. If you wish to seal the buttons, apply a compatible water-based polyurethane glaze like Varathane or a thin layer of UV resin. Do not use aerosol sprays or solvent-based varnishes, as they will degrade the clay over time.