tutorials2 min read
Polymer Clay Cane: A Small Recorded Pattern Exercise
Use a simple patterned-log exercise to test one clay, arrangement, cut face, and package-directed bake without turning it into a universal cane method.
Open the guide

The pictures began as AI-assisted concept images and are here for inspiration. The steps are a guide to making your own version, so change the colours, size or details as you like. Clay brands, ovens, glues, finishes and hardware behave differently, so follow their product instructions and bake a scrap before a batch. Some product links on this page are affiliate links. If you buy through them, we may earn a commission at no extra cost to you. Check listing details, dimensions, materials, and fit before you buy. As an Amazon Associate I earn from qualifying purchases. Full disclosures
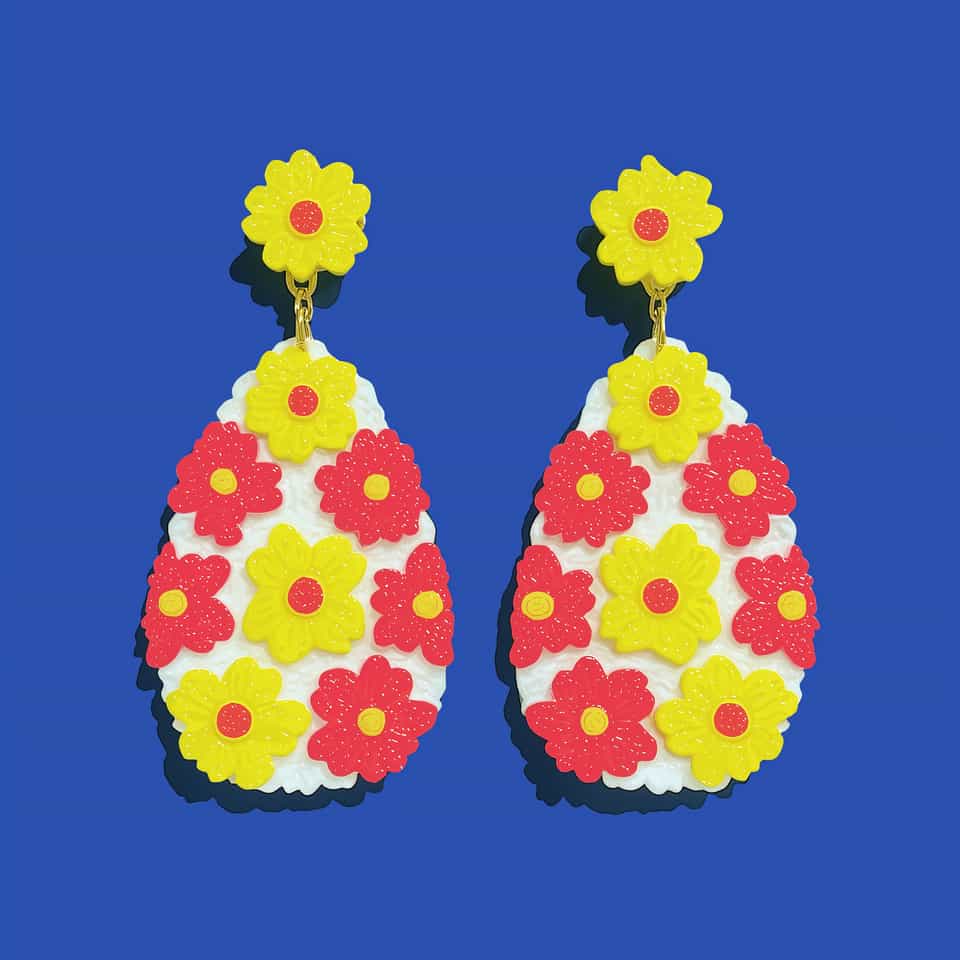
These are a mirrored pair of hot-pink teardrop dangles, each packed edge to edge with white daisy slices, yellow flower centers, and a few scattered yellow dots, with a thin dark-green back at the rim and a glossy front. The cleanest way to get that dense floral coverage is a veneer: decorate one slab, then cut both teardrops from it so the pair matches. Build the daisy cane and slice it, cut a daisy slab, or stamp the flowers. Each teardrop hangs from a gold ball-post stud through a small jump ring, so plan a reinforced hanging hole before you bake. Keep them thin and light, bake them flat, and round the edges so they sit comfortably.
A matched, mirrored pair of teardrop dangle earrings, broad at the bottom and narrow at the top. Each saturated hot-pink front is covered with repeated white daisy slices, sunny yellow flower centers, and a few small yellow dots, with a thin dark-green backing layer showing at the rim. The fronts are smooth and glossy. Each teardrop hangs from a gold-tone ball-post stud through a small connector loop at the top tip.
Lookbook view

This is a patterned-veneer dangle, not hand-placed petals. You decorate one slab, then cut both mirrored teardrops from it so the pair stays matched. Three proven ways to get the daisy field read the same on the front: build a daisy millefiori cane and press thin slices into a hot-pink slab (the look in the photo); cut tiny white petal and yellow center shapes from thin clay and lay them as a flat slab applique; or press the daisies in with a flower texture or deboss stamp and fill the recesses with color. All three sit on a dark-green backing slab, then share the same cut, hole, bake, edge-smoothing, gloss, and stud-and-jump-ring assembly steps.
Condition each color of clay to the same firmness so the colors move together. Roll a dark-green backing slab and a hot-pink front slab to matching, even thickness with thickness guides, then press them together into one double-sided slab. A thin, even slab keeps the finished drops light on the ear.
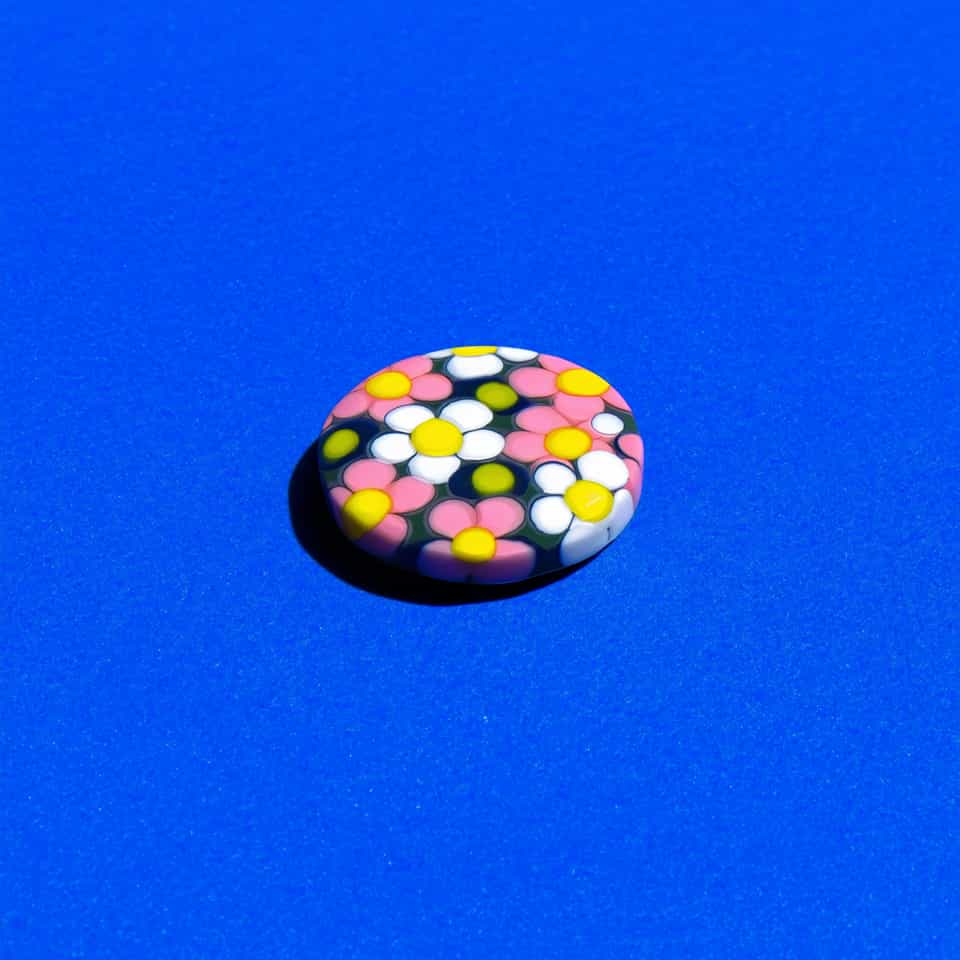
Pattern option A, cane slices (the look in the photo): build a daisy millefiori cane with white petals around a yellow center inside a hot-pink wrap, plus a thin all-yellow cane for the dots. Let the cane rest so it firms up, reduce it slowly from the center outward to daisy size, then slice thin even slices with a sharp blade.
Pattern option B, cut-and-applied slab: roll thin white and yellow clay, cut small petal and center shapes (a tiny circle cutter or blade works), and lay them directly onto the hot-pink front as flat daisies with yellow dots between them.
Pattern option C, stamp or texture: press a daisy flower stamp or texture into the hot-pink front, then rub or inlay white and yellow into the recesses and wipe the surface back so the flowers read cleanly.
Lay your daisies and dots evenly across the hot-pink side, then roll once gently with the acrylic roller to seat them flush into the base for a smooth veneer. Stop before the petals smear into the pink.
Make a matched mirrored pair: cut both teardrops from the same patterned slab with one cutter so they are the same size and the floral coverage is balanced, then flip one blank so the design mirrors the first. Press straight down and lift cleanly for a crisp edge.
Plan the hang while the clay is raw. Pierce a clean hole near the top tip of each teardrop with a needle tool, leaving a generous margin of clay between the hole and the edge so the loop will not tear out. Set both holes at the same height so the pair hangs level, since holes cannot be moved after baking.
Bake the teardrops flat on a smooth ceramic tile covered with cardstock or parchment, at your clay brand's package temperature and time, with an oven thermometer to confirm the real heat. Baking flat with a paper layer keeps the drops from warping and the backs matte.
Let the pieces cool fully, then wet-sand the edges and faces through rising grits (around 400 up to 2000), keeping the paper wet in a bowl of water. Keep the edge moving so you round it rather than cutting a new flat, so it does not feel sharp or catch hair.
Test your gloss on a baked scrap of the same clay first. Once it dries clear and not tacky, brush a thin water-based gloss over the fronts in light coats to deepen the color and even the surface. Let it dry fully.
Open each small jump ring by twisting the ends sideways with two pliers (never pulling them straight apart), thread it through the teardrop hole and the loop on the gold ball stud, then twist the ends back until they meet flush. Dry-fit and confirm both drops hang front-forward and level before closing the rings.
Because this is a light dangle that hangs from the ear wire below the stud, the gold ball-post stud carries the connection and needs no glue. If you instead build a stud-style version, embed a kinked-end post or a flat pad sandwiched under a thin clay slice in the raw clay before baking, or after the last bake sand a small spot of the cured back to bare clay, wipe it and the pad with isopropyl alcohol, and glue a flat-pad post on with a small dot of gel super glue, waiting the full label cure time before wear.
Metal findings like posts, hooks, and jump rings may contain nickel or other allergens. If your wearer has sensitive skin, choose surgical steel or titanium findings and test any sealant or coating on a small spot before wearing.
What you will need
Before you buy, match the sizes and parts to the version you want to make.
Matches the hot-pink field behind the daisy slices.
Needed for the daisy petals and the clean cane contrast.
Gives the flower centers their visible pop.
Useful for the darker backing sheet that peeks at the edge of each teardrop.
A firm clay for the white daisy cane, so the petals stay crisp through reducing and slicing before you pack the slices onto the pink teardrop.
Matches the visible round stud-top hardware and short connector style.
Needed when the finished piece hangs from connectors rather than a single solid clay body.
Needed for opening and closing jump rings cleanly during jewelry assembly.
Tick what you already have, then get only what is missing.
Roll every sheet to the same calibrated thickness with the ClayBake slab height guides.
Useful for trimming clean cane slices and refining the teardrop edge.
ClayBake makes matched cutter packs sized to this build, so repeated shapes stay consistent. 3D print or order the set from our tools.
Keeps the long teardrops flat while the veneer cures.
A lightweight clay with a cohesive suede finish that holds fine textures without sticky residue.
Optional extras for a different finish, size or fix.
Optional if you want to push the finished pair toward the brighter shine in the reference.
Useful for smoothing baked edges, backs, and rims before finishing or attaching hardware.
A polymer-clay-compatible glaze option for a glossy finish. Test it on baked scrap before using it on the finished piece.
Each one walks through a technique used in this piece, in full detail.
Use a simple patterned-log exercise to test one clay, arrangement, cut face, and package-directed bake without turning it into a universal cane method.

Get every clay colour to the same softness, roll each layer to its measured thickness on a tile, and let warm clay firm up before you cut.

Choose the top connection from the front view first, then keep the attachment short and balanced. Compare visible loop-tops, flat pads, short ring paths, and balance-line marks on a sample before you make the final pair.
Custom range
Ask for a build pack to make it yourself (the cutter or tool files, a supply list, and a plan), or ask the studio to make the finished pieces for you.
More pieces with a related form, finish, or making path.
Pin it to a board, copy the link, or keep it saved here while you make your own version.
Tag Clay Bake Studio on Instagram or TikTok so we can see how you adapted it.