Conditioning Polymer Clay: Stop Cracked Edges and Canes
Your slab cracked at the edge, or your cane distorted because one color was softer than the rest. Condition until every color folds the same way, then do the fold test before you build the cane.

In brief
Key takeaways
- 1Conditioning is what makes clean sheets, crisp cuts, and stable cane reduction possible. Skip it and every later step gets harder
- 2Match every color to a similar softness before building color-block seams or canes, or the soft color will slump into the firmer one
- 3Crumbly clay usually needs more work and warmth (your hands, a heating pad). Sticky clay usually needs less handling and a short rest
- 4Roll to final thickness only after the slab stops cracking on the outside fold and stops dragging at the edges
If your slabs keep cracking at the edge, your cutter tears the clay instead of slicing it, or your cane slices come out warped before they even hit the oven, the fix almost always starts one step earlier: conditioning. Get the clay working evenly and most of those problems stop happening.
For lookbook builds, conditioning is not just a beginner warm-up. It is what lets a Bauhaus button stay crisp, a flower cane reduce evenly, and a relief motif press into place without dragging the base out of shape.
What Conditioning Actually Does
Conditioning makes the clay behave evenly so it rolls, cuts, and stretches as one material instead of as a patchy mix of soft and stiff spots.
That matters for three common lookbook problems:
- clean slabs: uneven clay rolls to uneven thickness and leaves cracked edges
- clean cuts: under-conditioned clay drags, chips, and resists the blade
- clean canes: colors with different softness distort at different speeds during reduction
How To Tell When Clay Is Ready
Your clay is ready when it bends and rolls smoothly without cracking, and when separate colors in the same build feel equally workable.
Look for these cues:
- the slab rolls out without split edges
- folds compress smoothly instead of breaking into crumbly lines
- the surface looks even instead of streaky
- two colors used in the same build feel similar in firmness
Best Conditioning Setup For Most Lookbook Builds
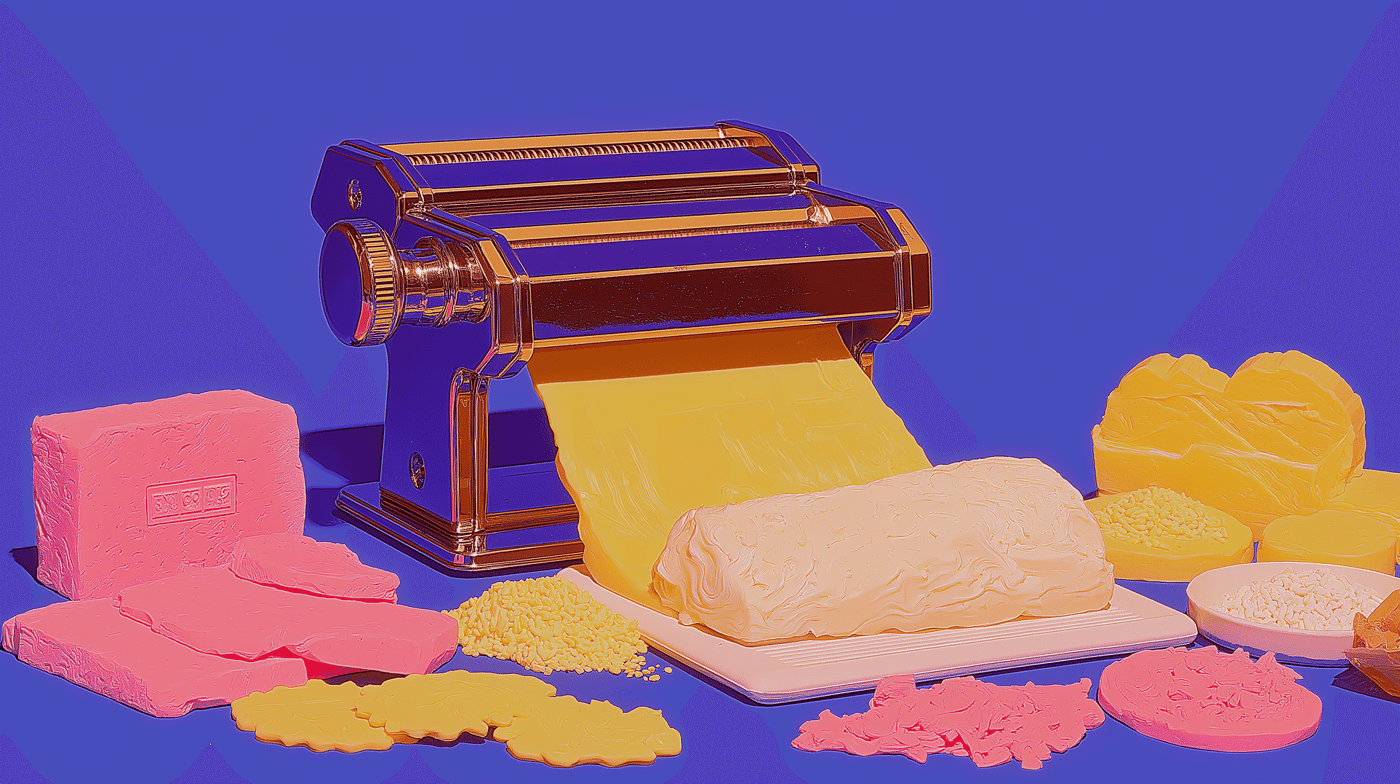
A pasta machine gives the most repeatable conditioning, but an acrylic roller and thickness guides still work well for smaller batches and simpler projects. See our pasta machine buying guide if you are weighing Atlas, Imperia, or entry-level alternatives before adding one to the kit.
Atlas Pasta Machine is still the easiest way to condition clay evenly when you are making canes, color-block slabs, or repeated button blanks.
Acrylic roller works well when you are building smaller batches by hand and want to keep your setup simple.
Slab height guides help you turn well-conditioned clay into slabs that stay even enough for buttons, brooches, and clean geometric seams.
How To Condition For Clean Slabs
Work the clay until it is flexible first, then roll it in gradual passes instead of forcing it straight to the final thickness.
- Cut the block into smaller pieces if it feels very stiff.
- Warm it by hand just enough to start folding it without cracks.
- Roll or machine it through thicker settings first.
- Fold and repeat until the slab stops breaking at the edges.
- Only then start stepping down toward the working thickness for the piece.
This is especially important for button blanks and color-block work, where one rough edge can telegraph through the whole design.
How To Condition For Clean Cuts
Condition first, rest briefly if the clay becomes too soft, then cut with a sharp blade or cutter while the slab is still even and firm.
When the clay is too stiff, it chips and resists the blade. When it is too warm and sticky, it drags and stretches. The sweet spot is smooth, cohesive clay that still holds an edge after rolling.
If your circles distort the second you lift them, the clay may be overhandled for that specific step. Let it rest a little, or cool it slightly, before making your final cuts.
How To Condition For Canes
Run a quick side-by-side test on every color before you assemble the cane: press, fold, and compare how each one bends.
Many cane problems happen because one color is buttery soft and another is still resistant. During reduction the softer section stretches first, which twists petals, smears dots, and collapses crisp backgrounds.
To run the test, compare your colors directly:
- press them side by side with the same pressure
- fold them once and compare how they bend
- run the stiffer one a little longer until they respond similarly
Crumbly Versus Sticky Clay
Crumbly clay usually needs more work and warmth. Sticky clay usually needs less handling, more rest, or a cooler setup before precision steps.
If the clay is crumbly:
- work smaller pieces instead of one stubborn chunk
- use more conditioning passes before rolling thin
- do not force crisp cuts until the slab stops cracking
If the clay is sticky:
- stop overworking it once it is already smooth
- let it rest on a ceramic tile or paper for a short time
- cool it briefly before final cuts or cane slicing
Fix Conditioning First When Edges, Joins, Or Canes Look Off
If your edges crack, your color joins split, your circles distort, or your canes warp, recondition the clay before you swap the cutter or blade.
When that happens, work through the order of operations:
- recondition until the clay folds without cracking
- match every color to a similar softness
- roll to even thickness, then make your cuts
- only then move to canes, applique, or button-hole placement
Once your slab is even and your colors match, you are ready to shape and bake. See the brand baking chart for cure temps, since the right setting depends on the clay you are using.
More guides in this path
Open these when the next decision is material choice, attachment, or finishing.
Polymer Clay for Beginners: Brands, Tools, First Project (2026)
A beginner primer on clay choice, core tools, a first project, and the mistakes that most often cause early frustration.

Polymer Clay Skinner Blends, Gradients, and Ombre Slabs
Skinner blends turn muddy when the two colors are different softness, the slab keeps getting re-rolled after the fade looks good, or the final shape is cut too early. The fix is matched conditioning and stopping at the right moment.

What Is a Polymer Clay Cane? Millefiori Explained
A plain-English guide to polymer clay canes, millefiori, flower canes, reduction, slicing, and when to use a cane over a backing slab instead of building the whole piece from patterned clay.
Finished examples with related clay decisions
Each piece shows how a material, attachment, or surface choice changes the final form.