Start here
What to choose and check first
Start with a sharp stainless cutter set in circles, arches, or ovals. Clean release and repeatable slab thickness matter more than having dozens of shapes on day one.
- 1Start with a small set that releases cleanly and repeats matched sizes. Save novelty shapes for after that pair-matching feels reliable
- 2Clean release and repeatable size matter more than shape variety on a first cutter order
- 3Metal cutters usually win first because the cutting edge is thinner, sharper, and more predictable on a fresh slab
- 4Pair the cutters with thickness guides. Even slabs are most of what makes cutter pieces match across a batch
The shortlist compares cutter and thickness-guide choices by the beginner problem they solve: clean release, repeatable size, stable walls, and less edge cleanup after each cut.
Stainless steel beginner cutter set
Good for practicing clean edges and repeatable circles, arches, or simple drops before buying specialty shapes.
3D printed arch cutter set
Check arch sizes, wall depth, beveled edge quality, and release before adding a specialty shape.
Thickness guides
Helps cutters work more consistently by keeping the slab thickness more even.
Beginner cutters are really a repeatability choice. You want shapes that teach spacing, release cleanly, and tell you whether the slab or the tool caused the problem when a cut goes bad.
The trap most beginners fall into is treating cutters like a collection. A full tray of novelty outlines feels generous on day one, but it usually slows practice because each project becomes a choice between shapes instead of a repeatable drill on one. A smaller, sharper set is the faster path from first bake to a batch you are actually proud of.
Start With A Small Sharp Cutter Set For Cleaner Practice Cuts
Cutter count and cutter sharpness change outcomes more than any single shape choice.
A small set forces repetition on the same silhouettes, which is how edge quality, spacing, and cut confidence actually build. When you only own five or six shapes, you cut circles a hundred times before you move on, and that is where the real craft lives. Compared against a thirty-piece novelty bundle, a focused set usually produces cleaner first-year work even if it looks less exciting in the drawer.
Sharpness matters just as much as count. A sharp stainless starter set releases from the slab with a clean line and a repeatable height, which makes it easier to see whether the cutter or the clay caused a bad cut. Dull or bulky edges drag the clay as you press, and every ragged silhouette becomes a guessing game about whether to adjust your pressure, your slab thickness, or your wrap technique. Starting sharp removes one variable from that puzzle before it can mislead your practice.
The First Five Shapes That Earn Their Keep
Most beginner work can be built from five core shapes. Each one teaches a different lesson, and together they cover most of the earrings, pendants, and small pieces you will actually make.
Circles. The most useful single shape in a starter set. Circles teach spacing, centering, and symmetry, and they let you practice consistent pressure without a sharp corner distracting you. Two or three sizes cover studs, toppers, and small pendants, and the shape is forgiving enough that you can see pressure and slab issues clearly without shape bias.
Ovals. Useful for drop earrings, elongated pendants, and statement shapes that need more visual length than a circle without jumping to an arch. Ovals read more mature than circles on finished jewelry and teach you to think about orientation, because the same oval looks different as a vertical drop versus a horizontal stud.
Rectangles. Where spacing and corner discipline show up. A rectangle exposes every pressure inconsistency because the straight sides reveal blade drag and the corners reward a clean lift. Practicing rectangles builds the control that carries over into more complex cutters, and they are still one of the most wearable finished silhouettes once you stack them as bars or tiles.
Simple organic curves. An arch, a pebble, or a soft asymmetric shape covers the moment you want work that reads less geometric. Organic curves teach you to watch line flow and proportion because the shape has no obvious symmetry cue. They are also the silhouettes that travel most naturally into slab earrings and marbled pieces once your basics feel stable.
A small heart or star. One accent shape that gives the set personality without committing you to a novelty library. A heart or five-point star is instantly recognizable, works well as a stud front, and is cleanly cuttable at small scale. Keep it to one accent cutter so the set stays training-focused rather than becoming a themed bundle.
What To Avoid On A First Purchase
Some cutter categories look appealing online but quietly hold beginners back. Skipping them on the first order protects both your early practice and your spend.
Micro cutters. Cutters smaller than about one centimeter demand precise slab thickness, steady hand pressure, and patient release technique. Beginners usually do not have those habits yet, and micro shapes become frustrating before they become useful. Wait until your standard-size cuts are consistent before you test a micro set.
Oversized novelty shapes. Huge statement cutters with complex outlines usually need thicker slabs, more careful wrap work, and reliable bake support to finish cleanly. On a first-year cart they tend to produce warped, edge-chipped pieces that teach the wrong lessons. Save the bold outlines until your slab and cure routine is dialed in.
Flimsy stamped craft-store sets. Low-cost cutter multipacks often have rolled edges, thick walls, and inconsistent sizing within the same set. They can cut, but the drag, the uneven release, and the duller line mean you are fighting the tool before you ever test your own technique. A smaller stainless set from a clay-focused supplier is usually a better first spend than a thirty-piece bundle from a general craft shelf.
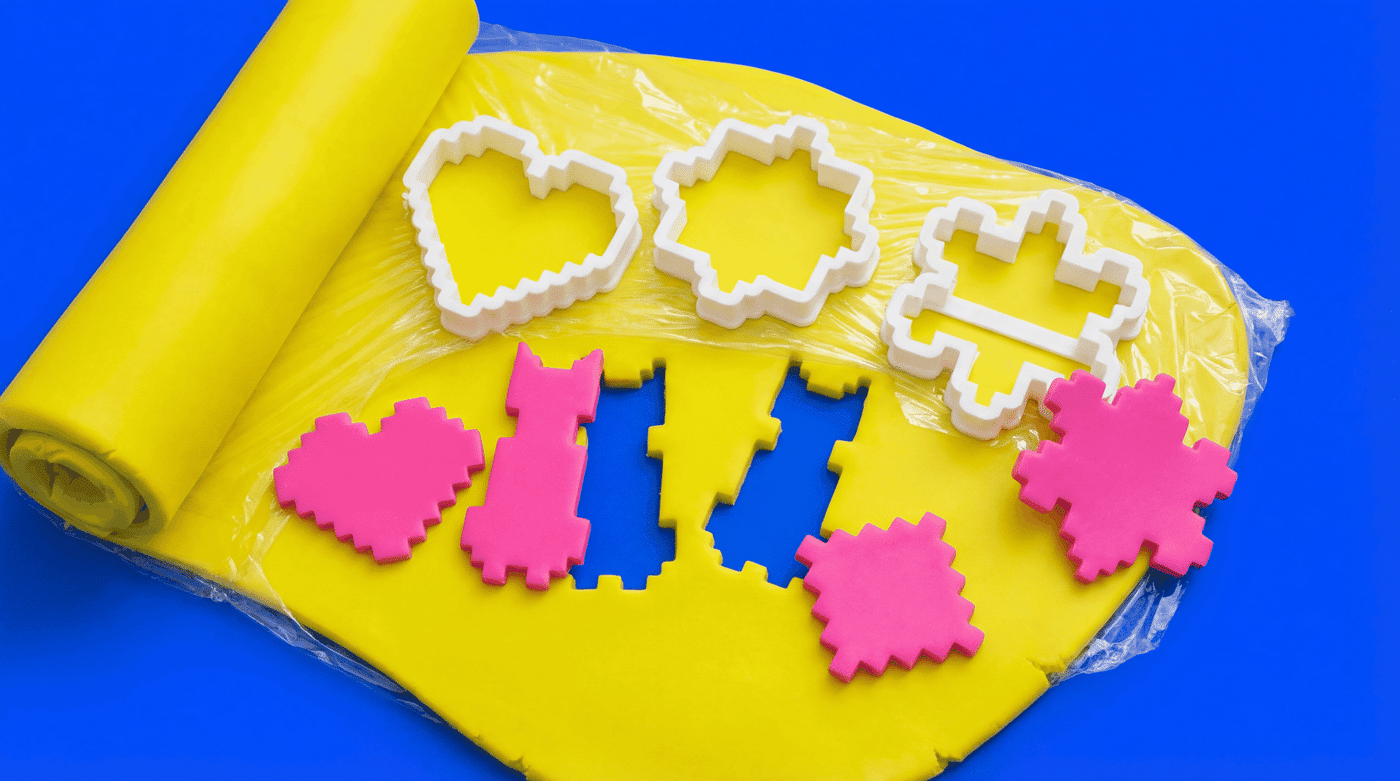
Filament 3D printed cutters. Cutters printed on filament (FDM) machines often show visible layer lines along the cutting edge. Those ridges drag on the slab and on cling wrap, leaving ragged edges that are hard to fix without sanding. Most beginners get cleaner results from rigid stainless cutters or resin-printed cutters with smooth beveled edges. Skip filament-printed cutters until your slab and pressure routine is dialed in.
When To Upgrade
A good starter set is meant to get used hard. The upgrade signal is not boredom with the shapes, it is the set starting to fight you in specific, measurable ways.
Watch for edge chipping along the cutting line. A few small nicks are not a crisis, but visible chips show up as ragged edges on every piece and cannot be sanded away. Watch for repeat-cut fatigue, where a cut that used to take one clean press now needs a second press or a rocking motion to release. That is the cutter telling you the edge has dulled enough to matter. And watch for visible warping of the cutter wall itself, which shows up as ovals that used to cut circular and rectangles that no longer square up.
When you see those signals on your core shapes, replace them before you buy a bigger collection. A sharp circle cutter is more useful than ten dull novelty outlines. Once the core set is stable and repeatable, then adding a resin 3D printed arch set or a themed cutter for a specific collection starts to make real sense.
Fix The Slab Before Blaming The Cutter
If your cuts are inconsistent, the first accessory to add is not another cutter. It is a set of thickness guides. Even expensive cutters perform badly on uneven slabs, and most ragged edges trace back to the slab rather than the tool. Diagnose the slab, then the wrap, then the cutter, in that order.
More guides in this path
Open these when the next decision is material choice, attachment, or finishing.
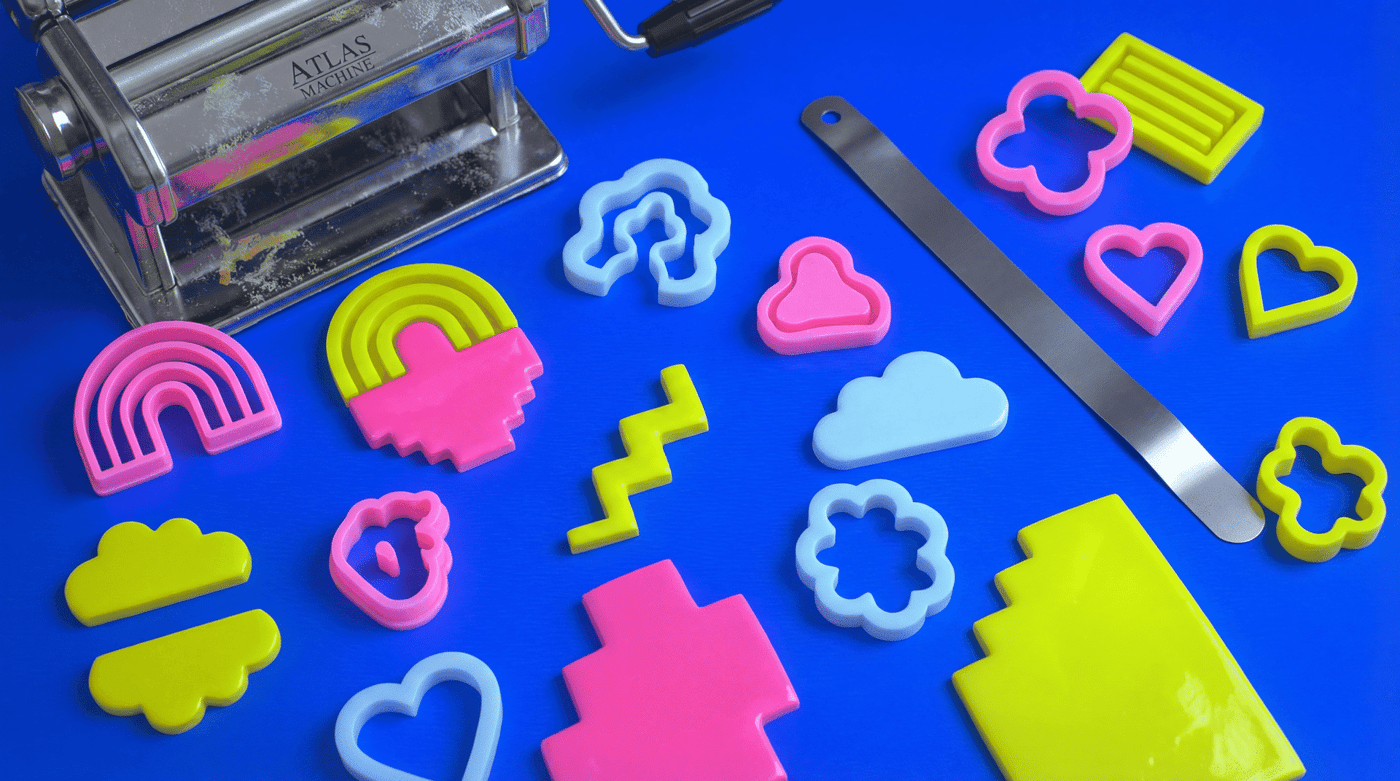
Best Polymer Clay Cutters: Top 10 for Clean Repeatable Shapes (2026)
A practical 2026 cutter guide built around shape families, cleaner release, merchant-fit checks, and maintenance habits that are easier to verify than hype specs.

The Cling Wrap Trick for Smoother Polymer Clay Cutter Edges
If your cutters keep grabbing the clay or leaving rough edges, plastic wrap can help on the right shapes. Here is when to use it, which wraps tend to release more cleanly, when to skip it, and how to get a softer rounded edge when that suits the piece.

Best Polymer Clay Beginner Toolkit (2026): Core Tools To Start With
Start with one clay line, a flat tile, an acrylic roller, a tissue blade, a needle tool, and an oven thermometer. These basics help you roll cleaner slabs, cut neater shapes, and trust the bake before adding specialty tools.
Finished examples with related clay decisions
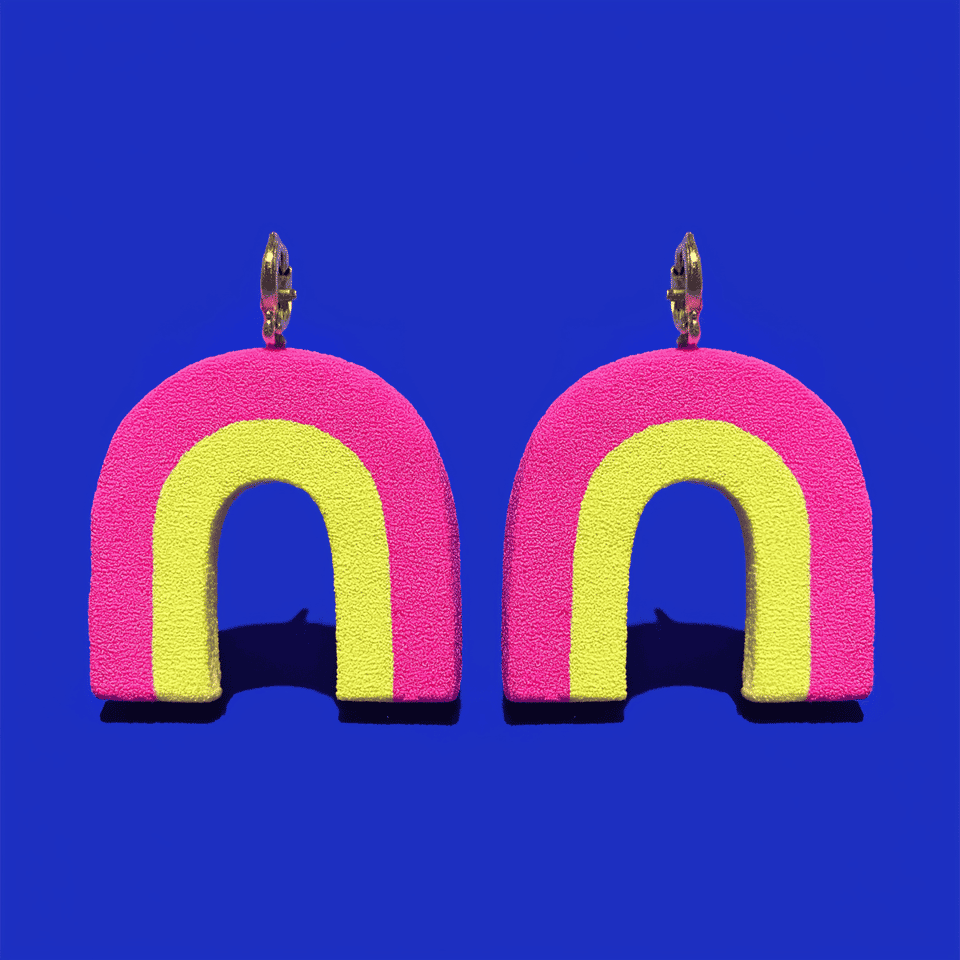
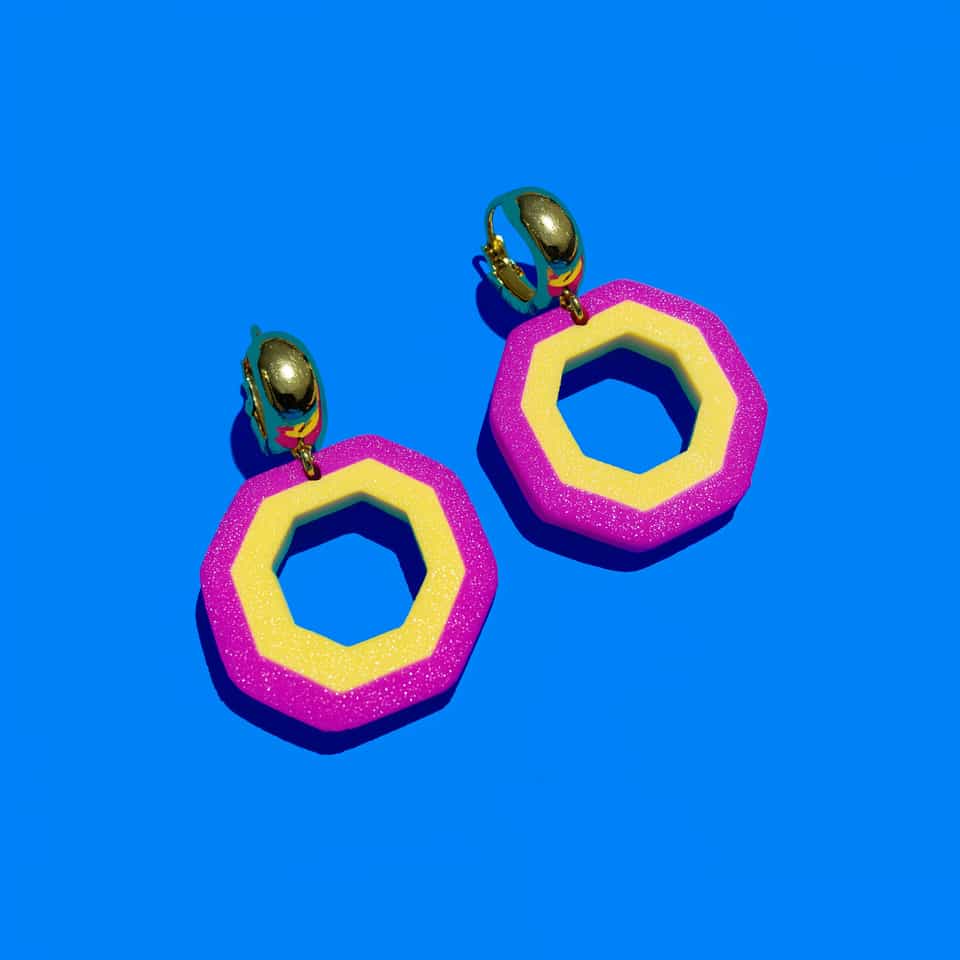
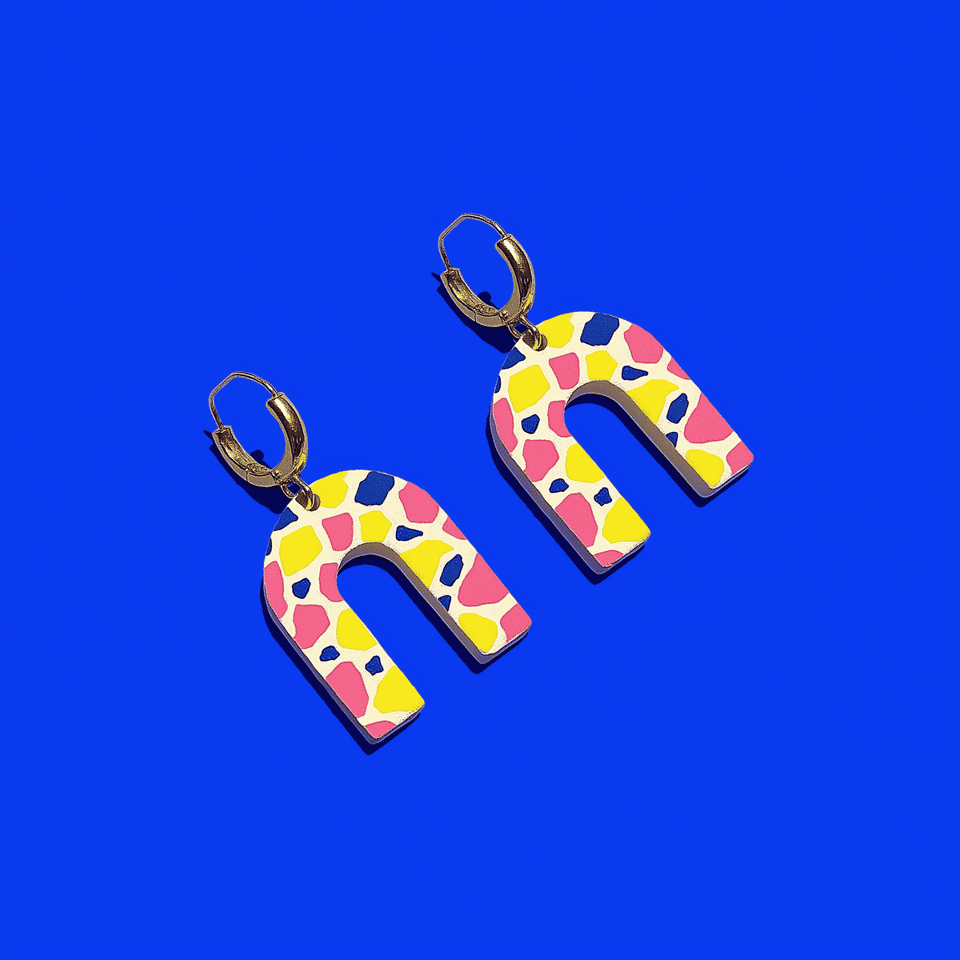
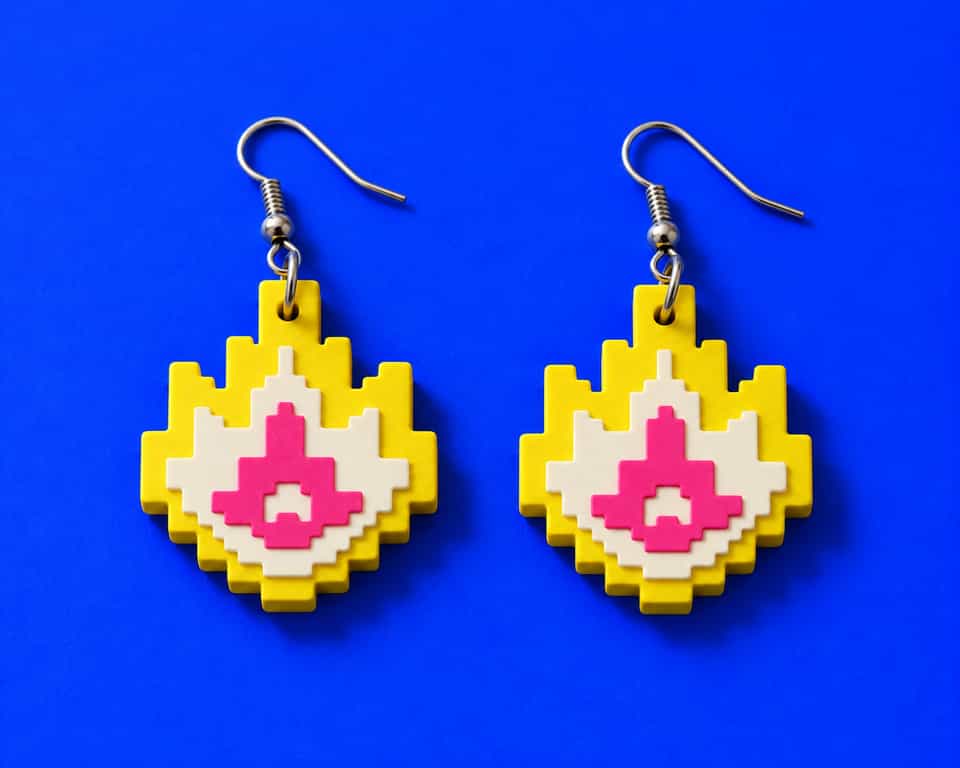
Each piece shows how a material, attachment, or surface choice changes the final form.