In brief
Key takeaways
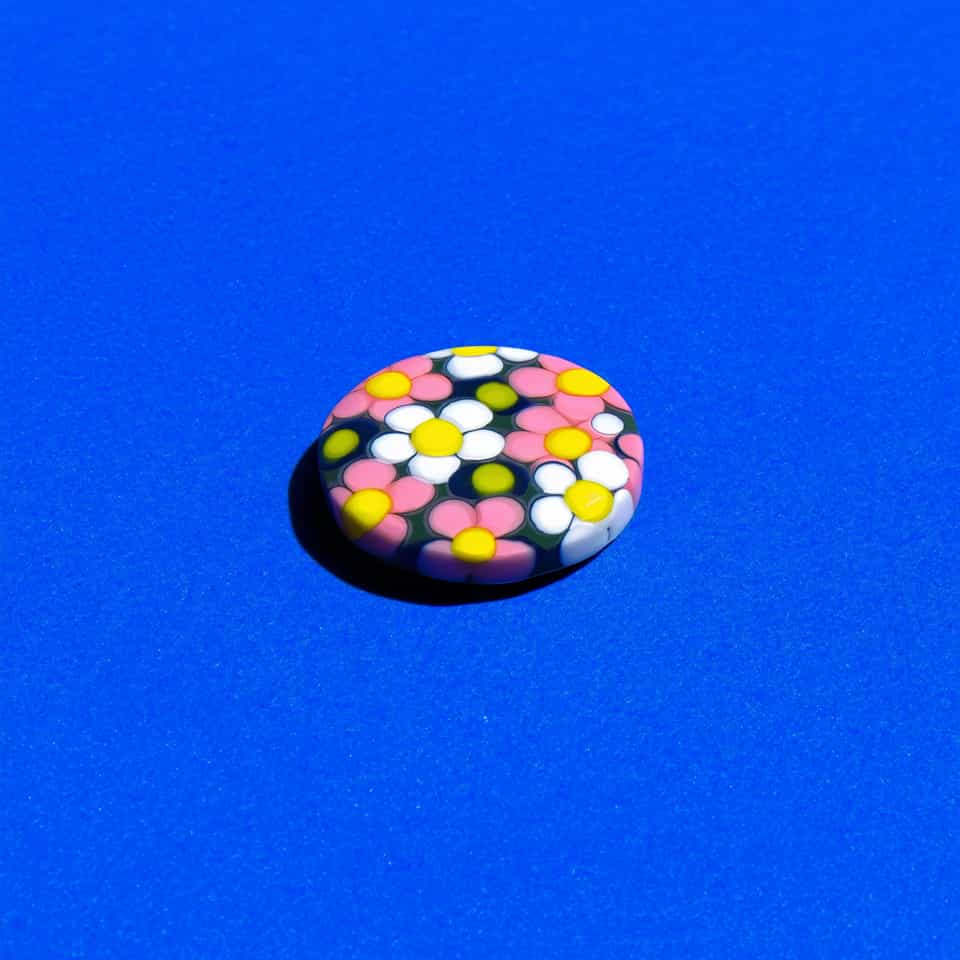
- 1For this exercise, cane labels a patterned log or block with a visible motif on one cut face
- 2Millefiori is not an automatic synonym for this exercise. Keep the term separate until a cane-specific source covers the distinction
- 3Choose a backing only after testing the complete clay, backing, adhesive, and package-directed bake on a small sample
- 4Record one small arrangement, cut one test face with a suitable tool, and cure a sample by the exact package before repeating it
Use polymer clay cane as a project label for a patterned log or block with a visible motif on one cut face. Keep the exercise small: condition the exact clay, record one arrangement, cut one test face, and bake a sample by the package.
Start With The Exact Clay
Follow the clay maker's conditioning directions. Use a documented roller when the exercise needs even sheets, and choose a clay line whose maker describes the level of detail your test requires. Premo and Super Sculpey Firm have documented detail uses, but neither product statement creates a universal cane recommendation.
See this technique in finished pieces
Open related lookbook examples to see how the technique changes the cut, surface, or attachment point.
Keep The Labels Practical
This guide uses cane as a navigation label for the patterned-log exercise. Millefiori is not an automatic synonym for this exercise, and the nerikomi-inspired layered-pattern study stays separate unless a cane-specific specialist source supports a closer relationship.
Run One Small Recorded Exercise
- Choose a simple two-color visual target.
- Condition the exact clay according to its maker's directions.
- Prepare one small patterned block and record the arrangement.
- Cut one test face with a suitable clay tool used as directed.
- Bake a sample by the exact clay package with an oven thermometer in the baking area.
- Let it cool, photograph the face, and compare it with the recorded target.
This exercise does not prescribe reduction direction, rotation, resting or chilling time, pressure, blade angle, cleaning solvent, slice thickness, or a fixed pass count. Add one of those mechanics only when a cane-specific source or a recorded physical test supports it.
Test The Complete Material Stack
Do not assume raw slices will bond to every backing slab. If the project uses a backing or bakeable adhesive, make a small test with the complete stack and follow the exact clay and adhesive instructions. One cooled sample does not prove another clay line, scale, backing, blade, or assembly will behave the same way.
Record Before Repeating
Keep the clay line, colors, arrangement, tool, package directions, oven reading, and cooled photograph together. Repeat only what you recorded and describe the result as an observation from that setup.
For a manufacturer-named Premo technique, use the mokume gane guide. For a wider view of finish and pattern routes, return to the surface effects hub.
Other reads on this topic

Conditioning Polymer Clay for Clean Cuts and Crack-Free Edges
Your slab cracked at the edge, your cutter dragged, or one color distorted more than the rest. Condition until every color folds the same way, then do the fold test before you cut.

The Cling Wrap Trick for Smoother Polymer Clay Cutter Edges
If your cutters keep grabbing the clay or leaving rough edges, plastic wrap can help on the right shapes. Here is when to use it, which wraps tend to release more cleanly, when to skip it, and how to get a softer rounded edge when that suits the piece.

How to Marble Polymer Clay: Beginner Tutorial (Step by Step)
Learn how to marble polymer clay with three colors, a roller, and a blade. A beginner tutorial with pulled, stacked, and tile-cut variations, plus the fix for muddy slabs.
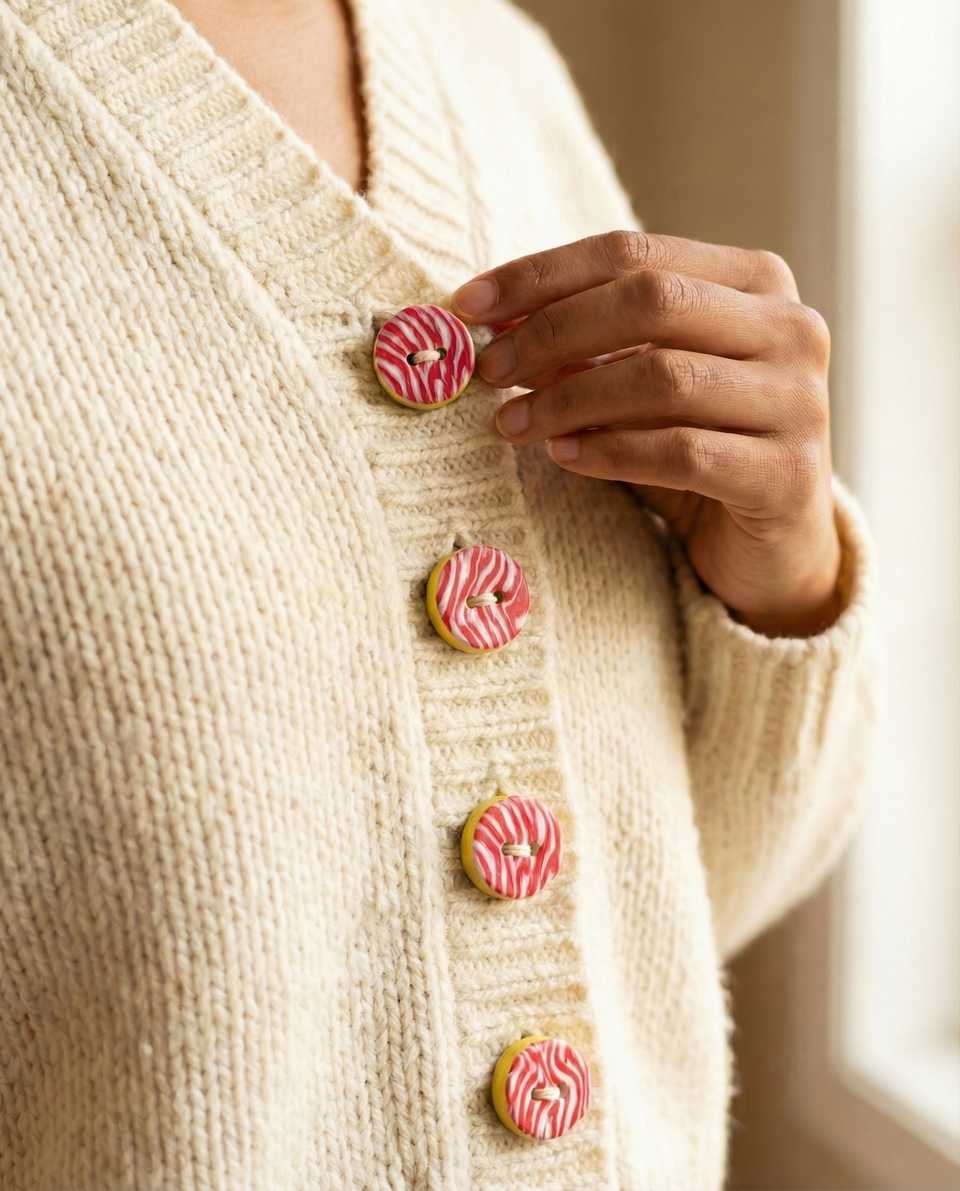
Finished examples with related clay decisions
Each piece shows how a material, attachment, or surface choice changes the final form.