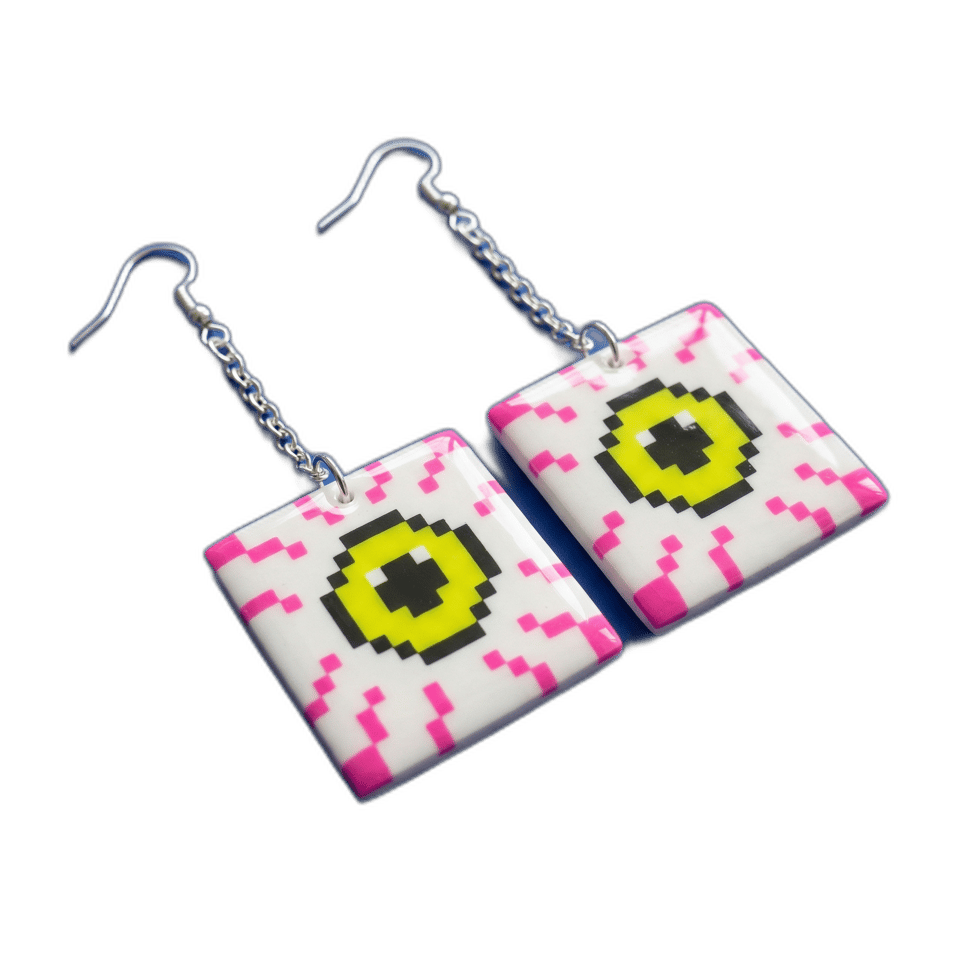
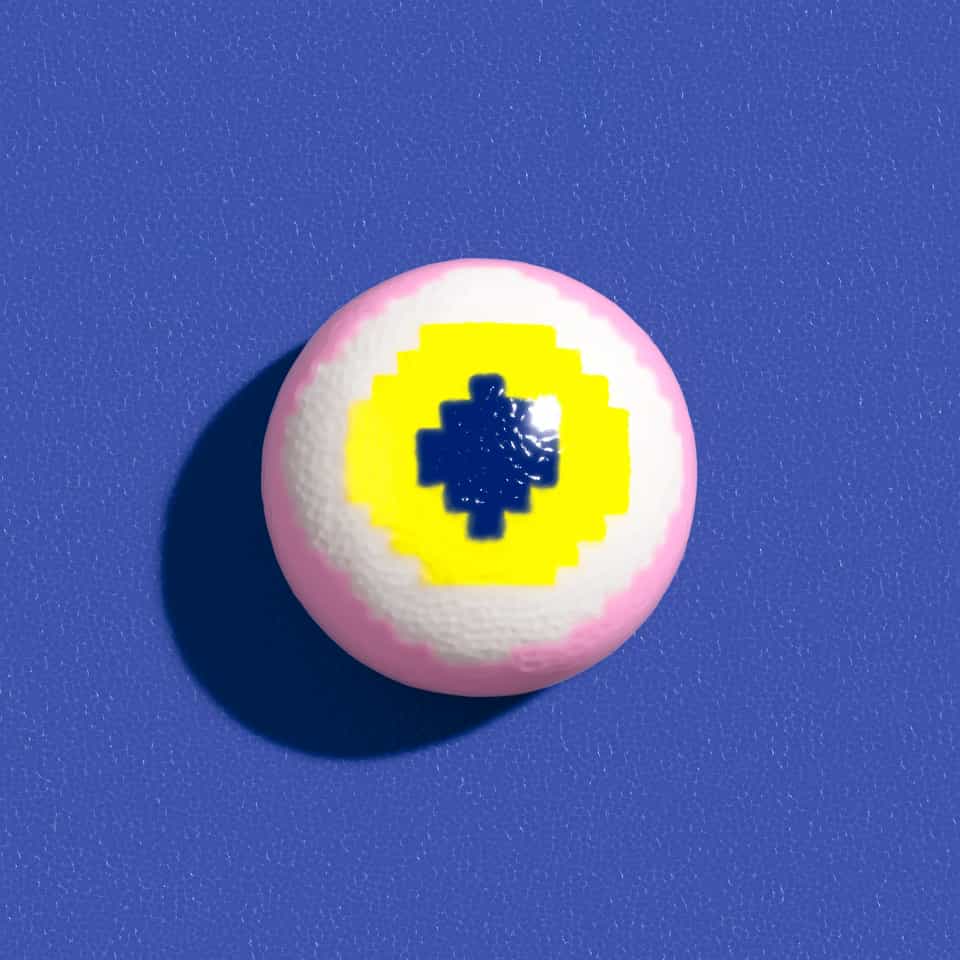
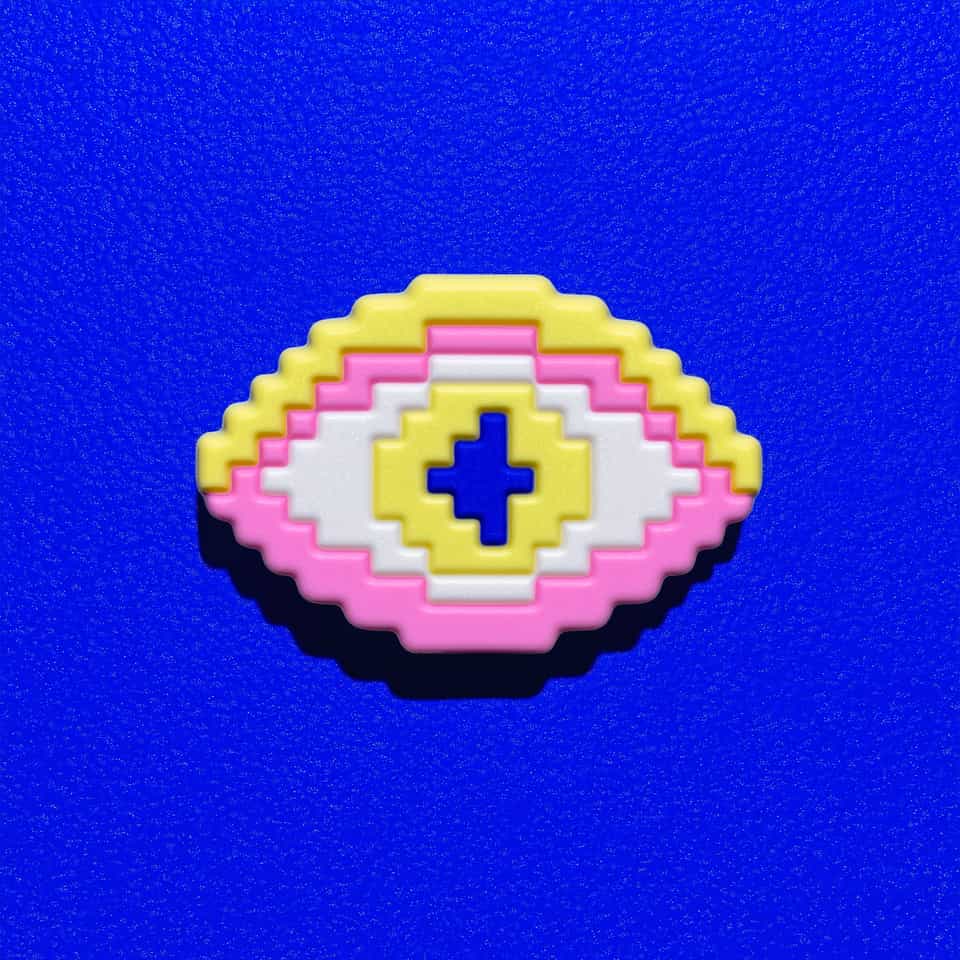
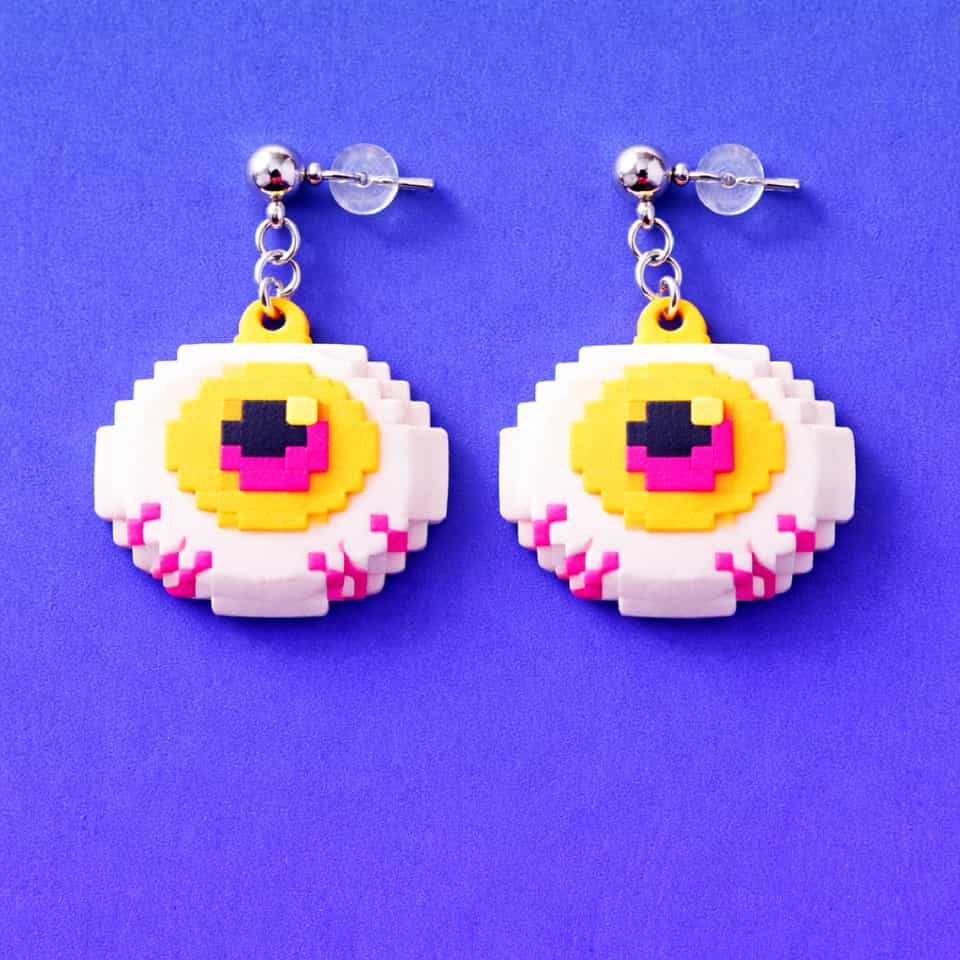
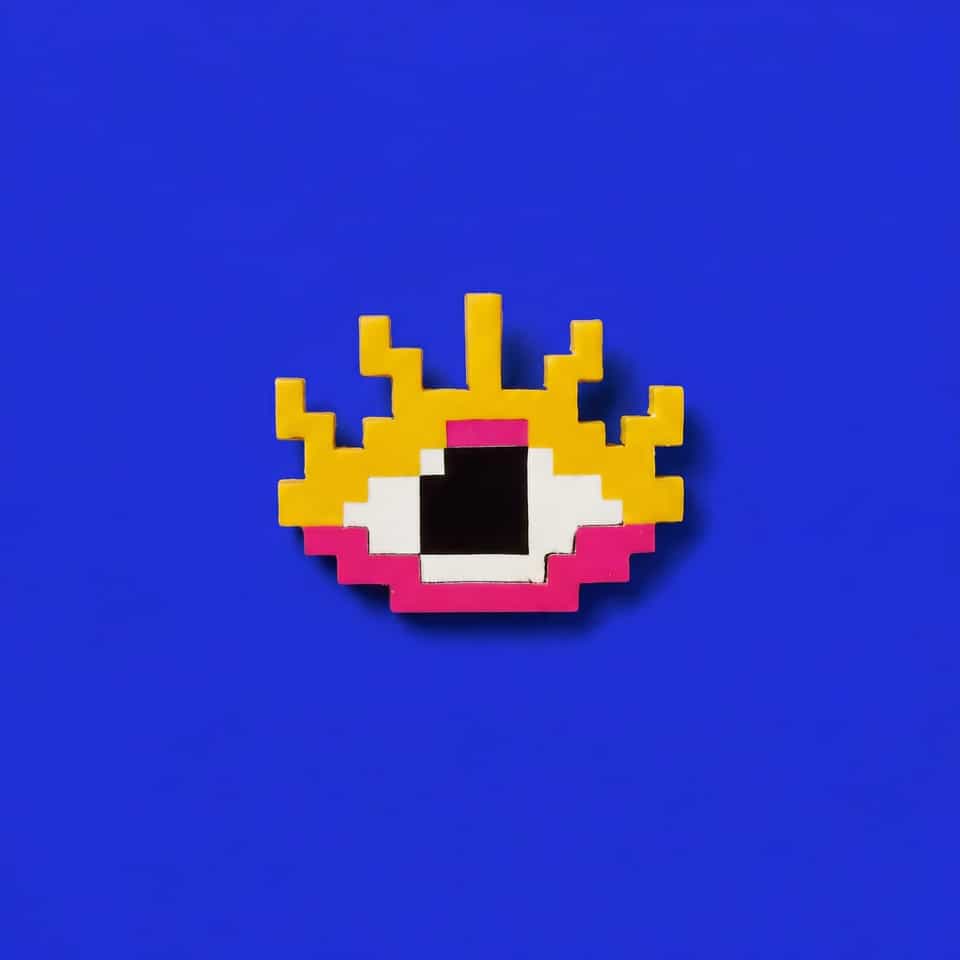
White Pixel Eyeball Tile Earrings. Start with square white eye tiles and build the iris as layered inserts, because the pair reads as flat plaques with hook-and-chain hardware rat…
White Pixel Eyeball Tile Earrings in styled context. Start with square white eye tiles and build the iris as layered inserts, because the pair reads as flat plaques with hook-and-…
AI-assisted concept

White Pixel Eyeball Tile Earrings

Editorial noteAI-assisted concept
Full disclaimer

Use this reference planas a maker reference, not a final spec. Some pages are researched and drafted with AI assistance, then reviewed by our team. Clay lines, ovens, tools, adhesives, and finishing products behave differently, so check your clay brand's instructions plus manufacturer safety guidance before baking, finishing, or attaching hardware.

Start with square white eye tiles and build the iris as layered inserts, because the pair reads as flat plaques with hook-and-chain hardware rather than round eyeball charms. Lock the yellow iris, black pupil, and hot-pink corner blocks in place before you pierce the top holes.

At A Glance

Build Snapshot

A quick read on the clay method, surface finish, and effort level before you start gathering tools.

Technique
Square Eye Tiles With Hook and Chain Drops
Finish
High Gloss
Difficulty
Intermediate
Build effort
Under 45 minutes

Dimensions, motif spacing, and step timing below are build-ready estimates inferred from the reference image and the listed technique. Verify measurements against your own setup before cutting or assembling.

Builder Guide

Build Steps

Work in sequence so the form, thickness, surface detail, and finishing stay controlled from prep through bake.

1
Step

Roll one even white sheet and cut both square eye tiles before you start placing the colored pieces.

2
Step

Cut the yellow iris and black pupil from thinner sheets so the eye stays flat once assembled.

3
Step

Center the eye first, then add the hot-pink corner blocks so the white border stays even on all sides.

4
Step

Pierce the top hole before baking and check that both holes land on the same centerline.

5
Step

Bake the tiles flat on a white ceramic tile, cool them fully, and clear the holes only if they tighten during cure.

6
Step

Attach the short silver connector and hook ear wire after cure so the squares hang straight from the top edge.

Common mistakes

  • If the white border gets too thin on one side, the eye stops feeling centered.
  • If the iris and pupil layers are too thick, the tile starts looking clumsy instead of graphic.
  • If the top hole sits off-center, the square rotates and the eye no longer faces forward.

Skin contact

Metal findings like posts, hooks, and jump rings may contain nickel or other allergens. If you have sensitive skin, choose surgical steel or titanium findings and test any sealant or coating on a small area before wearing.

Build Kit

Suggested Supplies

Start with the core build kit, then add optional finishing or hardware only if it fits the version you want to make.

DisclosureAffiliate links
Read the full disclosure

Some links in this build guide are affiliate links. If you buy through them, we may earn a small commission at no extra cost to you. That support helps keep our guides and research free. As an Amazon Associate I earn from qualifying purchases. We choose products we think are relevant to the build, but check the listing details, dimensions, and material fit for your own setup before you buy.

Design Neighbors

More Like This

Explore adjacent builds with similar form, finish, or construction ideas.

White Pixel Eyeball EarringsWhite Pixel Eyeball Earrings - lifestyle

White Pixel Eyeball Earrings

Yellow Pixel Crown EarringsYellow Pixel Crown Earrings - lifestyle

Yellow Pixel Crown Earrings

Yellow Pixel Ghost EarringsYellow Pixel Ghost Earrings - lifestyle

Yellow Pixel Ghost Earrings

Hot Pink Pixel Mushroom EarringsHot Pink Pixel Mushroom Earrings - lifestyle

Hot Pink Pixel Mushroom Earrings

Try List Or Share

AI-assisted concept

Keep this build handy while you test your own version.

Pin It

Made your version?

Tag #ClayBakeStudio on Instagram or TikTok.