1
Step
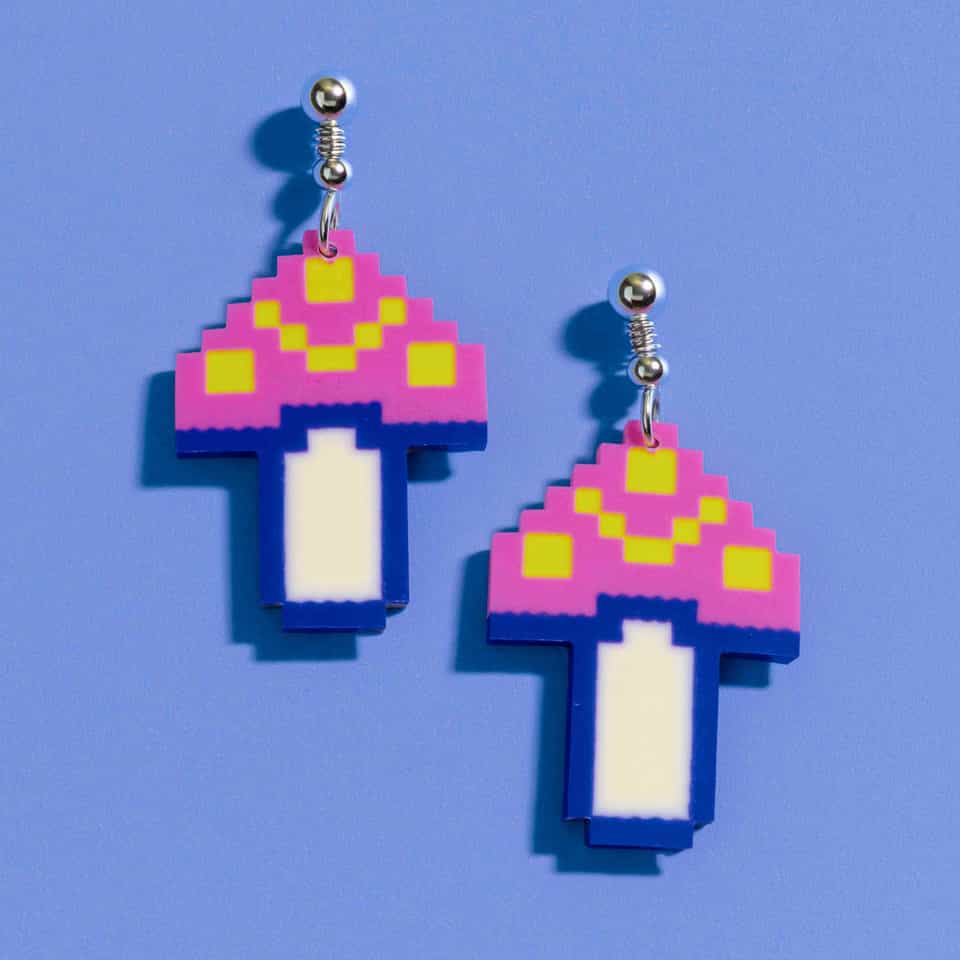
Condition your polymer clay until pliable. We recommend FIMO Professional for these precise, graphic shapes to prevent distortion, or Sculpey Soufflé for a velvety matte finish. Roll out even sheets of white, yellow, black, and hot-pink clay.
2
Step
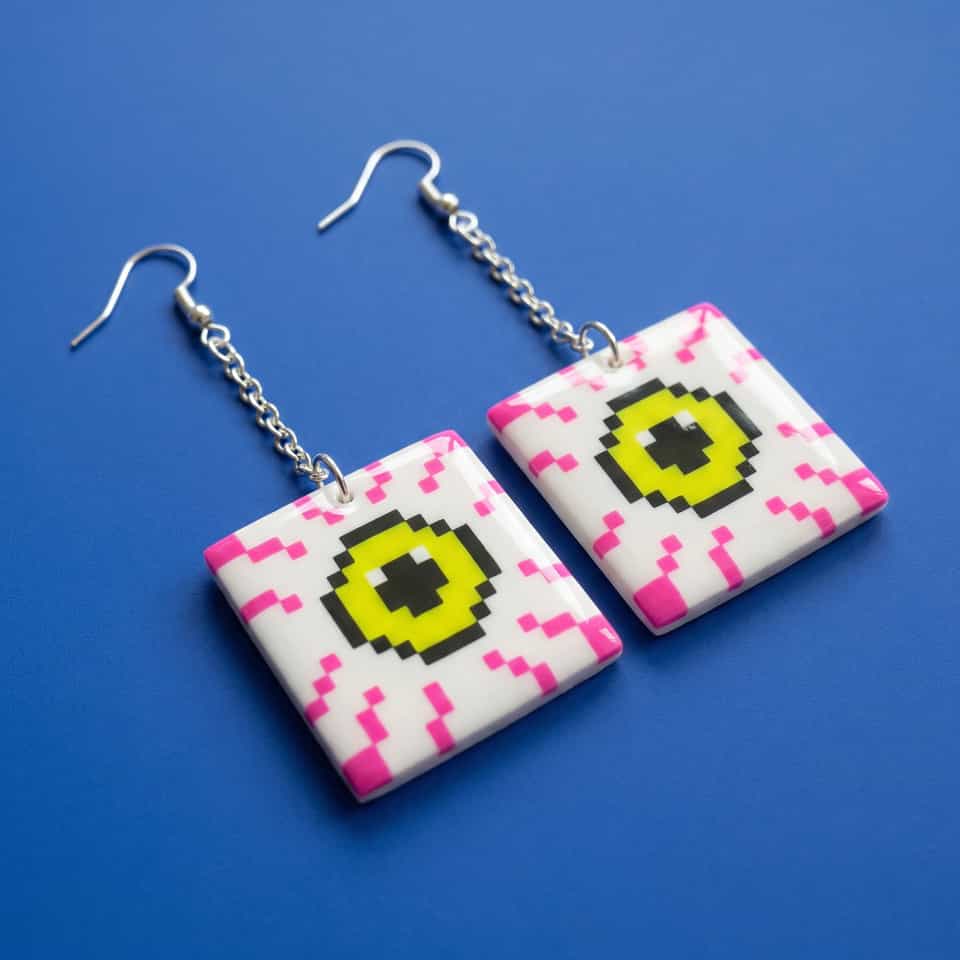
Dust your pixel template or cutter with cornstarch as a release agent. Cut out the stepped white eyeball bases and two small yellow hanging tabs. Wipe the raw contact areas with a damp cotton swab to remove any powder, then press the yellow tabs onto the top center of each white base.
3
Step
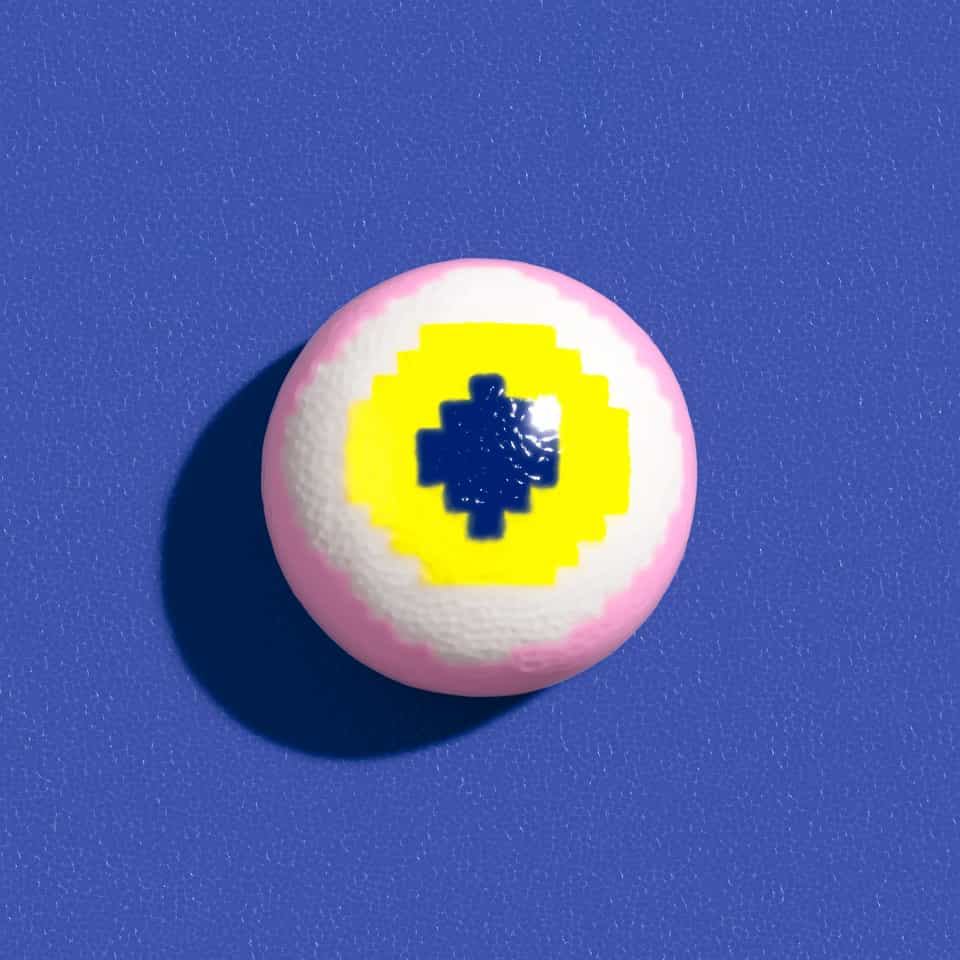
Cut out the stepped yellow irises, black pupils, tiny yellow highlight squares, and hot-pink lower pupil accents. Clean the contact areas on the white bases with a damp cotton swab, then layer the yellow irises, black pupils, yellow highlights, and hot-pink accents symmetrically.
4
Step
Cut small, stepped hot-pink strips for the veins. Clean the lower corners of the white bases with a damp cotton swab, then position the veins. Use a needle tool to pierce a clean hole through the center of each yellow hanging tab.
5
Step
Bake the earrings flat on a ceramic tile in a preheated oven according to the clay package directions. Allow the pieces to cool completely before handling to avoid warping or leaving fingerprints.
6
Step
Clean the cured clay and silver findings with rubbing alcohol. Open three small silver jump rings per earring and link them together to form a short chain. Connect this chain to the yellow tab and the loop of a silver ball stud post. For any glued metal components, use a strong adhesive like Devcon 2-Ton Epoxy or E6000 rather than brittle super glue.