1
Step
Condition your navy-blue, hot-pink, acid-yellow, and white polymer clay. FIMO Professional is ideal for maintaining the sharp, square edges of this pixelated design.
2
Step
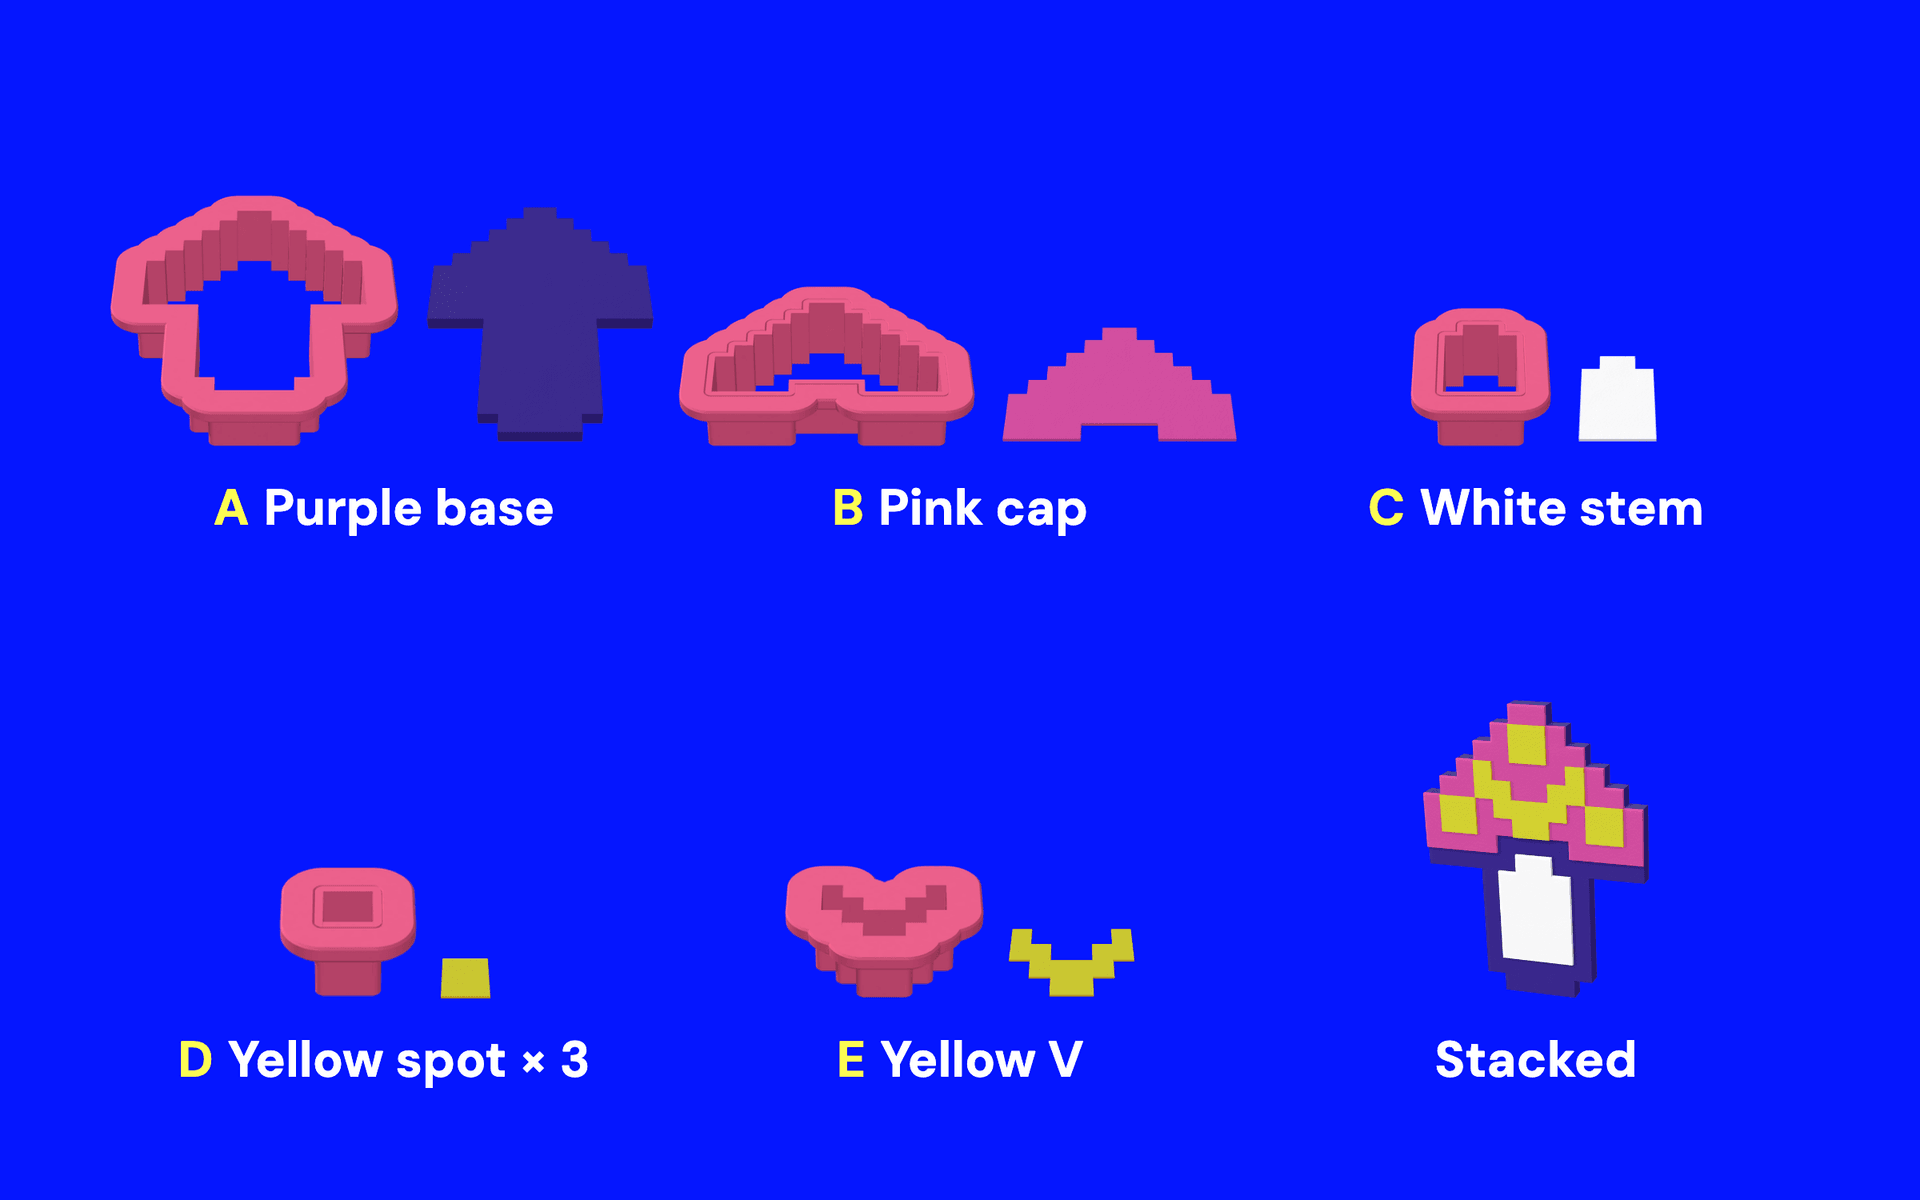
Roll the navy-blue clay to a thickness of 1.5mm. Lightly dust your grid template or blade with cornstarch as a release agent, then cut out two matching pixelated mushroom silhouettes to act as the base plates.
3
Step
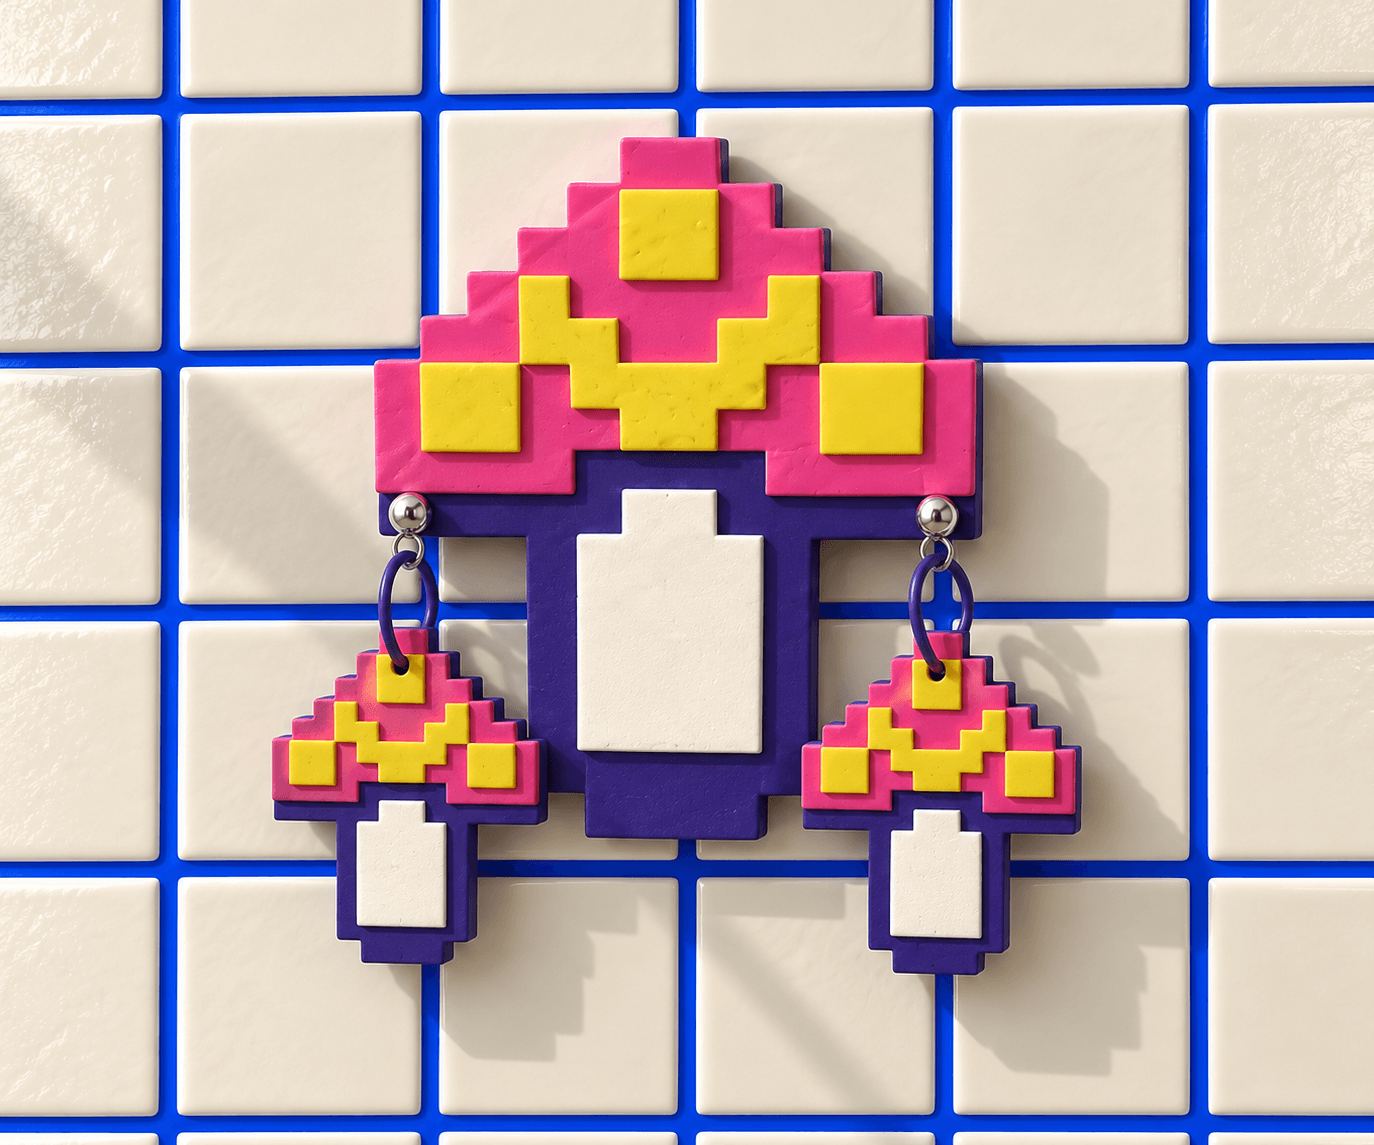
Roll out thin sheets of white and hot-pink clay to 1.0mm. Cut the white stem rectangles and hot-pink caps, making sure the pink cap includes the top hanging tab. Wipe the navy base contact areas with a damp cotton swab to remove any release powder, then press the white stem and pink cap onto the base.
4
Step
Align the pieces so the navy base is exposed as a horizontal dividing bar and a frame around the stem, while the pink cap edges remain flush. Cut the small acid-yellow squares and chevron pieces. Wipe the pink cap surface with a damp swab, then press the yellow details into place. Pierce a clean hole through the top tab using a needle tool.
5
Step
Bake the pieces flat on a ceramic tile in a dedicated craft oven according to the clay package directions. Let them cool completely to avoid warping or denting the clay.
6
Step
Clean the silver jump rings and ball-post studs with rubbing alcohol. Use pliers to open a jump ring, thread it through the pierced hole, loop it through the ball-post finding, and close it securely. If sealing, use a water-based polyurethane glaze and avoid solvent-based aerosols.