Polymer Clay Domed Studs, Metallic Inlay, and Gilded Details
Domed statement studs stay cleaner when the blank starts as a matched round plaque, the dome stays shallow enough for a flat back, and the metallic detail is pressed in without turning the surface into a lumpy foil patch.

In brief
Key takeaways
- 1Cut matched disc blanks first so the pair is already settled in size before you start shaping any dome
- 2Dome the front lightly while keeping a flat, prepared rear area for the post pad to land on after cure
- 3Press metallic foil, composite leaf, or gilded spots in shallow passes. The detail should sit in the face, not smear across it
- 4Bake studs on a flat surface such as a ceramic tile, covered with parchment to prevent an unwanted sheen, so the backs stay even
Cut one blank, shape one test dome, and bake it on a listed flat surface by the exact clay package. Let it cool before you attach hardware or decide whether the metallic effect needs a finish.
Shape One Dome Sample
Build the front curve you want to inspect while keeping a usable rear assembly zone. Dome height, wall thickness, and pressure are choices for this sample, not universal settings.
Bake On A Listed Flat Surface
Use a suitable surface such as ceramic tile, glass, or a metal tray. Verify the baking area with an oven thermometer and follow the exact package time, temperature, thickness, and support directions.
Treat Each Metallic Effect As Its Own Product
Metallic clay, mica powder, foil, leaf, and paint do not share one application or sealing rule. Follow the exact effect-product and clay directions, then test the combination on scrap. Do not promise rub resistance, tarnish behavior, waterproofing, or wear life from the category name.
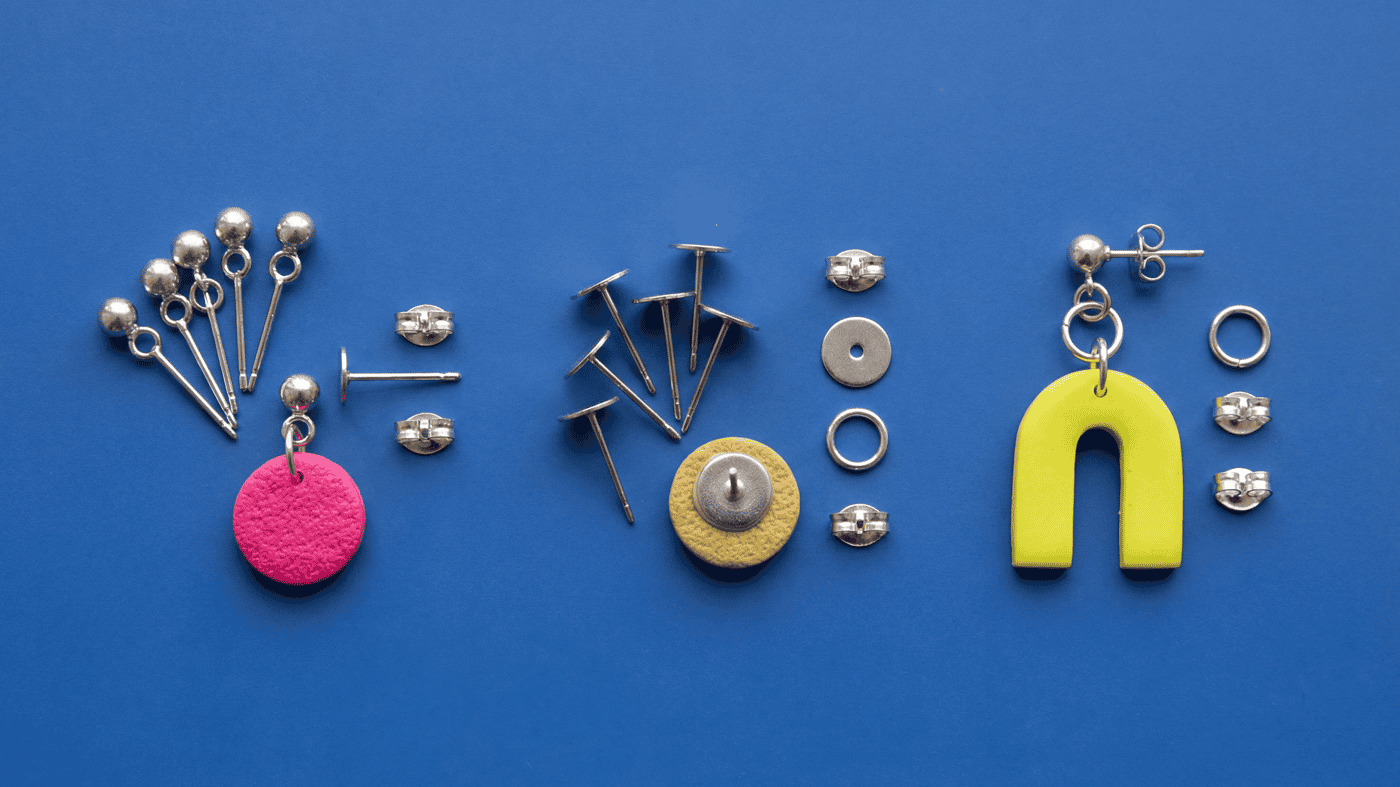
Attach Hardware After Cooling
Choose an adhesive whose label supports the cured clay, finding, and any finish between them. Follow its preparation, application, warning, and cure directions, then test one completed stud before repeating the setup.
Add Finish Only When The Stack Needs It
A sealer is optional for bare cured clay. If the metallic product or intended appearance needs a coating, test the exact finish on cured scrap. A topcoat cannot replace a sound clay form or verified hardware bond.
Use the earring glue guide for the attachment step and the finish compatibility guide for the coating decision.
Supplies
Supplies mentioned here
Quick links to the materials and tools that fit this article. ClayBake tools stay on our own catalog.
Round clay cutter set
Good for keeping two stud blanks the same size before you shape the dome.
Sculpey dual-end detail tools (ball ends + flexible tips)
Good for rounding the face gently and pressing metallic pockets without tearing the clay.
Metallic leaf or foil for clay
Metallic leaf and foil vary. Check what the sheet is made from, then bake a small clay-and-foil sample with your planned finish.
Craftdady stainless flat-pad earring posts
Use these only when the baked and cooled dome has a flat contact area large enough for the pad. Check pad width, what the post and pad are made from, finish, and included backs.
More guides in this path
Open these when the next decision is material choice, attachment, or finishing.

Sanding and Buffing Polymer Clay: Pressure and When to Stop
Start with Sculpey's documented wet-sanding range, use progressively finer paper with water, and test pressure and sheen on cured scrap before finishing a batch.
Polymer Clay Stud Toppers, Flat Pads, and Connector Rings
Choose the top connection from the front view first, then keep the attachment short and balanced. Compare visible loop-tops, flat pads, short ring paths, and balance-line marks on a sample before you make the final pair.

Sculpey Soufflé Sutton Slice: One Official Project
This guide stays within one official Sculpey Soufflé project and does not turn that example into a universal stamp, clay, depth, or transfer rule.
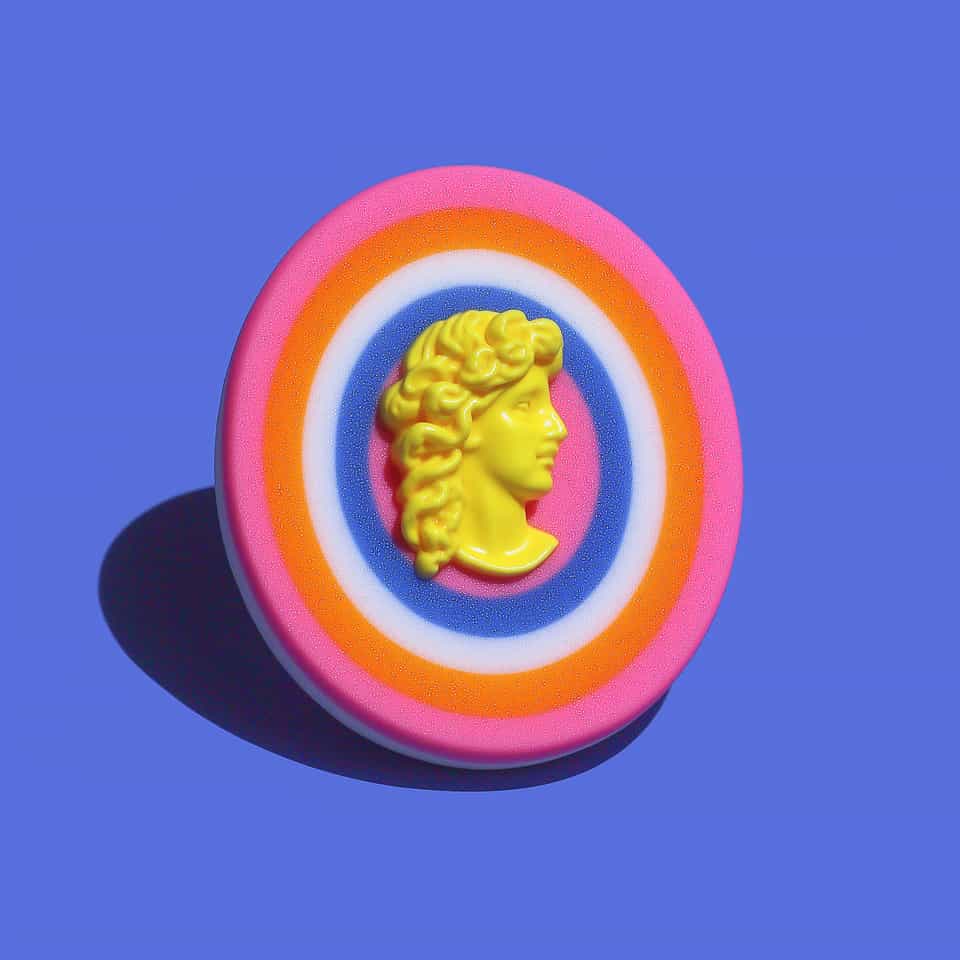
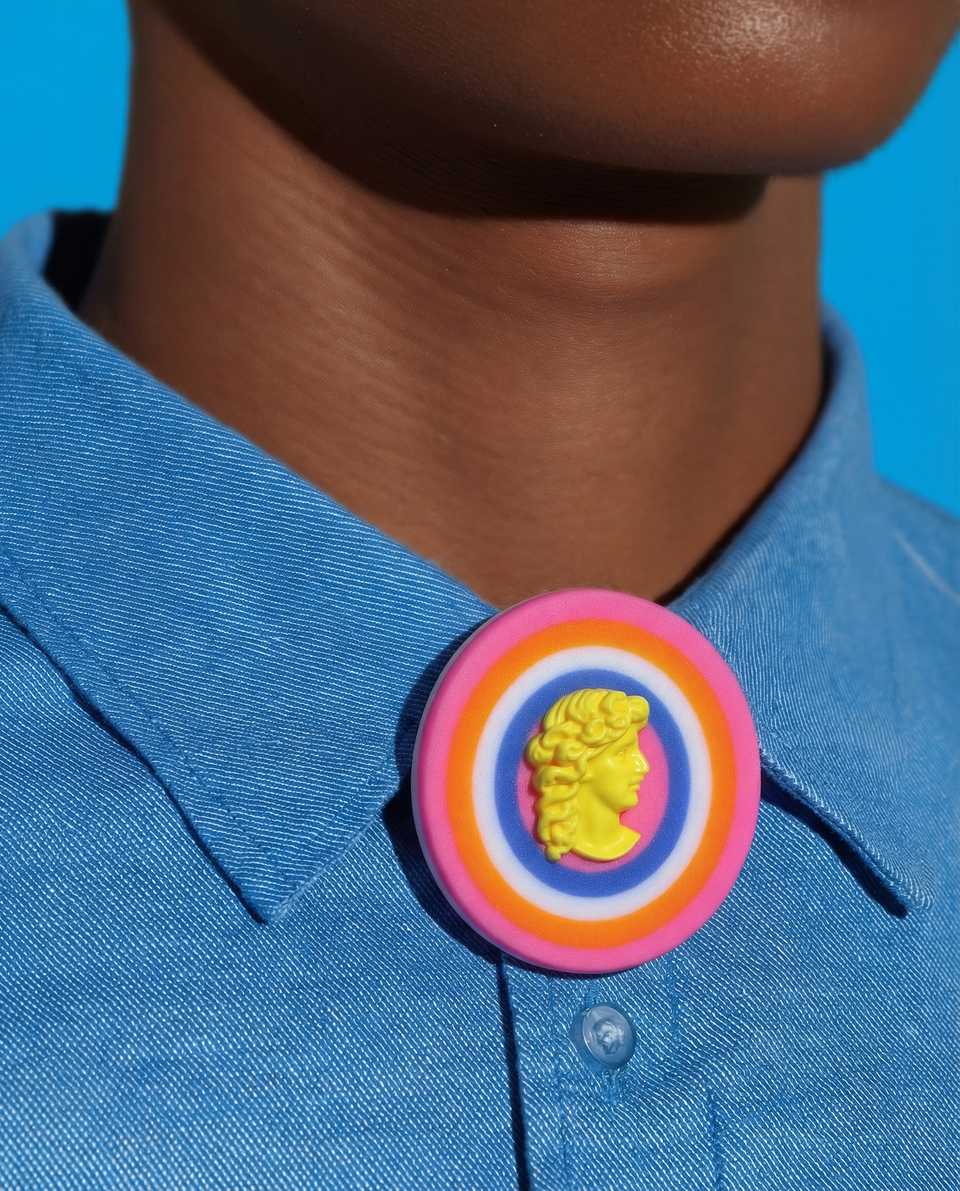
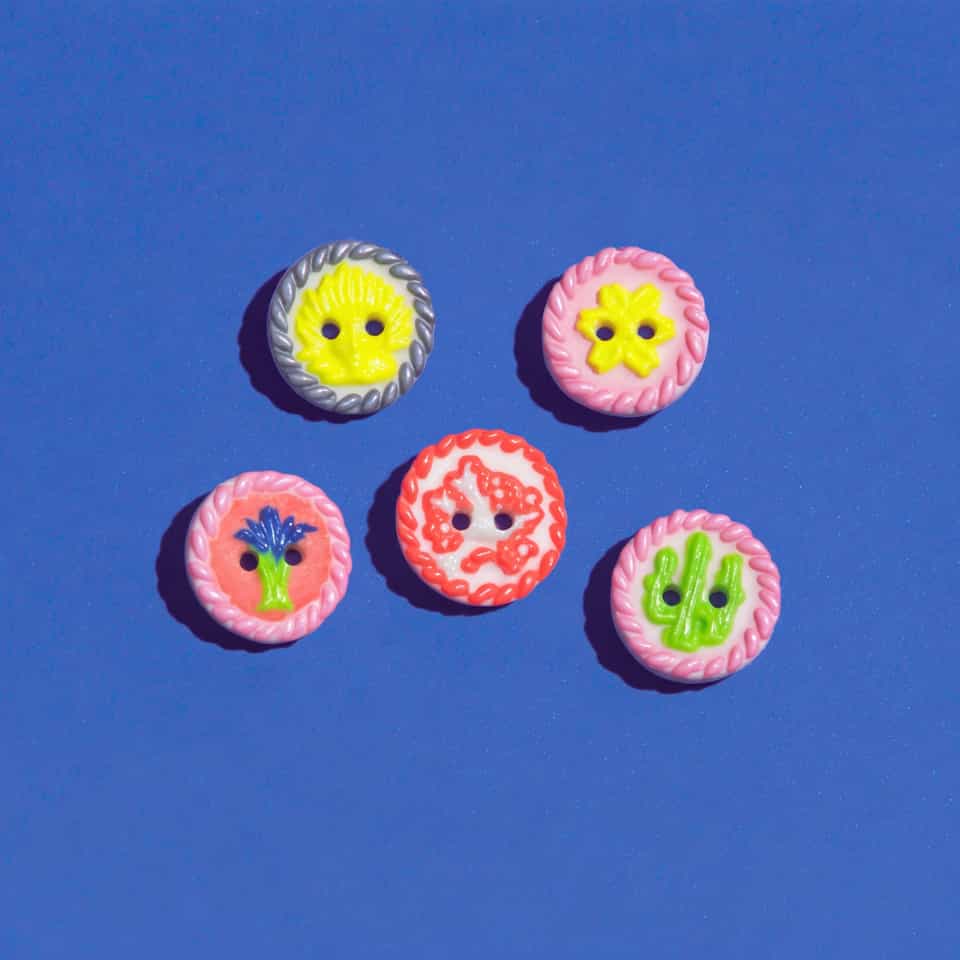
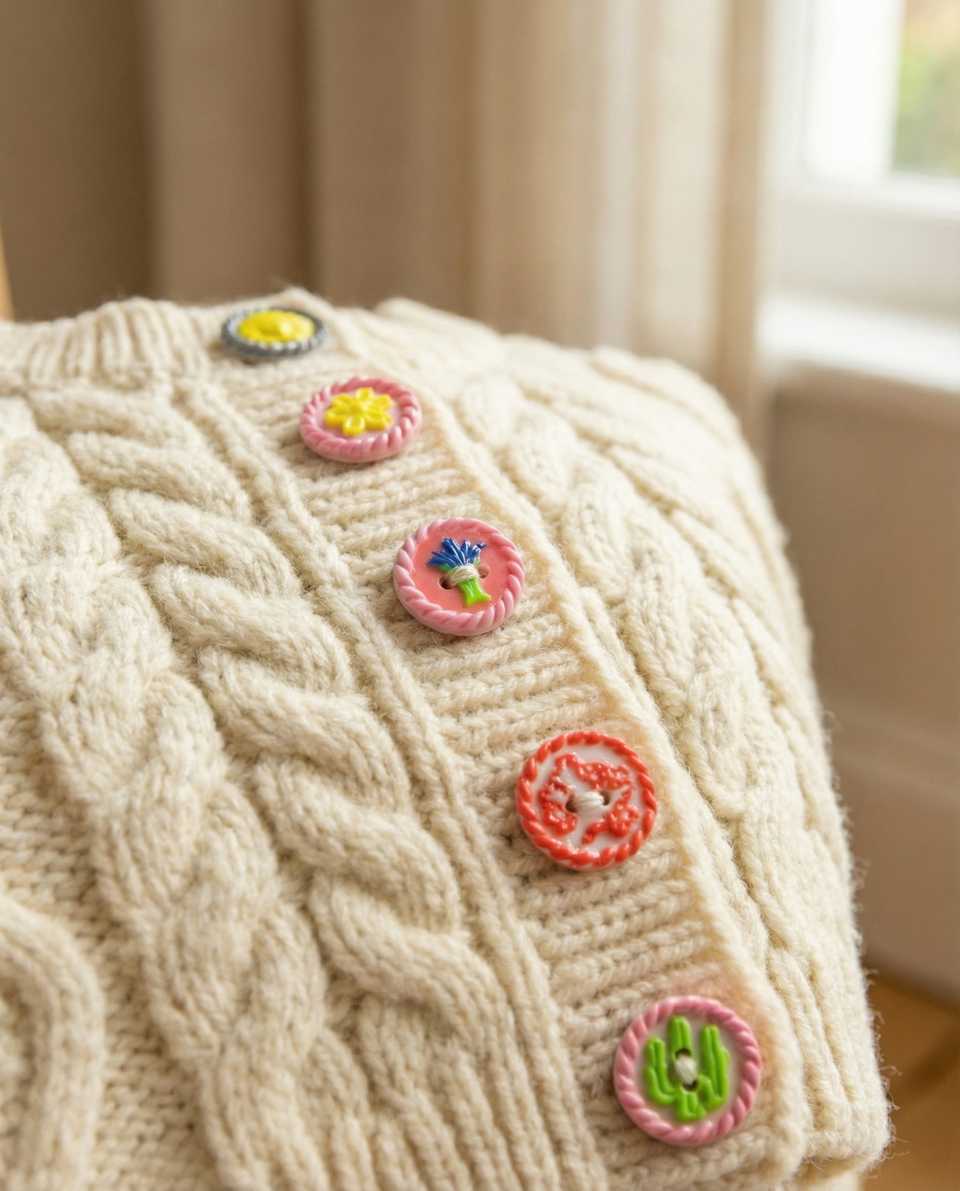
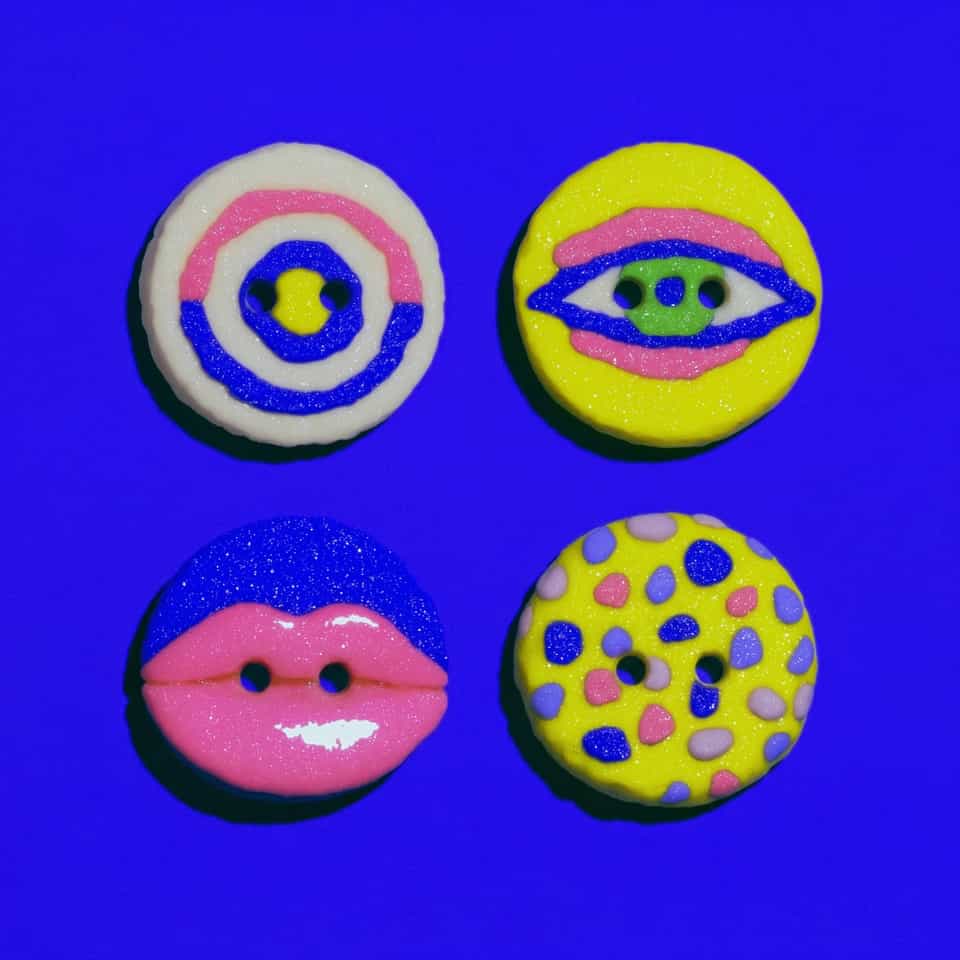
Finished examples with related clay decisions
Each piece shows how a material, attachment, or surface choice changes the final form.