How thick should polymer clay earrings be?
Roll flat earrings about 3 mm thick or a little thinner, measure the raw slab, and size the jump ring, post pad and pasta machine setting to that thickness.
Some links on this page are affiliate links. If you buy through them, we may earn a commission at no extra cost to you. As an Amazon Associate I earn from qualifying purchases. Disclosures

In brief
Key takeaways
- Roll flat polymer clay earrings about 3 mm (1/8 inch) thick or a little thinner, the slab Sculpey's own earring projects start from
- The thickest setting on a Sculpey or Atlas clay machine rolls about 2.5 mm, so for 3 mm, stack slabs a little thicker and roll them down between two 3 mm guides until the roller rests on both
- On a 30 mm disc, each extra millimetre adds roughly 0.9 g of clay per earring, so roll large dangles towards 2 mm
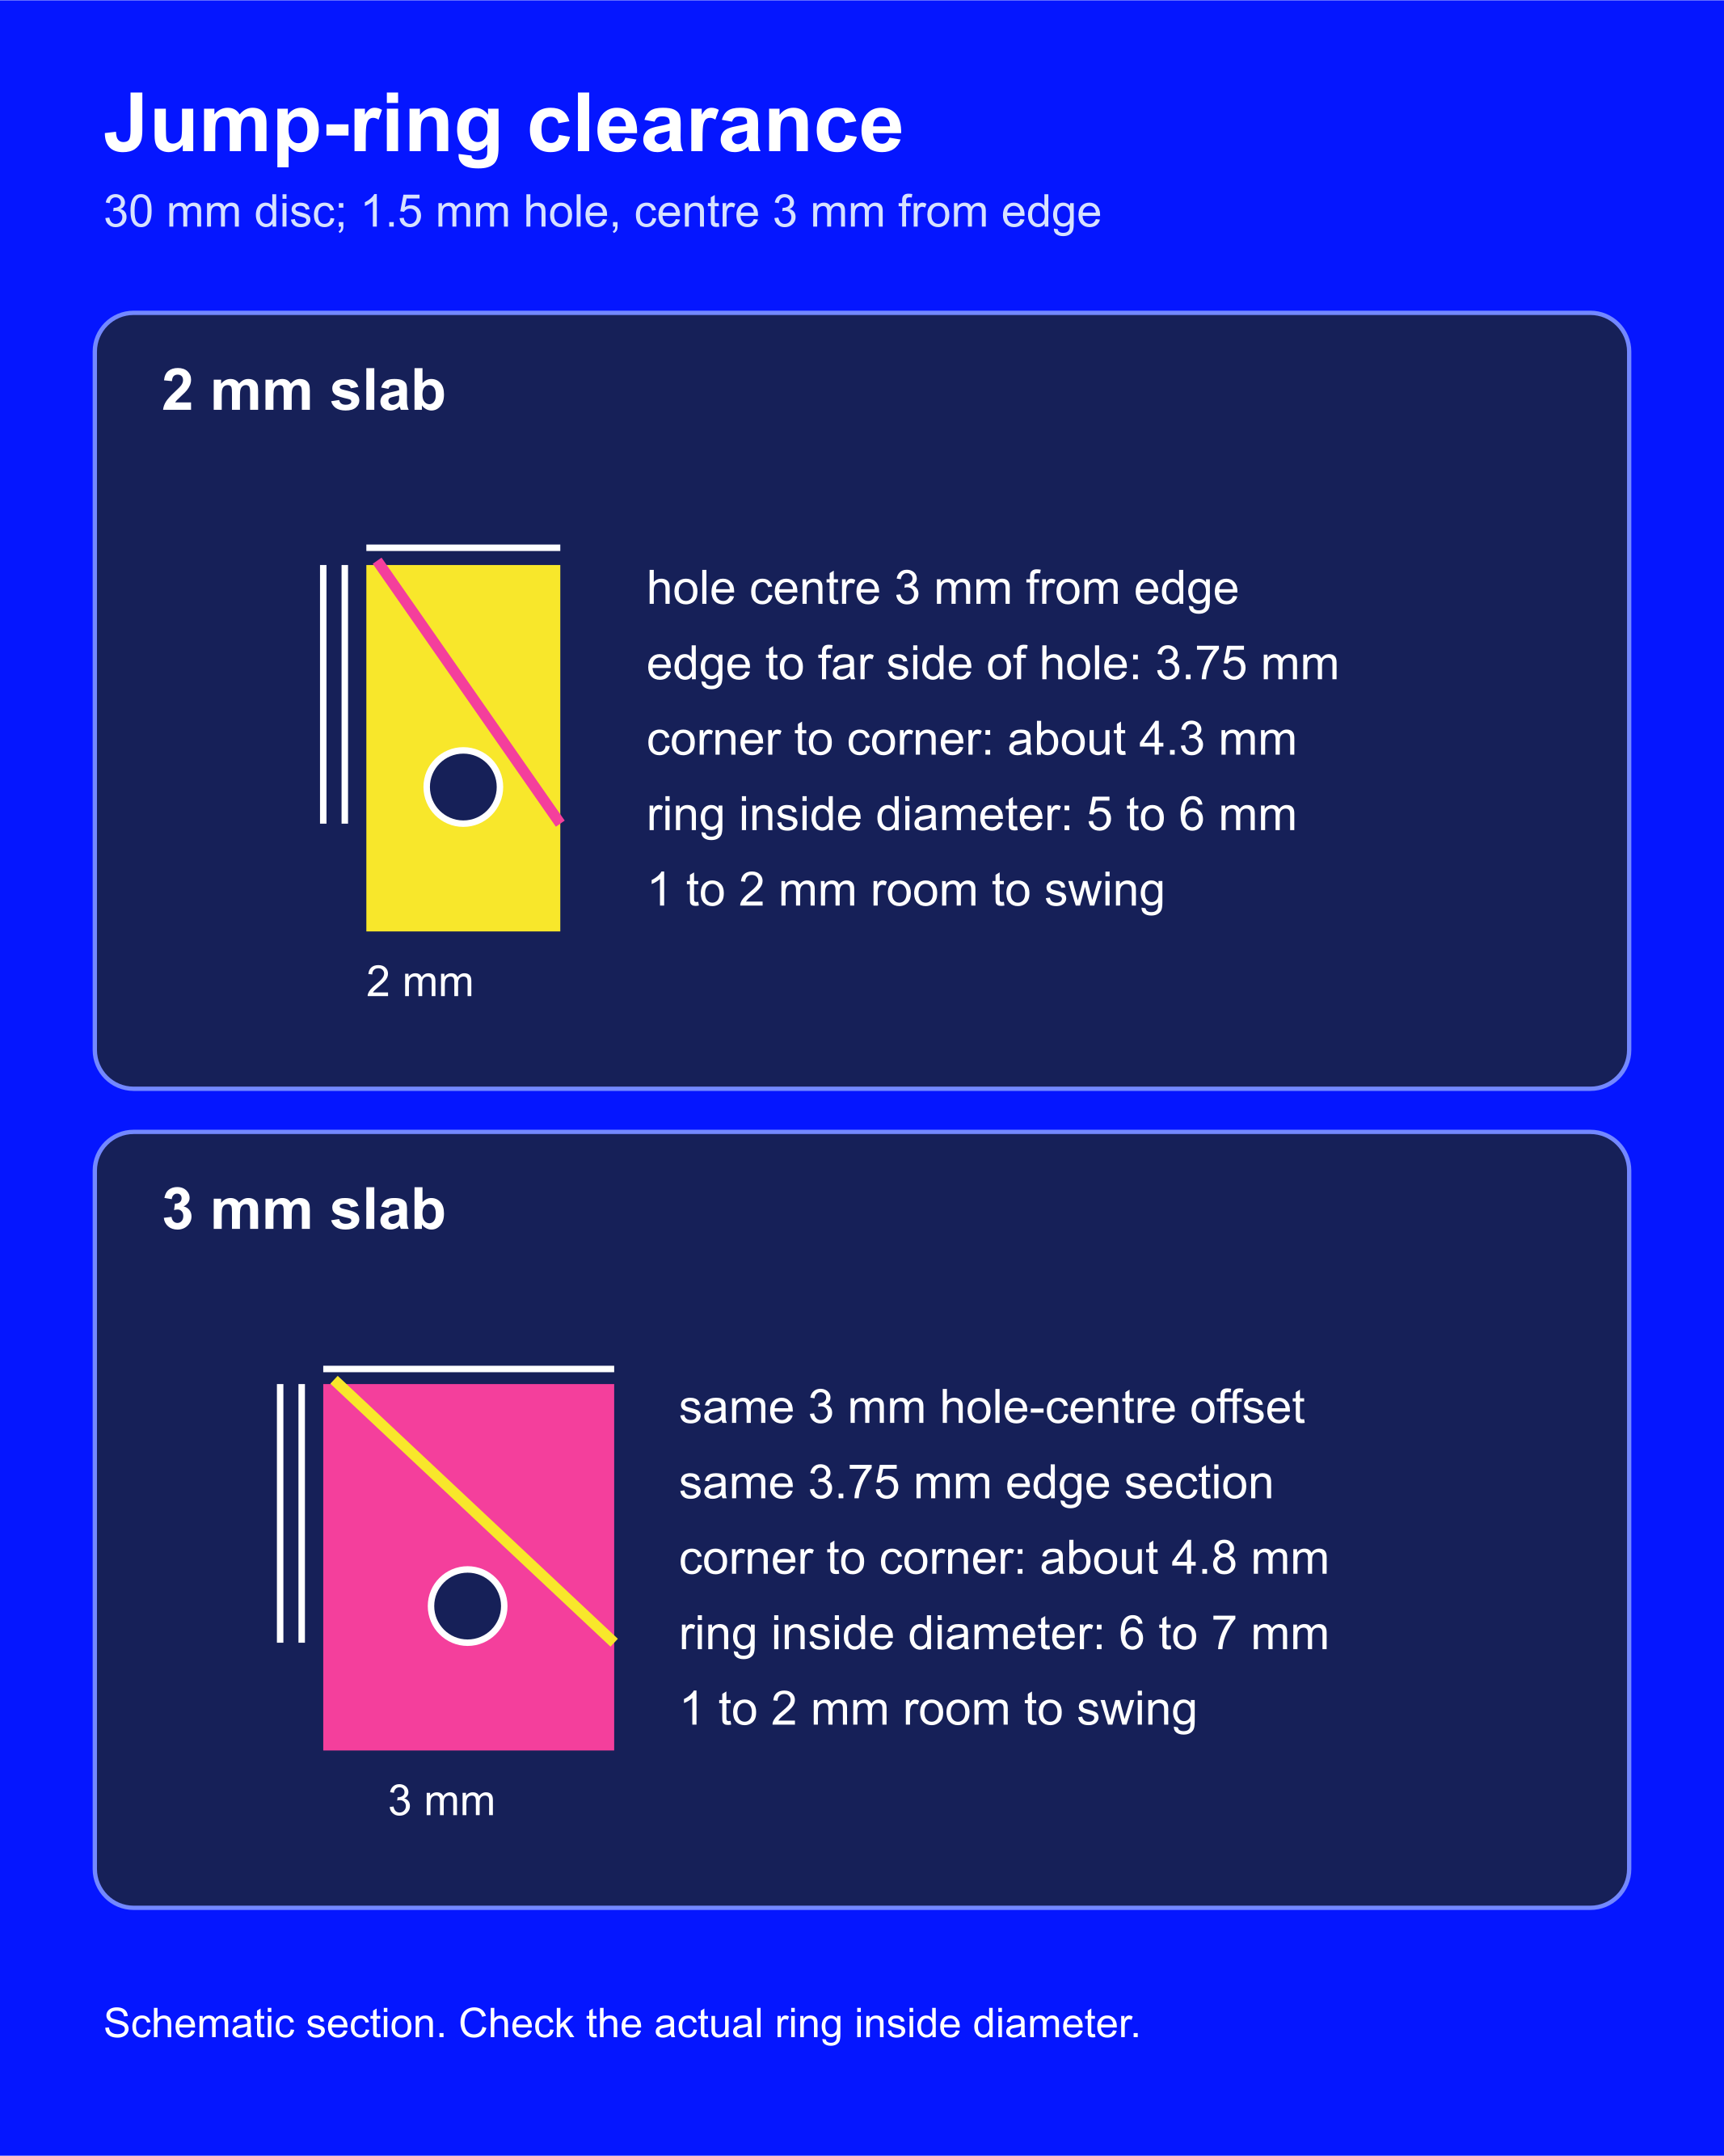
- For a 1.5 mm hole centred 3 mm from the edge, start from a jump ring with a 5 to 6 mm inside diameter on a 2 mm slab and 6 to 7 mm on 3 mm
- Measure the slab raw and cut both earrings of a pair from one slab so they match
Article contentsOpenClose
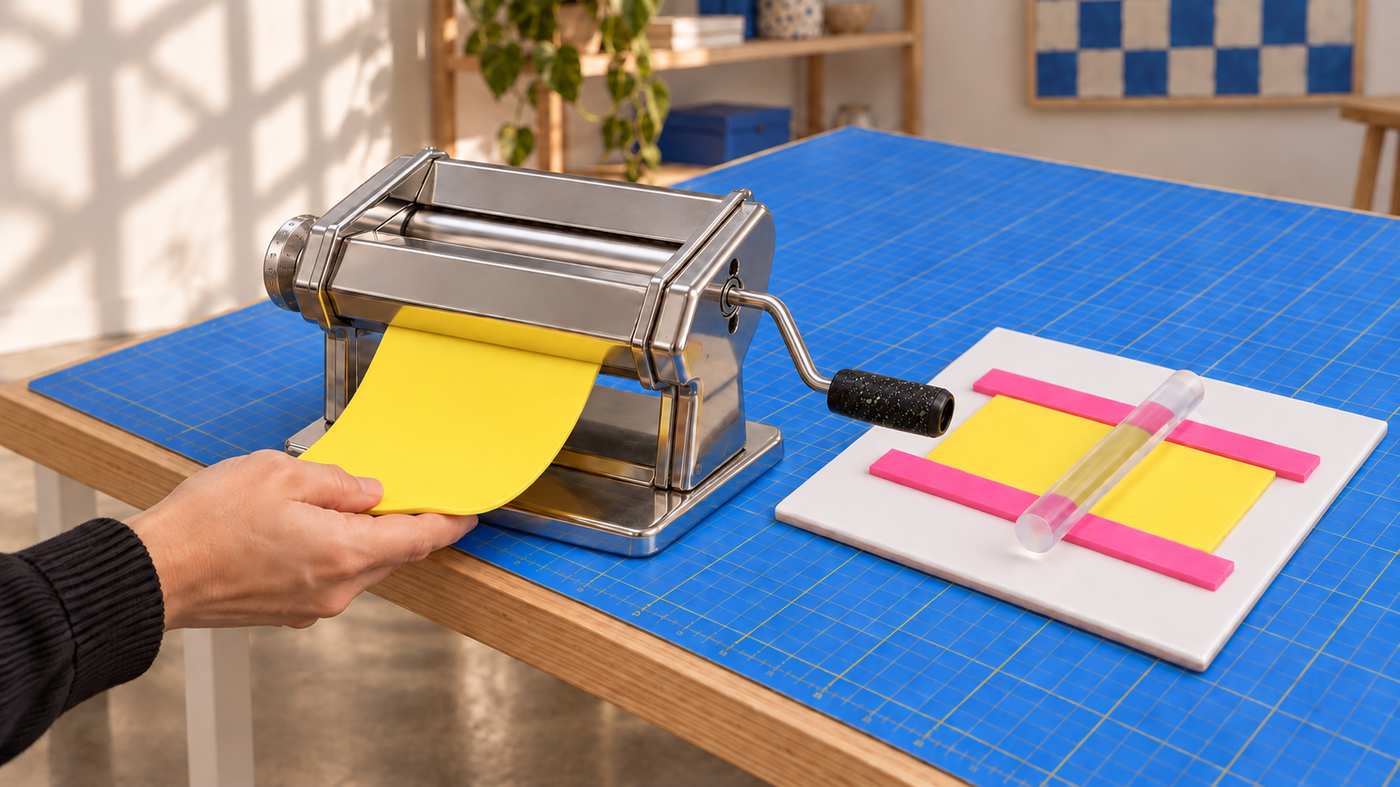
Roll flat polymer clay earrings about 3 mm (1/8 inch) thick or a little thinner: three of Sculpey's own earring projects start from a sheet about 1/8 inch thick, and one of them tells pasta machine users to roll at the third-thickest setting instead. The thickest setting on a Sculpey or Atlas clay machine rolls about 2.5 mm, so for a full 3 mm slab, stack slabs to a little over 3 mm and roll them down with an acrylic roller between a pair of 3 mm thickness guides.
Within that range, the shape and the hardware decide the number. On a 30 mm disc, each extra millimetre adds roughly 0.9 g of clay to every earring and calls for a slightly larger jump ring. Measure the slab while it is raw, choose the thickness, then cut both earrings of the pair from that one slab.
How thick to roll flat polymer clay earrings
Start at about 3 mm and move thinner when the piece is large or long. A 30 mm arch, an 18 mm stud and a cane-slice oval can each suit a different point in that range, so decide from what the earring has to carry:
- Large or long dangles: roll towards 2 mm. Weight rises with thickness, and the extra grams add up fastest on a big shape or a chain of links; the table in the next section puts numbers on it. The clay line matters too: one long-running polymer clay educator notes that a bar of Sculpey Souffle is the same size as a 2 oz bar of Premo but weighs 1.7 oz, about 15 percent less.
- A hanging hole near the edge: stay near 3 mm. Sculpey's projects keep the hole about 1/8 inch (3 mm) in from the edge of their 1/8-inch sheets so the clay around it stays sturdy. On a thinner slab, move the hole further in from the edge.
- Studs: any thickness in the range works when the back is flat where the post pad sits. Baking the post in adds clay to the back, as the stud section below explains.
- Layered designs: the slab you roll is only the base. Colour layers and appliqué pieces add to it, so measure the whole stack.
- Very thin pieces: use a clay that flexes after baking. Sculpey describes Premo and Souffle as flexible once baked, and the same educator reports that the stronger clays, including Premo, FIMO, Cernit and Souffle, cannot be broken by hand even at 1/16 inch (about 1.5 mm).
Choose and measure the thickness while the clay is raw. You do not need to bake sample slabs to pick it: condition the clay, roll it, measure it and cut. The guide to conditioning clay and rolling an even slab covers getting the clay smooth and level before you start. Once the first pair is baked and cooled, assemble it and check its weight and swing before you make more.
What changes between 2 mm and 3 mm: weight, jump ring and hole
Thickness changes three things you can put numbers on: how much clay hangs from the ear, how large a jump ring has to be to clear the edge, and how the hole behaves when you make it. The worked example below is one plain 30 mm disc with a 1.5 mm hole centred 3 mm from the edge, about where Sculpey's projects place it.
| Raw thickness | Clay per earring (estimate) | Clay the ring must clear, corner to corner | Jump ring inside diameter to start from |
|---|---|---|---|
| 2 mm | about 1.7 to 2.0 g | about 4.3 mm | 5 to 6 mm |
| 2.5 mm | about 2.1 to 2.5 g | about 4.5 mm | 5.5 to 6.5 mm |
| 3 mm | about 2.5 to 3.0 g | about 4.8 mm | 6 to 7 mm |
| 4 mm | about 3.4 to 4.0 g | about 5.5 mm | 6.5 to 7.5 mm |
Weight. The clay figures come from the disc's volume, about 707 mm² of face times the thickness, and the density STAEDTLER lists for FIMO soft and effect, 1.2 to 1.4 g per cubic centimetre. That is roughly 0.9 g for every extra millimetre on a 30 mm disc, before the ring and finding, and twice that across the pair. A lighter clay line lowers every row. For a shape that is not a disc, the findings guide shows how to estimate an earring's weight before baking and compare it with a pair you wear. To weigh a finished pair, search Amazon for a small digital scale that reads to 0.1 g.
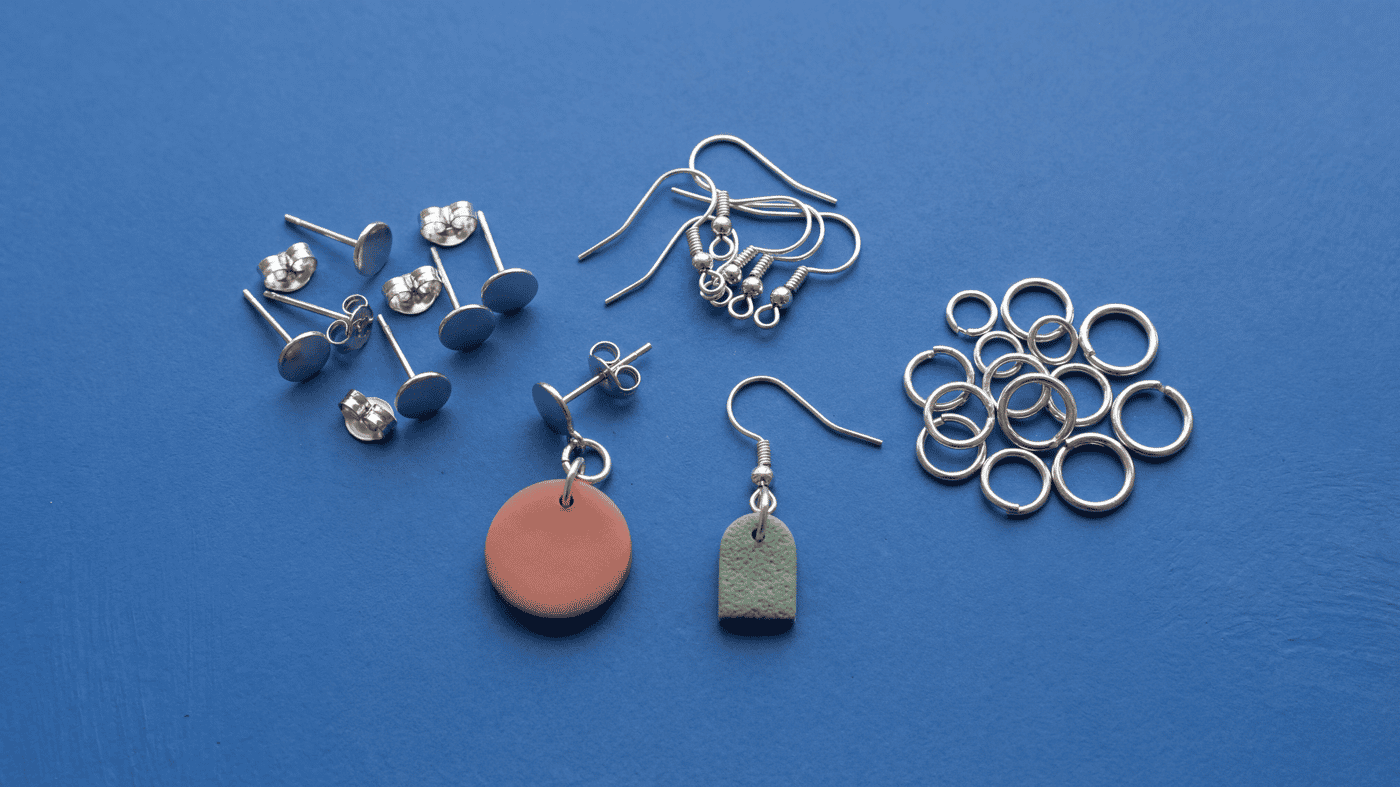
Jump ring. When the earring hangs, the ring loops over the clay between the hole and the edge. As the drop swings, the wire can slide across to the far side of the hole, so the ring has to clear a section of clay 3.75 mm long (3 mm to the centre of the hole plus half the hole) and as thick as the slab. The third column measures that section corner to corner. Add 1 to 2 mm so the drop swings freely and you reach the inside diameter in the last column. Compare that figure with the ring's inside diameter, not its outside: a 6 mm ring made from 1 mm wire has only a 4 mm opening. The jump-ring guide works through the same sum for other hole positions, including a ring that joins two clay pieces.
Hole. Sculpey's projects put the hole about 1/8 inch in from the edge, and one allows as little as 1/16 inch provided the clay has not torn between the hole and the edge. A raw punch works best on a slab around 2 to 3 mm thick that is chilled and still on its tile; on a thin veneer or a layered stack, drill after baking instead. The guide to punching or drilling jump ring holes covers both routes.
How thick should polymer clay stud earrings be?
Roll studs in the same range, about 3 mm or a little thinner, with a flat back where the post goes. What a stud adds is the back, and three things there depend on thickness:
- A flat area for the pad. A flat-pad post needs the whole pad to lie on the clay without rocking, with clay showing all round its edge. Jewellery suppliers sell pads from about 3 to 10 mm, and the posts guide shows how to find the largest pad your stud can take.
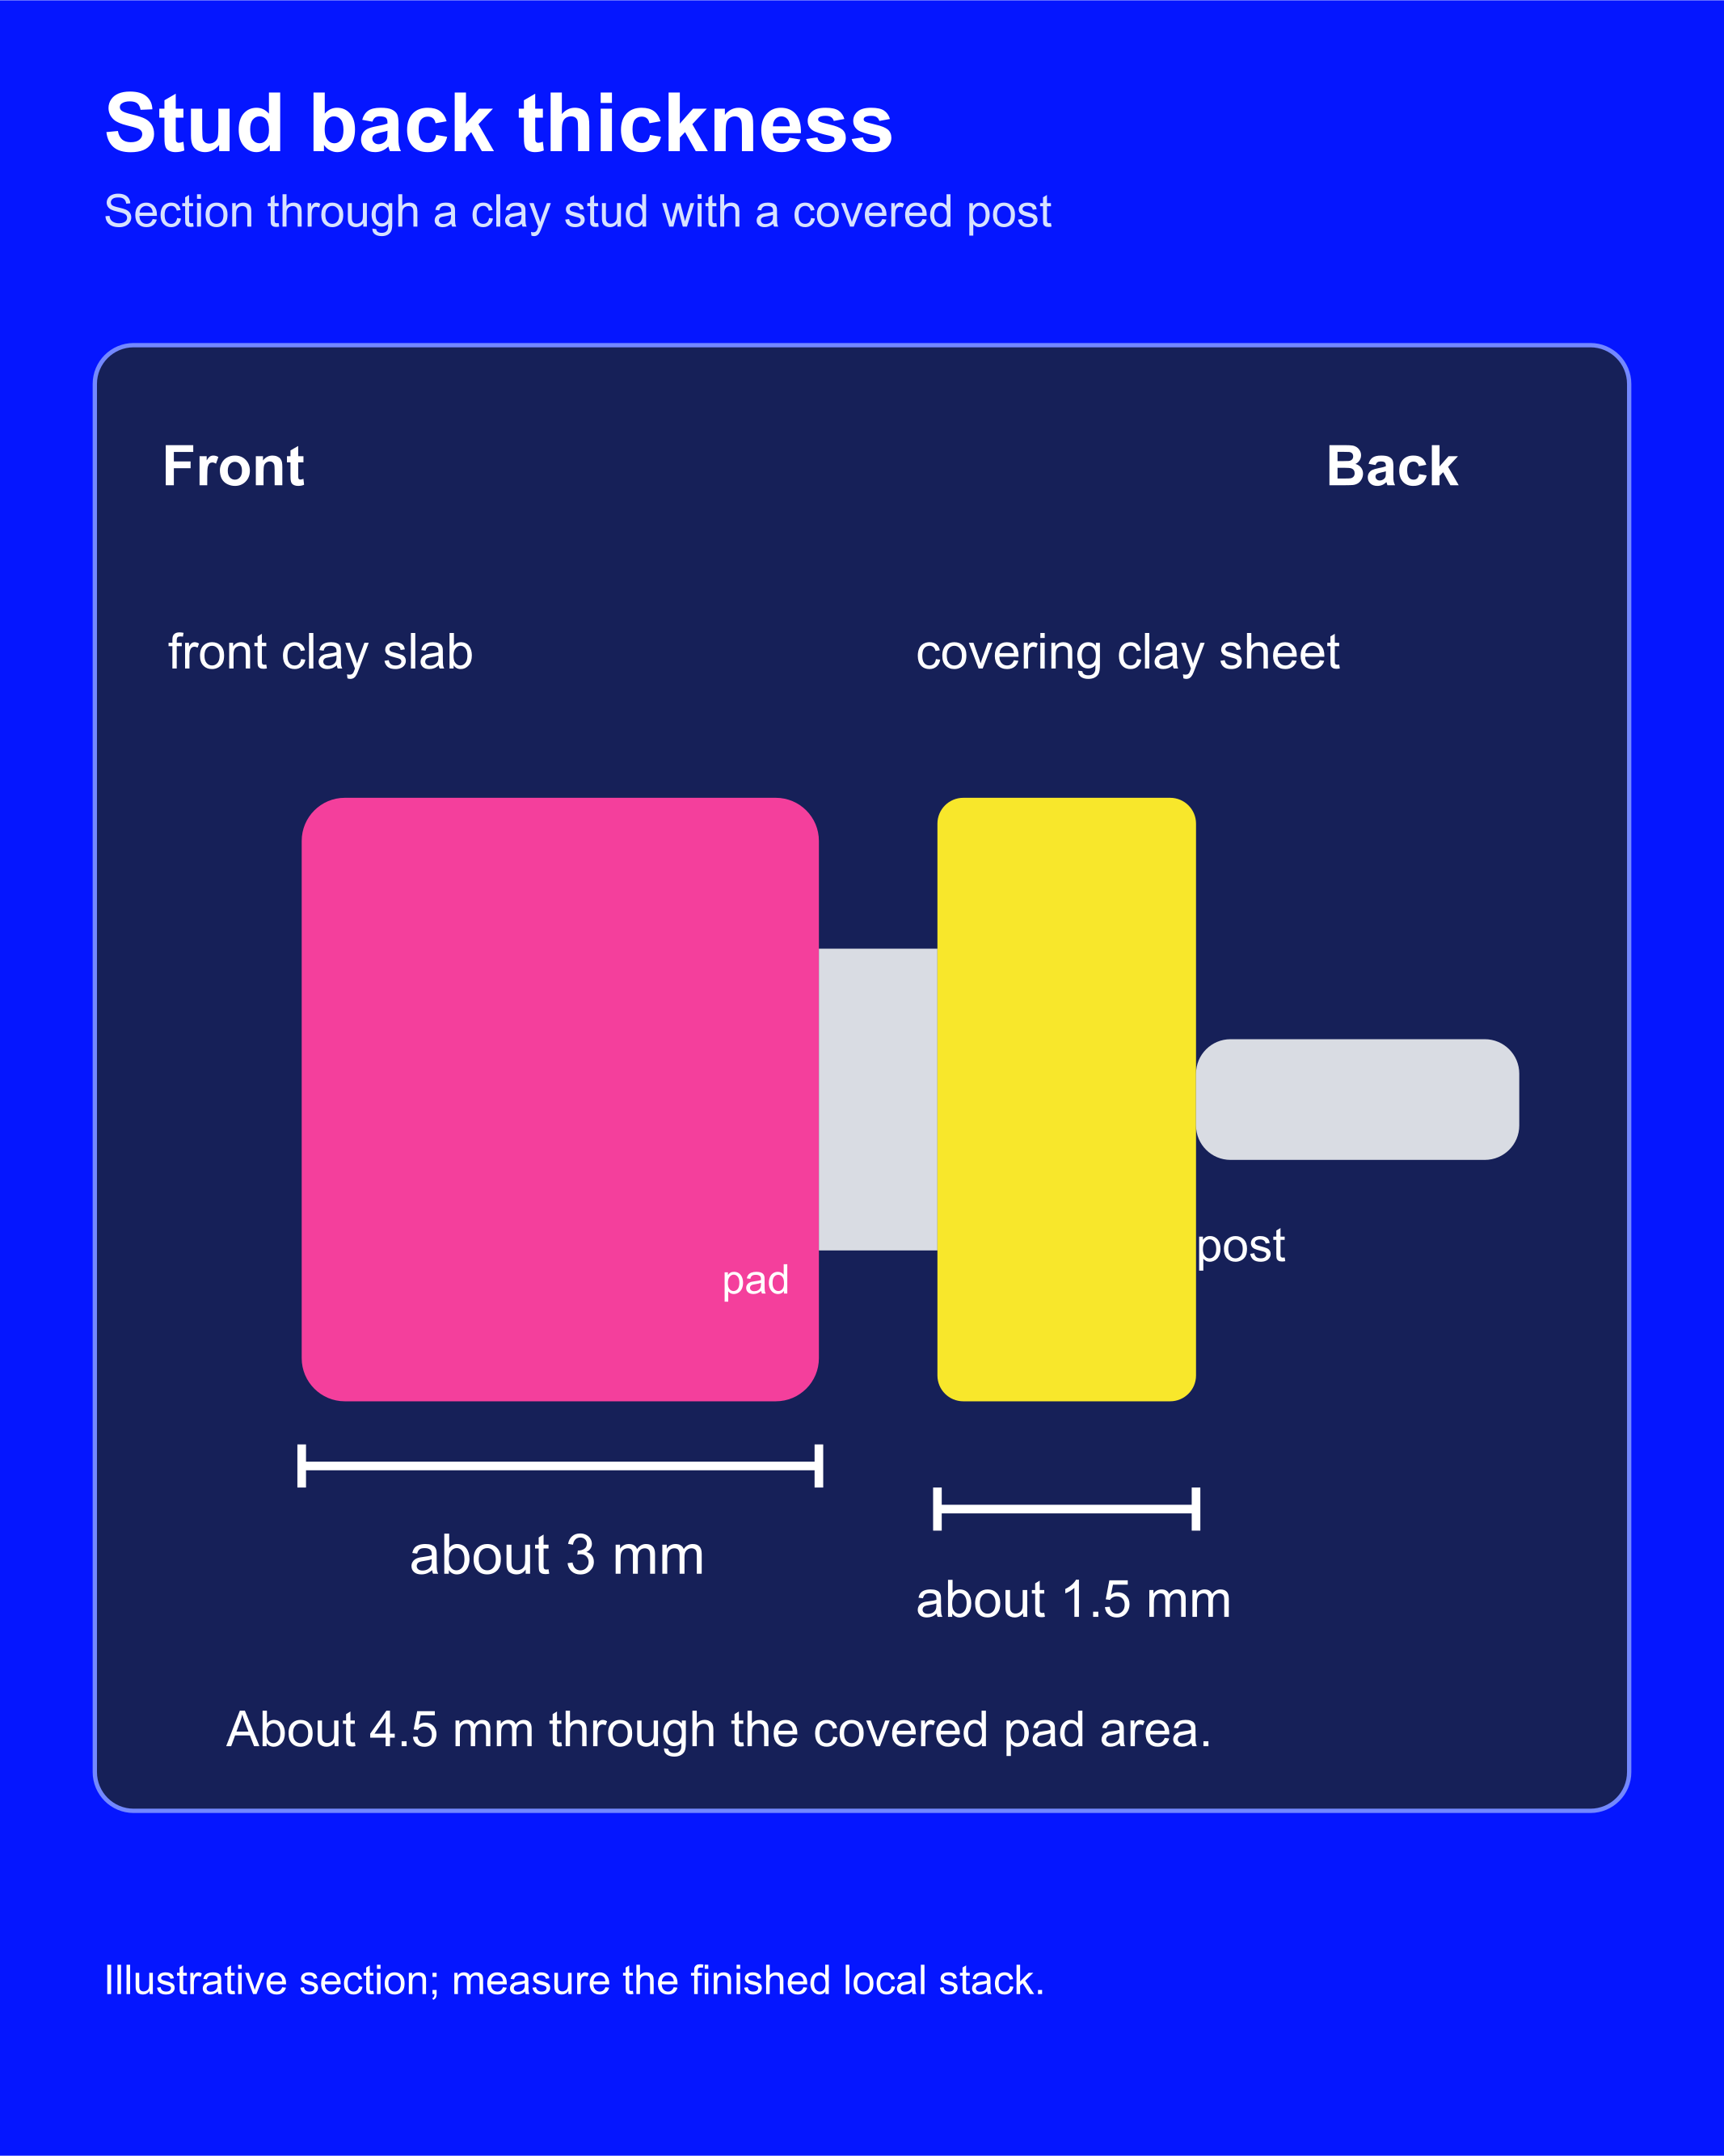
- Extra clay when you bake the post in. Makers who cover the pad with clay roll that covering sheet about 1.5 mm thick, so a 3 mm stud ends up about 4.5 mm thick at the post. If that feels bulky for the design, roll the front thinner. The findings guide gives the steps for baking a post in under clay.
- Tipping forward. A stud's weight sits in front of the lobe, so a thick, wide stud can lean forward on a small butterfly back. Jewellery suppliers describe a disc back as helping large or heavy earrings stay upright, and a thinner or smaller stud tips less on any back.
Layered earrings: measure the whole stack
For a layered earring, the thickness at the ear is the whole stack: the base slab plus every colour layer and appliqué piece on top of it. Layered designs pair a base slab with thinner colour layers, so each layer has its own number and the base alone is thinner than the finished piece. Add the layers together before you compare a layered earring with the weights above, and size the jump ring for the full stack where the hole goes through it.
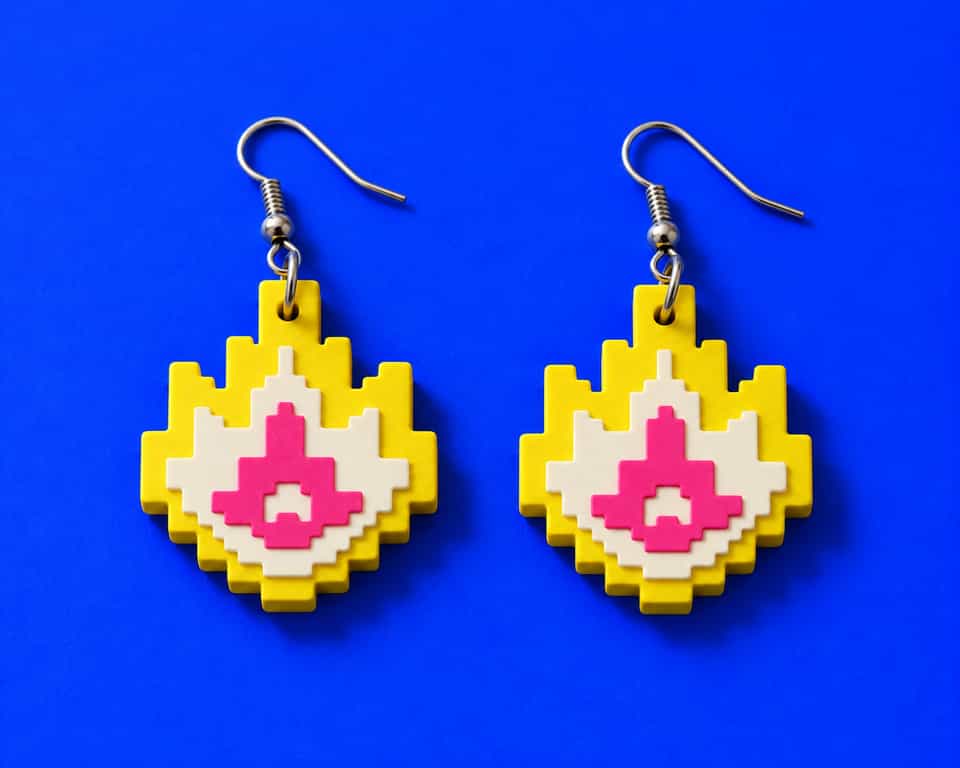
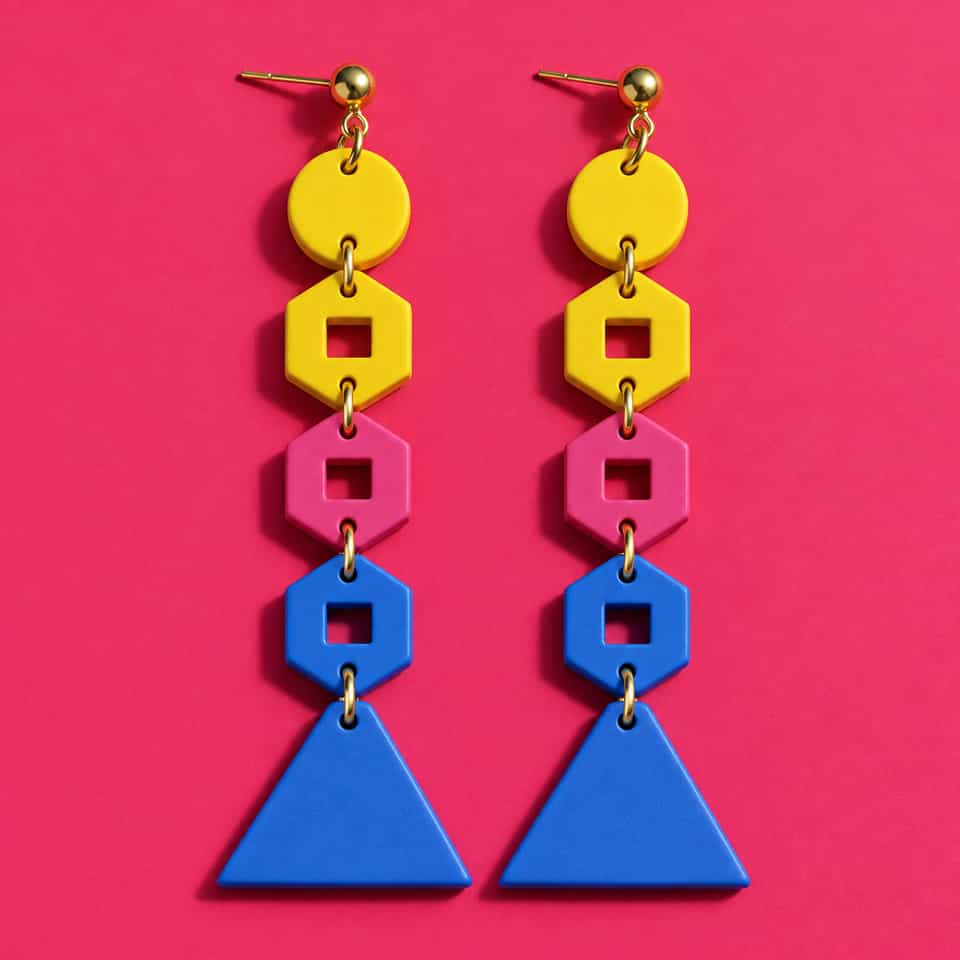
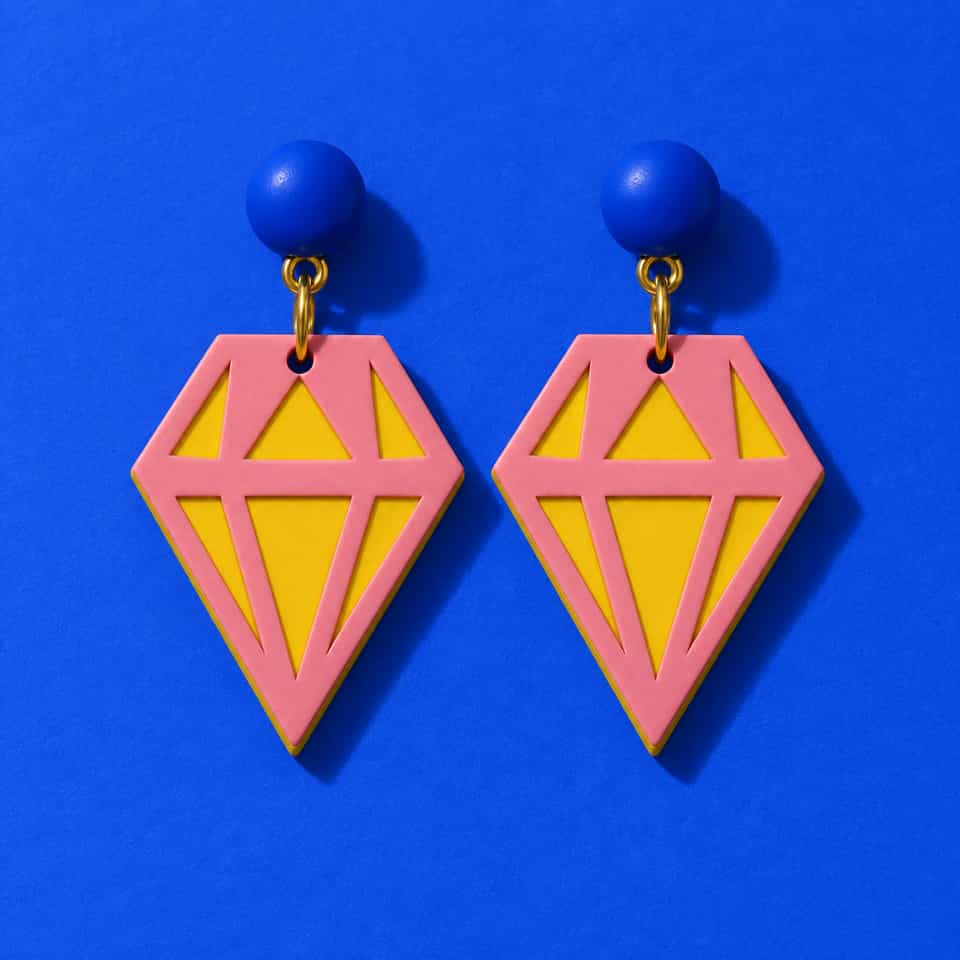
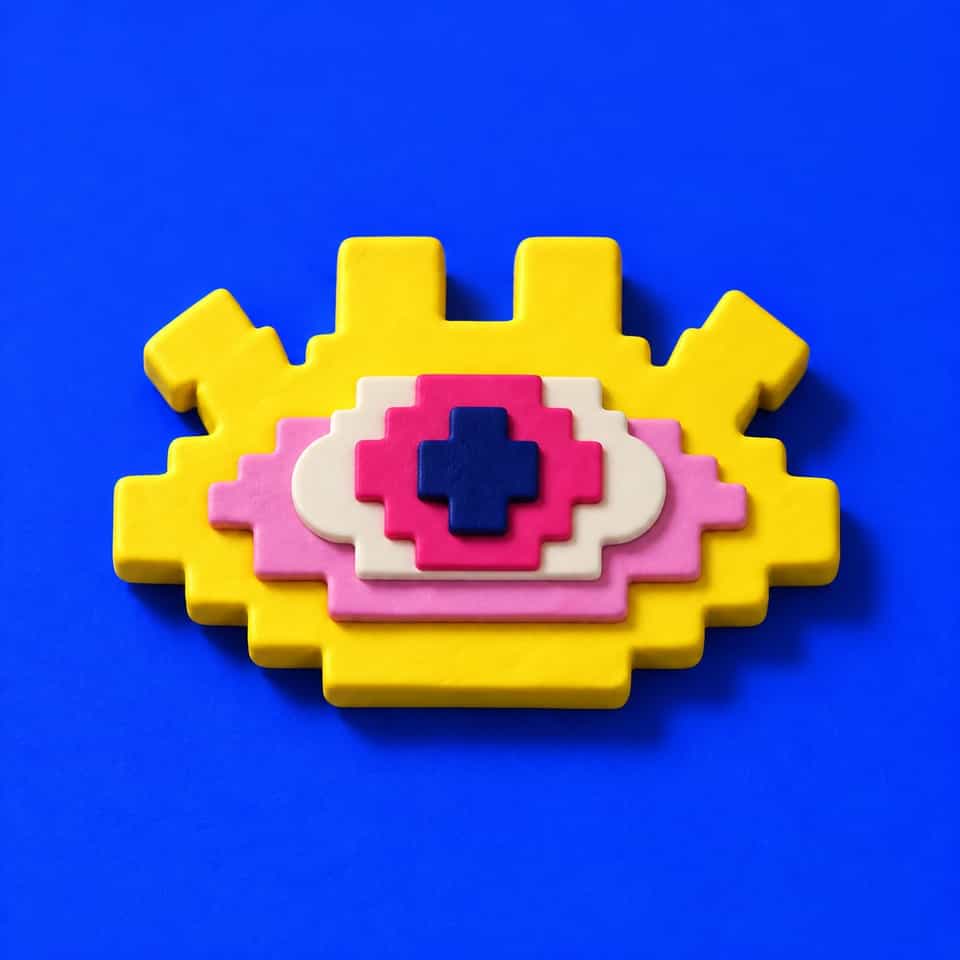
Clay Bake Studio's earring build kits give every slab and layer thickness in millimetres in the paid maker guide: the Pixel Flame earrings, the Go-Go linked dangle earrings, the Faceted Gem earrings and the Pixel Eye studs. If you are making one of them, your kit guide lists each layer's thickness, so roll to those numbers rather than the general range here. Each kit is a digital download of cutter files and a guide, so you need a 3D printer or a print service to make the cutters.
Which pasta machine setting gives that thickness?
A setting number is a position on the dial, not a thickness. The numbers set the gap between the rollers, each machine numbers them differently, and the same number rolls a different slab on different machines. The published figures show how far apart they sit:
- Sculpey lists its clay conditioning machine from 2.5 mm on setting 1, its thickest, down to 0.63 mm on setting 9.
- An independent maker measured an Atlas 180 at 2.54 mm on its thickest setting and 0.28 mm on its thinnest.
- The Atlas manual lists 4.8 mm at No. 0, but that figure is for pasta dough; clay from an Atlas measured about half that, as above.
So neither machine rolls a full 1/8-inch sheet, and Sculpey's own project offers the third-thickest setting as the machine route to a sheet a little thinner than 1/8 inch. Measure your own machine once and keep the note. First check which end of the dial is thickest: setting 1 on the Sculpey machine and 0 on an Atlas, while an Imperia numbers the other way. Condition the polymer clay until a folded strip has no cracks, then roll a scrap on each setting, cut off a small piece at each, and measure each raw piece with digital calipers, closing the jaws until they just touch the clay without squeezing it. Write down the clay brand, the setting and the thickness, so you can roll the same slab next batch. The pasta machine guide compares the machines and has the full measuring steps.
How to roll a 3 mm slab when your machine stops at about 2.5 mm
Stack slabs to a little more than 3 mm, then roll the stack down by hand between two 3 mm guides until the roller rests on both. Rolling a single 2.5 mm machine slab again cannot make it thicker, so build the extra height by stacking first.
- Stack slabs a little thicker than 3 mm. Use your setting notes to pick slabs that add up to slightly more than 3 mm, such as one from the thickest setting and a thinner one from further down the dial. Lay one on the other, pressing from one edge across so no air is trapped between them, and keep the stack narrower than the gap you will leave between the guides.
- Set the guides. Lay two guides of the same 3 mm height on a smooth tile, one on each side of the clay and closer together than the length of your roller.
- Roll to the guides. Rest an acrylic roller across both guides and roll from the middle towards each end with light, even pressure. Lift the slab with a blade, give it a quarter turn, press it back down and roll again.
- Stop when the roller rests on both guides along the whole slab: the stack is now rolled down to 3 mm. Leave the slab stuck to the tile for cutting.
For guides you can use today, search Amazon for ready-made metric thickness guides and choose a set labelled in millimetres that includes 3 mm. Stacks of playing cards also work: build one stack on each side to 3 mm, tape each stack together and measure both with the calipers, because cards from different packs differ in thickness. Clay Bake Studio's slab height guide kit, digital files for 3D-printable rails in labelled thicknesses, is coming soon.
How to keep both earrings of a pair the same thickness
Cut both earrings from one slab, rolled between the same guides or at the same measured setting. Place the cutter for both pieces on an even area of the slab before you lift either one, and check that a mirrored pair faces the right way. Then look at the two blanks from the side. If one is visibly thicker, keep it as a spare rather than forcing it into the pair.
A second slab rolled later can look the same from the top and still come out thicker or thinner. Clay warms as you handle it, pattern slabs can stretch as they rest, and cane slices can press into the backing differently from one pass to the next.
Before a batch, roll a short strip at your saved setting and measure it against your note. If it reads differently, check the clay's softness, the room temperature and the conditioning before you change the setting. Terrazzo chips, cane slices and Skinner blends can smear or stretch when the slab is too soft to cut, so rest the slab on its tile, or chill it briefly, until the cutter stops dragging. For repeat runs, the batch production checklist keeps the slab thickness, clay colours and findings recorded for each design, and the layering guide shows how to make the second earring a mirror image.
More guides in this path
Open these when the next decision is material choice, attachment, or finishing.
How to choose jump rings for polymer clay jewellery
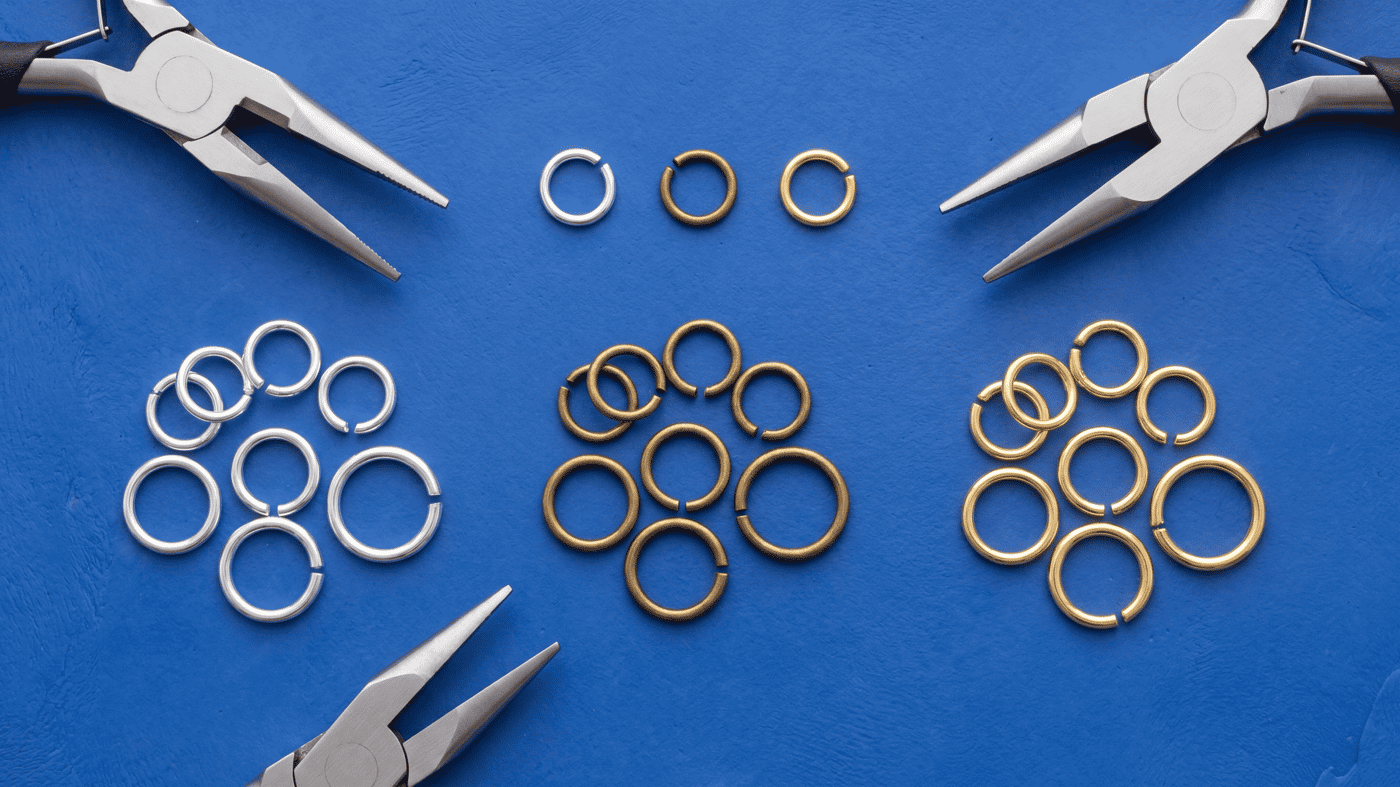
Learn how to measure jump rings, choose a size that lets your clay earrings swing freely, and open and close the rings with pliers.
Best pasta machine for polymer clay: Atlas, Sculpey, Makin's or a roller
Buy the Marcato Atlas 150 for earring slabs and blends, or the Atlas 180 for slabs over 14 cm wide. Measured widths, thickest settings and lower-cost machines, compared.
How to attach earring findings to polymer clay earrings
Choose a fish hook, leverback or looped stud, join it with a jump ring, add a second ring if the drop shows its edge, and check the pair before you wear it.
Finished examples with related clay decisions
Each piece shows how a material, attachment, or surface choice changes the final form.